When you click on links to various merchants on this site and make a purchase, this can result in this site earning a commission. Affiliate programs and affiliations include, but are not limited to, the eBay Partner Network.
DIY - GS300 Power Steering Flush (new and updated version with detailed pictures)
Here is the full procedure to properly flush your power steering fluid (based on a RHD GS300). This has been covered a few times previously however in this guide I will include a few extra details that I encountered along with detailed photos of each step
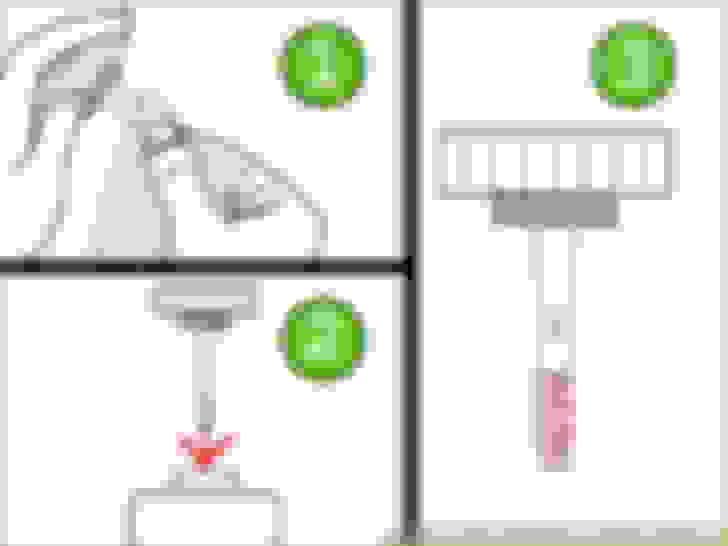
Tools + Materials required
- Pliers
- Siphon
- Oil change tray
- Clear plastic container
- Small funnel
- Short length of hose with 45deg bend
- Jack + chassis stands
- Dextron III rated ATF fluid (2L)
- Replacement return hose (optional but recommended especially for RHD cars)
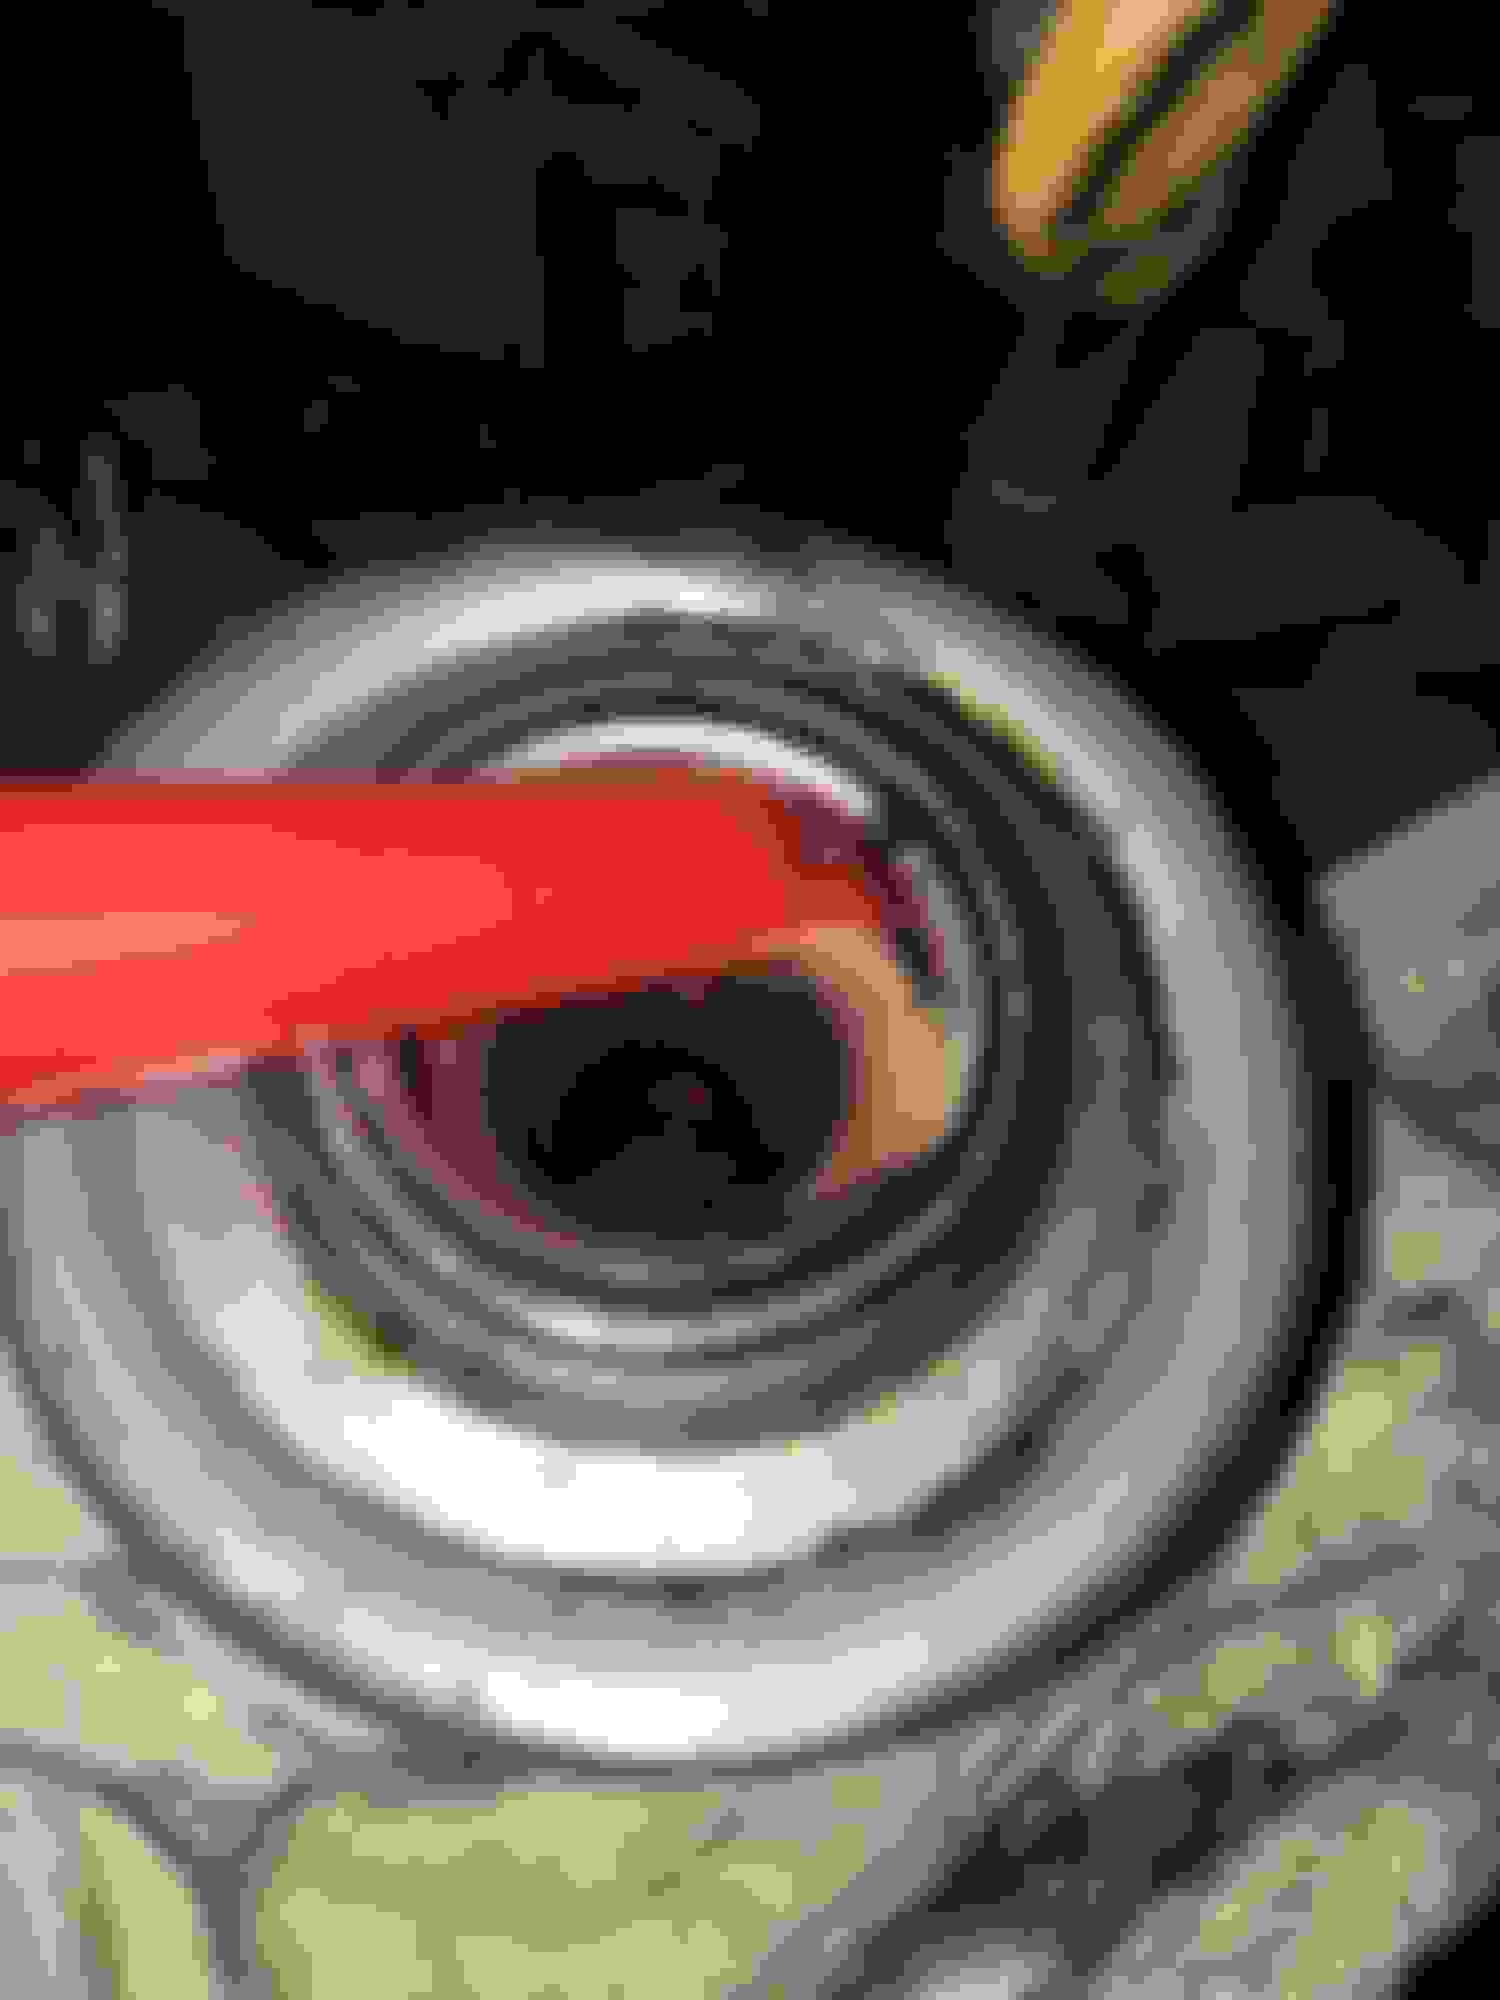
First start by siphoning out as much of the old fluid from the PS reservoir as possible, place this into the clear plastic container and examine the colour. If it is anything like what you see below, you will most likely need to cycle the fluid through multiple flushes until it comes out a nice red.
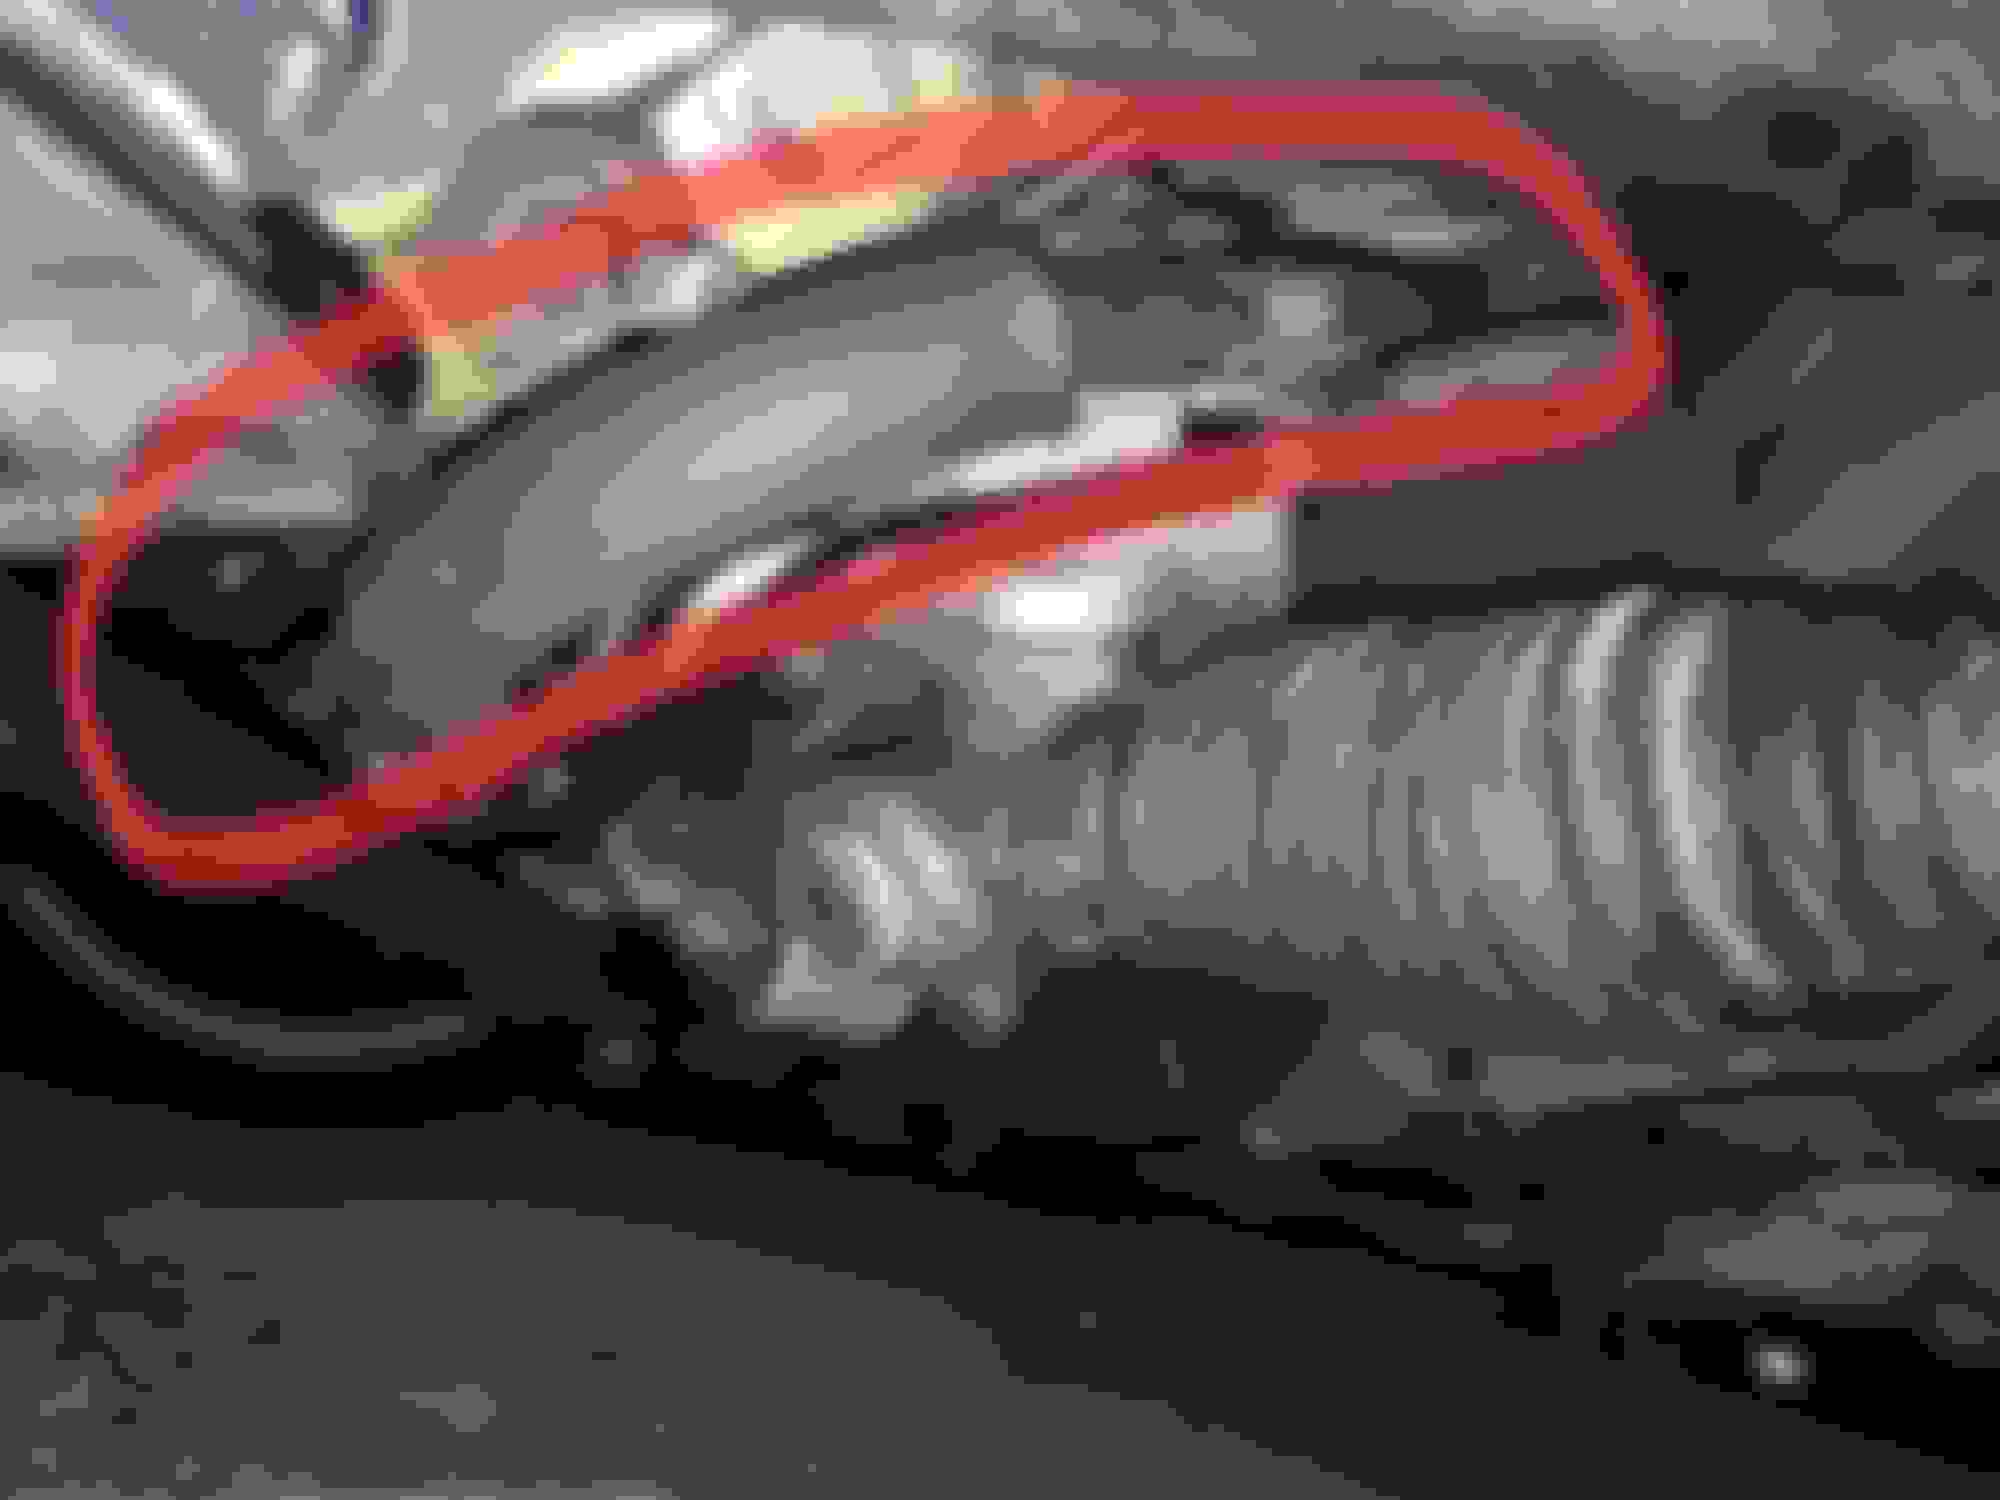
Next once the car is raised, remove the return hose carefully by moving the clamps away from the hard lines and easing the end closest to the column off and quickly rotating it down toward the drip tray. Also have the short length of hose ready and temporarily attach to the hard line end which was previously connected to the return hose and face it toward the drip tray. This will ensure fluid doesn't leak directly out of the hard line onto the tie-rod boot. Also have a rag handy to protect anything underneath the line as you will get some spillage in the process of attaching the temp hose
Cycle the wheel lock to lock to pump the remaining fluid out of the rack until the stream turns to a few drips only. At this point you can reconnect the return hose to its original position
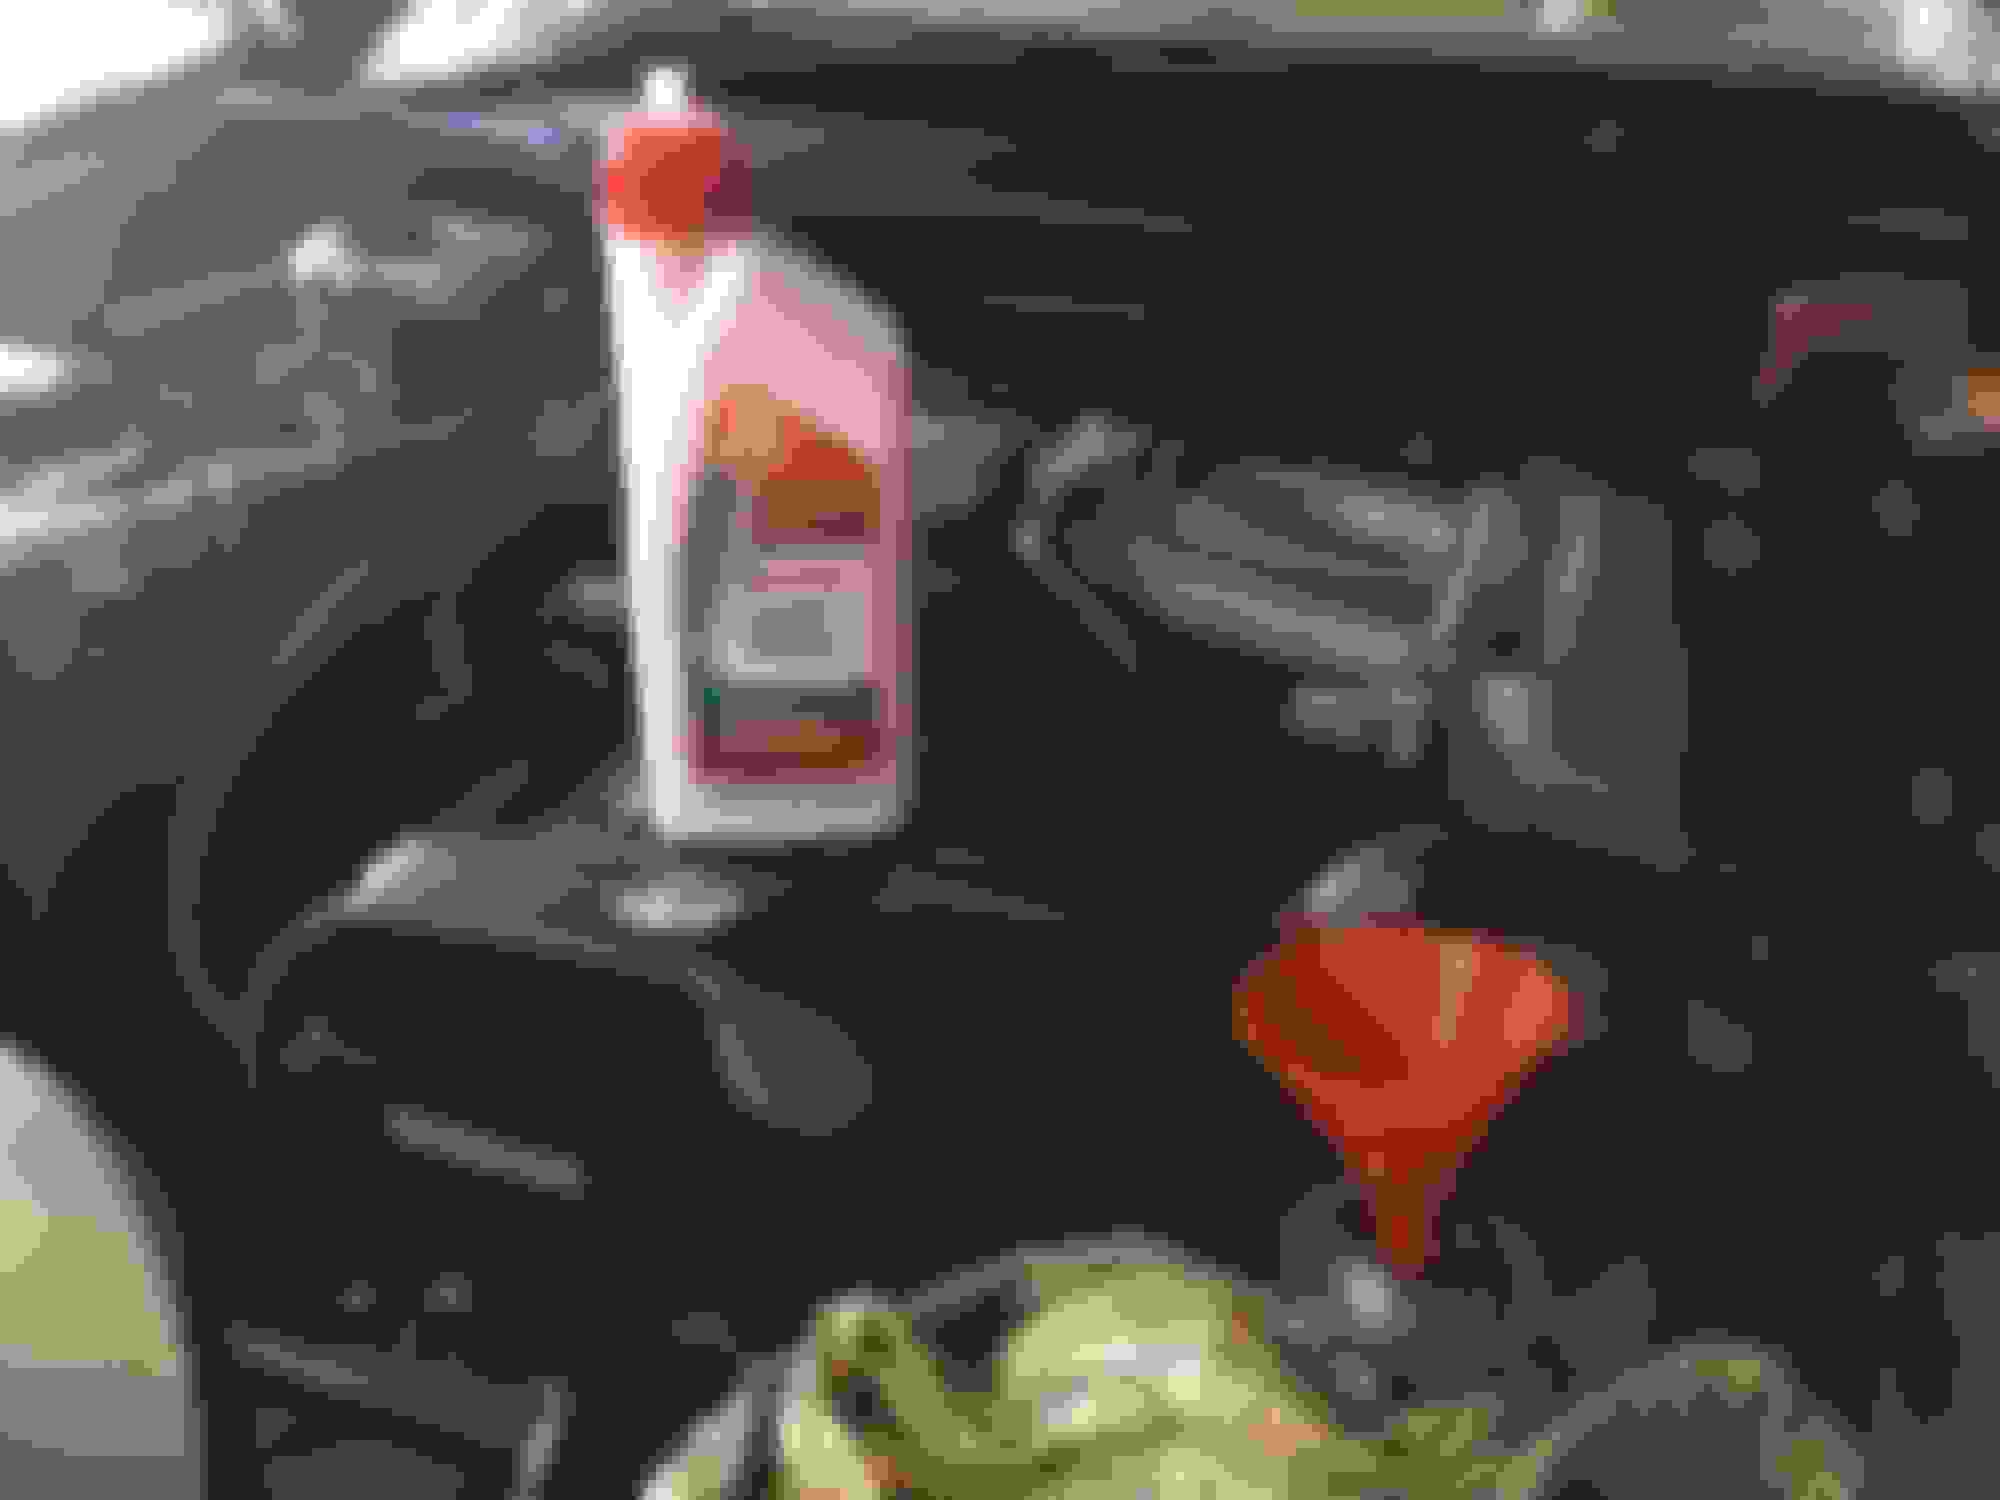
Add in new ATF to the reservoir until the level rises to the top. Now (with the ignition off) turn the wheel lock to lock once more to begin the bleed process. 3-4 times each lock should be enough to cycle an adequate amount of fluid into the rack and pump. You should hear and see air bubbles rising in the reservoir, be sure to top off the fluid during the bleed process before turning the engine over to prevent starving the pump of fluid.
Now turn the engine over and idle for a minute, then slowly turn the wheel lock to lock another 3-4 times while idling still. Again keep an eye on the fluid level and top off as needed. You may feel vibration through the wheel while the air escapes from the system, this will happen less and less until all the air pockets have been bled out.
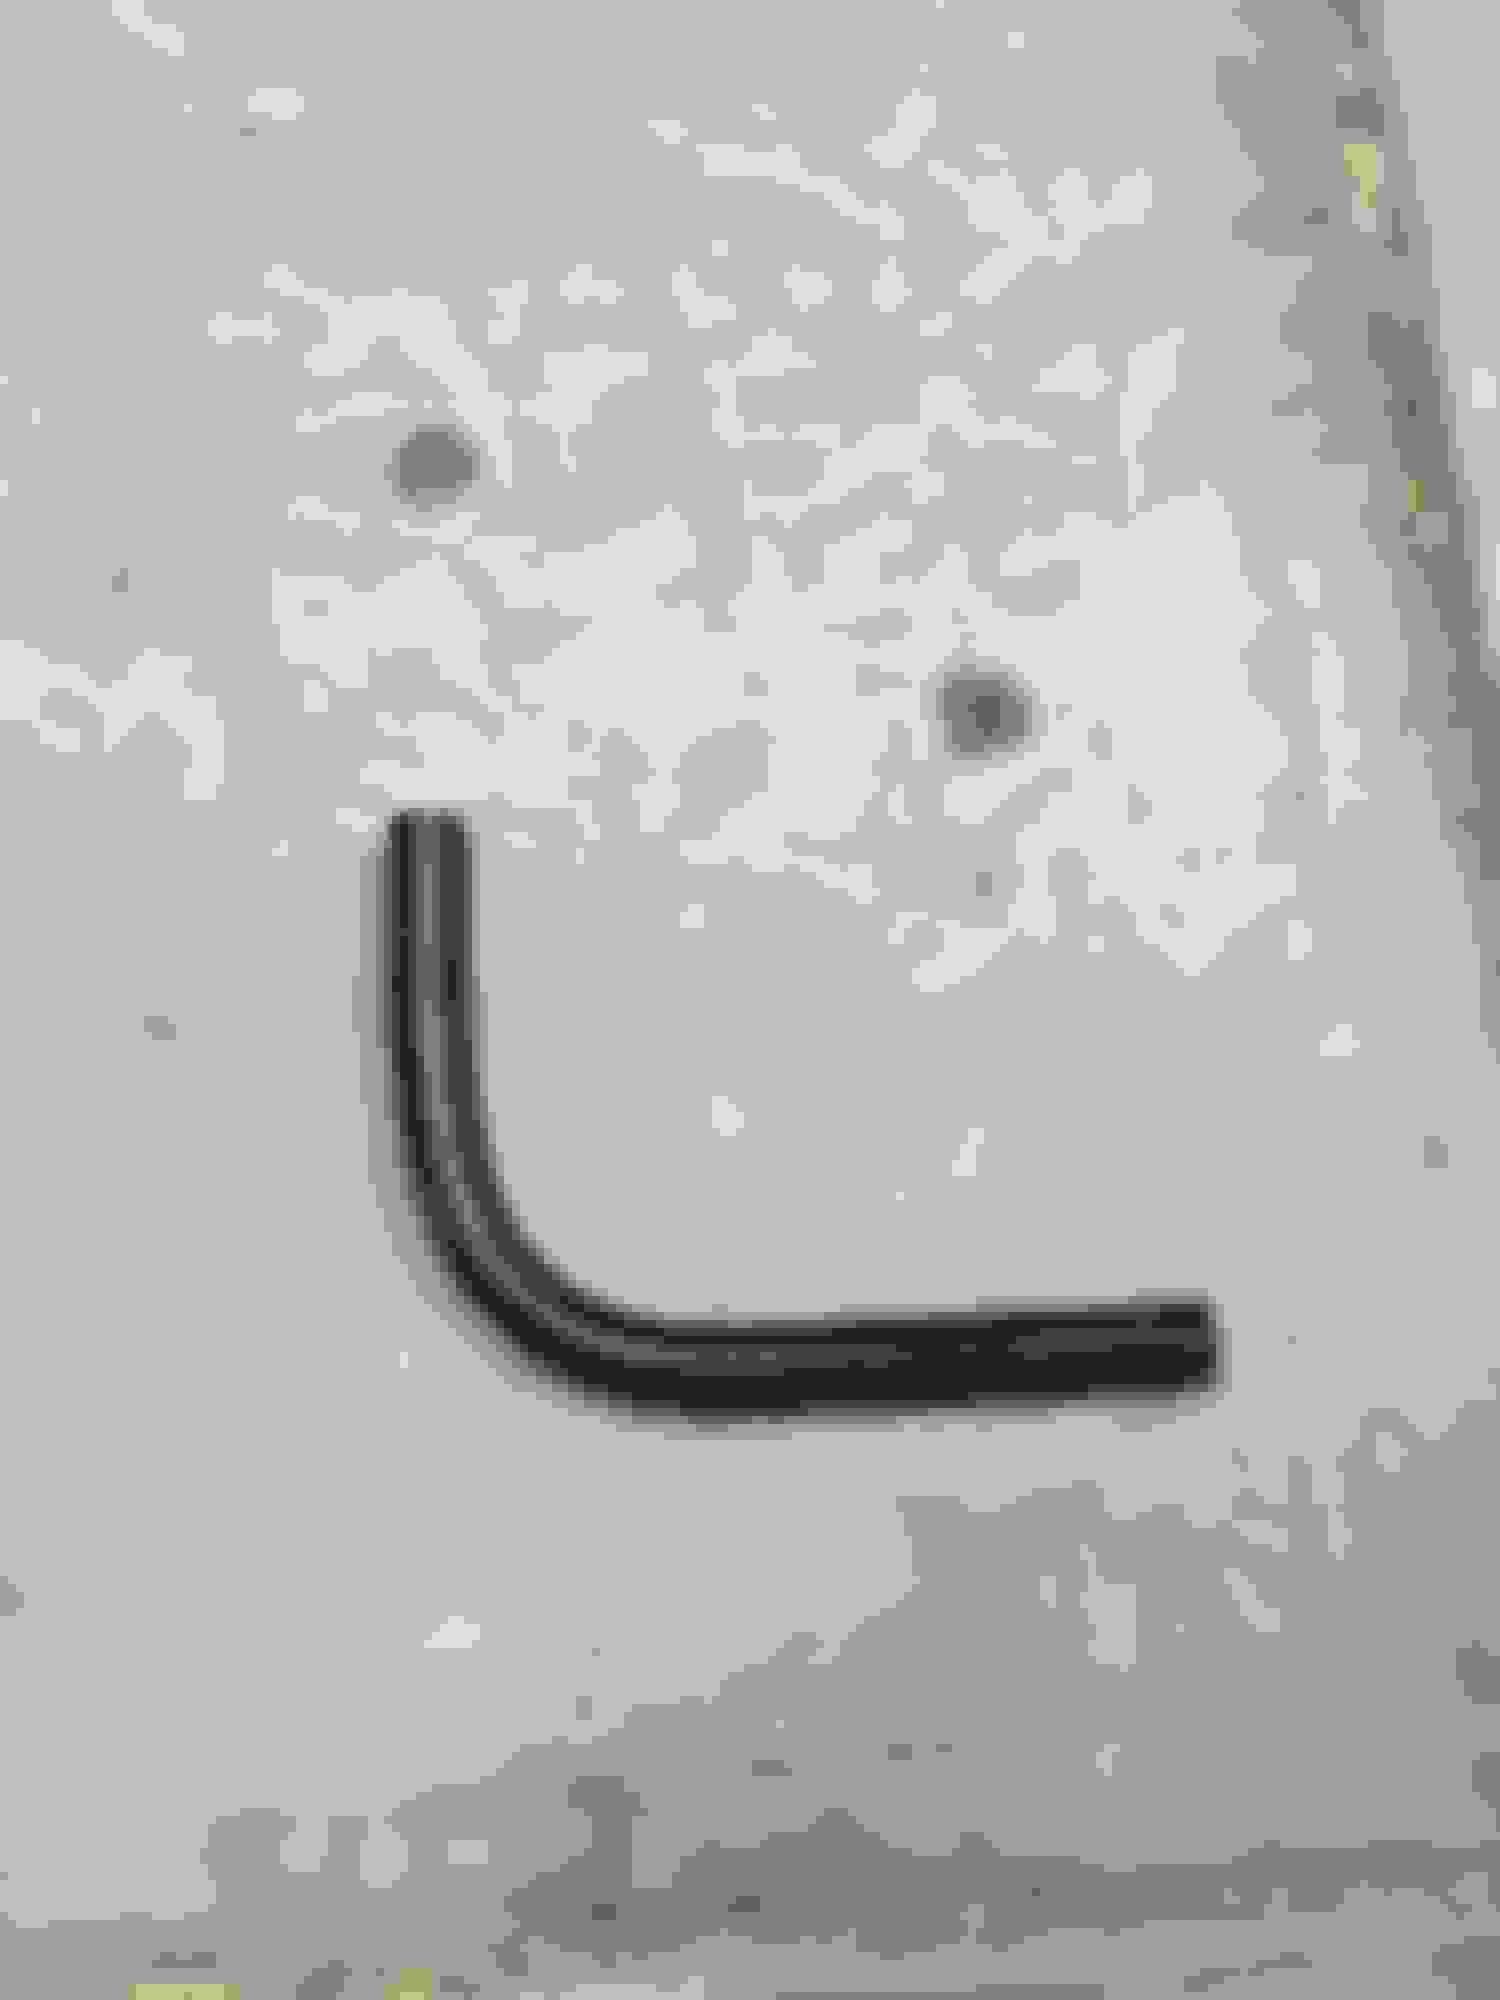
Repeat the above process as many times as needed until you are satisfied all the old fluid is out of the system, I ended up going through 3 flush cycles due to my return line splitting after the 2nd time around. I would highly recommend sourcing an appropriate replacement hose before attempting this as due to the proximity to the exhaust manifold (atleast on RHD cars) it will become dry and brittle over time, and split when it is flexed to be removed. It has an ID of 10mm, and is 250mm long with a single bend. Make sure you re install the foam heat shielding on the new hose if it has it.
Take the car for drive long enough to get it up to normal operating temperature and check fluid levels and remove excess/top up if necessary so the level on dipstick is within spec

 06-04-18, 04:19 AM