Other (more cost effective) for holes in trunk?
 02-24-09, 06:21 AM
#1
I know this topic has been beaten up about a million times but....I have heard that to fill the holes on the trunk (left after removing the spoiler) it could cost as much as $700 bucks when all is said and done! Welding, prepping and painting.
Not trying to cheap out on my car but their are 4 holes the size of a pencil eraser and an additional one about twice that size (a lot smaller than the size of a dime though). What about just filling them with bondo (myself) and having a shop re-spray the trunk?
Please note that two of the holes (one on each end) will be covered entirely by my new lip spoiler. So There are only 2 other holes and the 1 larger one that is the issue. Any other suggestions? I am not looking for show (competition) quality here, just keep it nice and clean. Thanks!
Welding, prepping and painting. Not trying to cheap out on my car but their are 4 holes the size of a pencil eraser and an additional one about twice that size (a lot smaller than the size of a dime though). What about just filling them with bondo (myself) and having a shop re-spray the trunk?
Please note that two of the holes (one on each end) will be covered entirely by my new lip spoiler. So There are only 2 other holes and the 1 larger one that is the issue. Any other suggestions? I am not looking for show (competition) quality here, just keep it nice and clean.
Thanks!


 02-24-09, 08:17 AM
#6
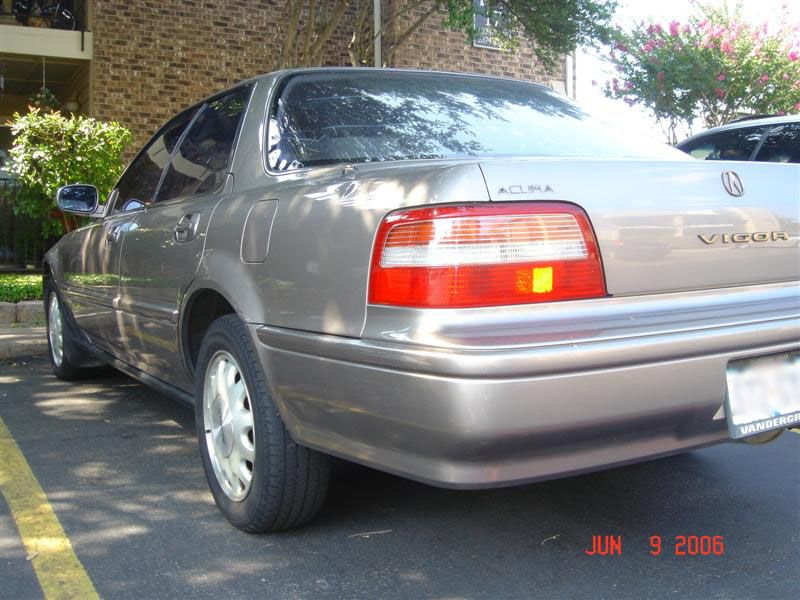
i did a 'ghetto' rig DIY for this when i shaved the emblems off of my Acura Vigor... the body shop wanted me to pay them $400 to do the shave and repaint... ...
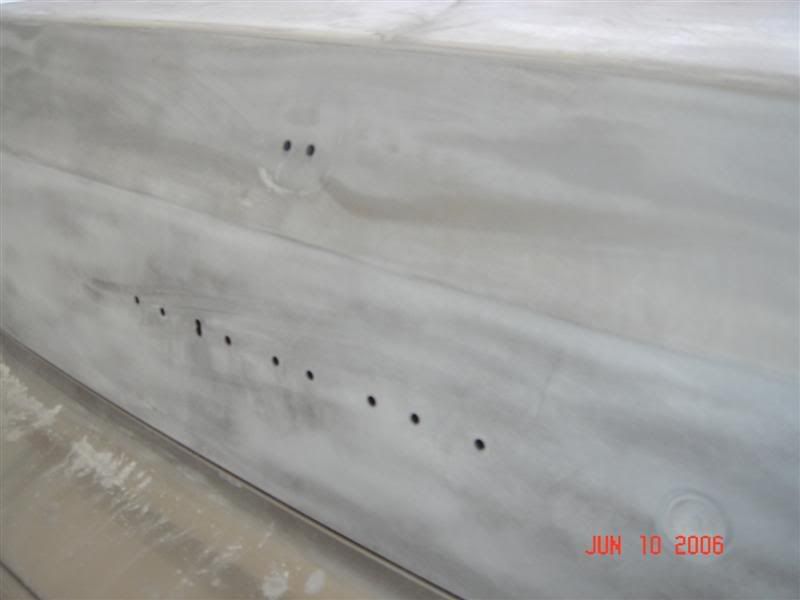
there were two holes about the size of a pencil that held the ACURA in the top left corner... and then for each letter of V I G O R down the middle, there were pretty big dime sized holes...
basically what i did was try to find nails that were slightly larger than the holes and with a very flat head... cut the length of the nail in half so there was enough to just go inside the holes and not have the top of the nail stick out when you reach the bottom...
before i put the nails into the holes, i center-punched each of the holes in so that the holes were concave... this was so when i put the nails into the holes, the head of the nail would sit more flush with the body of the car...
sand around the holes and apply some epoxy or JB weld... then put the nails into the holes and try best you can to get the head of the nails as flush as possible against the body... otherwise, you will use alot of bondo/filler to cover the lump from the head of the nail and it will look ugly if you don't get it to even and smooth...
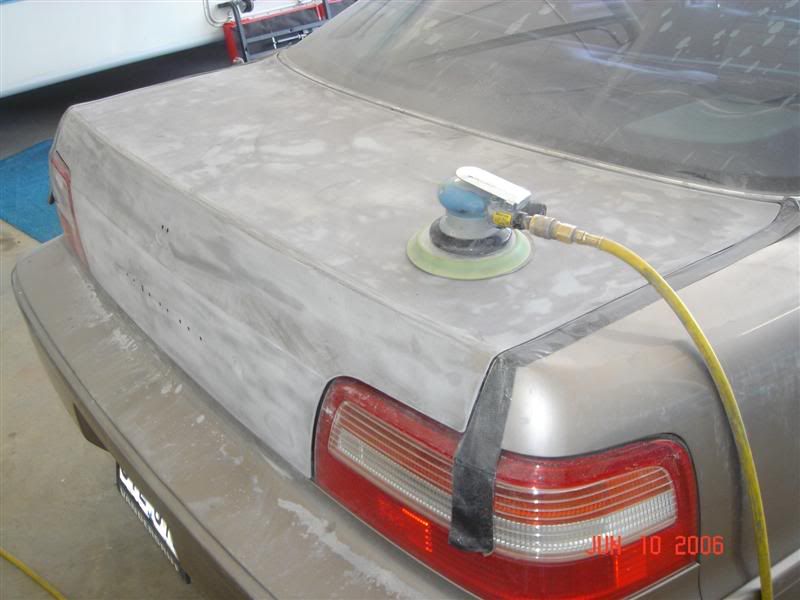
once the nails are dry sand and prep for bondo/filler around the nails... and then sand the rest of the trunk lid ready for paint...
total cost was like $50... home depot for the nails, autozone for sanding paper, bondo and body filler, i bought a pint of paint at my local body shop and painted the trunk lid myself...
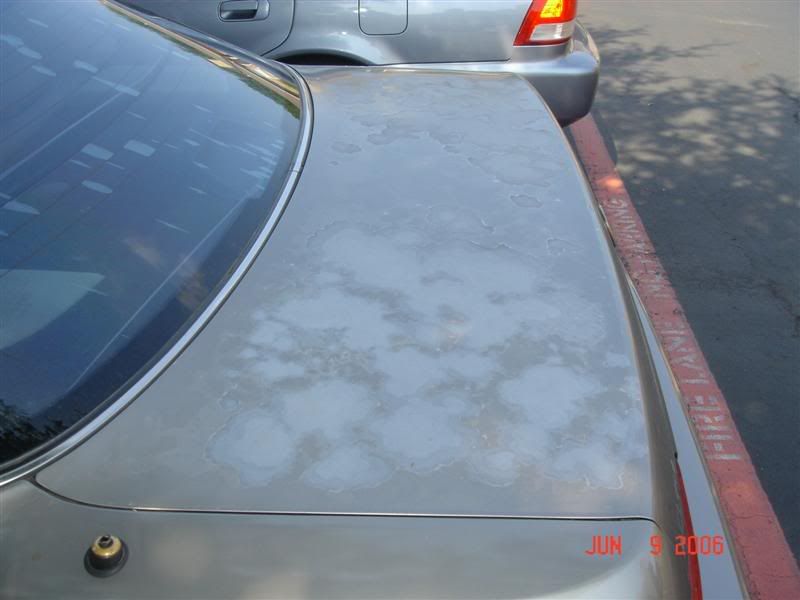
here is the before...
the paint was peeling so it already needed some work anyway...
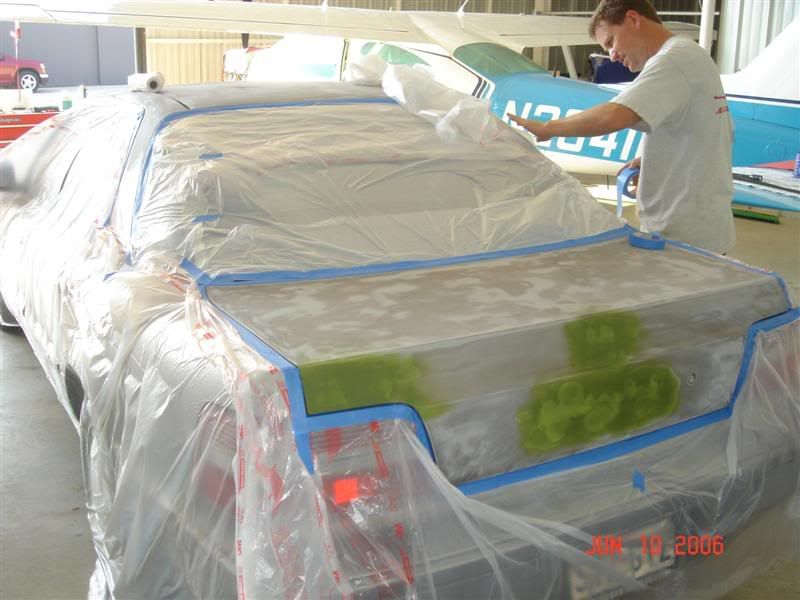
paint

sanding.
holes...
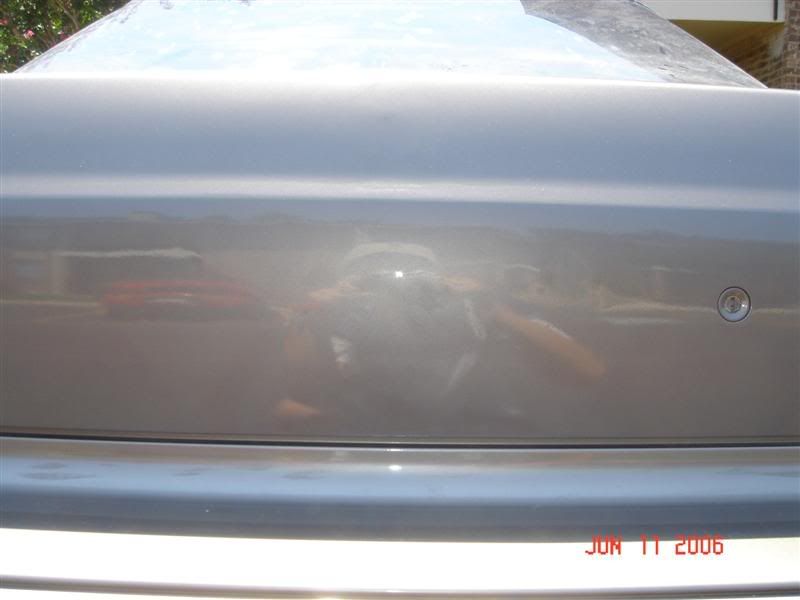
post nails
that is my friend in the background that helped me... we did it in his hangar... that is his plane...
after paint...
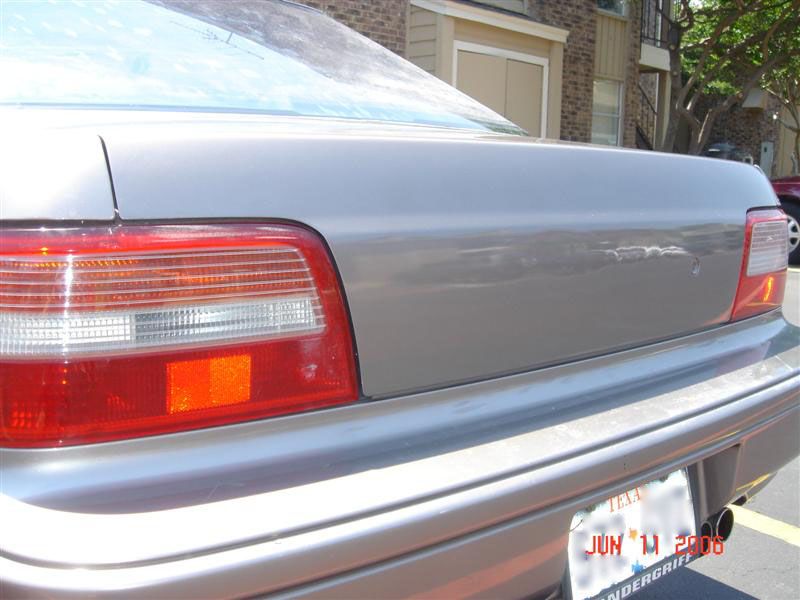
to be honest - it wasn't as smooth as i expected it to come out as good as i wanted it to... but for a 15 yr old car, it was good enough for me... almost 3 yrs later and it is holding up great...
there were two holes about the size of a pencil that held the ACURA in the top left corner... and then for each letter of V I G O R down the middle, there were pretty big dime sized holes...
basically what i did was try to find nails that were slightly larger than the holes and with a very flat head... cut the length of the nail in half so there was enough to just go inside the holes and not have the top of the nail stick out when you reach the bottom...
before i put the nails into the holes, i center-punched each of the holes in so that the holes were concave... this was so when i put the nails into the holes, the head of the nail would sit more flush with the body of the car...
sand around the holes and apply some epoxy or JB weld... then put the nails into the holes and try best you can to get the head of the nails as flush as possible against the body... otherwise, you will use alot of bondo/filler to cover the lump from the head of the nail and it will look ugly if you don't get it to even and smooth...
once the nails are dry sand and prep for bondo/filler around the nails... and then sand the rest of the trunk lid ready for paint...
total cost was like $50... home depot for the nails, autozone for sanding paper, bondo and body filler, i bought a pint of paint at my local body shop and painted the trunk lid myself...
here is the before...
the paint was peeling so it already needed some work anyway...
paint
sanding.
holes...
post nails
that is my friend in the background that helped me... we did it in his hangar... that is his plane...
after paint...
to be honest - it wasn't as smooth as i expected it to come out as good as i wanted it to... but for a 15 yr old car, it was good enough for me... almost 3 yrs later and it is holding up great...

Trending Topics
02-24-09, 09:21 AM
#9
Pole Position
iTrader: (4)
Join Date: Sep 2004
Location: Herndon, Virginia
Posts: 356
Likes: 0
Received 0 Likes
on
0 Posts
Go to Home Depot or Lowe's and look for some plastic or rubber plugs to stick into the holes. You can ususally find some that will sit flush and will not be very noticeable until you're up close. That is why I used on my old Integra because I always want to leave the window open if I ever wanted to reinstall the wing.
Also depending on your car color you could use pieces electrical tape.
Also depending on your car color you could use pieces electrical tape.
02-24-09, 10:08 AM
#10
Go to Home Depot or Lowe's and look for some plastic or rubber plugs to stick into the holes. You can ususally find some that will sit flush and will not be very noticeable until you're up close. That is why I used on my old Integra because I always want to leave the window open if I ever wanted to reinstall the wing.
Also depending on your car color you could use pieces electrical tape.
Also depending on your car color you could use pieces electrical tape.
02-24-09, 10:51 AM
#12
I had my holes welded and repainted the entire trunk. Was about $400 I think. Good thing about welding is it will always be flat, no shrinking, no worries about flaking body filler in the future, and if you sell the car the new owner will appreciate the properly done repair just as you would if you bought the car.
02-24-09, 11:28 AM
#13

Yo if you do decide to go the bondo route lol hit me up. I just bought a big can myself because I was going to fill the 4 holes in my trunk from the badges when I debage. The only thing holding me back is being scared to mess up lmao. I'm debating on whether or not to fill the holes and use touch up as a temporary fix and try to blend it in by detailing techniques or get it resprayed. The shop actually wanted like $175 to fill the holes and paint the lower trunk panel.
02-24-09, 03:39 PM
#14
Yo if you do decide to go the bondo route lol hit me up. I just bought a big can myself because I was going to fill the 4 holes in my trunk from the badges when I debage. The only thing holding me back is being scared to mess up lmao. I'm debating on whether or not to fill the holes and use touch up as a temporary fix and try to blend it in by detailing techniques or get it resprayed. The shop actually wanted like $175 to fill the holes and paint the lower trunk panel.
 I might just have it done completely at a shop when I get my kit installed. I was just trying to save some $$$ and see if there was something that I could do on my own.