When you click on links to various merchants on this site and make a purchase, this can result in this site earning a commission. Affiliate programs and affiliations include, but are not limited to, the eBay Partner Network.
Good idea on the wrapping. Can't wait to see how it turns out. Planning on coming into the lower mainland over the summer? Would be cool to check it out in person.
Right back at you on checking out the progress on your car. I’ll be bringing the Aristo down to Van sometime this summer and will for sure let you know when something is more concrete date wise.
Yep. Those 1 thru 6 buttons on the climate control plugs to the deck that came with the climate which uses those buttons for presets! So proud to teach U something u didn't already know.. gotta go continue reading your build
Originally Posted by Arussto
I oweoyou yhat after that dreamy build!
More more more!!!
we h://www.supraforums.com.au/forum/topic/70659-aristo-2jzgte-supra-air-con-issues/
Thanks Aruusto for looking into this more and responding. I’ll have to take a look and see if the relay setup on the A/C is correct.
Some more work completed on the car this week and a little teaser of the wrap.
Also shot of the electronic e-brake setup under the car. We just placed a button for engaging/disengaging where the heated seat buttons normally are as my car didn’t come with them.
Here's a little video of the e-brake engaging. By no means is this a quick process haha. More of a luxury of not cluttering up the interior with a handle of sorts.
post 29 explains it. Ithe seems like some Toyota use a negative output for triggering compressor and others a positive. Since a relay needs both a position and a negative to trigger the coil you should be able to use a four pin relay powering the coil with the climate output and a neg if the climate out is plus and vice versa if climate out is negotiable. So as I understand it the relay is now closed when the climate control sends it's instruction to turn compressor on. We haven't put the comp wires in yet. Of course the voltage out of the climate control will dictate the voltage of the coil as there are conflicting reports of 12 v's 4.5
I'm sure u could check that with a volt meter.
so if you are with me we mow have a relay closing when the climate control says ON compressor!
so now it's a matter of splicing in the relay into the wire that goes to the compressor.
which is straightforward just to identify it. Wilbro 666 ecu pinout diagrams.
Assuming a plus 12 to energize comp. (Test to confirm)
I think anyone can go from there
Note I am offering my understanding from the reading I have done as I never had this problem as I have an Aristo.
there are other discussions around and I will send what I come across as I go. Tell me when to stop sending
Looks great so far. If you're in the lower mainland, I'd love to meet up and shoot your car
For sure Will, would be great to meet up. Had an opportunity to bring the car down next week for the auto show but it’s a little rushed to finish up what we have left. So probably bring it down for another show like Driven, or the Japanese Classic. But I’ll be down that way sometime, even just visiting friends or family and let you know.
To update on progress itself we did a once over on the bushings on the car and replaced them. Will be nice to drive the car and feel the difference.
Removed the rear steering and Justin built a lockout bar. Installed and fitting nicely. Used some heavy wall tube and machined some caps for the ends. Using the stock rear steer tie rods still for the delete.
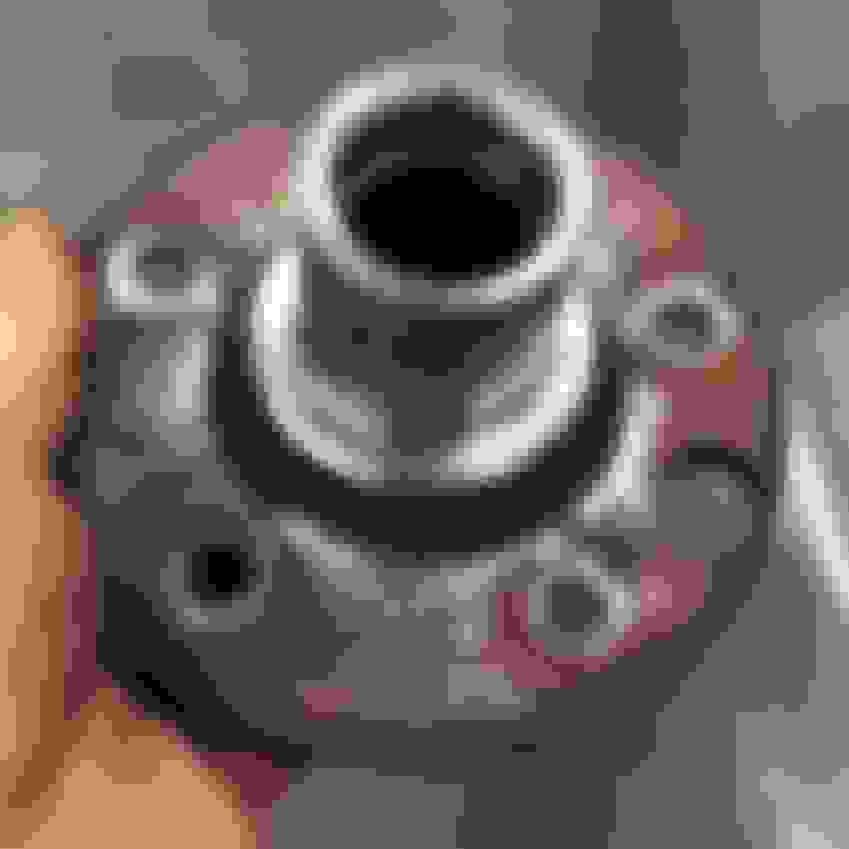
Then for the DSS axle install, didn’t think much of it when we ordered it but the auto Supra hubs are smaller outer diameter than the 2GS ones so we hit a snag there not being able to install the axles completely. Contacted DSS to see if they had any hubs for the car in stock that we could just swap. Otherwise it’s looking like we may have to machine out the spline on the stock hubs and press the new larger spline for the new axles in.
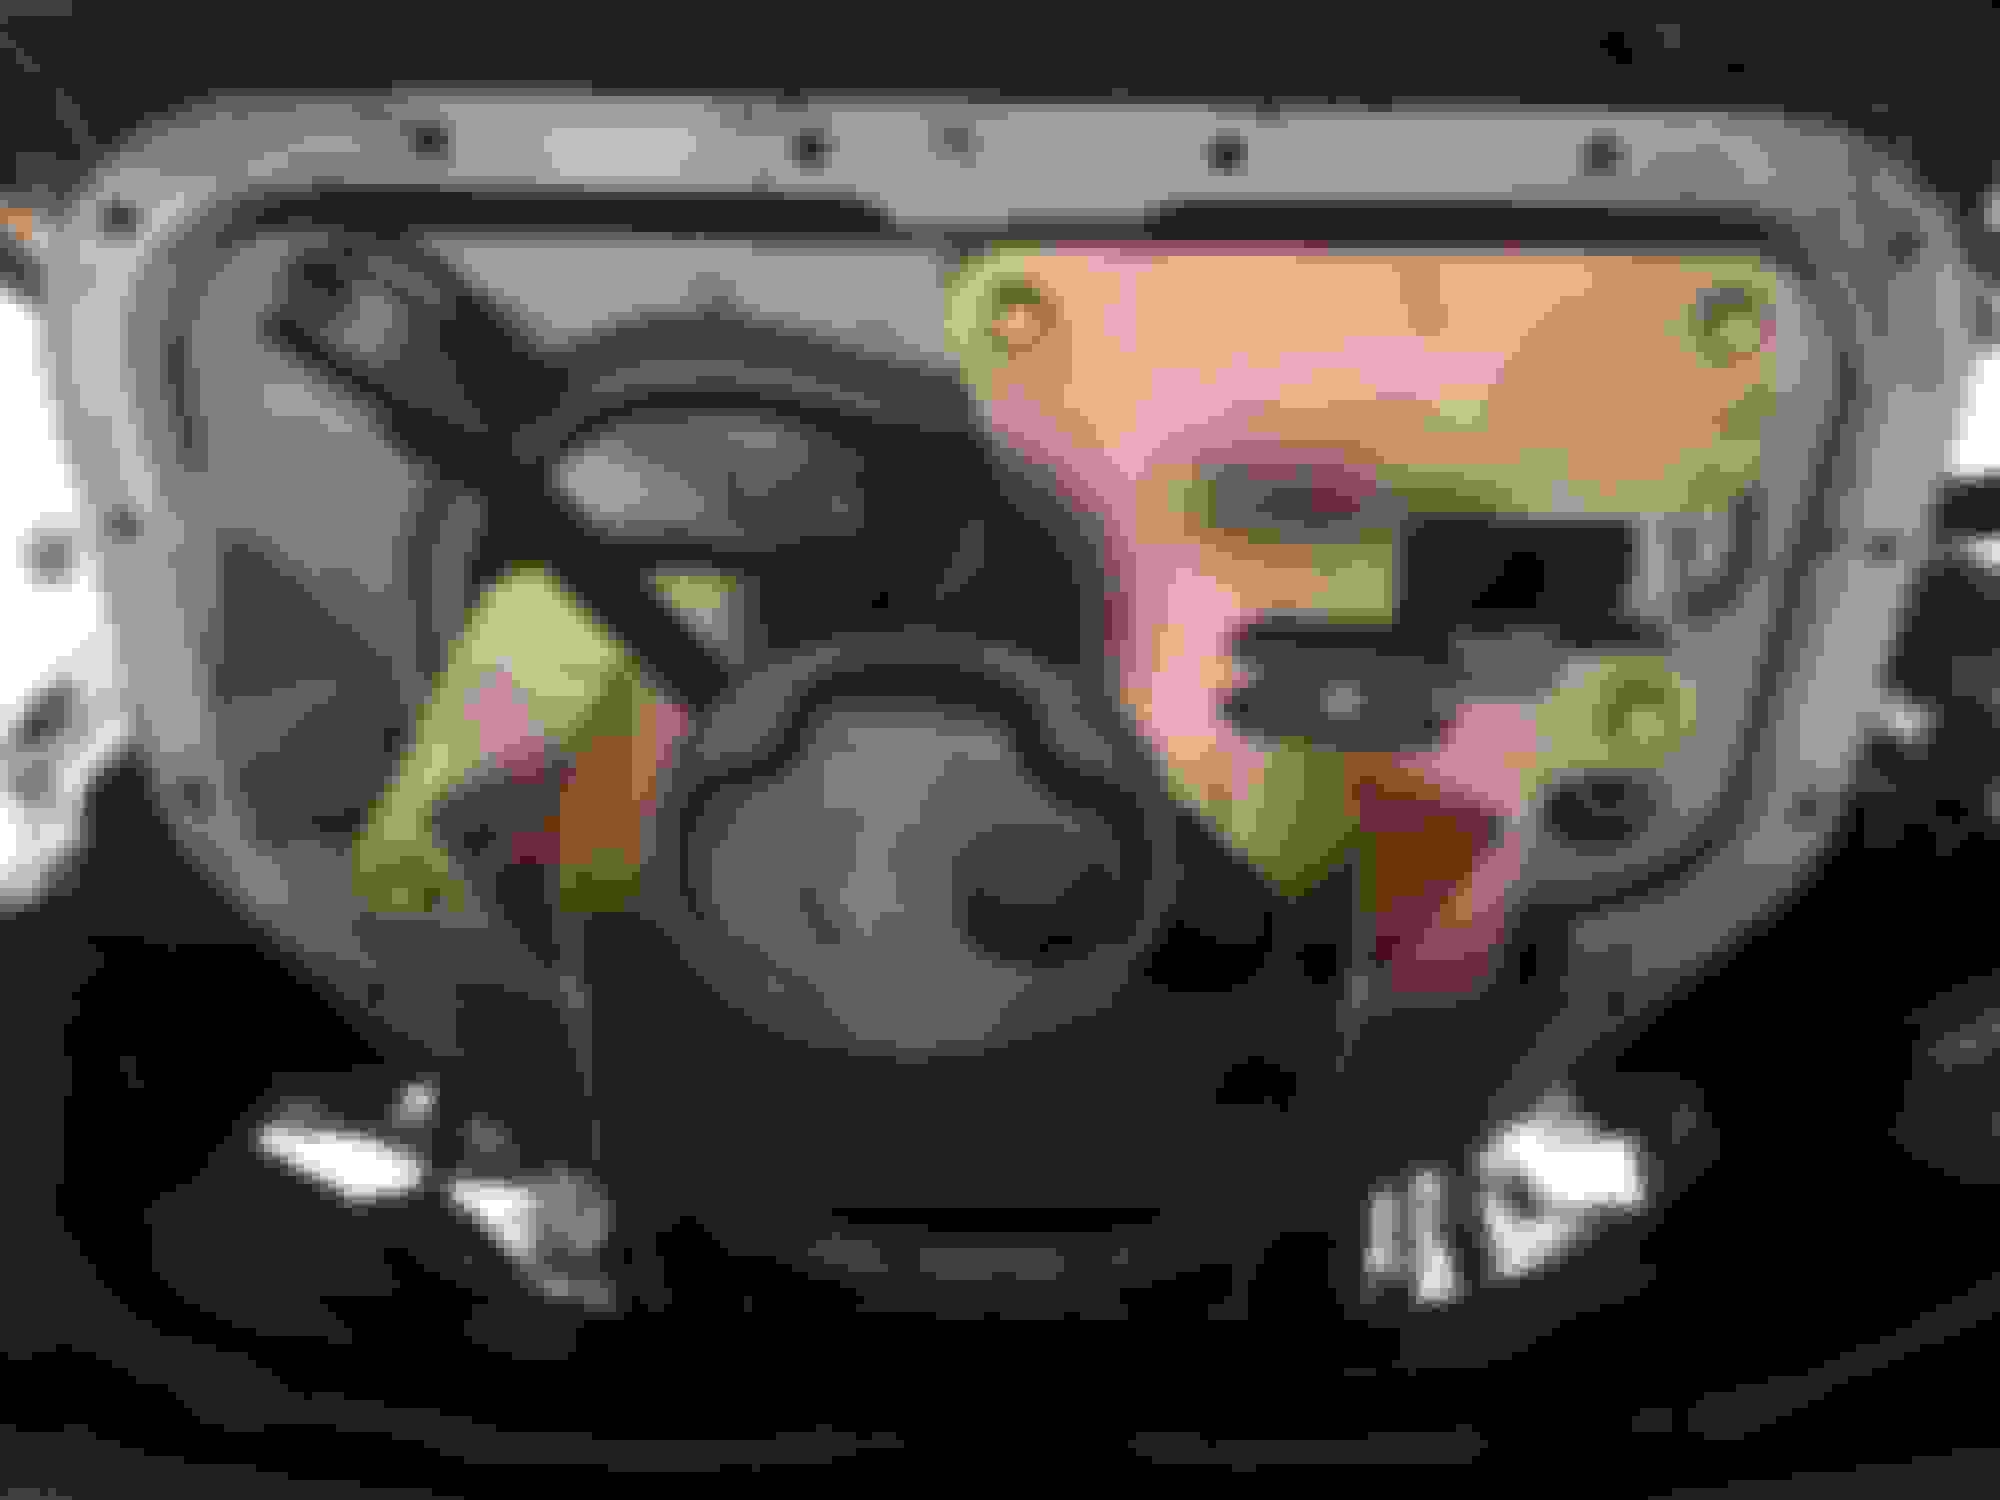
Found a part out going on and picked up the doors for the moulding I needed to finish buttoning up the wrap. A little carnage was had getting the trim off.
Only other news is we downsized the daily from a F-150 to this guy. Picked up a 6-Speed 2016 VW Golf R for the lady to drive around now.
Last edited by SlowSedan; Mar 12, 2019 at 07:31 AM.
Reason: Added photog
After getting the car wrapped I had to replace the door mouldings on all four doors. So I picked up four doors off a locally wrecked Aristo for a good deal and went about stripping them. Not a bad day to hang out a friends, strip the doors and enjoy a beverage.
Mouldings to be installed after removing them for wrapping the car. The haul from stripping the doors. Door shells ready to be trashed.
Buttoned up some small things in prep for the year, Shawn installed a small windshield washer reservoir and inline pump #daily so now that is off the to do list.
Decided to rethink my braking setup and since the LS400 calipers are a fairly inexpensive BBK upgrade. I picked up a set along with some EBC rotors and redstuff brake pads. The one thing about going with this upgrade is I will now have to rebuild my wheels to fit the new calipers since the Equip 05s are an 'O Disk'. Going to have to install a bolt on 16mm spacer to clear them with the Equips. Means new lips and barrels for the wheels. Since I will be rebuilding the fronts I think I'm also going to rebuild the rears and make them 11" wide now instead of 10.5". This will delay the finished product, but the old wheels still fit so it won't delay getting the car on the road this year.
Picked up the calipers and continuing with the theme, blacked them out.
LS400 4-piston front caliper. A sunny afternoon spent out in the yard with the dog and a few coats of paint.
To clear the new rotors and calipers a few modifications were needed.
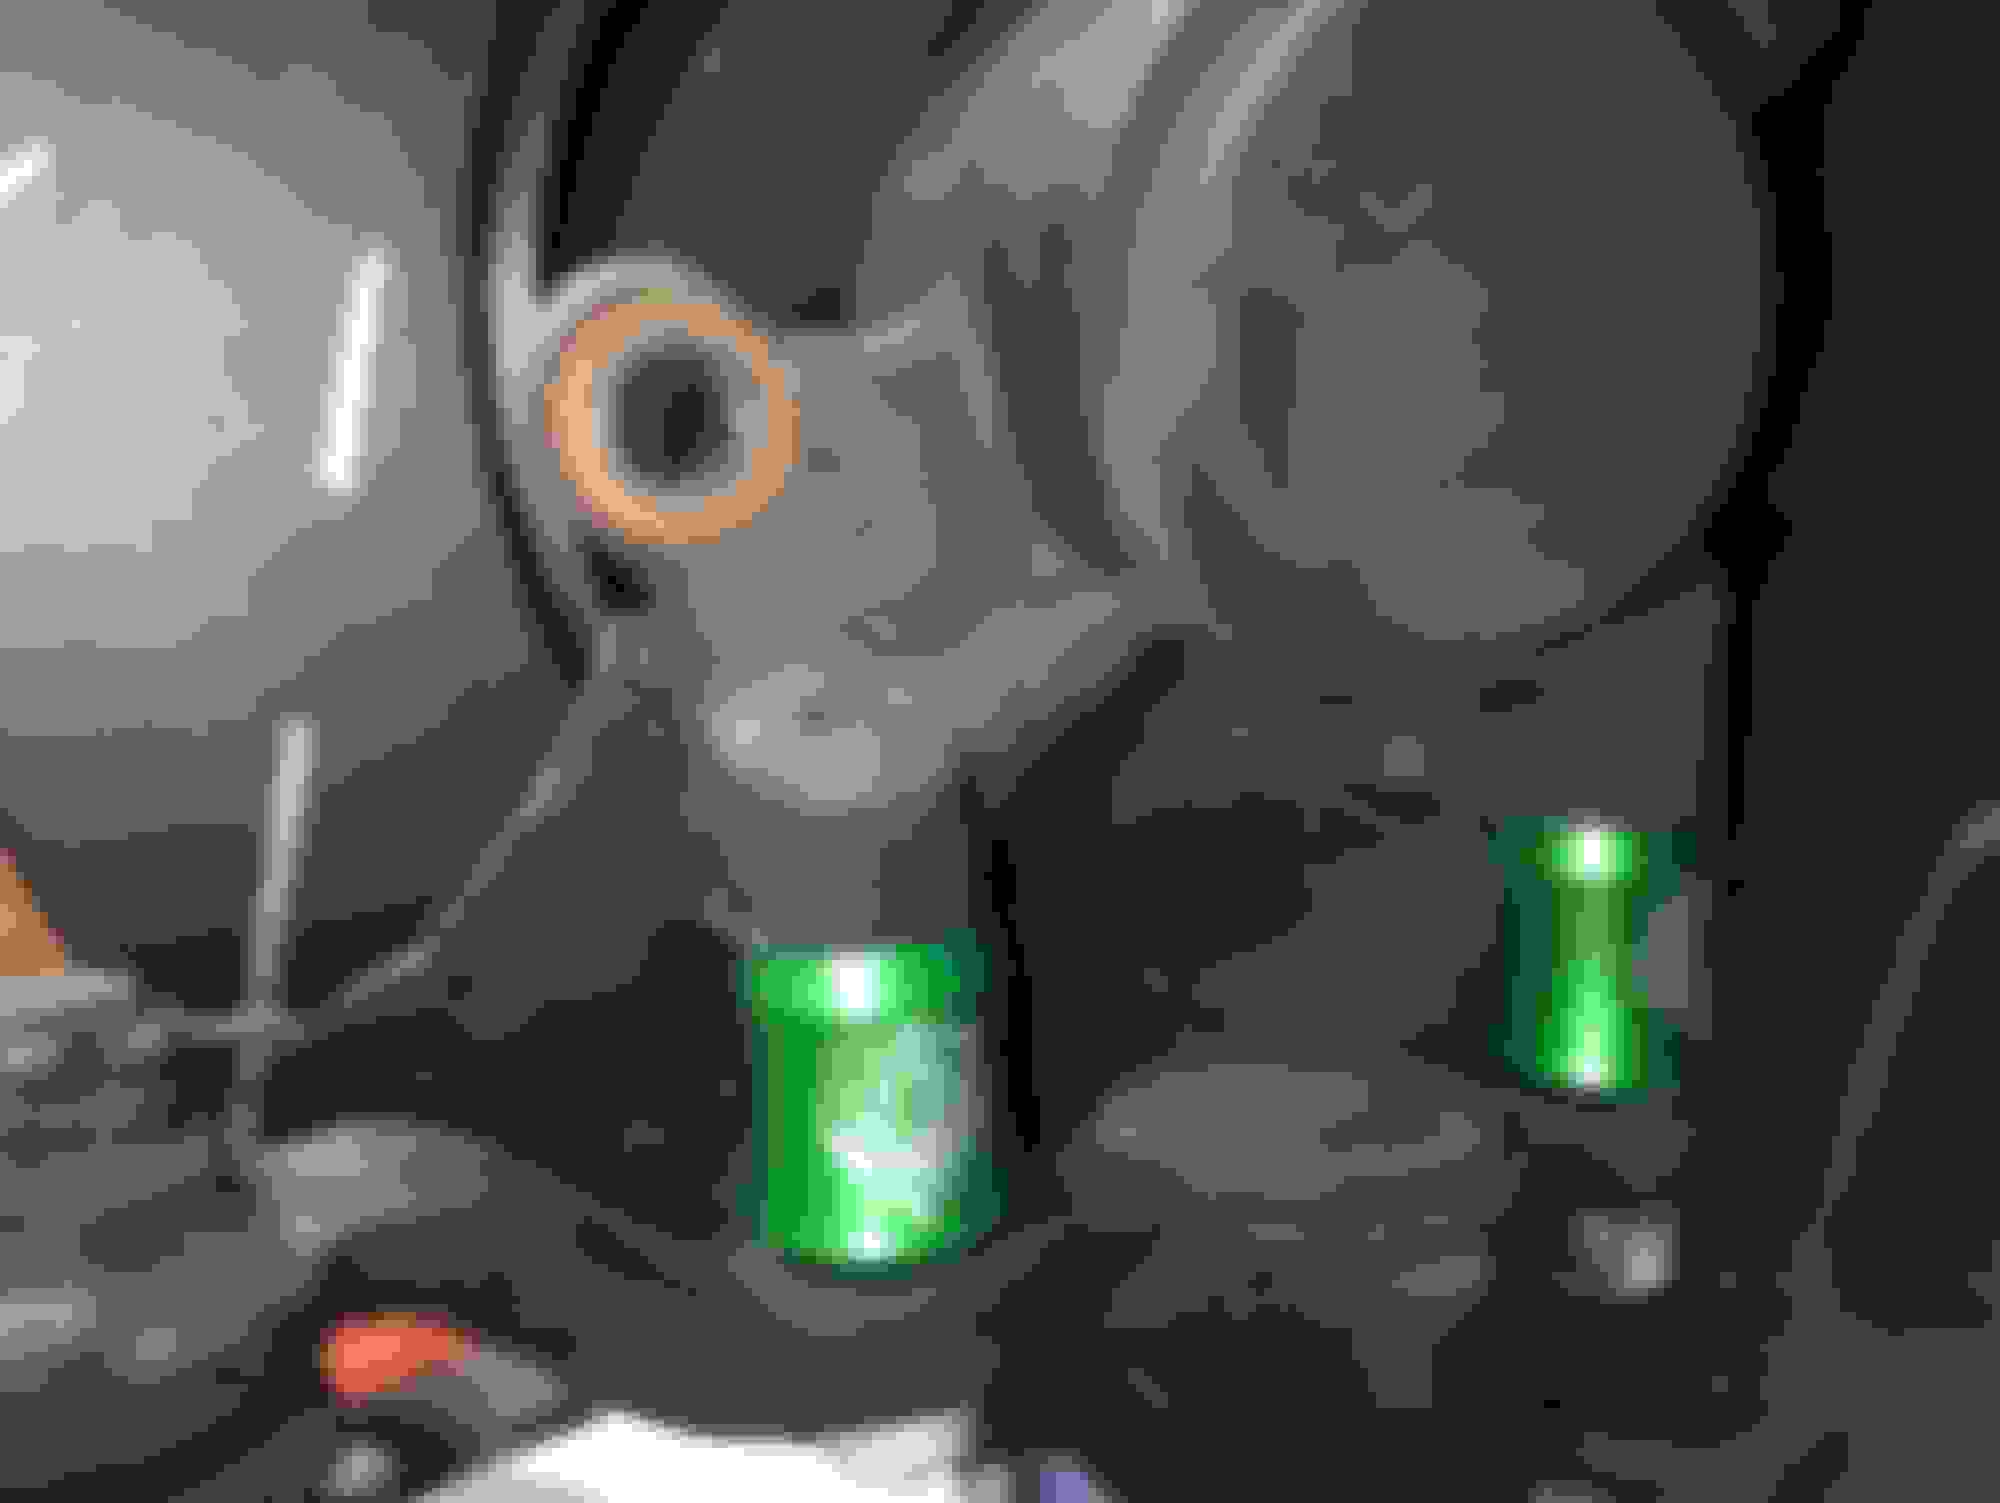
For the calipers to fit I installed a set of SerialNine RCAs this allows the caliper to clear the infamous bolt.
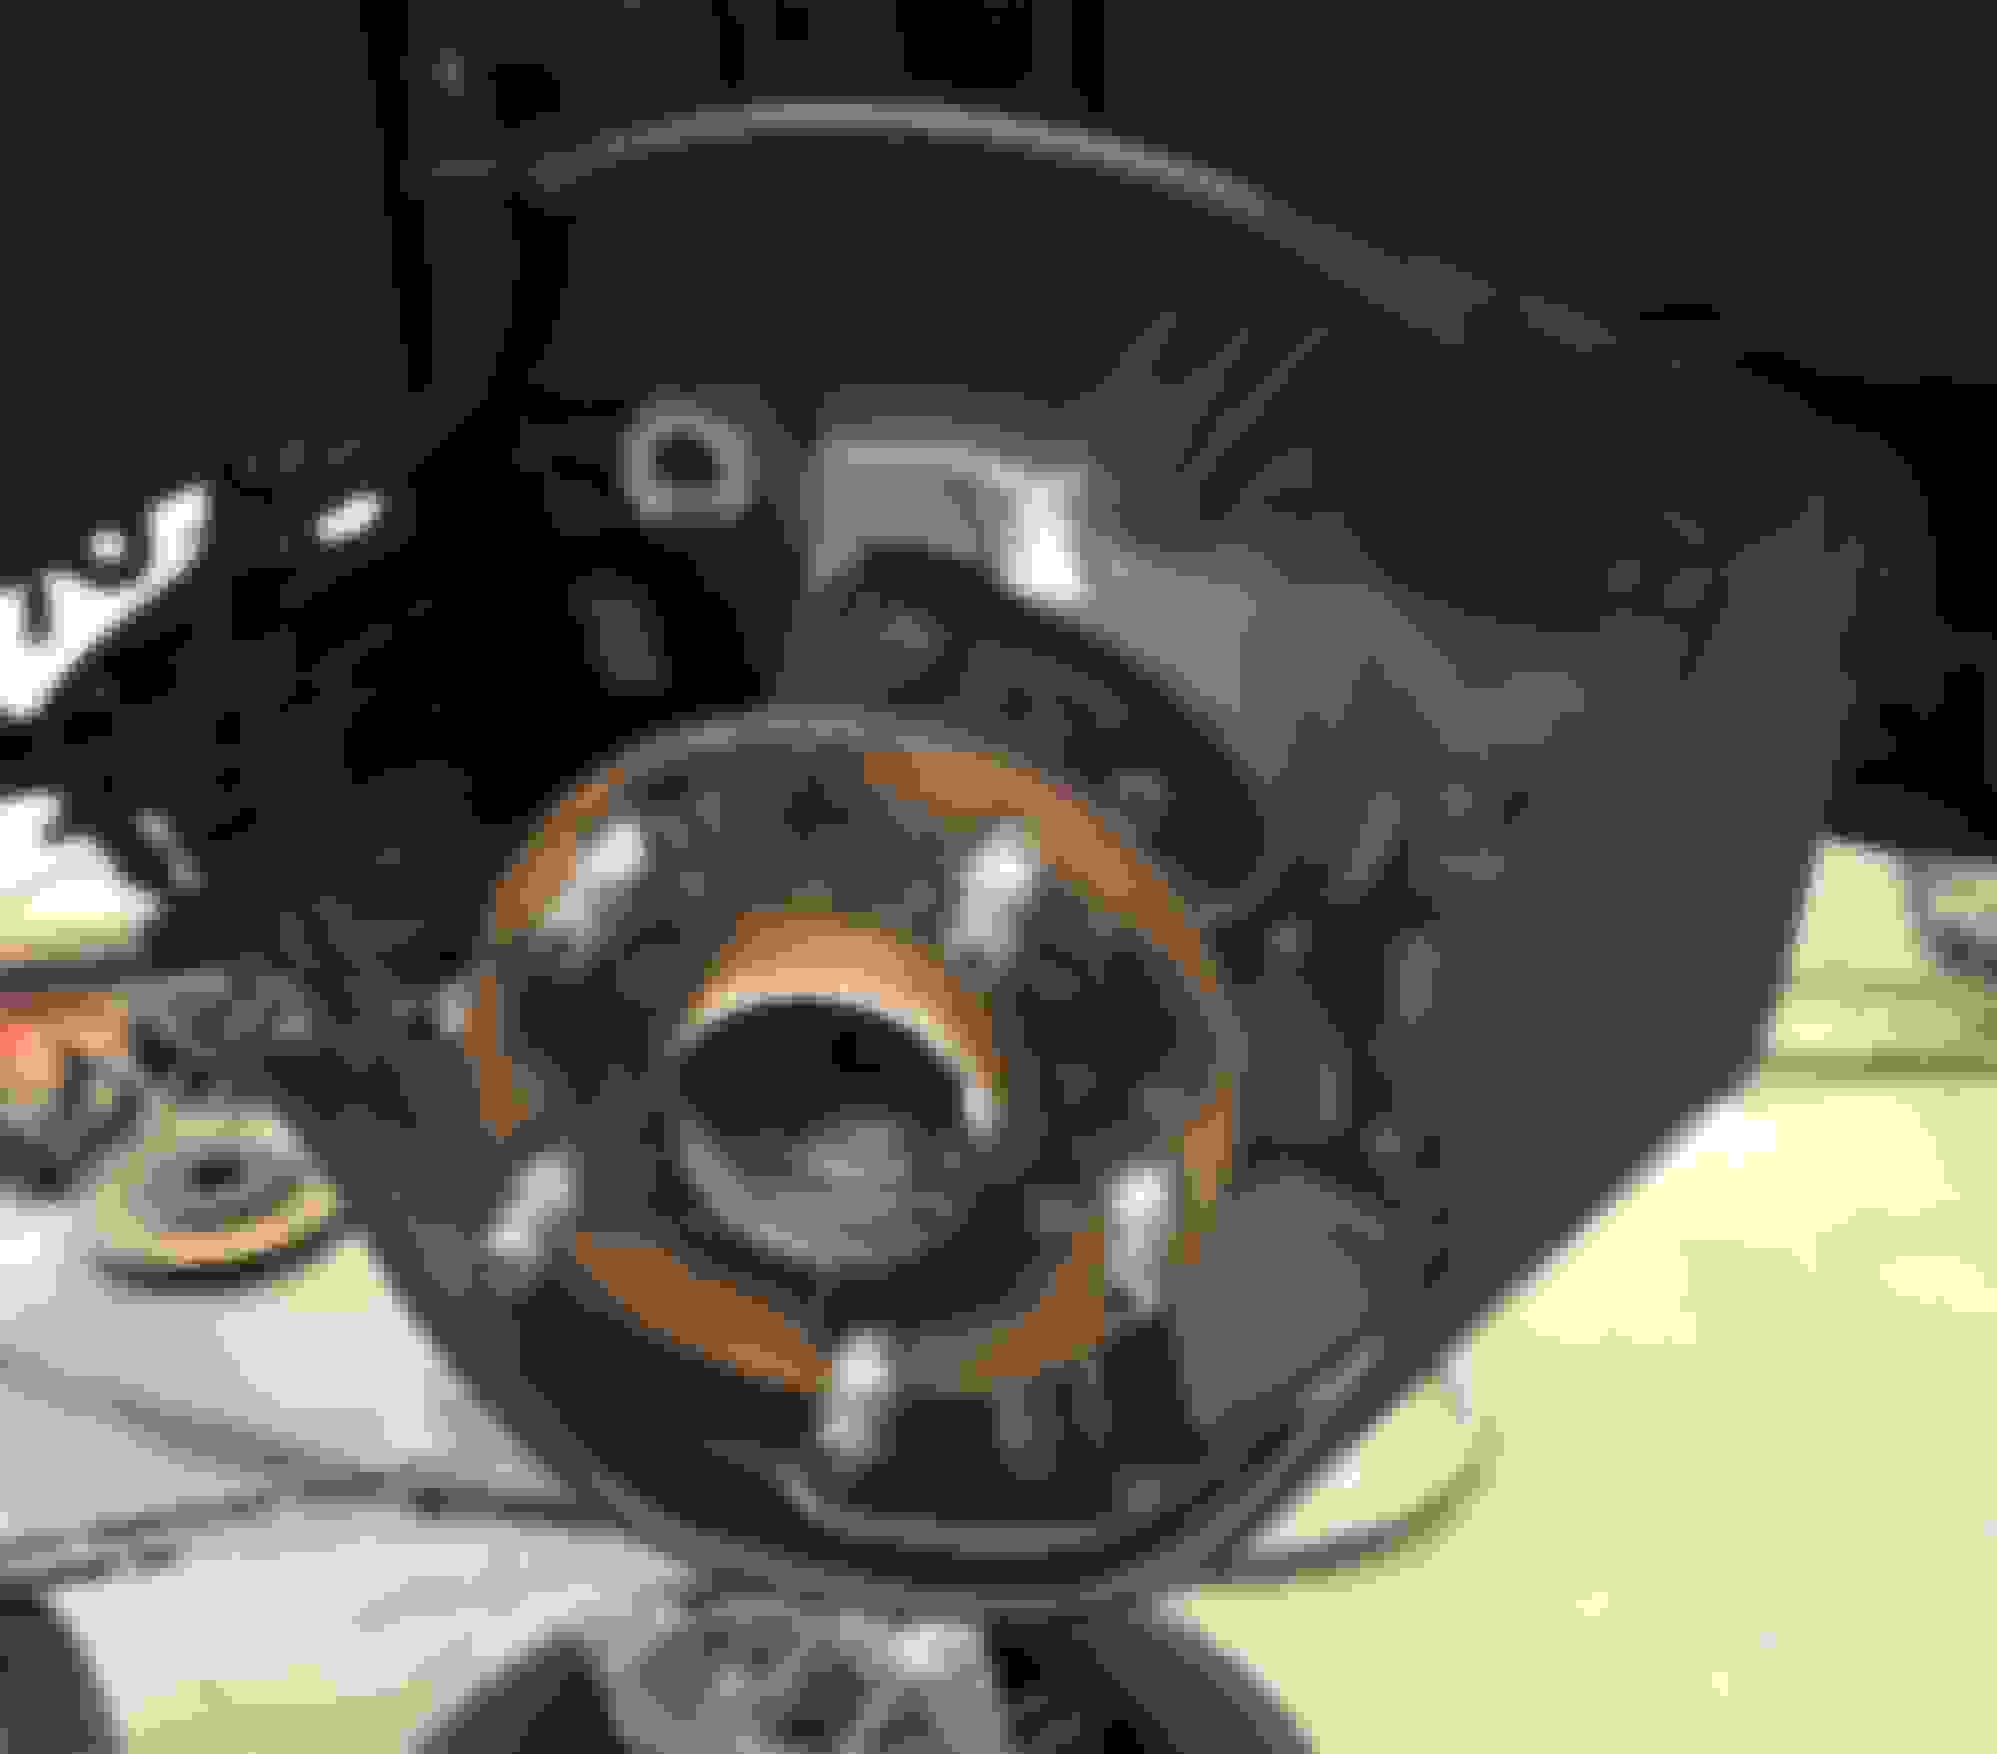
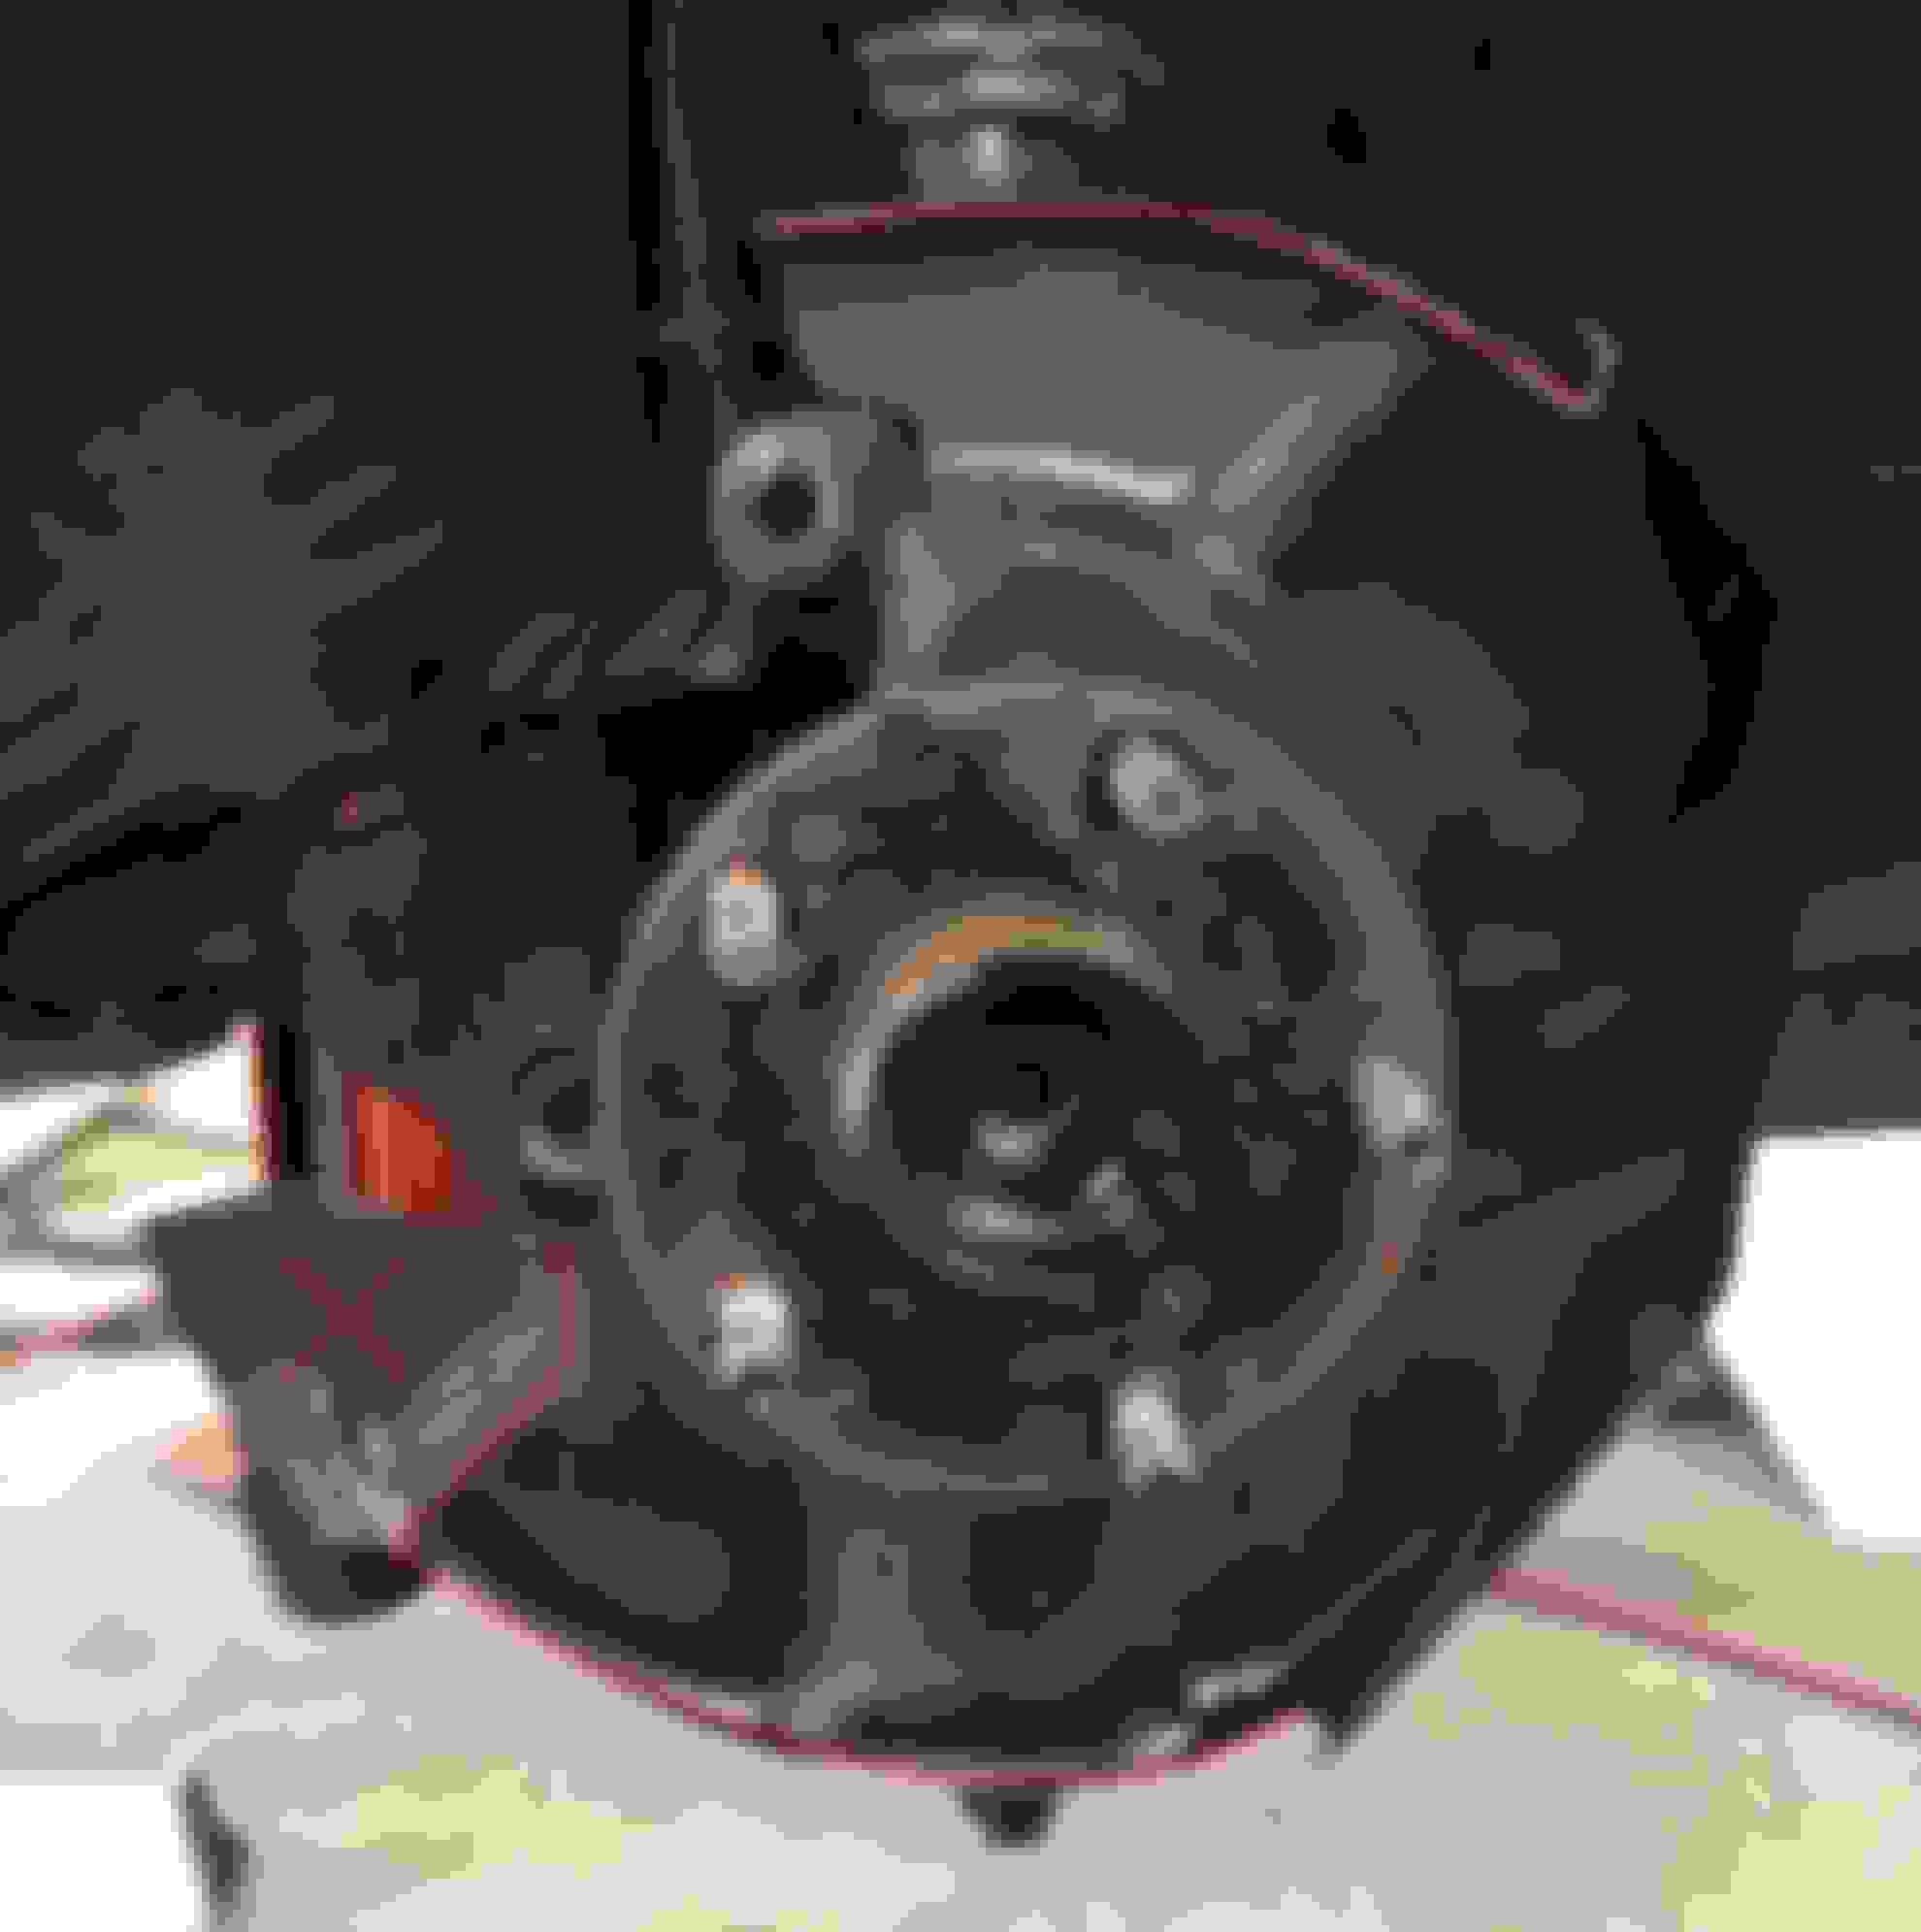
For the rotors to clear a little bit of work is required on the dust shield if you're wanting to keep them. Here's a before and after. I ended up having to trim a little more after the photog for clearance.
Before After, plus a little more
Installation is straight forward as the mounting locations are the same. A nice bonus is the slip in/pin brake pad setup on these calipers.
Mocked up. Finished product, pads in and shimmed.
Last step was to fill and bleed the brakes. Overall a great upgrade to the GS/Aristo checks all the boxes with not a huge amount of time or money invested.
The same day my hubs from Drive Shaft Shop returned with the larger axle spline pressed in now. So the rear end can be back together this week and the car will be road worthy again which is good timing with all the road cleanup/street sweeping going on in the area.
Picked up the last of the moulding for the bumpers as well so can get them finished and have the exterior completed.
Gotta have that chrome all the way around. So hopefully next week I'll have the car on the road and look at finally getting the deck hooked up and cleaning up the trunk setup so it's practical as well.
Love the car and the brakes look good. Your car is super powerful so if you ever feel like you need more fade resistance, Suprastore makes a bracket that allows us to run ISF rotors with LS460 calipers. I have the bracket already, just waiting for the rotors and pads to come in. User 2gs300 installed them in his build thread.
Love the car and the brakes look good. Your car is super powerful so if you ever feel like you need more fade resistance, Suprastore makes a bracket that allows us to run ISF rotors with LS460 calipers. I have the bracket already, just waiting for the rotors and pads to come in. User 2gs300 installed them in his build thread.
Thanks. Yeah I was following that install as well. They look great and with the larger diameter rotor would be nice for stopping for sure. Will give these a go and see how I like them, if I want to upgrade later I will just try and sell this setup to my brother and go from there. Wonder what the clearance requirements are on the LS460 calipers as I will already need a spacer now for the LS400 brakes.
What went into making the jzx vacuum booster work?
The stock pedal throw in our cars with the electric assist is actually really short. So when we installed the jzx setup we had to modify the pedal assembly and brake master cylinder to get the appropriate throw and pedal location/feel with the JZX manual booster. Other than that it was pretty straight forward.



 Air conditioning relay thingy at supragorums Australia