When you click on links to various merchants on this site and make a purchase, this can result in this site earning a commission. Affiliate programs and affiliations include, but are not limited to, the eBay Partner Network.
Hi, this is my first Lexus, but i own some Toyotas. This is a really weird project, I really don�t know why i started this and bought this car. It�s in kind of rough shape and a decent one aint that much money. But I have some plans to learn some new skills and I like the look and handling of the IS200. So that�s my bad excuse to buy me another project car.
This is how it looks , a bit crashed and abused
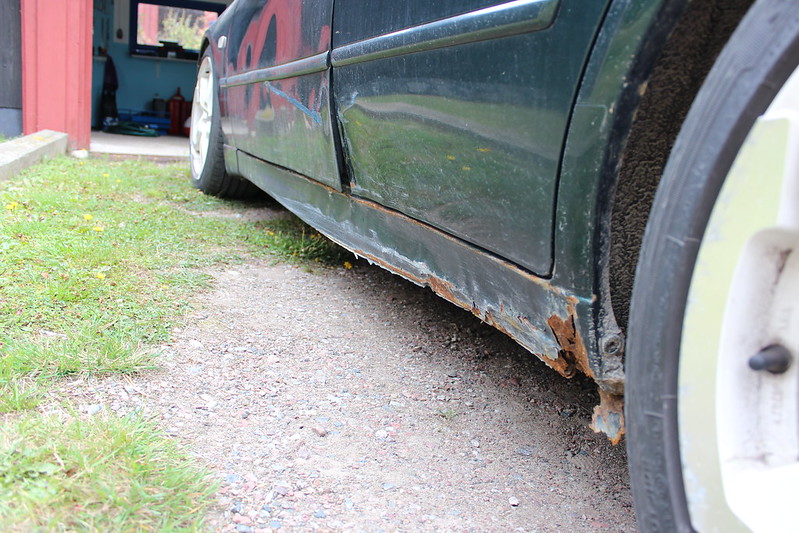
Good side
Bad side
Airbag light is lit, my guess is that the steering wheel spun around and ripped spiral cable in the crash. I just bought a used spiral cable, replaced it and problem solved
Not a fan of the wheels that were on the car so just got a set of OEM 17� wheels, much better looking.
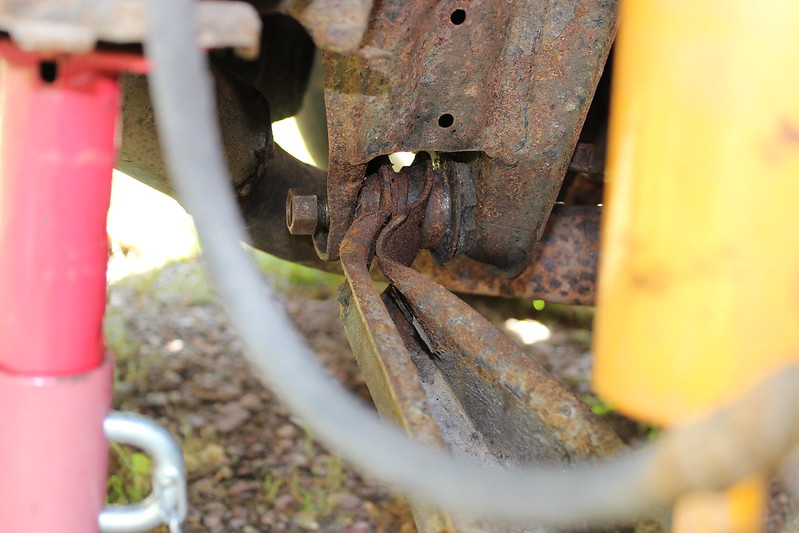
One of the rear wheels took a hard hit aswell, rear lower control arm has om minor issues, haha
Have not done so much to the car, mostly collecting some parts, I�m in the process of building a workshop at home, and trying to keep the wife happy with some small home improvements so this car get some TLC between everything else
Last edited by Bempa; Mar 15, 2019 at 02:08 PM.
Reason: editing pictures
Sorry I kind of forgot about this thread.
I have actually done something to the car, not much but some atleast, I have mostly been working on building my workshop and taking care of my family.
The first thing I did was to get some OEM wheels mounted to the car instead of that awful Dotz wheels. I also raised the car 20mm all around so I could use it without scraping it everywhere.
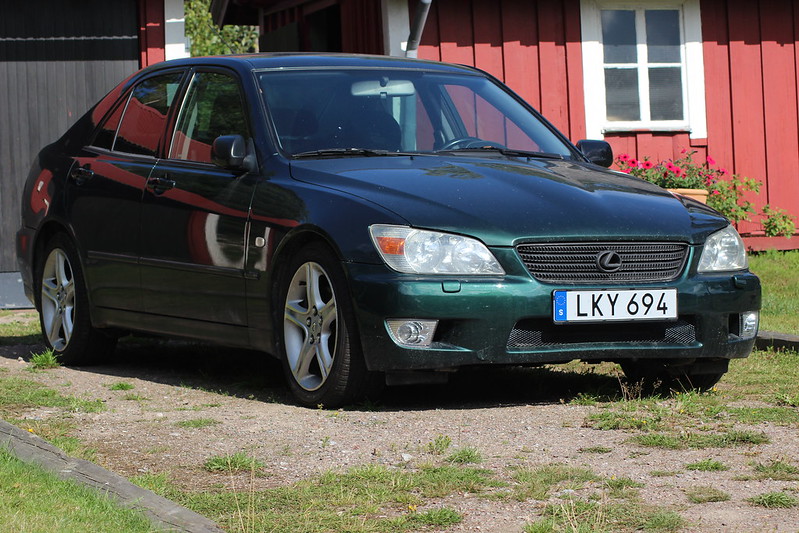
Took a shot from the best side of the car
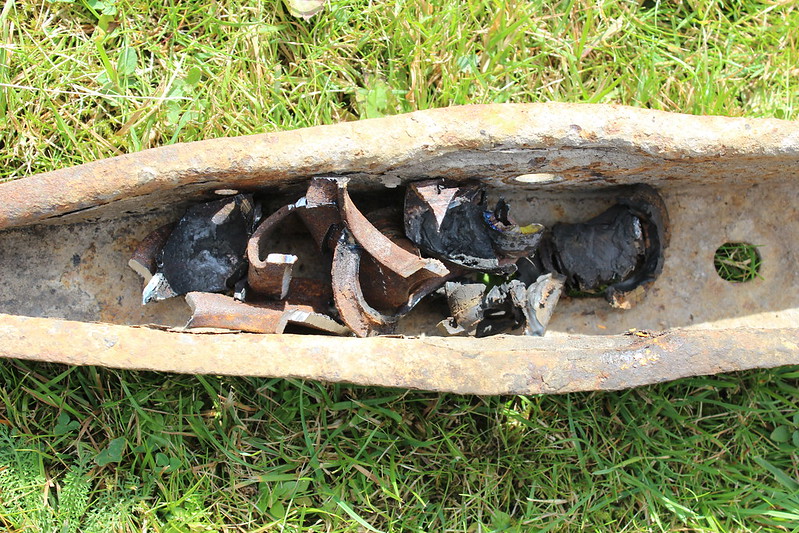
The biggest concern was of course this bent LCA in the rear
Bolt was siezed inside of bushing of course, tried all of my little tricks to get it out but it just wouldn�t get out
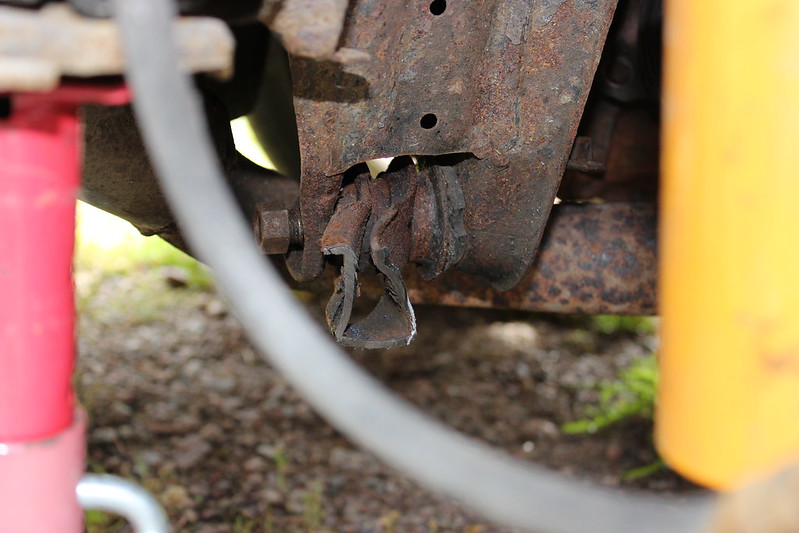
So started to cut it at that point and removed the arm. No problem there very straight forward with the angle grinder. Problems started when i was trying to cut through the bushing. Only got half way through then the angle grinder wouldnt fit in place no more and hit the rear subframe. And i couldn�t rotate the bushing since it was siezed. So i hade to cut ut so many small pieces i could until it was weak enough to pry of.
Ended up with this
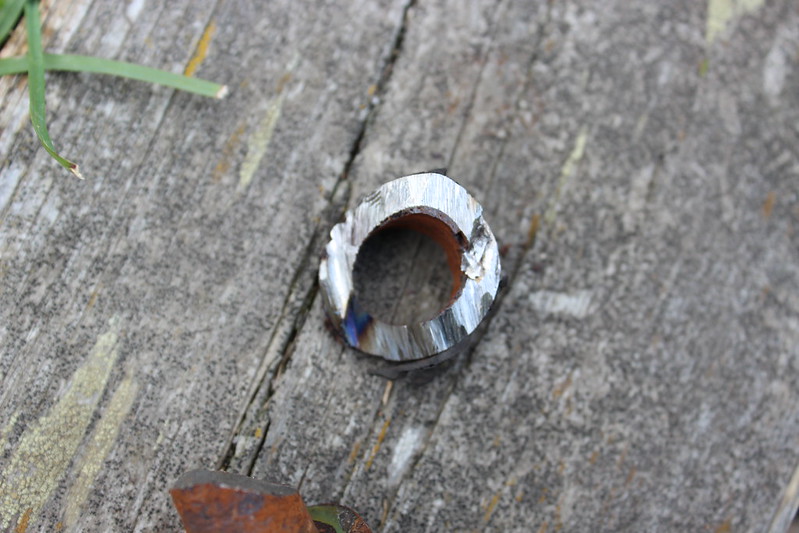
Here you can see it�s almost 1mm of rust inside the bushing thats pressing the bolt stuck in there.
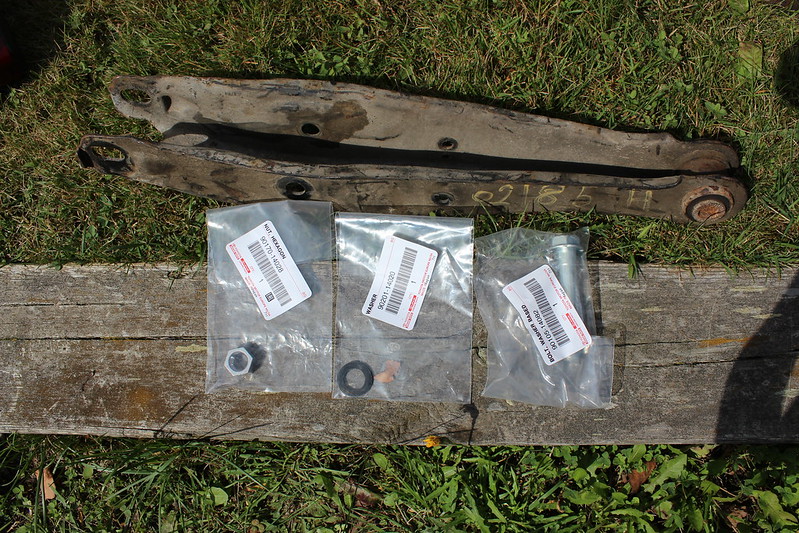
Bought a used control arm and some new OEM hardware, fitted it with a generous amount of antisieze on the new bolt
All back in place and now i got a rear wheel that�s not steering the car anymore and let�s me steer the car instead
Last edited by Bempa; Mar 13, 2019 at 01:14 PM.
Reason: editing pictures
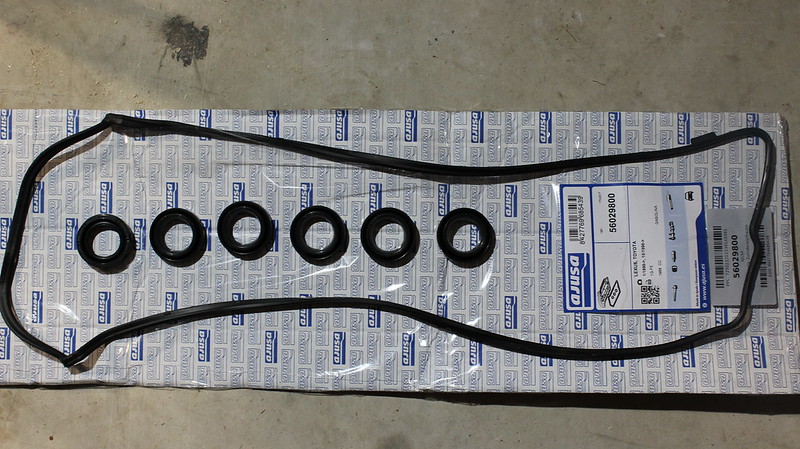
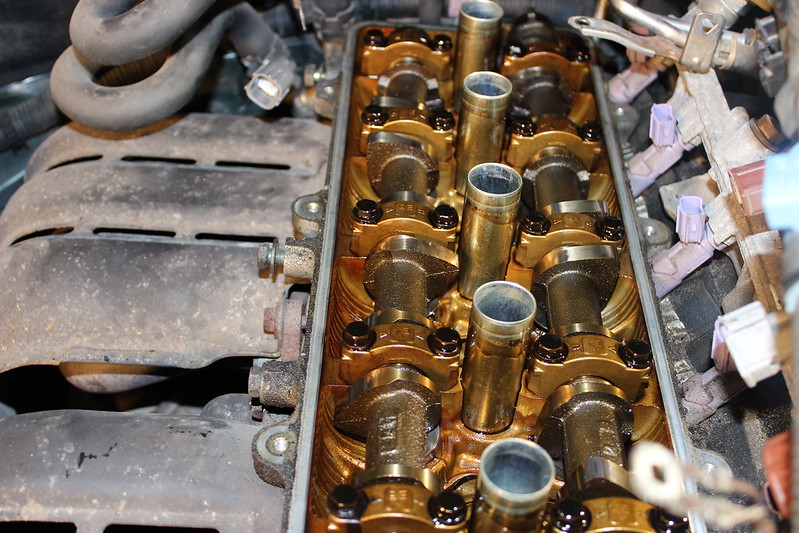
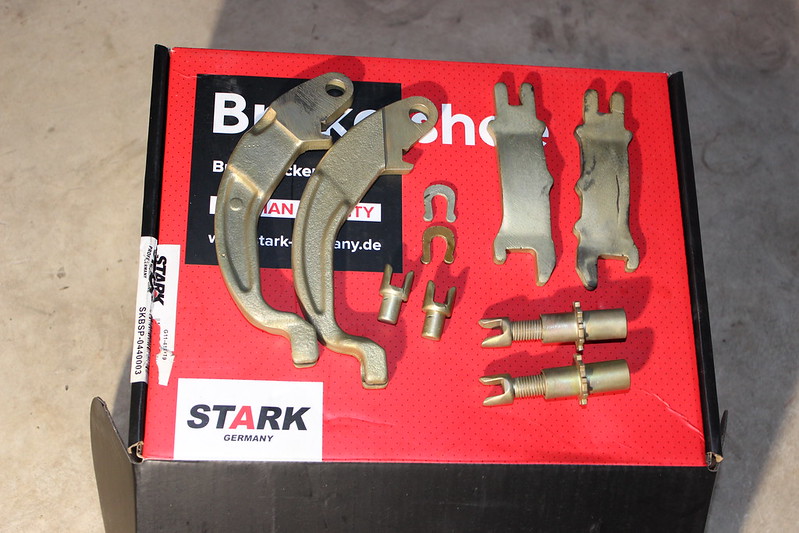
I bought this Ajusa valve cover gasket set, it feels and looks really good, I guess time will tell how good it is
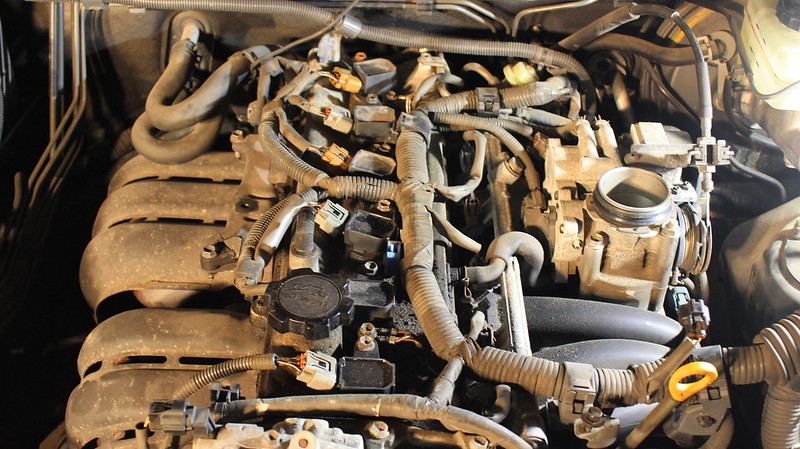
But there is a lot of wiring hiding that valve cover, one of the worst routings of a wiring harness i ever seen, in stock form it�s all covered up by an ugly air filter box.. So it really doesnt show in stock form, but what if you would like to remove that stock air filter box.......
It�looks like it has gotten it�s oil changes in time, looking very good even though the car has done 277000 km ( wich would roughly be 173 000 miles i beleive)
I cleaned the valve cover and put it back togehter with new Ajusa seals and alla good, no leaks so far
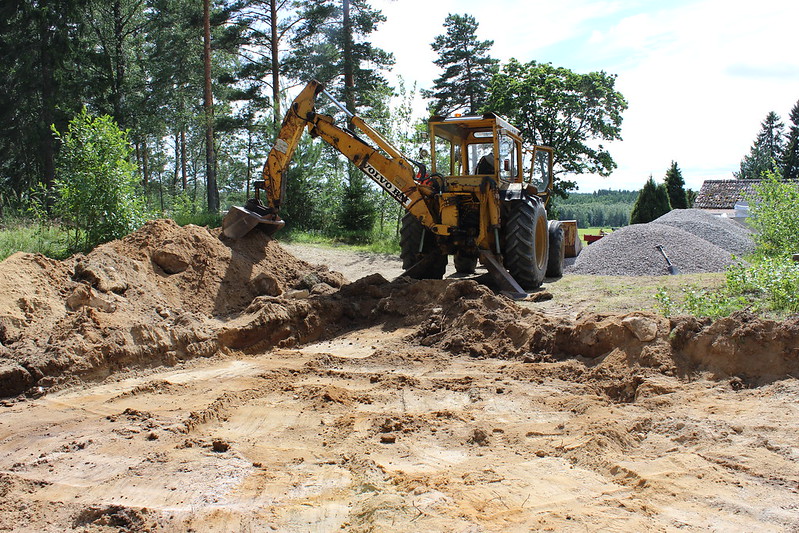
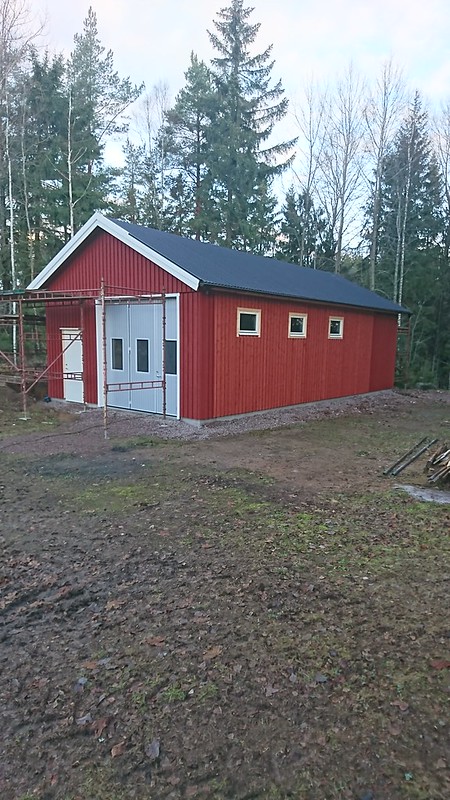
Some bonus photos of the workshop i�m building, it�s taking up most of my spare time i have avaible. But once this is finsihed i�m going to tackle the bodywork of the IS200
I actually started this workshop build late summer in 2017
Had to buy a new toy for the build
I had the supervisor up and checking the build
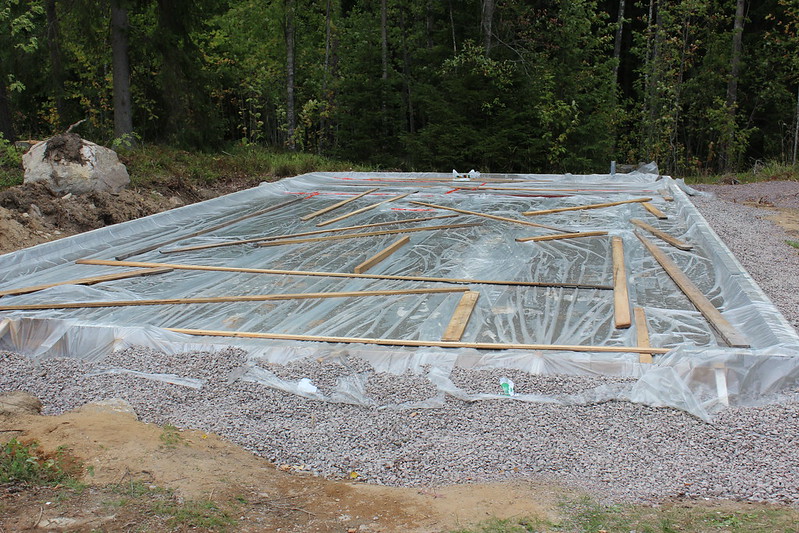
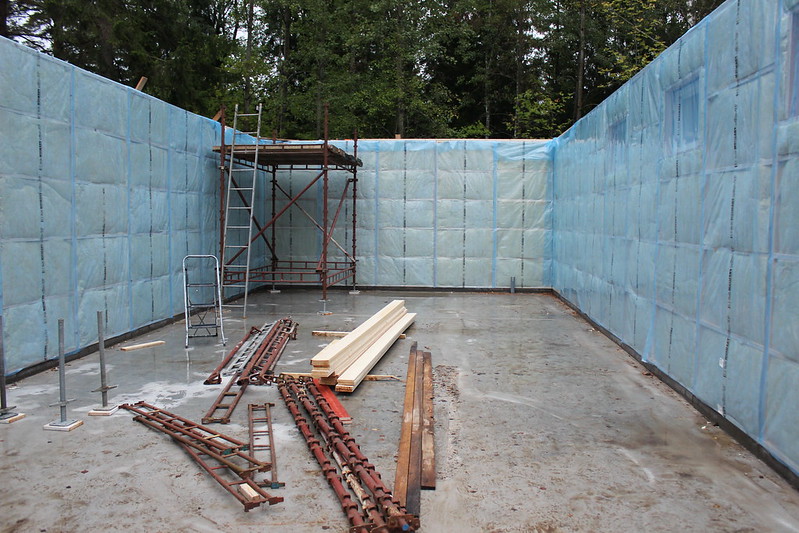
Slab done,
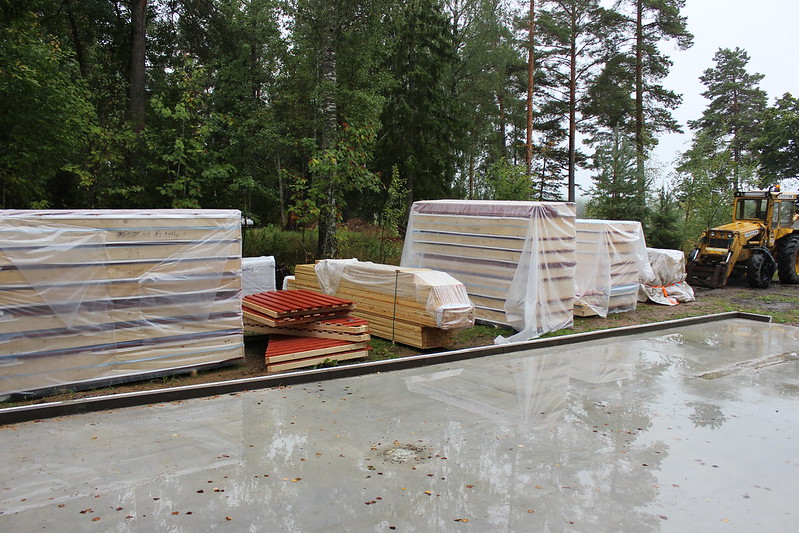
Time to start with the walls, it rained a lot, not so fun but what to do, I bought a garage kit, with pre fab wall sections. It makes it very fast and easy to get the walls up.
This was the quick and easy part
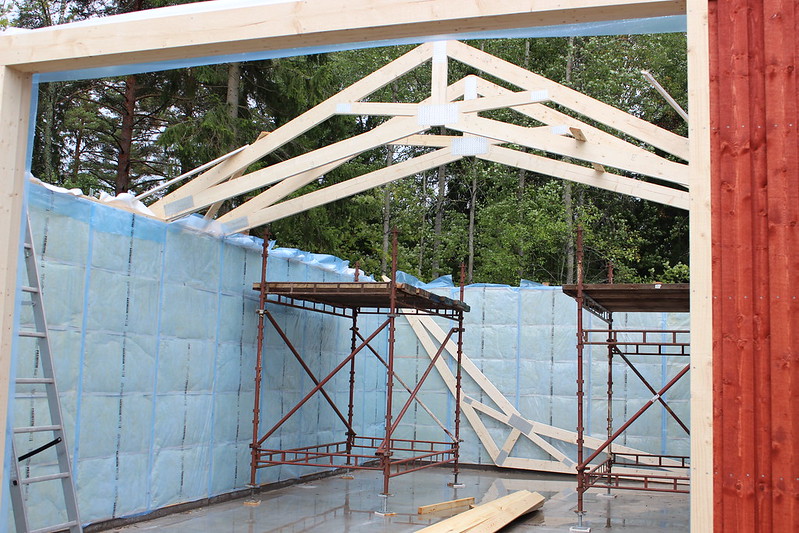
After that I had to focus on getting the roof on before the snow, I got the roof on pretty much just before the snow ater that I could not do so much more due to cold weather and snow. And it was a time to spend some
time with family instead
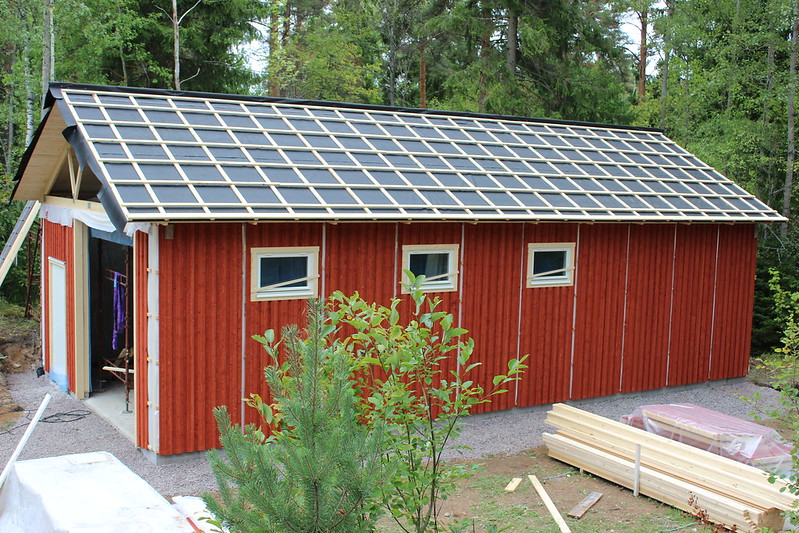
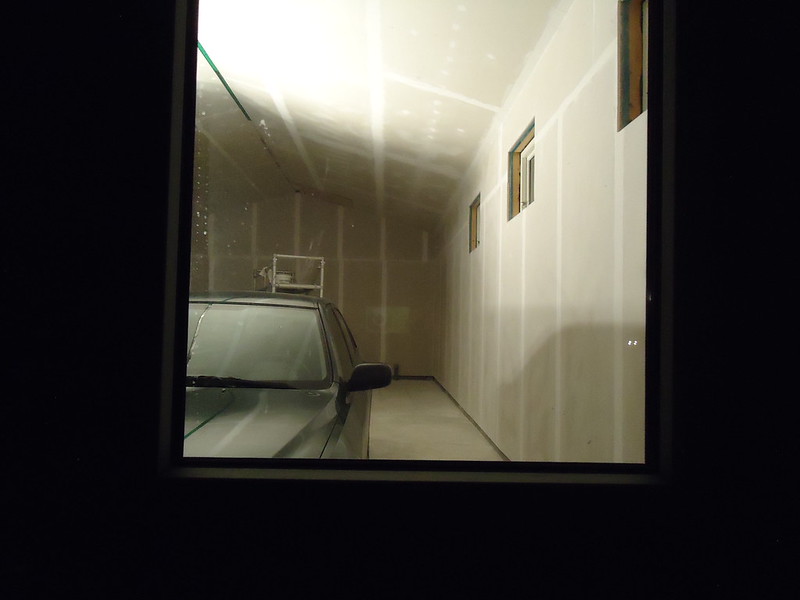
Summer of 2018 came, got it to this point
And after that it was time for a family break again so i left it untouched for a few months. But lately I have started with the inside work again.
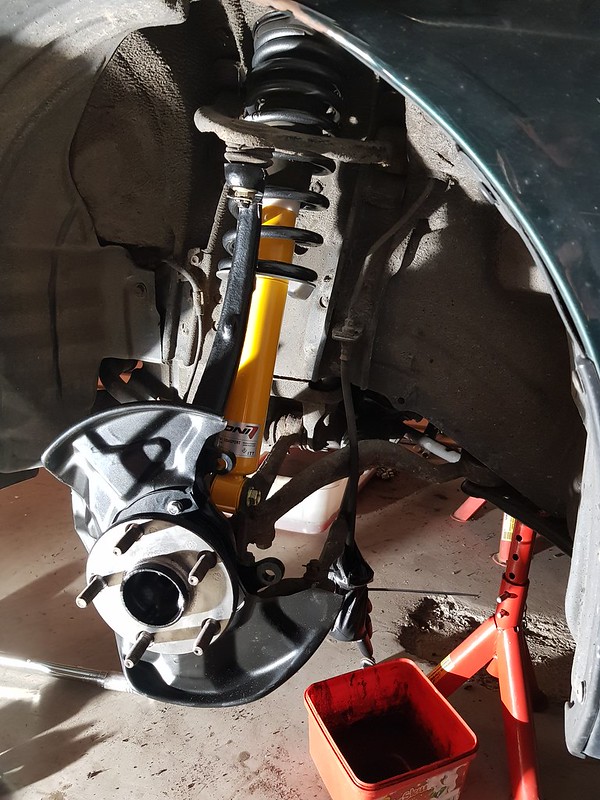
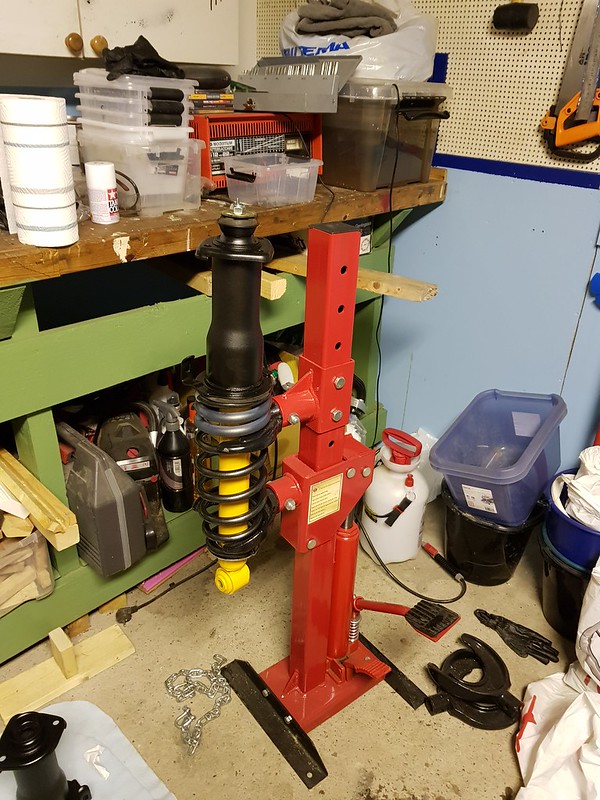
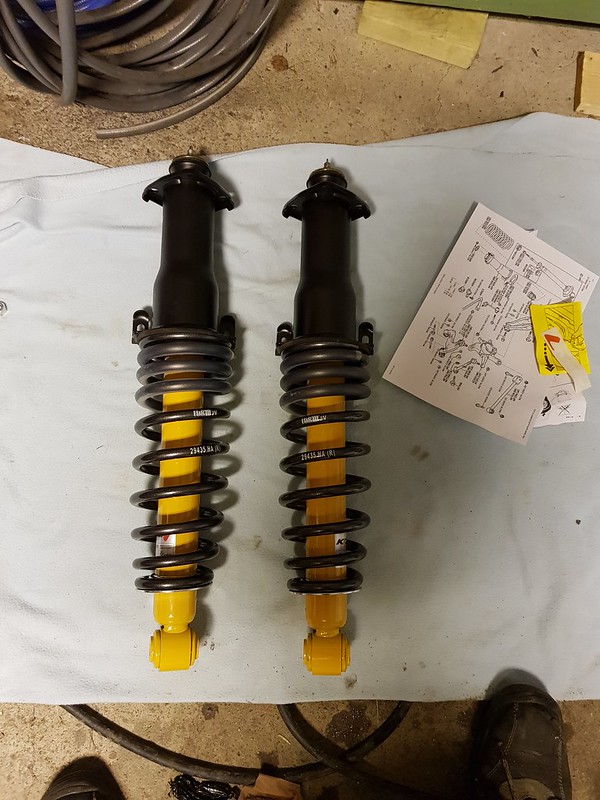
I did a track day with the car and completely shot the brakes, also the maxspeeding coilovers were really dangerous on the roads around here, car was bouncing all over the road.
So i decided I had to do something about that
I started to tear things down and I got a bit carried away.
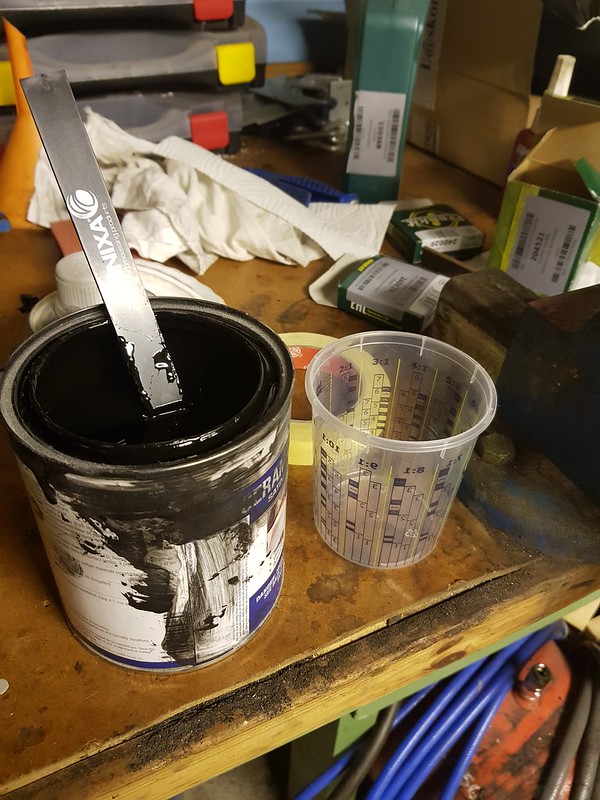
I sandblasted all bolts and nuts, I wanted to test this DIY electroplating stuff, I did some of the stuff at home, but I couldnt quite get the finnish I wanted and it was stupid time consuming
when you dont have the right equipment.
this is how it looked when doing it by myself
Not quite happy with that and I could not deal with all the hours that went in to trying to do this, so I sent rest of it off to proper business instead
A bit better you could say
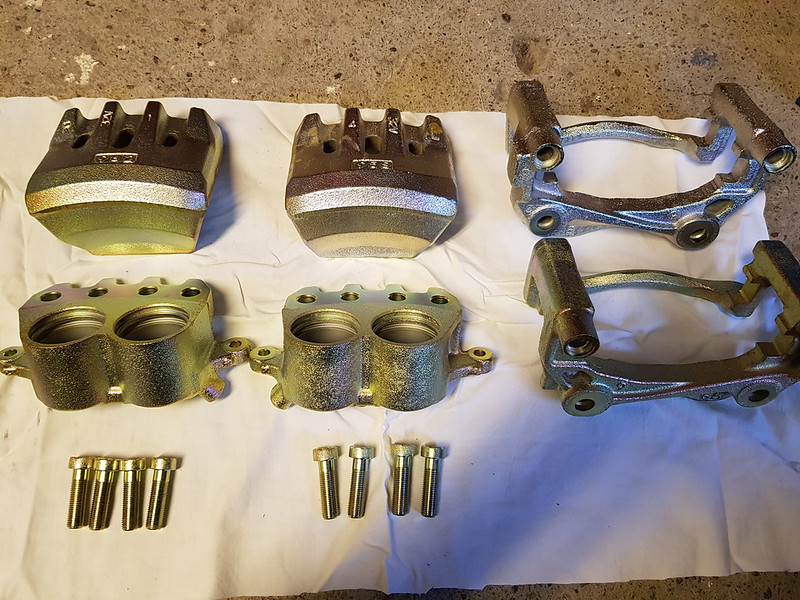
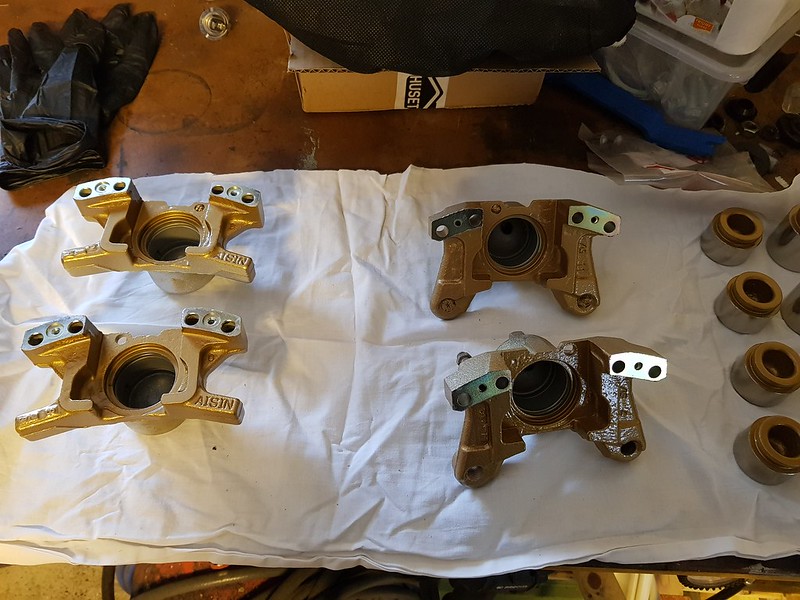
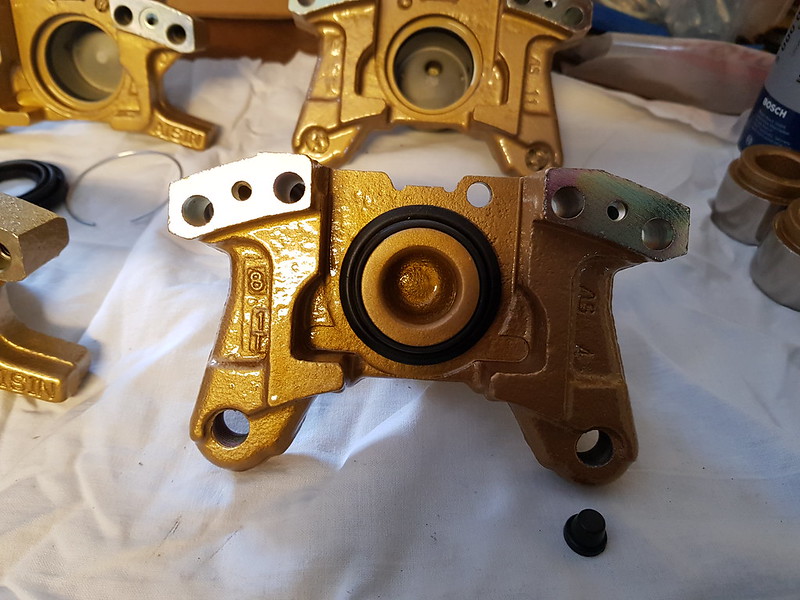
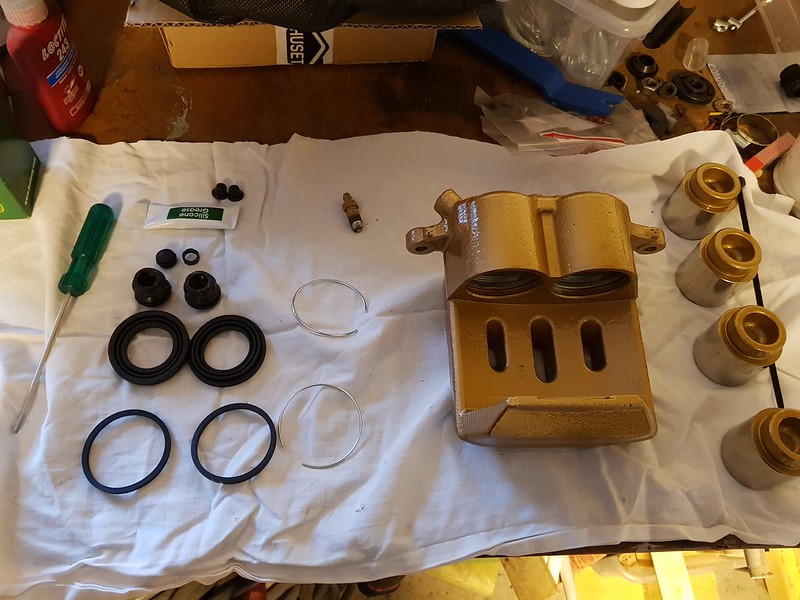
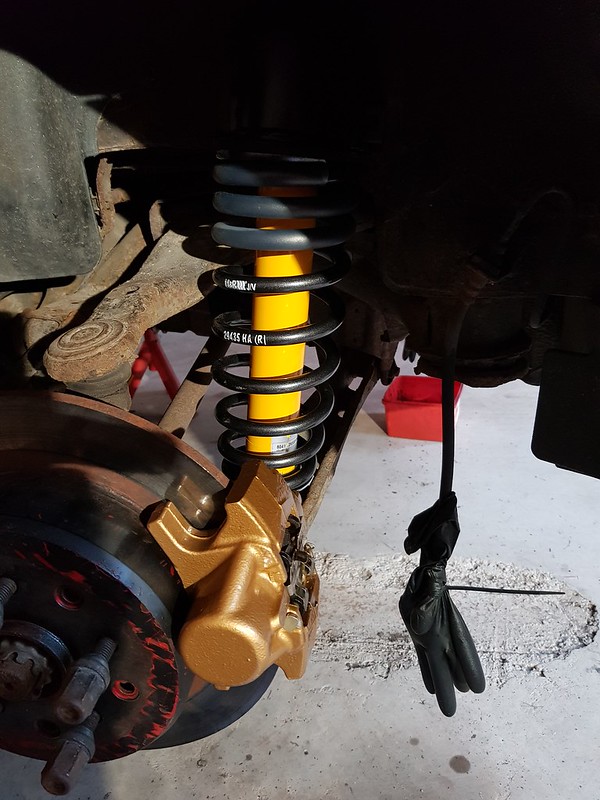
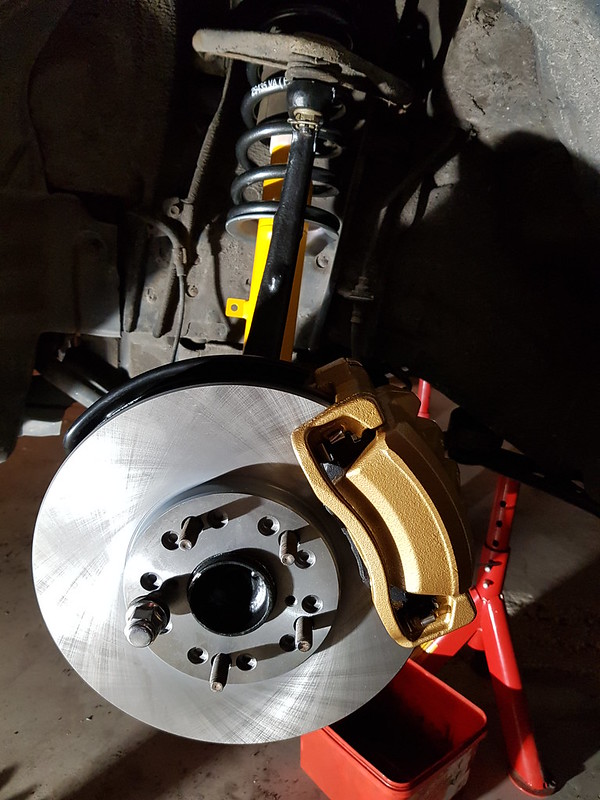
After the calipers got palted I painted the with epoxy primer and then paint and clearcot.
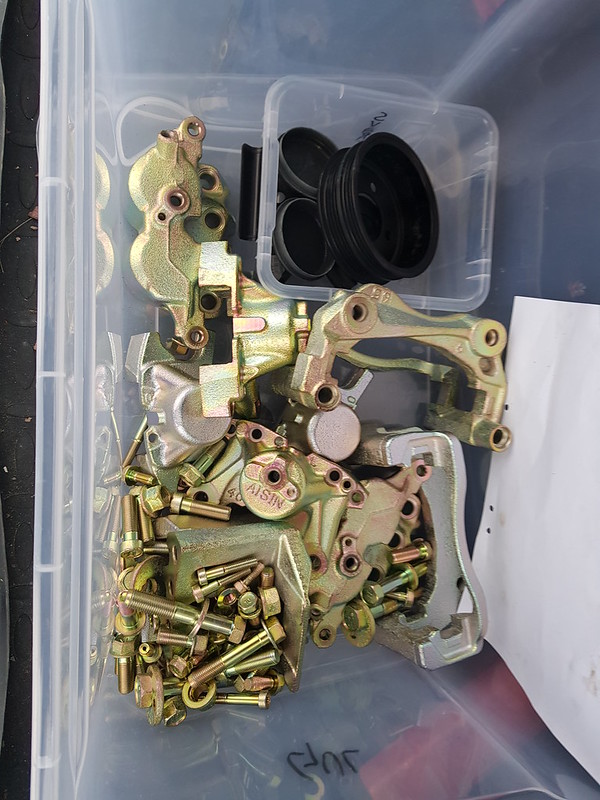
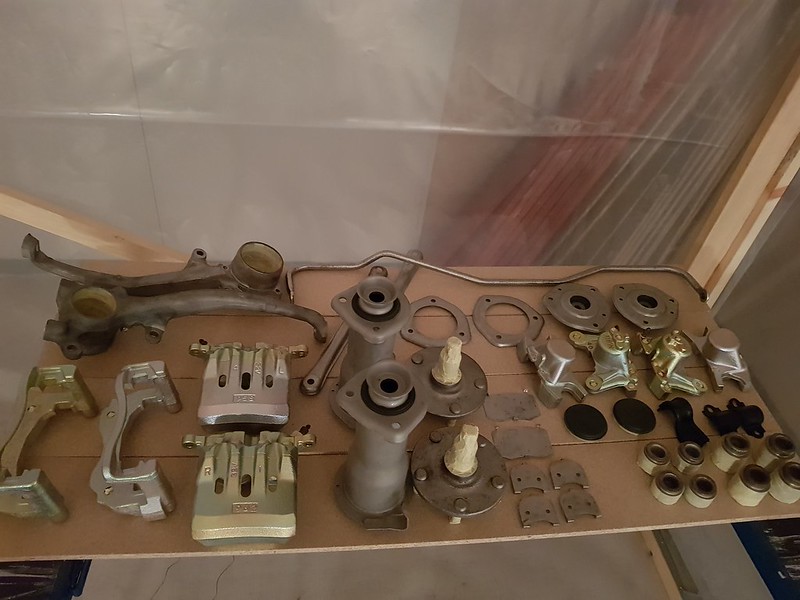
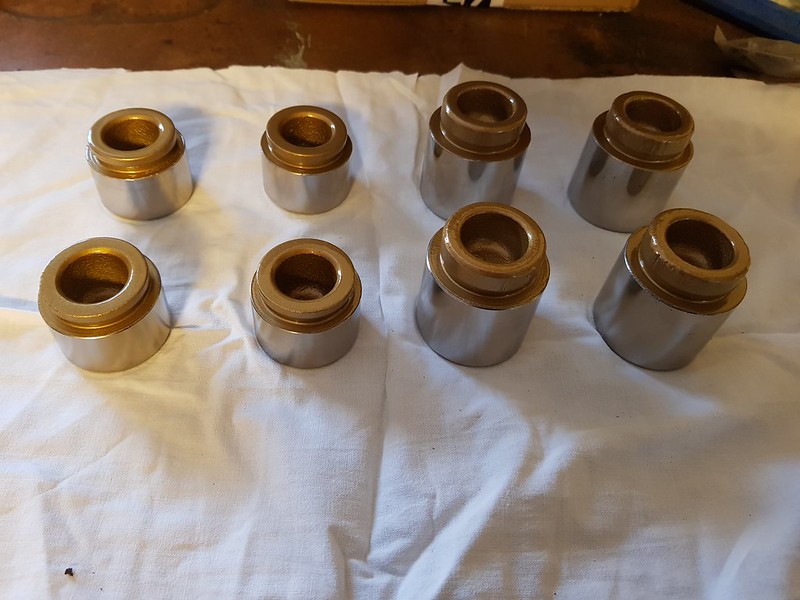
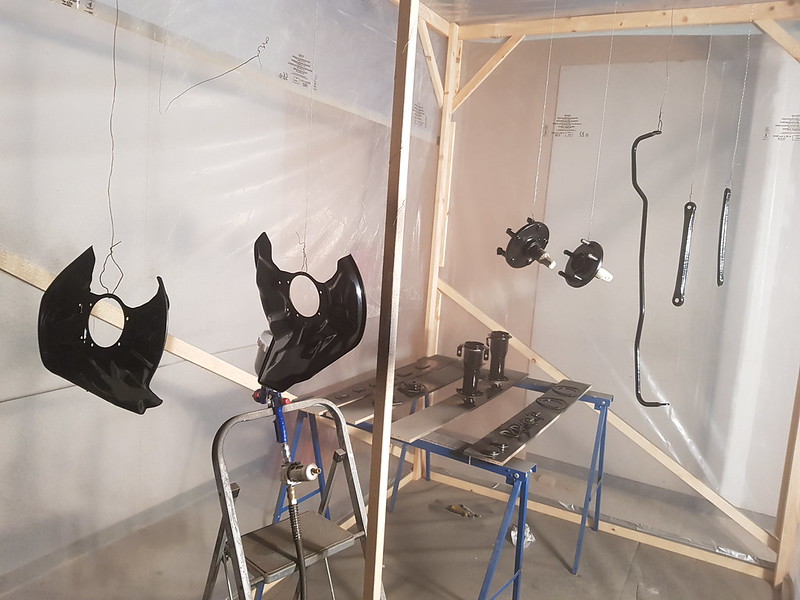
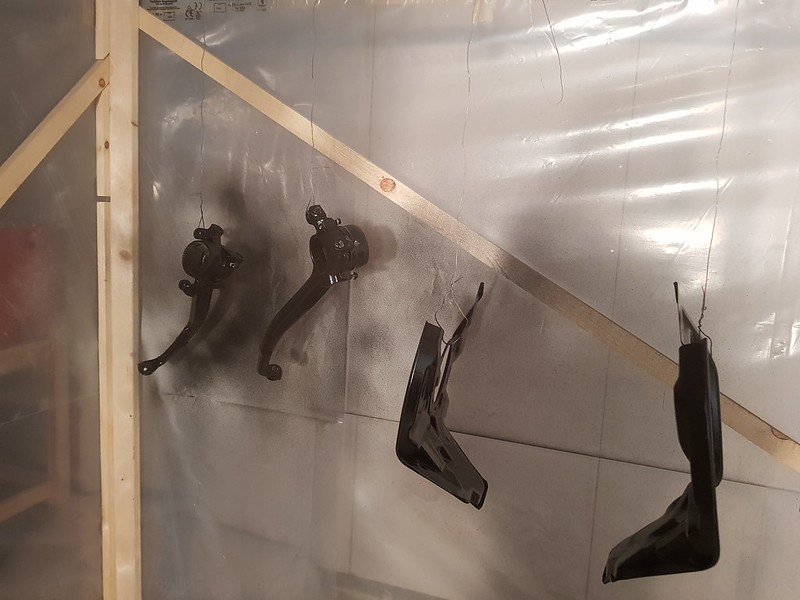
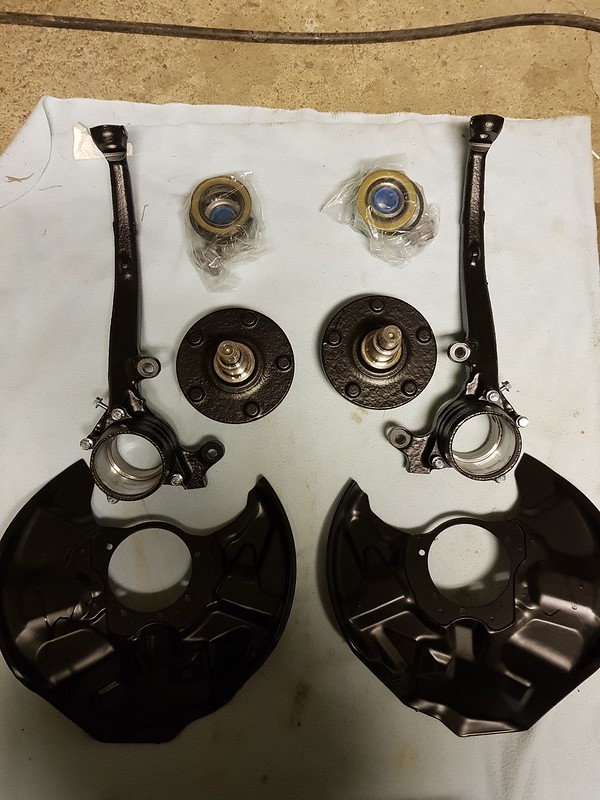
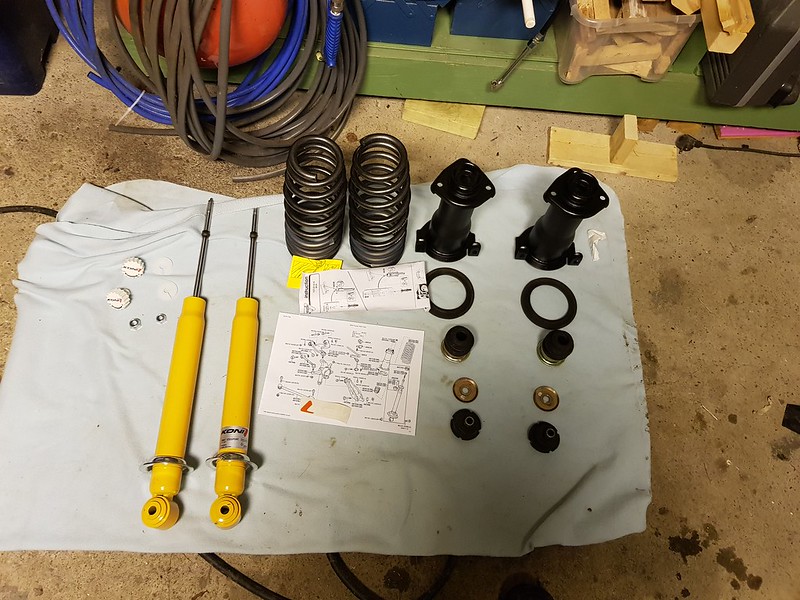
Som stuff ready for paint, as you coudl see I also did some suspension parts "while I was in there"
I had a hard time deciding wich color I was going to spray the calipers in, but eventually I went for gold and on top of that a proper 2 part Clear coat
I had to paint the inside of the rear calipers first, then assemble them and then paint the outsida to get a proper coverege on the inside.
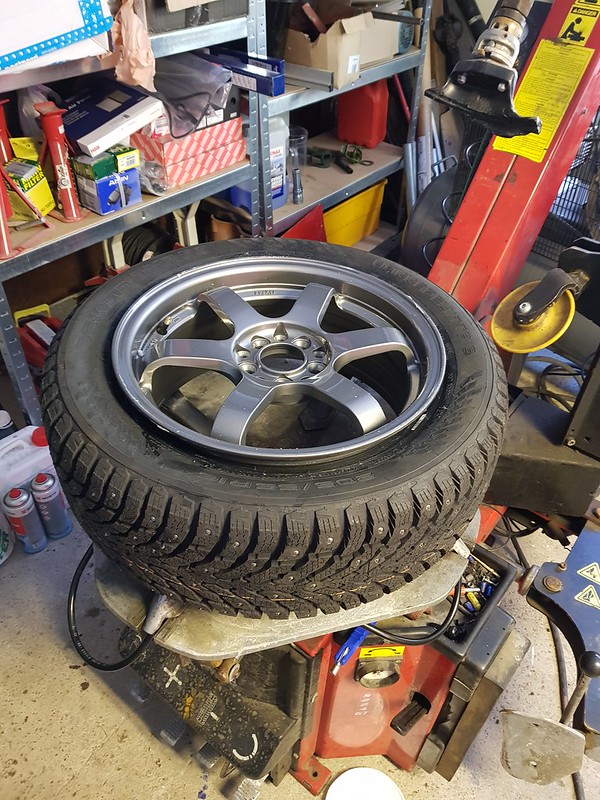
The last thing i had to do was to fix a new set of winterwheels
I opted for a set of 205/55-16 Nokian Hakka 9 Studded tyres with a set of cheap Japan Racing wheels.
It worked out ok, unfortunately i got one tyre that was really out of balance, that�s a part of buying Nokian tyres, they have some of the best studded tyres but thay are a pain in the *** to balance....
So easy with fresh tyres and proper machines
So this is about where i am today, after this i got back to working on the workshop
Yesterday i put on the summerwheels, it was the first drive on dry asphalt and summertires with the new suspension setup. What a great little car this is!! It�s lika a gocart, I can�t stop smiling when im pushing it around the roads.
But, there always is a but, I still have not put my rear antiroll bar back in (a broken bolt in one of the mounts) and i few days ago I did a wheel aligment and the front camber adjusting bolts were seized stuck in the bushing, so camber is out of spec at the front wheels, need to get new bushing and bolts for that. And the caster is out of spec, i�m assuming that is because of the lowering.
Is there a good way to rectify that caster issue and still keep rubber bushings in the suspension?
I don�t want to go PU-bushing because of the hars roads here that will kill the PU-bushings rather quickly
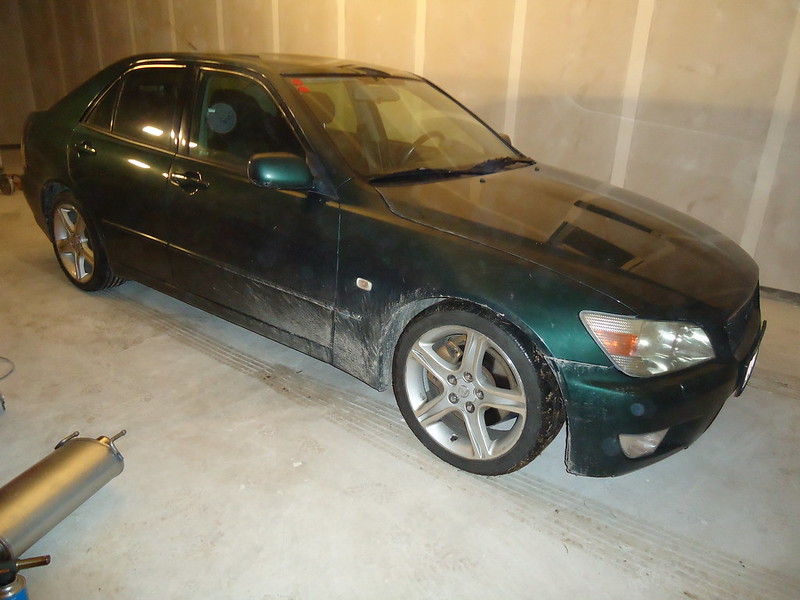
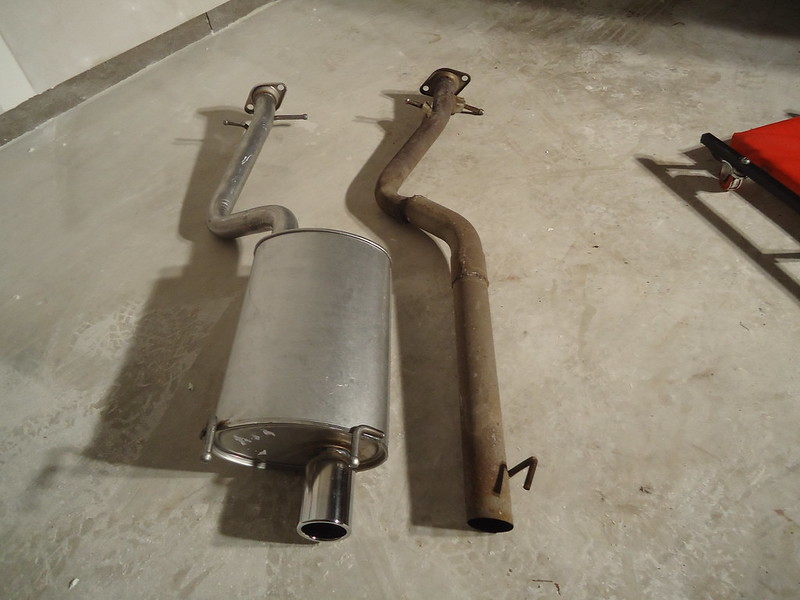
I hade to take care of my obnoxiuos exhaust noise in the car since i commute 160km a day with it, PO hade removed back box and welded in a straight pipe instead.
So the car had to go in to my not finished workshop
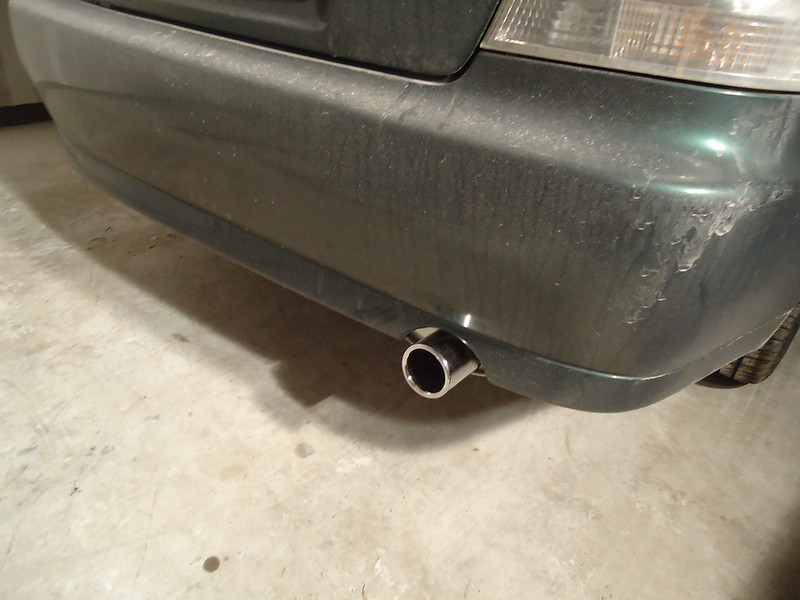
The removed straight pipe next to my new cheap not OEM back box
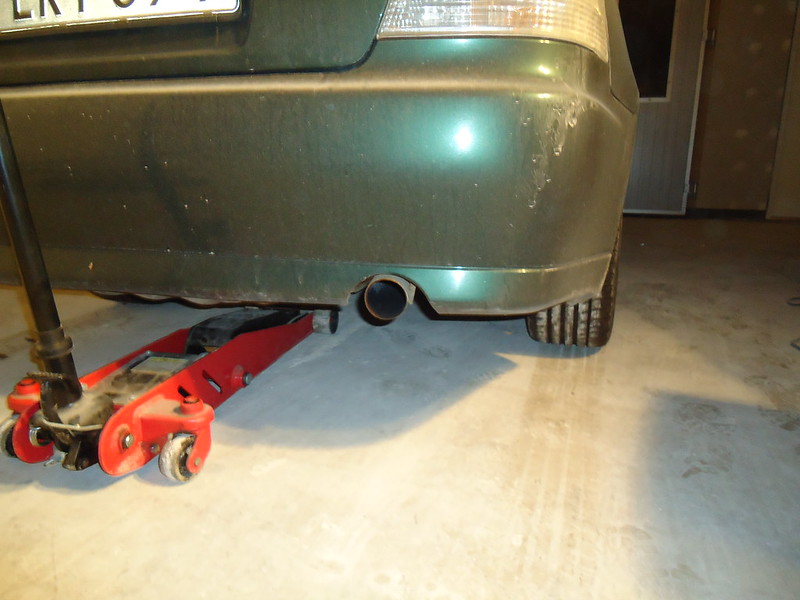
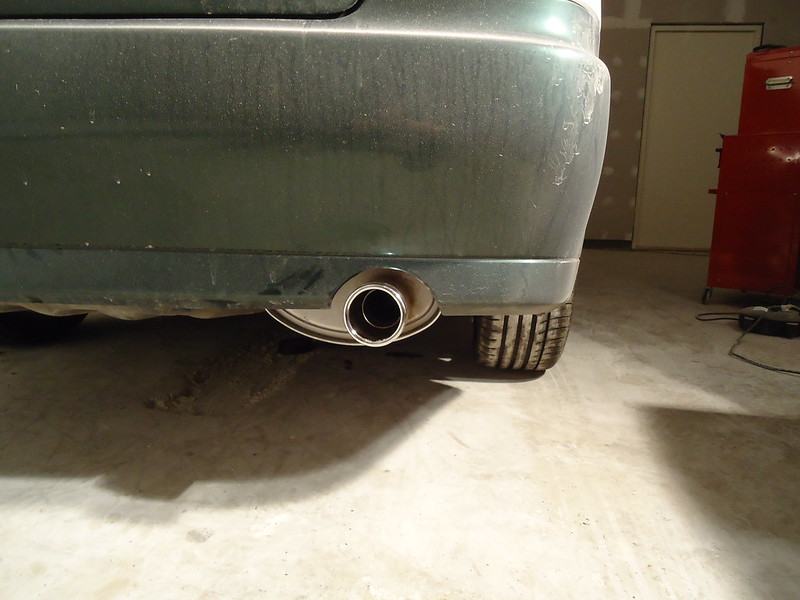
Before and after shot
Before
After
It�s from a manufacter called Vegaz, I have never seen them before but I took the cjeapest alternative I could find since i really dont know how i want to do with the car engine wise yet, so i just needed it to get quieter for now.
To my surprise it was very good look and fitment of this. So very a very positive feeling about this one. And so much more comfortable to
commute in