When you click on links to various merchants on this site and make a purchase, this can result in this site earning a commission. Affiliate programs and affiliations include, but are not limited to, the eBay Partner Network.
Does SD stand for San Diego, CA? or South Dakota?
i assumed San Diego but i may be wrong now if you mention winter
South Dakota. Winter might be deep snow and super cold temps (negative double digits) or warmish (30-40 F) and no snow, hard to say. For me a 4wd truck is the best bet during the winter
Been a minute since I have done much to the car or bought anything, even fuel, for it. So why not have an update.
Yesterday I had a bit of time on my hands and I needed to take care of an issue I've seen on many 3Is's...the dang center console is scratched. I dont know if they scratch super easy or if careless arm movements and jewelry create this. Either way the console was super bad on my car when I got it even with 48k on the odo.. After several failed attempts to wrap the center console I decided to paint it as replacement isnt exactly cheap.
l liked the wrap (5d carbon) but no matter what I tried it would lift or wrinkle in certain spots and it was no bueno.
For paint I used an adhesion promoter, hi fill primer and base-clear with some House of Kolor ice pearl. The OE finish was flat but seemed to have some gold flake. Since gold isn't my color I went purple...which I also had on the shelf. As a note unless the angle is correct the purple pearl very subtle.
I really like the end product and IMO adds a touch of class to the interior.Gloss black base clear paint HOK pearl
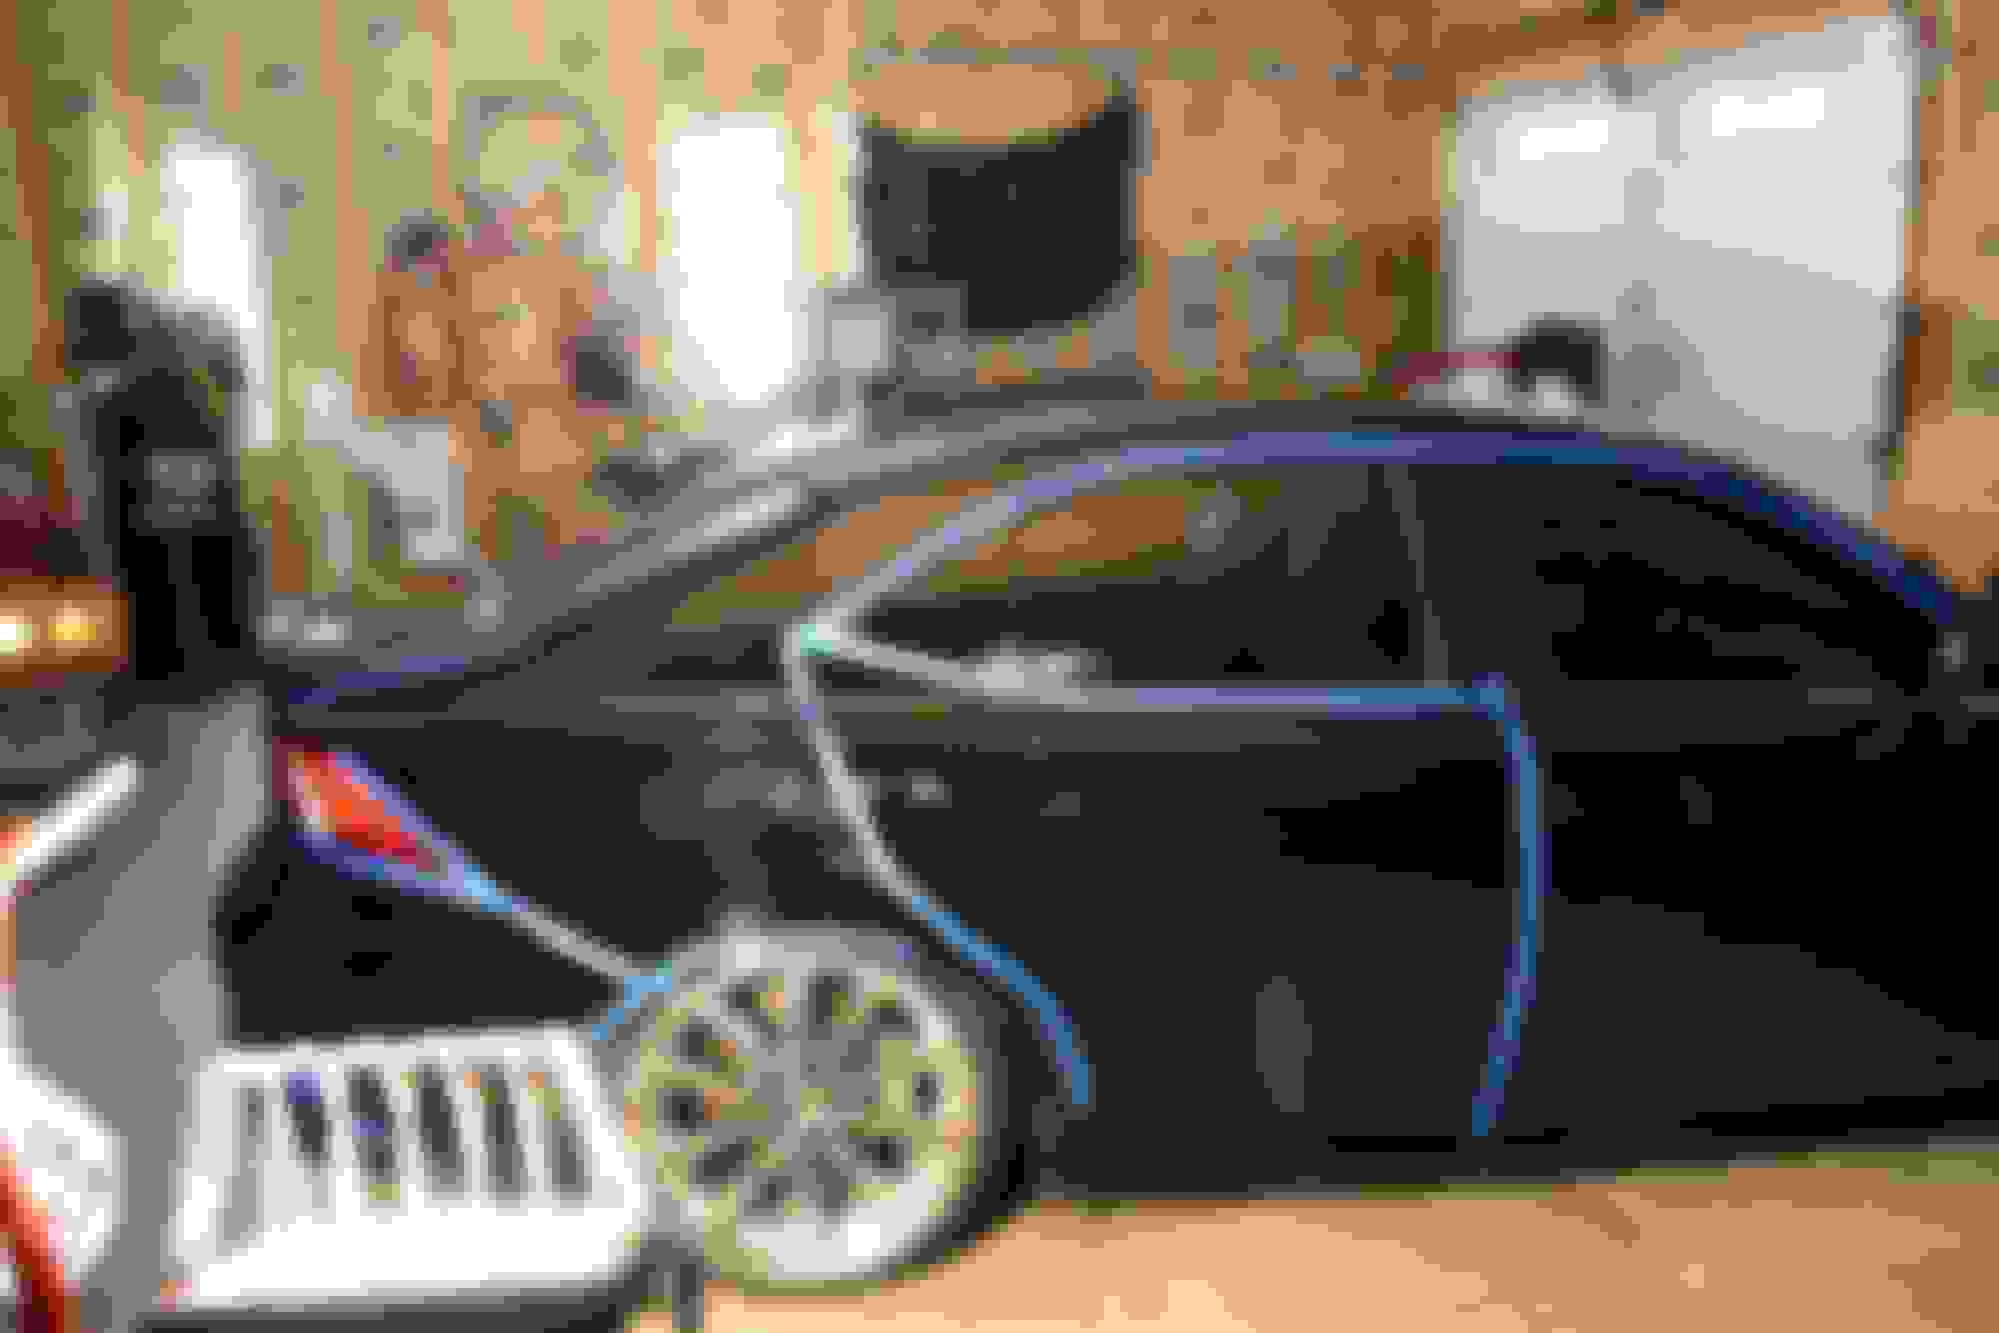
Sold the Works wheels (and lost my *** ) and the OEM wheels are back on for now. Ordered some new shoes but apparently they will take forever to get..hopefully they are cool. I actually wanted the Verae but the price was just too much to swallow for the color option I wanted so I got these from RAVSPEC. Although pic says 21 I got 19's
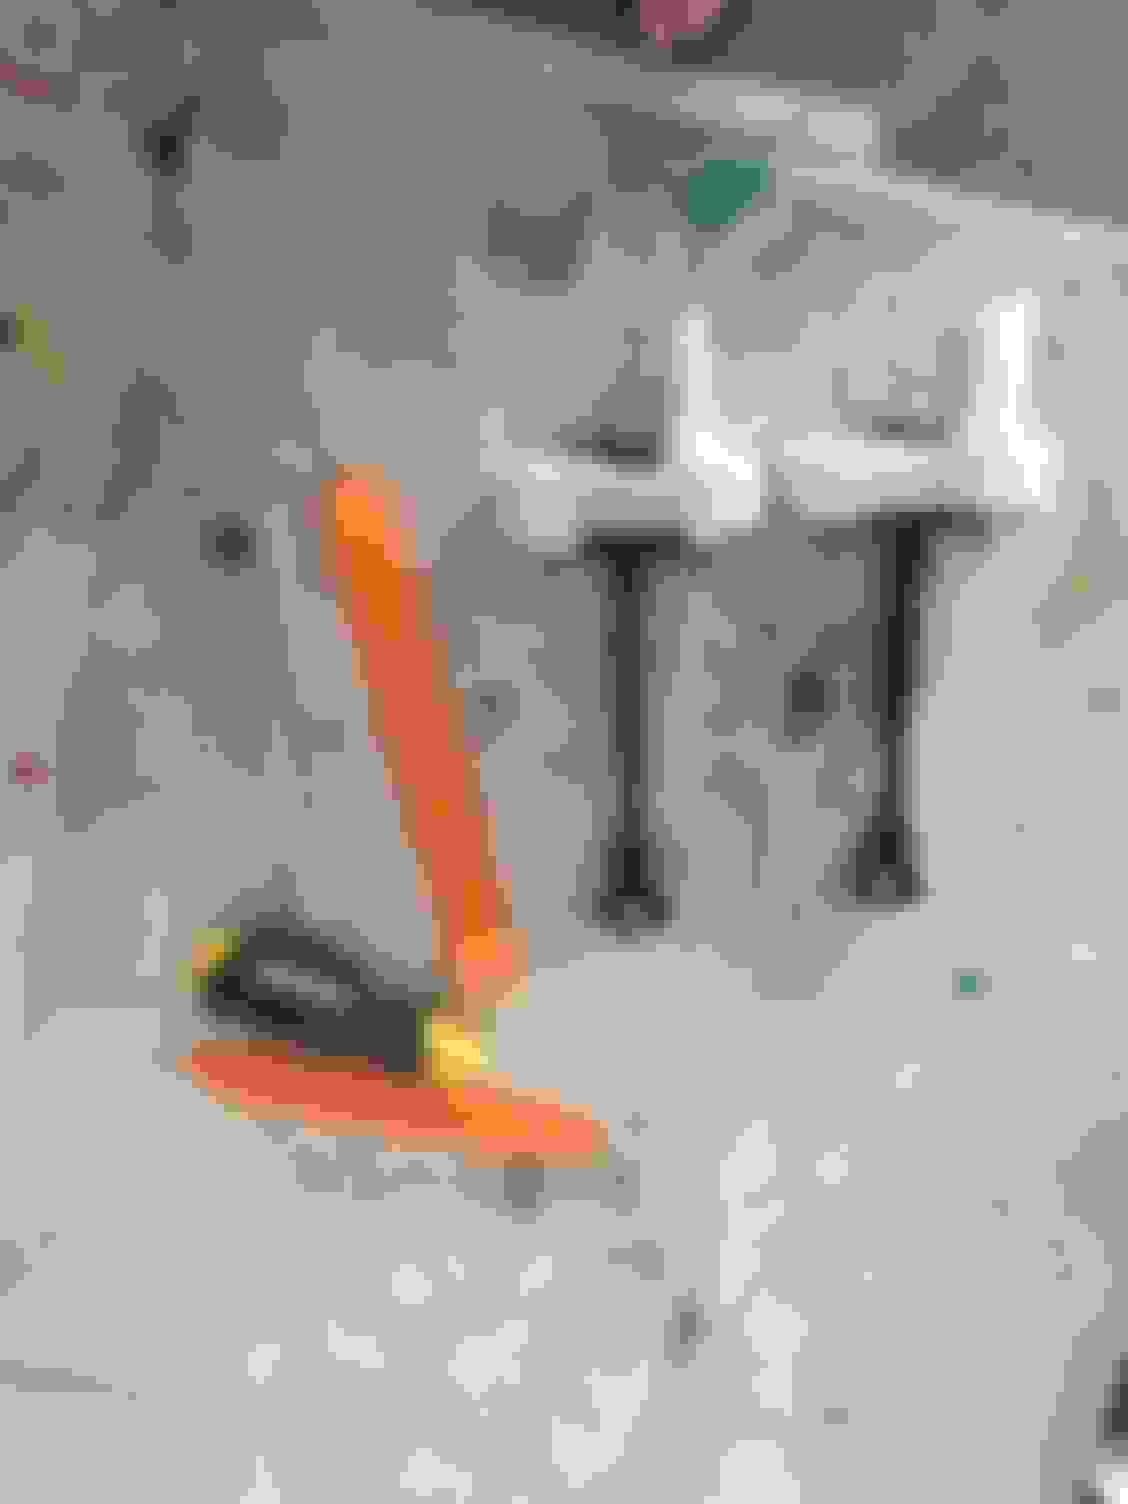
Also heard a clicking when opening the door--damn door break was a bit jacked up so instead of pissing with the old one I ordered a new one at a cost of $130 (outrageous!!). I could have smashed this pin but i figured the part was messed up and not sure this bandaid fix would have been permanent.
It took about 20 minutes to replace the door brake. The door panel needs to come off and an interior white panel removed. To remove the panel it requires some plastic panel removal tools and a Phillips screwdriver. Door brake is held in by 3 10mm bolts/nuts
The old and new door brake and the tools
Do you have the part number for this part you ordered?
Been a minute since I have done much to the car or bought anything, even fuel, for it. So why not have an update.
Yesterday I had a bit of time on my hands and I needed to take care of an issue I've seen on many 3Is's...the dang center console is scratched. I dont know if they scratch super easy or if careless arm movements and jewelry create this. Either way the console was super bad on my car when I got it even with 48k on the odo.. After several failed attempts to wrap the center console I decided to paint it as replacement isnt exactly cheap.
l liked the wrap (5d carbon) but no matter what I tried it would lift or wrinkle in certain spots and it was no bueno.
For paint I used an adhesion promoter, hi fill primer and base-clear with some House of Kolor ice pearl. The OE finish was flat but seemed to have some gold flake. Since gold isn't my color I went purple...which I also had on the shelf. As a note unless the angle is correct the purple pearl very subtle.
I really like the end product and IMO adds a touch of class to the interior.Gloss black base clear paint HOK pearl
Like the purple flake.
Let us know how it is after a month or so. The original console scratches if you look at it the wrong way.
Its been awhile since I have updated this and its been mostly out of laziness. I have owned this car since late June 2017 and I think its almost complete which is weird as builds for me take years usually. The goal for this car was a VIP build that I could daily or drive 4,000 miles with no issues so I have not done much as far as "speed" stuff as that always turns out to ruin something and make the car much less drive able. So knowing that, I haven't even done exhaust on this thing just a AEM drop in filter. What I have done is aesthetic items so.........
Things I have done since I last posted :
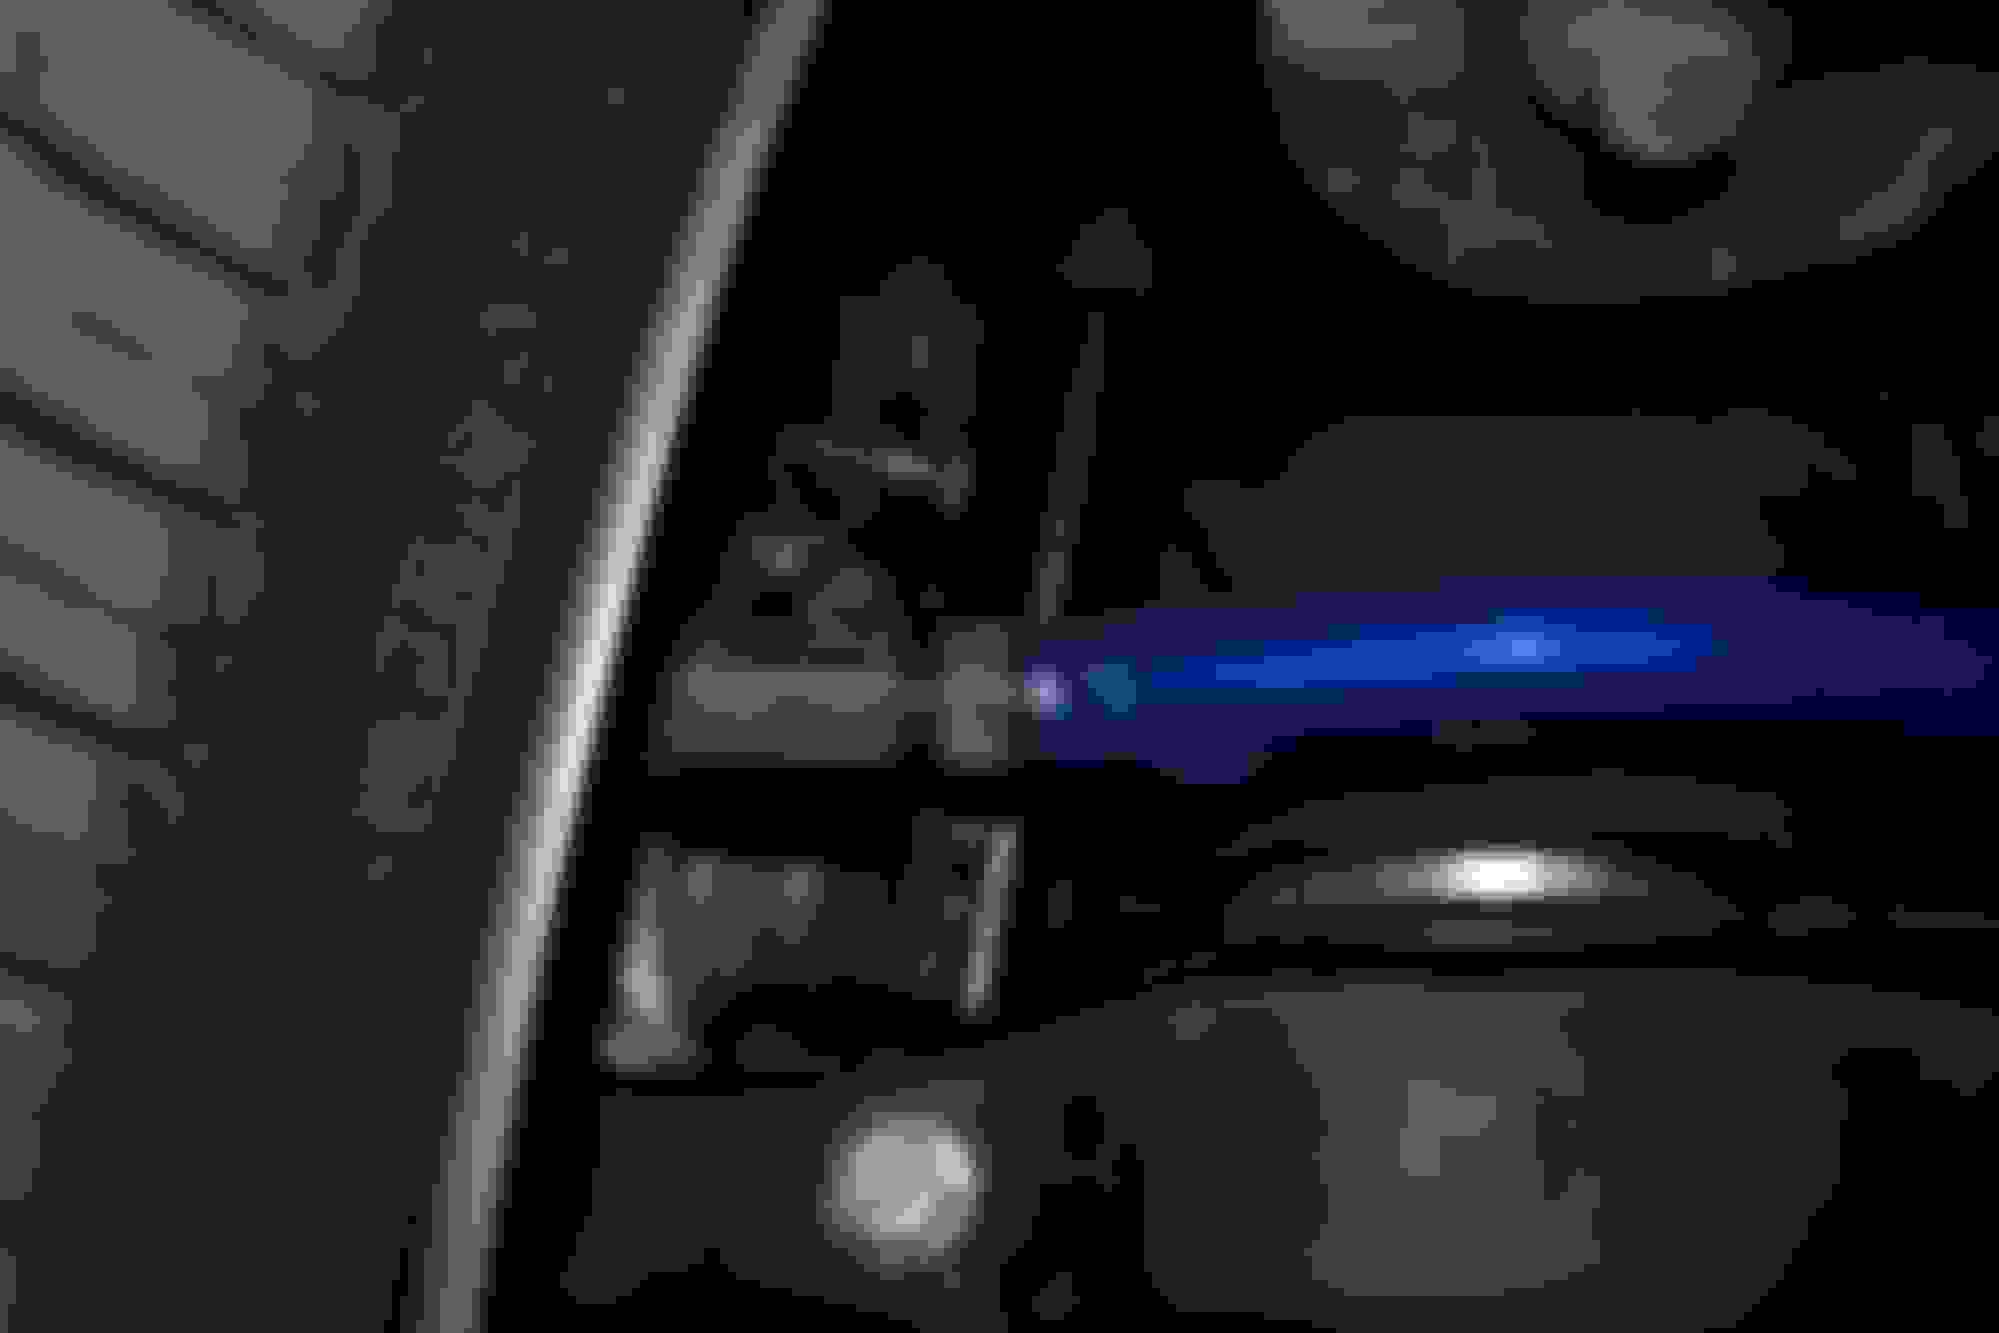
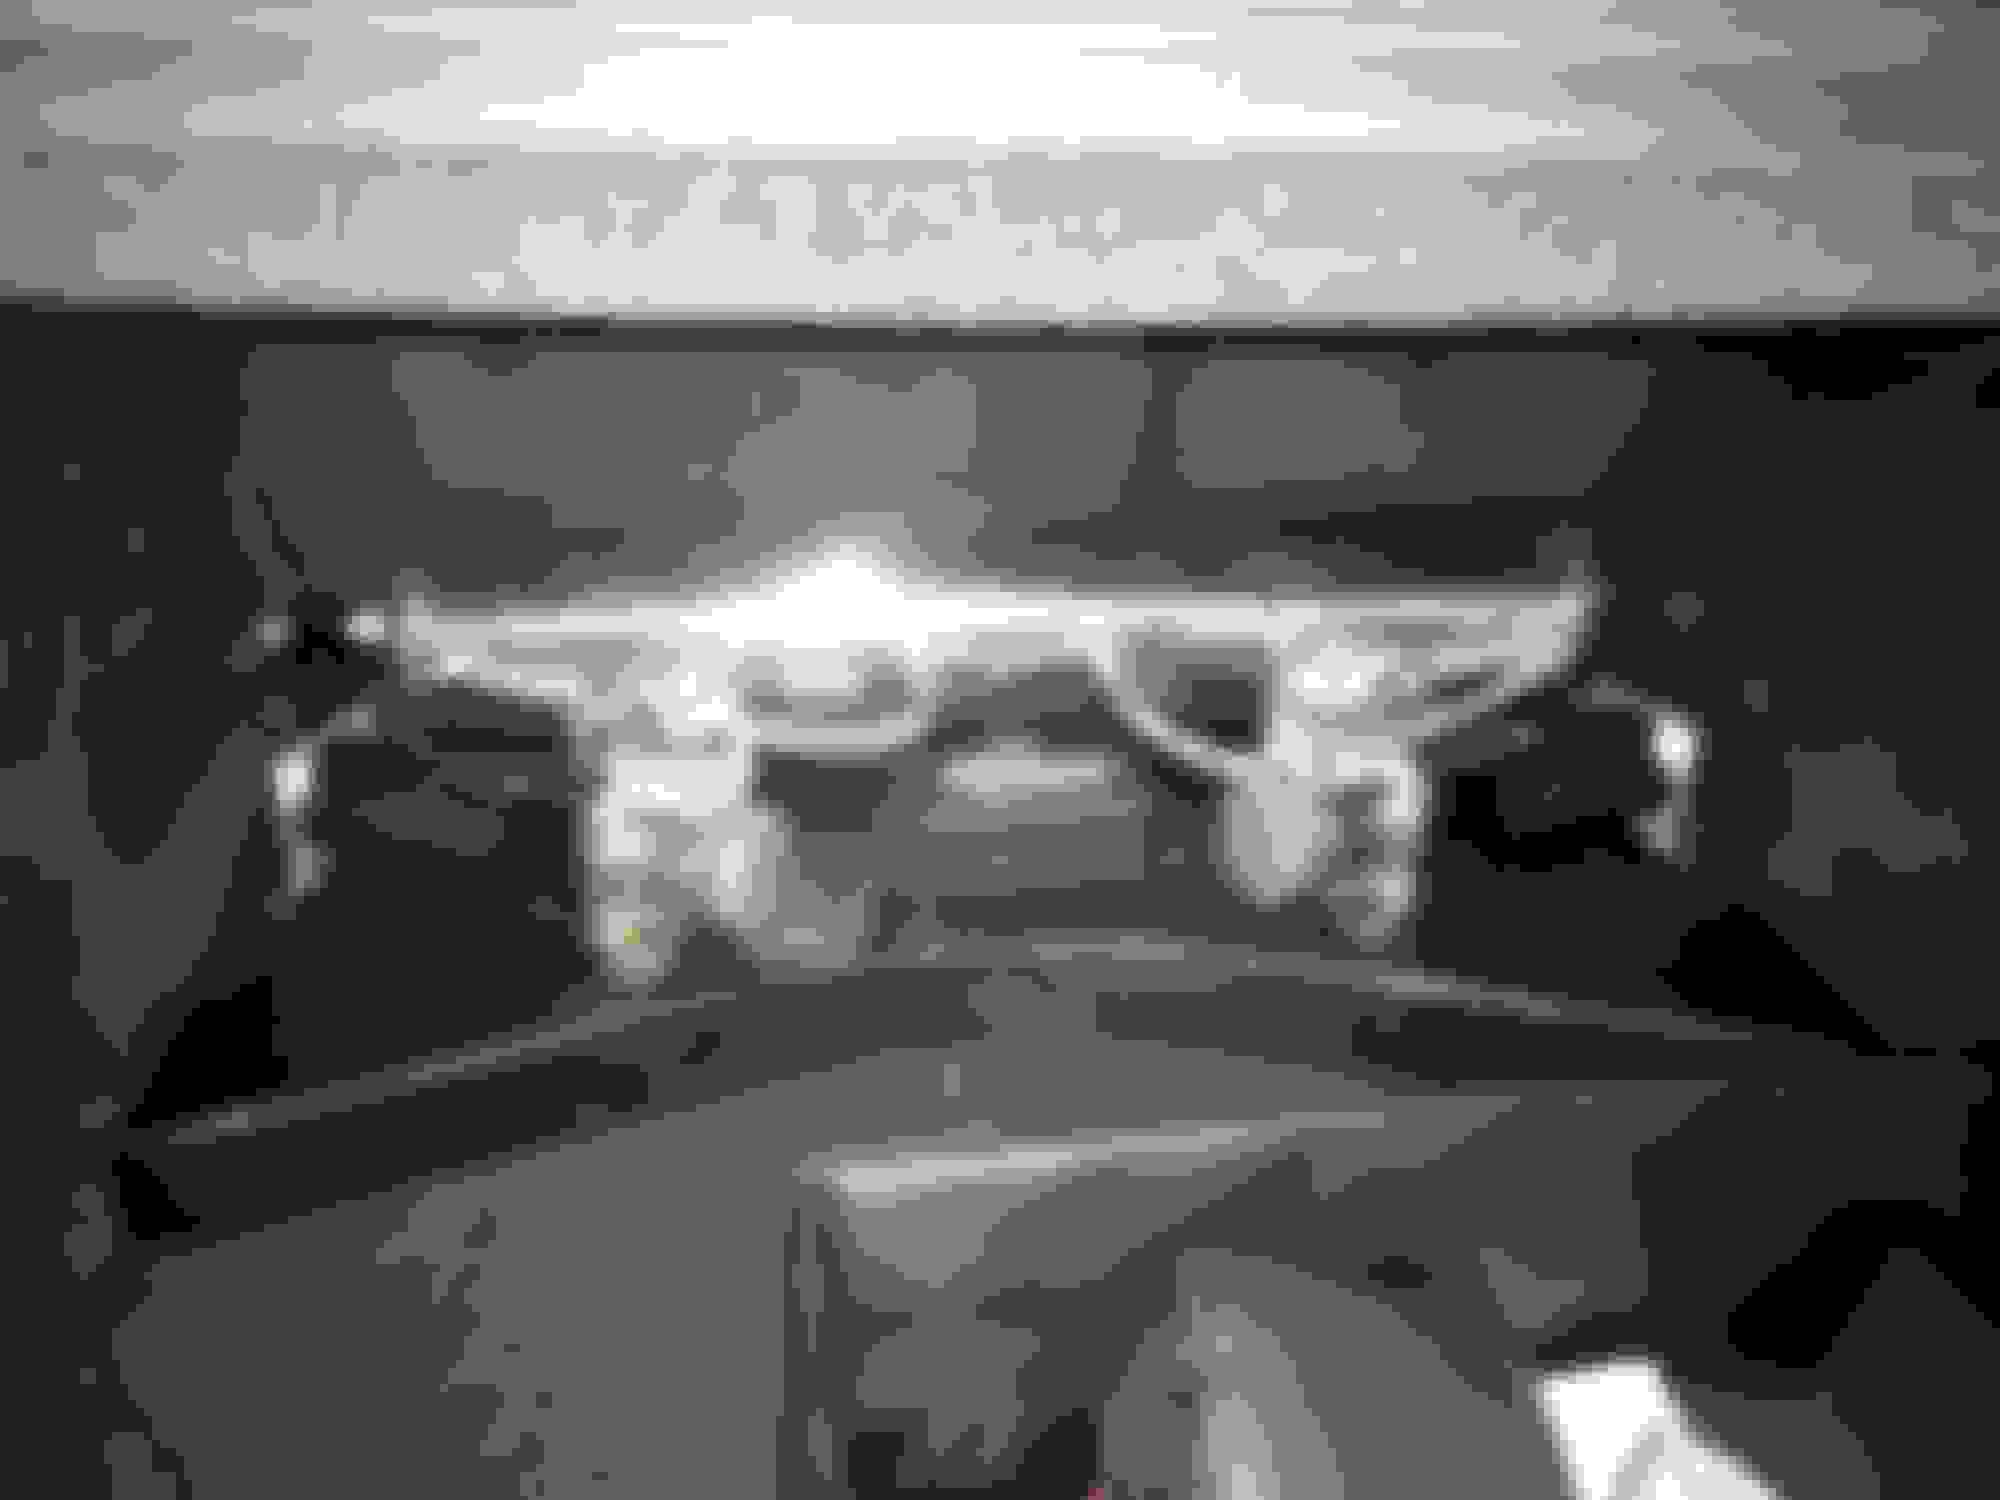
-Airlift 3P with UAS bags and Ksport shocks. no pics of the actual front bag over shock setup so I used by buddy google.com. Seeing as BC=Megan=Ksport+? at the price of 740 shipped the Ksports were an obvious choice. I also used a KUDA mount for the airlift controller. As stated before I used a Powered by Max (PBM) rear upper control arm I also coupled that with a Megan racing Toe arm as PBM's toe arm can only be used with their bag and lower arm setup. I also made a small false floor of sorts to mount my tank and compressors. I really wanted rack mounting system but they were alot of $$ so I built the floor for about $35 including the alligator faux-leather its wrapped in and covering the platform in sound deader prior to covering the box. I figure its not a show car why spend yet even more money
Kuda mount Rear bag setup with Ksport shock, UAS bag, Megan Toe arm and PBM RUCA basically what my front bags look like
mounting of the tank and compressors
I used the OEM Fsport shocks but one blew in days. I can only assume it was from being aired out not from driving; I drove around at nearly stock height. After the Ksport were purchased I learned since the rear shock is lower I was able to gain (Maybe loose?) about an inch when aired out AKA it sits lower.
-JDM RC-F fender flairs. My old setup kinda jacked the up the fender lips and I was delighted when i learned about these and how easily they are put on. I immediately ordered some and it works perfect cant see a thing. Purchased these from Lexusboutiqueand could not have been happier with their customer service, their quick order fulfillment and their awesome packaging, of course the actual OEM product.
JDM RC-F Flairs JDM RC-F Flairs
-Carbon bits. I have been been going wild to say the least with all the carbon trinkets. I got the steering wheel garnish (SAGA carbon), Glove box trim (not here yet (SAGA carbon), some windshield trim (not here yet (SAGA carbon), a steering wheel emblem (it promptly fell off and was lost lol whoops), roof spoiler (CARKING from ebay), front lip and rear valance (Seibon) and side step (Skipper rep from ebay).
Ebay (CARKING) roof wing--forgive the buffing compound under the wing
Last edited by MilkMonstr; Dec 16, 2017 at 05:33 PM.
to continue on... my car really needed a full buff, the small scratches were driving me nuts. I used wizards medium cut compound immediately followed up by their shine master and the difference is crazy. I taped off every panel to minimize the amount of compound that gets into the crevices as its a pain in the *** to clean and this stuff gets all over. After about two hours and several wipe downs the car was ready for a wash..
Initial taping-you can see all the scratches Rear 1/4 buffed and door buffed front door buffed moving to fender
so after that the finished product is a sexy black mirror. i stayed away from edges as its easy to burn through if your not careful plus again the compound is messy and sucks to clean
Last post. I haven't really talked much about the wheels. After a 14 week wait I finally got them..just in time for winter lol. TBH they were my second choice as my first was alot more money and these aren't exactly chump change. After seeing them on the car I am pretty happy with them. They are Weds Kranze Graben sized in 19x9.5 front and 19x10.5 in the rear. Tires are moderately stretched and 235/35 and 255/35 (when I go to replace these tires I will be upping the front size and perhaps the rear size by 1). The rear did require additional camber to fit and the front is actually on OE upper arms. Again this car was meant to daily drive but I wanted a VIP feel so my camber setting of -6 may be a bit much but its not crazy IMO and gives me the wide VIP-like fitment . The front camber is at -1.5 which might be within stock spec (IDK really) but is far from crazy. In the end these are the widest wheels I could have fit without going to some extremes.
Im not sure how you would use the sway bar and UAS bags. Ive thought about making some bracketry but in the end if I recall it wasnt going to be super easy as the sway bar is quite long
to continue on... my car really needed a full buff, the small scratches were driving me nuts. I used wizards medium cut compound immediately followed up by their shine master and the difference is crazy. I taped off every panel to minimize the amount of compound that gets into the crevices as its a pain in the *** to clean and this stuff gets all over. After about two hours and several wipe downs the car was ready for a wash..
Initial taping-you can see all the scratches Rear 1/4 buffed and door buffed front door buffed moving to fender
so after that the finished product is a sexy black mirror. i stayed away from edges as its easy to burn through if your not careful plus again the compound is messy and sucks to clean


 ) and the OEM wheels are back on for now. Ordered some new shoes but apparently they will take forever to get..hopefully they are cool. I actually wanted the Verae but the price was just too much to swallow for the color option I wanted so I got these from RAVSPEC. Although pic says 21 I got 19's