When you click on links to various merchants on this site and make a purchase, this can result in this site earning a commission. Affiliate programs and affiliations include, but are not limited to, the eBay Partner Network.
Decided to spend some cash and got some upgrades and got a slew of parts in; TEIN Flex, Swift springs, Swift thrust washers, upgraded TEIN aluminum spring seats, SPC front UCA's, Superpro front LCA bushings, rear subframe refresh (painted and straighted), poly subframe bushings, Figs toe links, Figs spherical track link bushings, Figs spherical rear LCA bushings, Figs Mega arms, FIGS tie rods, Superpro rear UCA bushings, Superpro sway bar bushings (that fits TRD sways) new rear axles, Super pro differential bushings, and the crown jewel of the rear end an Aristo 3.77 differential with OEM Torsen LSD.
Here is the DIY thread I did for the SPC front UCA's
I had gotten TEIN strut bars (front and rear) a while back. I actually posted a thread on how I thought fitment was. some people don't like the TEIN strut bars because they are not steel vs. TEIN's aluminum design. I thought that they were better than nothing and some one actually flamed my thread for that..lol Go figure.
last summer I had took the GS out for a few runs after I had installed the headers (naturally). the GS was all over the place. I used to just deal with the bump steer but I had had enough of the slop in the rear. It was time for a full suspension upgrade.
Also was a good opportunity to take care of the rear diff. issues I was having. Blew a seal a while back. Had diff. oil all over the place. Didn't want to drop the diff for just a seal so I figured it was a perfect time to switch the stock diff for an LSD one.
First, it was time to go for a stiffer coil over set up. Got my hands on a set of TEIN FLEX from Japan via Jesse Streeter (more on that later) and had them re-valved by TEIN to accommodate the stiffer spring set up I was going for.
I decided to go with 8 inch 16k in the front and 10 inch 14k in the rear springs made by Swift. The Swift springs I chose are of the same height as the stock springs on the Flex.
I also upgrade the springs seats on the Flex from rubber to wider aluminum ones also made by TEIN. To finish the springs off I also added a metal/composite thrust washer combo (also from Swift) to help the springs spin during bound/rebound.
All the bushings were shot so I systematically started switching them out and it was the rear ends turn.
Mega arms replaced the stock LCA's and I swapped out the rear axle carrier rubber bushing and the track link bushings for Figs spherical ones. let me say if you plan to do this the best way is to purchase (and then return..) an SPC bushing extractor. The SPC is really the best one for this job.
I used a 12 ton shop press that I bought from Harbor Freight a while back to remove the LCA bushing but for the track link bushing the only way to remove it was with the SPC extractor.
Unfortunately I don't have pics of the SPC tool in action my phone decided it wanted to delete those pics.
OCD kicked in (and while waiting for parts on order) I turned my attention to the rear sub frame.
I removed the sub frame and proceeded to sand and prep it for a coat of paint when I discovered why I was having tire wear issues and a loose feeling rear end.
one of the mounts for the toe links was bent. the slot where the camber bolt slides into place was bent inward causing a false alignment. perhaps one of the reasons why the GS would get a little squrly' in the rear.
Figs speaks of this issue in the installation notes for their toe links. the awesome things about the Figs links are that they do not need the OEM mount for toe adjustment. Alignment is made by turning the the rod until desired wheel toe is achieved.
After I fixed that bent mount it was time for paint..
Primed with undercoating and rust stop primer I painted the sub frame graphite grey and installed Superpro Diff. bushings and poly subframe bushings.
I got pretty lucky with the poly sub frame bushings. The OEM ones were cracked and I didn't wanna do all this work on the subframe to re-install it with damaged bushings.
I tried to go the Superpro route; contacted Mike at Figs but they didn't have anything available. I was even gonna try and have Superpro make some but Mike warned me away from that idea.
Then while searching on ebay I found this guy in Sweden that made poly bushings for the subframe. Pretty wild what you can find on the "internets" sometimes..lol
When I got the bushings in I was very happy with the quality for the material used. I didn't see any a la' Daizen air bubbles and the bushings were accompanied by a tube of high quality grease.
Love for a CL member, J. Streeter and Yahoo! Japan..
While I was waiting for the sub frame to fully cure after painting it I decided to work on the rear UCA's but before that there was Jesse Streeter and Yahoo! Japan..
I was digging around the cyber-verse for an LSD diff. Was trying to get an auto TT one from a Supra but those guys are crazy; some wanted $900 bucks and up. Wasn't feeling that price for a used diff..lol
About 8 or 9 months ago while having a conversation after selling him a Megan Y pipe A fellow CL member and all around good guy (VVTiSupra) put me on to an alternate way to get an LSD diff; get it from the import mecca itself, Japan.
I then found out that there were ebay type auctions in Japan for used car parts. Yahoo! Japan to be exact and they have everything. The first night I decided to look I found several diffs off of Supra's and Aristos. I found a lot of info on Toyota diffs. which kinda angered me. Yet again I find out that USDM GS's get the shaft while JDM Aristo's were "armed to the teeth" when it comes to upgraded OEM parts. Along with the legendary GTE engine I find out Aristo's came with an optional Torsen LSD. Wow way to take a **** on the US market Toyota! but its ok we work around it.
I managed to find a diff. pics and everything but I didn't know how the F*** I was gonna get this thing purchased let alone shipped from Japan.
Enter Jesse Streeter...
Jesse Streeter is the name of a shipping company that specializes in purchasing and shipping items bought from auctions in Japan and you guessed it its run by a guy named Jesse.
after Google-ing his name and reading up on him I contacted Jesse about wanting to purchase the diff. VVTiSupra said Streeter was legit and he actually had a few transactions go smoothly using his services.
I showed Streeter what I wanted Purchased and he said he would take care of it. He bid on the item for me and sent me an approximate quote on how much total cost would be if the auction held at the asking price.
I ended up getting the diff for a STEAL. Something north of $350! Total cost with the bank fees, shipping fees etc. and considering how much that thing weighed I ended up paying Nothing even close to asking price for a diff. here in the states.
I ended up using Streeter's service again to get the old school TEIN Flex I wanted and plan to use him again if I need something else for the land of the rising sun. Very smooth transactions.
I decided to do a light re-build of the diff before I installed it. the race bearings looked a little worse for wear. I installed new bearings, seals, dust deflectors, snap rings and cleaned out all the old oil and grime. No issues with it whatsoever.
Got a Multi-puller from Amazon for a very good price. removed the race bearings using a two jaw puller and a socket to push off of.
After installing the new race bearings and original shims I checked the pinion and ring gear for correct backlash. Dead on.
Awesome! Love what you're doing with the suspension and especially taking apart that diff. I will doing both soon, rebuilding the front end suspension, maybe rear later, and tearing my diff apart to put the longer geared oem 3.23 ratio back in there.
Any idea on what type of socket type/size is needed to take off the 10 ring gear bolts? Manual doesn't mention any bolt sizes let alone this one. It does say they aren't re-usable and need locktite as well.
It looks like those 12 point bolts, maybe 22mm or something?
Is there a way you could try to fit a like-wise 6-point socket on to them or measure the bolts with a ruler?
I see what your thinking..I'm not sure if a 6 point would fit correctly on those bolts. Those are TORX bolts and I THINK they are 10 point (5 sides). I could be wrong.
I would use a TORX socket, something in the T20 and up range. I wouldn't want anything to go wrong during removal or installation for that particular part..lol
Here's a diagram that you can use to see what size you need: https://www.wihatools.com/torx-sizes
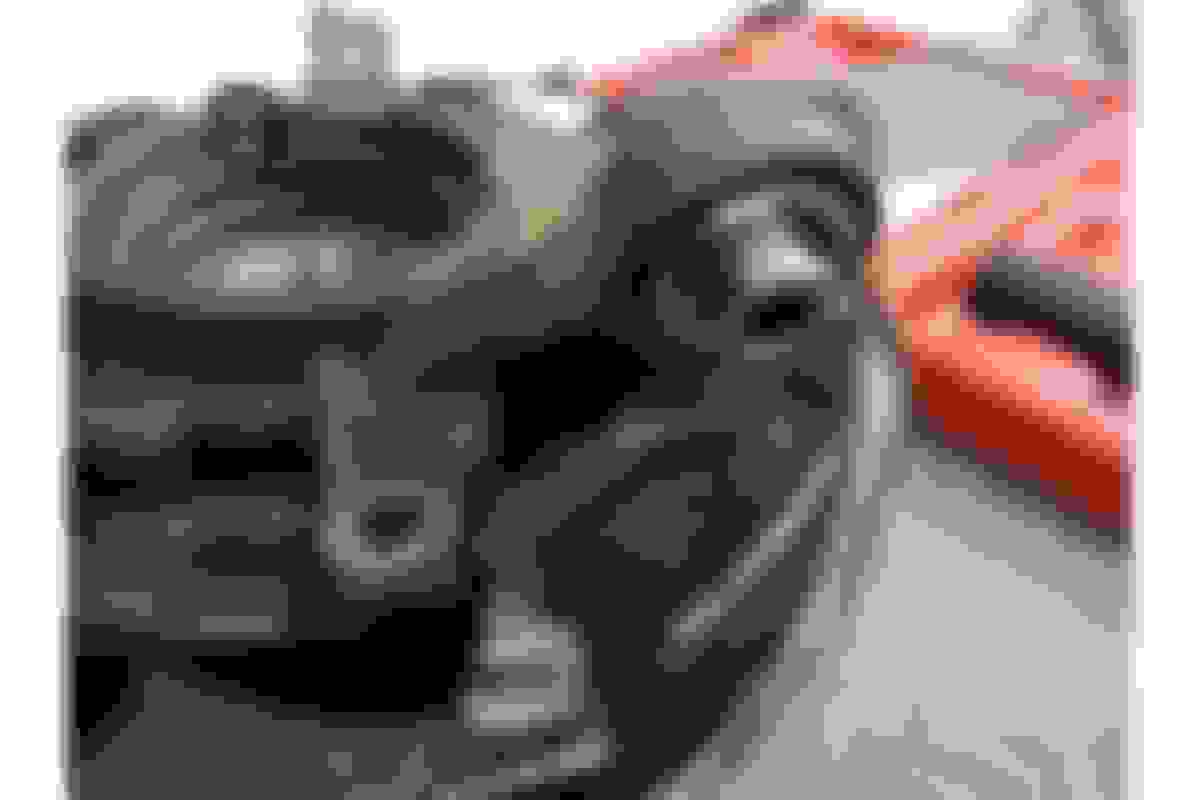
Finished up re-building the diff. I don't like the rust/dirt look so I painted it graphite gray and slapped some Superpro bushings onto it.
Here's how it looks:
Finished everything up and the rear was ready to be installed.
But before I get into that I wanna mention how much of a PITA it was to remove the stock bushings for the rear UCA's. I was installing Superpro bushings so these needed to come off.
Even though the rear UCA's are aluminum they still corrode and with aluminum being a soft metal I had to CAREFULLY remove the stock bushings with hand tools. It took forever but it was worth it. One slip of an air chisel and I woulda had a nice big dent on the arm(s).
after I removed the stock bushings I couldn't take the way the arms looked. They looked tarnished and dirty. of course the OCD kicked in and I did a light polish on them.
Installed the UCA's back onto the Subframe and pop it back on. The install went pretty smoothly.
Being lowered all this time bump steer was a major issue. Not anymore. I switched out my OEM tie rods for Figs engineering version. the GS drives totally different now. Bump steer is NON-Existent. I'm only at about a one inch drop and since I had Willwood BBK, Superpro Caster bushings and replaced the lower ball joints I didn't need RCA's The tie rods are one of the best mods I've ever purchased/done.
Removed the IM on the GS for the second time and for the second time I see a **** load of oil in the manifold. The excess blow by oil was built up enough to cause smoke during start up,. Oil was pooling at the rear of the manifold and gumming up the rear driver's side cylinder. Got tired of that **** so I decided to add an oil catch can. Should of added this years ago but oh well some times better late than never. Oil catch can can easily be found on any of the online shopping sites and I went for the better mount by Mishimoto. Pretty cut and dry installation and works like a charm. no more oil being blown back into the intake.
i see.... i thought the blowback just burned off as it wasnt that much. is it possible you have some underlying oil issue or a small leak someplace?
Other than normal wear and tear nah, I don't think so. Car still drives strong. I looked into the intake ports and didn't have an excessive amount of carbon build up. However, I do have some bolt ons. Even though the oil pools in the IM it happens over a long period of time and it doesn't get to the point where it sloshes around in there. Hopefully the catch can does its job. I will update on this in a few months.
Decided to do the good ol' IS steering wheel mod. I love it. very kool addition with the paddle shifters and the radio controls. I was even able to use the phone control buttons!
I discovered why I was having tire wear issues and a loose feeling rear end.
one of the mounts for the toe links was bent. the slot where the camber bolt slides into place was bent inward causing a false alignment. perhaps one of the reasons why the GS would get a little squrly' in the rear.
Figs speaks of this issue in the installation notes for their toe links. the awesome things about the Figs links are that they do not need the OEM mount for toe adjustment. Alignment is made by turning the the rod until desired wheel toe is achieved.
The OEM CAM adjuster should be adjusted all the way inboard as Figs states in the install, I weld the OEM adjuster to the frame so it can't ever slip as you will only ever use the adjustments on the arm from now on. It will make sure when you are aggressively hucking the 4000lb car around the eccentric can never slip, and also makes 100% sure there will be no confusion at any shop doing an alignment on the car in the future so they can't mess with the stock adjuster and will be forced to use the arm adjustment. (because we all know just because you tell the shop not to use do something it doesn't mean the tech will do so, or that the message gets relayed to the tech)
"one of the reasons why the GS would get a little squrly' in the rear" - on this one since you have the rear apart you should really do the Rear Lower Knuckle Bushing, these get sloppy and cause the rear end to wash or get 'squrly' it is especially noticable if there is a hump, bump, or variation in the road while you are cornering at moderate to high speed, it causes rear bumpsteer and can be very scary at speed. Pressing in Figs solid spherical replacements completely eliminate this issue. The stock bushings are rubber and have a bit of left to right movement as they were designed to allow the aristo's with active rear steering to let the knuckle turn a little bit. The GS still uses the same bushing even though it doesn't have rear steer and once the rubber is worn it allows the knuckle to have some side to side play and cause the rear bumpsteer. It made an immediate and massive difference in my car, they are $165 and eliminated the rear wash in high speed cornering.
The symptom being that when entering the corner feels fine and in control, then once you are straightening up to exit the corner and the weight transfers back over from the cornering direction it over shoots and then abruptly snaps back and settles. At first is seems like a body roll, swaybar, or spring/shock setup issue, but it's those bushings being worn out making the back of the car wiggle on weight transfer.
OEM
FIGS
Originally Posted by eskaeone
Yet again I find out that USDM GS's get the shaft while JDM Aristo's were "armed to the teeth" when it comes to upgraded OEM parts. Along with the legendary GTE engine I find out Aristo's came with a stock Torsen LSD. Wow way to take a **** on the US market Toyota! but its ok we work around it.
Just to clarify so there is no confusion for other members in the future reading this thread, The JDM GTE V300 Aristo ABSOLUTELY DID NOT COME STOCK WITH AN LSD, PERIOD. LSD was an OPTION for the V300 and never was included as standard, we can see in your pictures that you did infact get a TORSEN LSD for your purchase, but warning to anyone buying ANY LSD pumpkin be it aristo, sc, or supra, MAKE the seller open the pumpkin and provide pics of the carrier to PROVE that it is LSD before you purchase, as it has been very common place on ebay, yahoo, and forums for buyers to overpay for an lsd diff only to receive an open diff. If the seller refuses to open the diff for pics or proof DO NOT BUY IT, find one elsewhere.
We have been purchasing complete V300 Aristo's to part for years and NONE of them have ever had a stock torsen LSD, EVER. If they did they would be included with the complete GTE swap kits we sell, but instead the aristo pumpkins get scrapped with the rest of the shell after it is parted because they aren't worth the removal time, weight, or container space.
Please understand I am not trying to be hard on you or anything, I am just trying to make sure potential buyers do not get stuck paying way to much to end up with an open diff.
 07-06-17, 11:32 AM