
specONE Build Thread

Thread Starter


Joined: Jan 2008
Posts: 2,002
Likes: 533
From: SF, California
some more progress
finished routing the wires for the Air setup
Made quick disconnects plugs for both compressors


wires on quarter panel routed. power Distribution block and relay mounted here as well.


heading to the other side


Tapped Parking lights
and Ignition on the other side, Ignition is to a Fuel Pump Control Module actually, a bit scary to grab it here and possibly short something out and cause vehicles fuse to pop and stall the vehicle but i will fuse small here right after i tap into wire so nothing bad will happen. This way I am not having to run any wires to the Dash besides the Controller. I ended up running the Ignition to the Cigarette Lighter, so I recommend you do the same if you are using what i've written as a guide.


Dropped the Tank back down
to get it ready to send to powdercoating

Here is the third mounting point

I will Nutsert it


If you are curious about the tool
It is a Astro Pneumatic Tool 1427 Hand Rivet Nut Kit
http://ebay.to/2iC6Pri
This is a Metric set as I wanted to keep everything Metric since it is japanese car
Carpet back in place and now all ready for the tank to be powdercoated and back.


the Third Center Bracket I made


Picked up BeatSonic Navi bypass through Groupbuy also next to it, Power Magic I've been sitting on for a bit for my DVR camera


Up next while I wait for the Powder Coating will be probably to prewire the Amplifier Subwoofer setup since it is all apart anyway and wires are visable so later all I will need to do is fabricate Box and amp mount.
finished routing the wires for the Air setup
Made quick disconnects plugs for both compressors
wires on quarter panel routed. power Distribution block and relay mounted here as well.
heading to the other side
Tapped Parking lights
Dropped the Tank back down
to get it ready to send to powdercoating
Here is the third mounting point
I will Nutsert it
If you are curious about the tool
It is a Astro Pneumatic Tool 1427 Hand Rivet Nut Kit
http://ebay.to/2iC6Pri
This is a Metric set as I wanted to keep everything Metric since it is japanese car
Carpet back in place and now all ready for the tank to be powdercoated and back.
the Third Center Bracket I made
Picked up BeatSonic Navi bypass through Groupbuy also next to it, Power Magic I've been sitting on for a bit for my DVR camera
Up next while I wait for the Powder Coating will be probably to prewire the Amplifier Subwoofer setup since it is all apart anyway and wires are visable so later all I will need to do is fabricate Box and amp mount.
Last edited by specONE; Dec 7, 2017 at 12:53 PM.
Thread Starter
Joined: Jan 2008
Posts: 2,002
Likes: 533
From: SF, California
@xpandabl3, i'm planning to put the new amplifier and subwoofer setup in the passenger quarter panel right over the factory Mark Levinson App location. Mount the amp to a base board and then fiberglass a box on top of it. but this will be after the air suspension is done.
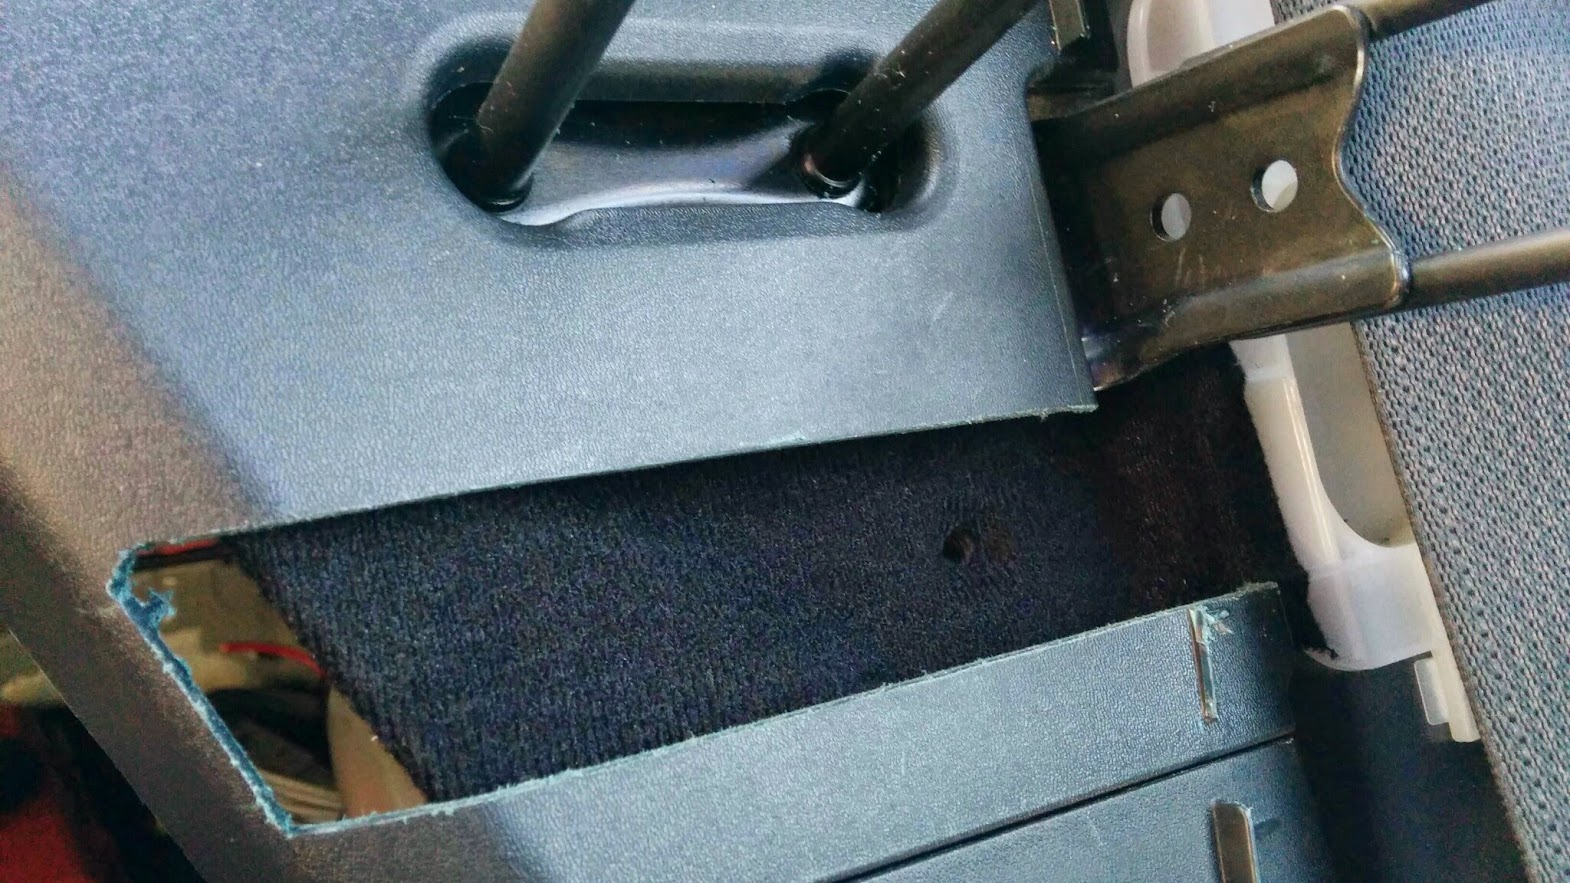
Did some more work tonight and dremeled out plastic panels to clear the bar I am using to mount the Tank etc.
Here is the factory threaded hole That was not being used that I mounted the bar to. There was one on each side and perfect height to where i needed it to be. Its like Lexus knew I needed this to be here =)


Rough cuts.


Filing it down to make it look clean.


Back on the car for test fit.


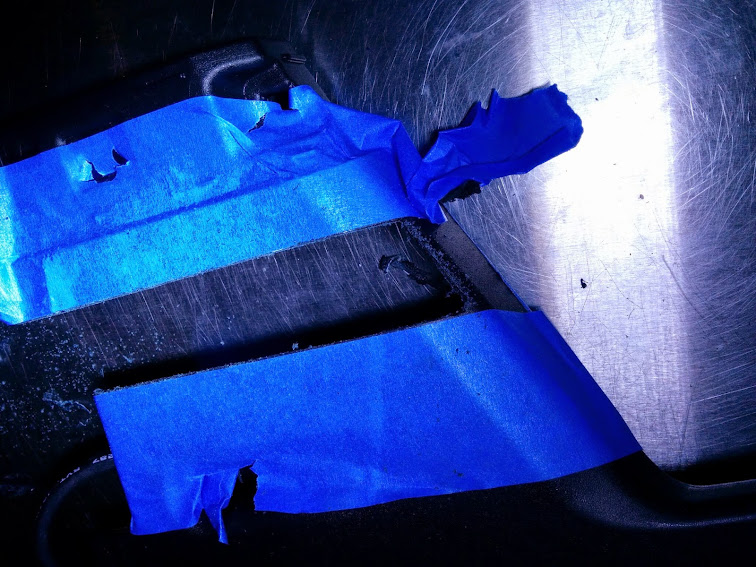
Tomorrow I will drop some felt tape where the blue tape is so that it will not be metal on metal and will not get scratched from the bar mounting when everything is finalized.
Check out the cool "brace bar" haha. fits around factory plastic panels

Did some more work tonight and dremeled out plastic panels to clear the bar I am using to mount the Tank etc.
Here is the factory threaded hole That was not being used that I mounted the bar to. There was one on each side and perfect height to where i needed it to be. Its like Lexus knew I needed this to be here =)
Rough cuts.
Filing it down to make it look clean.
Back on the car for test fit.
Tomorrow I will drop some felt tape where the blue tape is so that it will not be metal on metal and will not get scratched from the bar mounting when everything is finalized.
Check out the cool "brace bar" haha. fits around factory plastic panels
Last edited by specONE; May 23, 2014 at 11:22 PM.
Thread Starter
Joined: Jan 2008
Posts: 2,002
Likes: 533
From: SF, California
More parts

Whats in a box? two months wait
Happy there are finally here at least though


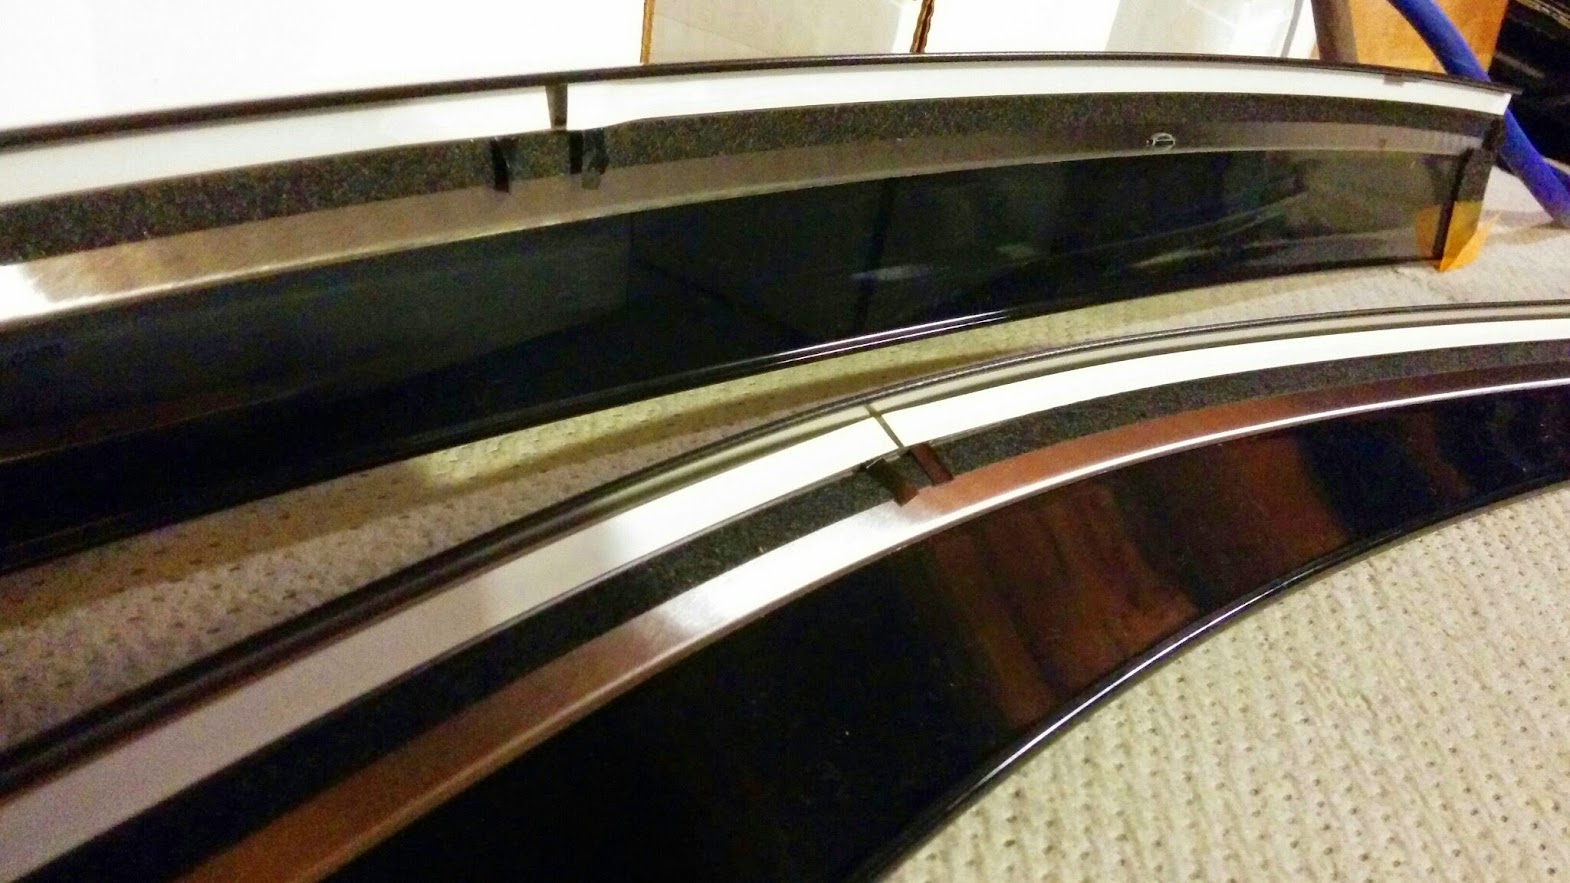
These JDM door Visors are some quality pieces. Some closeup of the mounting side.


installed


my old car paid a visit to meet the 3IS. Friend owns it now.

Some felt Tape to tape up the metal so there will be no metal on Metal contact.


powdercoat parts should come back sometime this week and it will be full steam ahead getting everything bolted down.
Whats in a box? two months wait
Happy there are finally here at least though
These JDM door Visors are some quality pieces. Some closeup of the mounting side.
installed
my old car paid a visit to meet the 3IS.
Friend owns it now.Some felt Tape to tape up the metal so there will be no metal on Metal contact.
powdercoat parts should come back sometime this week and it will be full steam ahead getting everything bolted down.


Thread Starter
Joined: Jan 2008
Posts: 2,002
Likes: 533
From: SF, California
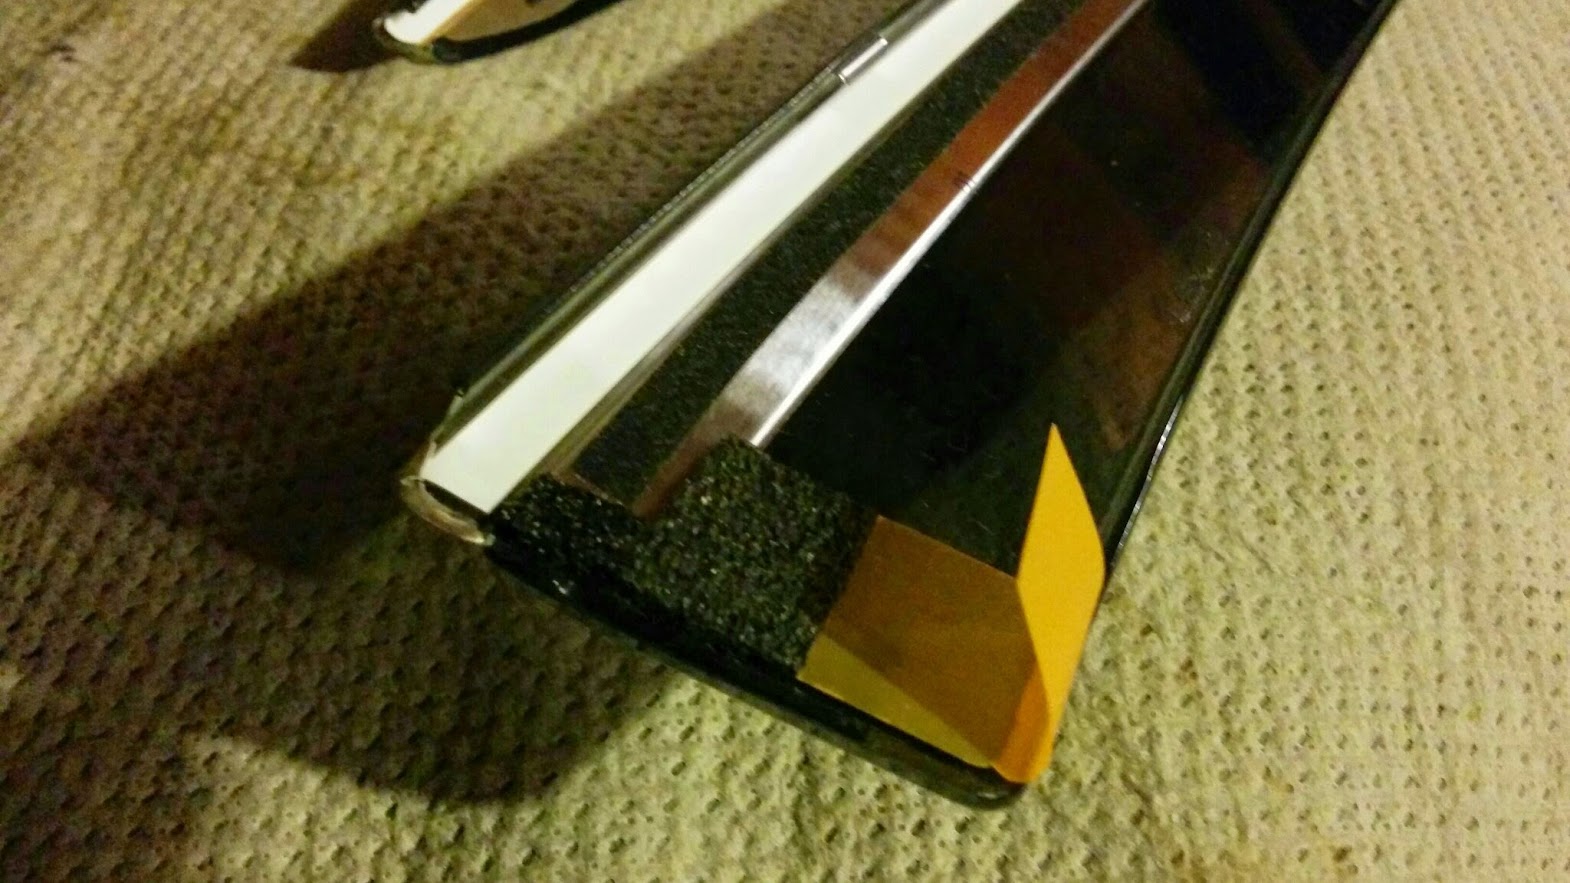
Just need to line them up and its double sided taped on. Do not have to remove anything.
You can get a set for yourself here http://ebay.to/2z2MO6l
Last edited by specONE; Feb 4, 2018 at 07:40 PM.


Thread Starter
Joined: Jan 2008
Posts: 2,002
Likes: 533
From: SF, California
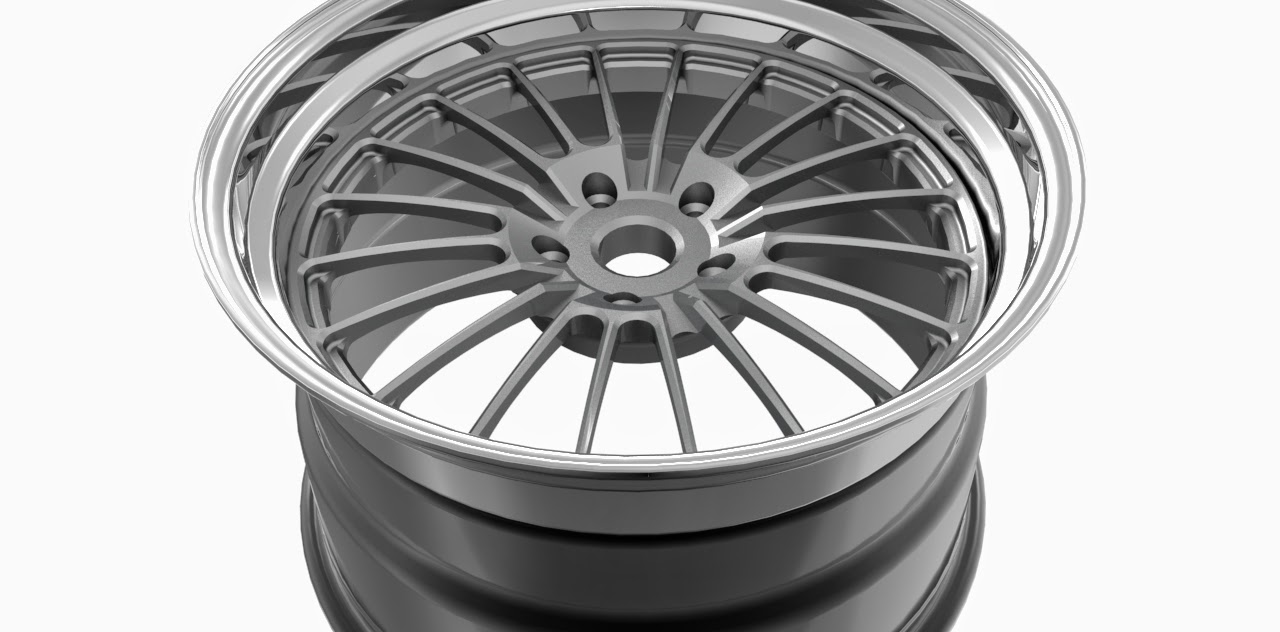
The wheels? I'll leave that a mystery for now. 
Offset and width I will be keeping it conservative. I want to be able to tuck and still drive without much modification to the fenders.
Will be doing pretty much same specs as xpandabl3 Aimgain wheels.
For the clips on the JDM Door Visors, They help guide and hold it into place on the door assisting the double sided tape. It is still mainly held on with Double sided tape.