How-To Tuesday: Fix Your Own Leaking Tire
Sure, there are a million places where, if need be, you can go get a leaky tire fixed up in no time, but you’re better than that. They’re your tires, so why not fix your own leaks?
Well, if you answered, “Because I don’t know how,” then that excuse is no longer valid, because this week’s How-To Tuesday article is going to show you just that.
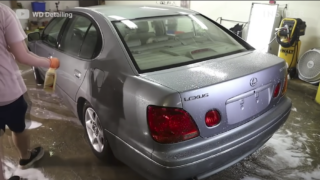
As far as realizing something is amiss, odds are good your Lexus will chime in with the warning light right away, seeing as how sensitive the tire pressure monitors are on these cars. If that happens, it’s time to get your DIY on stat, as a leaky tire isn’t something you want to be driving around on. I know you’re busy, but it should only take you an hour or so to get the job done right.
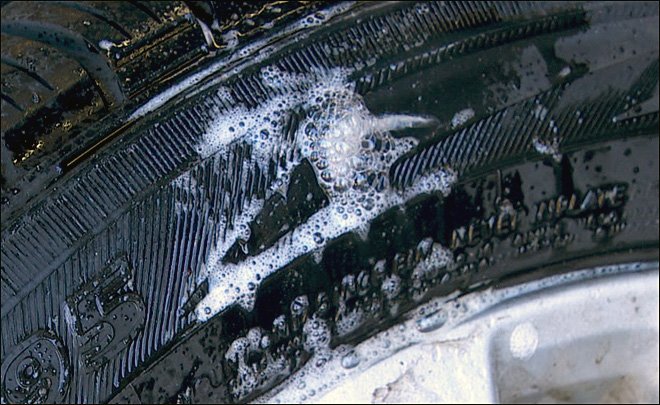
Once you gather the proper materials — tire plug kit, soapy water, diagonal pliers, and rubber cement — it’s just a matter of five simple steps. First, remove the tire and spray it with the soapy water, which will cause bubbles to show up where the leaks are. Second, remove the screw or nail, if need be. Third, thread the sticky plug and apply rubber cement. Fourth, remove the reamer (sounds fun, right?). And last, trim the excess plug and make it flush.
Then you just fill the tire back up with air and give her the soapy water treatment once again, just to make sure there’s no more leak.
There are occasions when you’ll need to call in the pros, so make sure to read today’s article before you get started DIYing something you can’t actually DIY. But for the most part, a leaky tire is something you can is easily fix yourself. So get to it!