Lexus IS: How to Install XM Satellite Radio
Installing XM radio on a Lexus without it isn't complicated and it's worth the effort. Learn how here.
This article applies to the Lexus IS (2005-2014).
A satellite radio install is merely a matter of adding a tuner in series with the amplifier. Lexus IS stereos are already equipped to handle XM, so the tuner is the only real missing link. Installing it isn't difficult, but it remains about a three hour job. The tuner is mounted to the Smart Key module in the trunk and uses the vehicle's existing antennae.

Materials Needed
- Metric sockets and wrenches
- Screwdrivers for popping out panel clips
- Special panel clip tools
- Plastic paint scrapers
- Rag or plastic insulating material
- Cell phone for taking pictures (recommended)
- Masking tape for labels (recommended)
Pro Tip
Take pictures as you go with your cell phone. Use masking tape on each connector, writing a label such as "Tuner-1" for each. Capture these in your pictures for reference.
Step 1 - Disconnect the battery
Remove the lead shown from the battery. Wrap it in an insulating material such as a rag or plastic to keep it from reconnecting or scratching paint.

Step 2 - Remove the panels from inside the trunk
The Smart Key module is located behind a body panel on the passenger side of the trunk. To access it, you'll have to remove the trim from the trunk. There are several fasteners, bolts, and clips holding the trim pieces in place. Refer to these diagrams for their locations before getting started.

Figure 2. Trunk clip/bolt location. 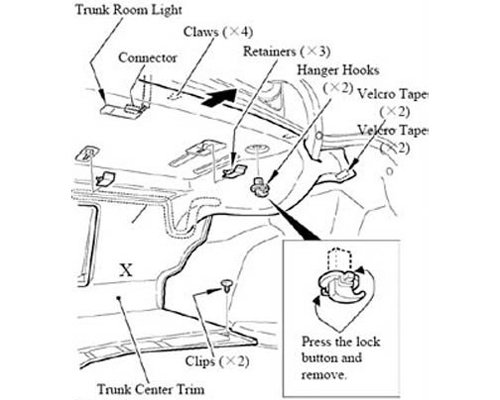
Figure 3. Additional clip locations. 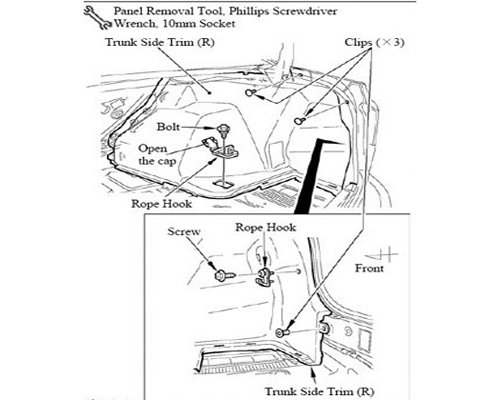
Figure 4. Another view of clip/bolt locations.
Begin by pulling up the trunk floor. It's not fastened in any way, so just pull up.
Next, remove the trim from the rear of the trunk (the side closest to the tail lights). It's held in by two 10mm bolts and three clips. The bolts are covered by black plastic covers. Usually a small, flathead screwdriver is all that's needed to pry the covers open. There are also three clips in this trim piece (and scattered throughout the trunk) that will need to be removed. Use a small flathead screwdriver to pry them out.
Figure 5. Some bolts are hidden in these recesses. Pry open the tops to access them. 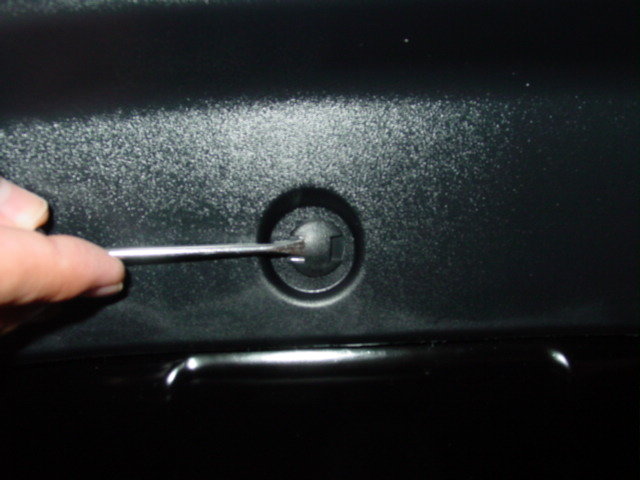
Figure 6. Remove these clips with a small flathead.
Remove the upper trunk panel next. It's held in place by two clips and three retainers. Remove the clips with the small flathead screwdriver. Remove the retainers by simply pulling them out. Now, pull it off its hangers and out of the trunk.
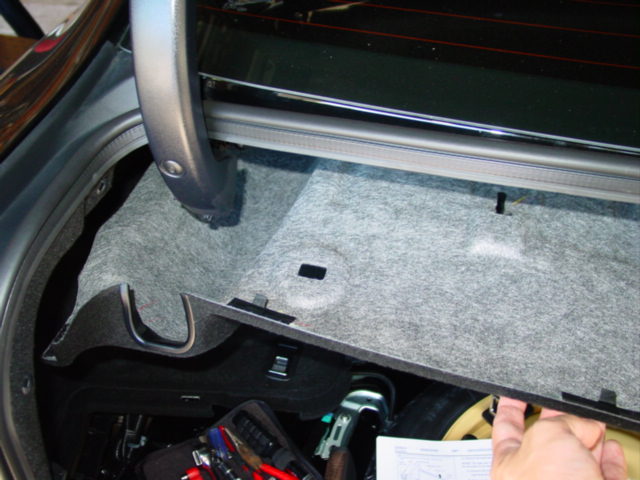
Figure 7. Remove upper trunk panel. 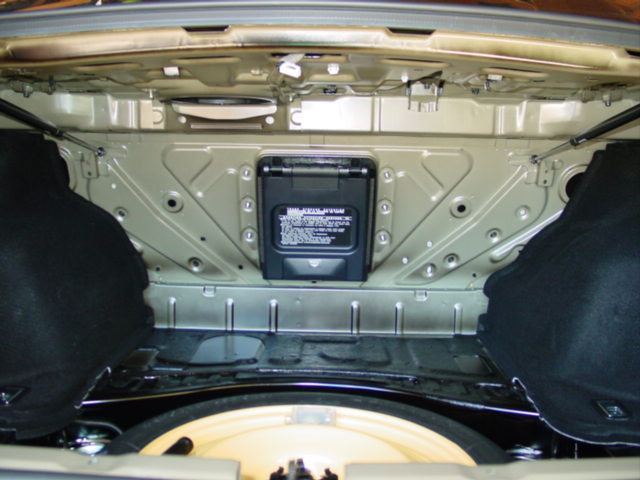
Figure 8. Upper trunk panel removed.
Finally, remove the passenger side trunk trim. It's held in by three clips, one Phillips head screw, and one 10mm bolt. Remove these and pull the panels from the trunk.
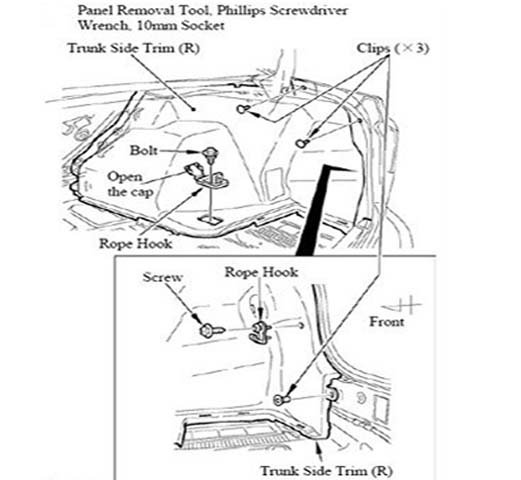
Figure 9. Remove the outlined panel. 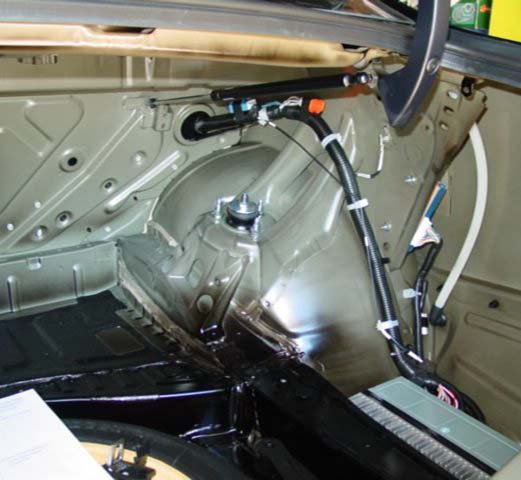
Figure 10. Passenger side trunk trim removed.
Pro Tip
Use a tackle box or cheap sectioned parts box to put the clips and bolts in. Place them in the box in sequence so that reassembly is a matter of reversing the order by replacing the fasteners in the box.
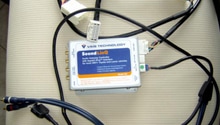
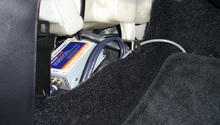
Step 3 - Remove the Smart Key box and install the tuner
The kit provides a bracket that uses the mounting screws of the Smart Key unit for mounting the tuner to the body. Remove the Smart Key unit, install the tuner to it using the bracket, then re-install the assembly as shown.

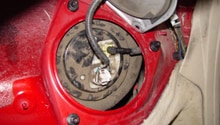
Figure 11. The Smart Key unit is tucked behind the body panel indicated by the arrow. 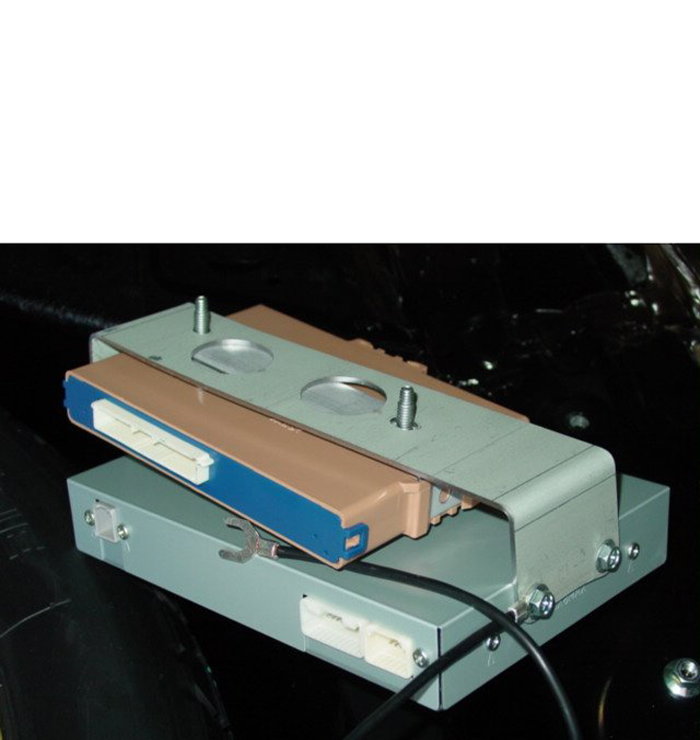
Figure 12. Attach the Smart Key unit to the XM receiver bracket. 
Figure 13. The tuner gets mounted with the Smart Key unit inside the bracket provided in the kit.
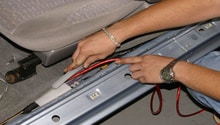
Step 4 - Connect amplifier to wiring harness
Remove the amplifier. It is easier to access the wiring by removing the amplifier. The wiring harness inserts in series with the amplifier wiring. Once you insert the wiring, install the amplifier in its original location.
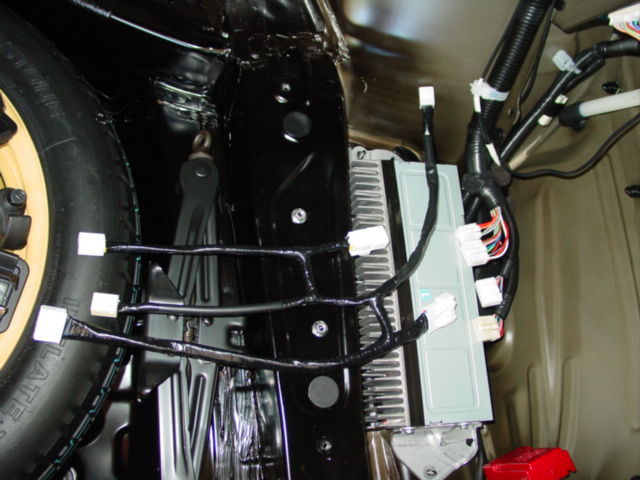
Figure 14. Amplifier wiring harness. 
Figure 15. Amplifier wiriing and antennae connection.
Once the amp is re-installed, tidy up all the extra cabling with zipties and fixing tape.
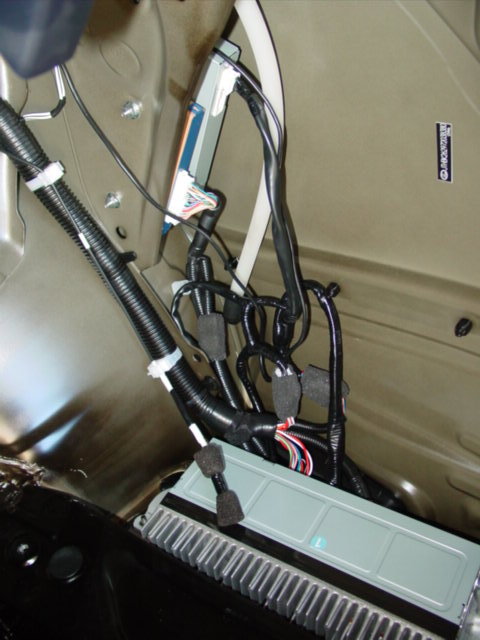
Figure 16. Zip-tie these cables together and tape them out of the way. 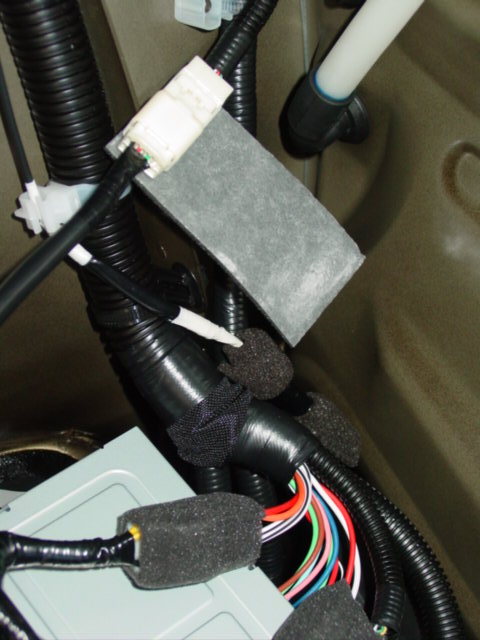
Figure 17. Thick fixing tape will reduce rattles from wire movement.
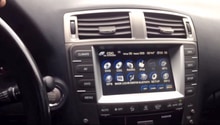
Step 5 - Reconnect the battery and power the system for testing
Reconnect the battery and turn the key to Accessory in order to power the radio. Then press the AM/Sat button. Test the system to ensure it is working.

Step 6 - Reassemble the panels
Install the back panel and side panel into their original locations. Re-install the trim pieces. Reassemble the panels in reverse order of assembly.
Featured Video: How to Install XM Radio in Lexus IS
Related Discussion
- DIY IS250/IS350 XM Radio Install - ClubLexus.com