This article applies to the Lexus IS 250, IS 350 (2005-2013).
Lowering the suspension system is a common modification that many Lexus IS drivers have implemented. This is an easy upgrade that involves replacing the springs with newer versions, which only requires minor tools and about half a day's effort.
Materials Needed
Metric sockets and wrenches
Spring compressor (returnable at most auto parts stores that have a lending program)
Hammer
Pry bar
Jack and jack stands
Step 1 - Raise the vehicle and remove the wheels
Loosen the lug nuts on your wheels before raising the vehicle as the leverage could knock it off the jack. Be sure to rest the vehicle on jack stands. Place the tire and rim under the vehicle to catch it in case it falls off the jack stands.
Step 2 - Remove the three nuts from the shock tower located under the hood
Use a 14 mm wrench to remove the nuts located under the hood. The three nuts are located on top of the wheel well.
Figure 2. The shock tower nuts.
Step 3 - Remove the bolts that hold the brake lines
Remove the two bolts holding the brake line to the shock absorber.
Figure 3. Remove brake line bolts. The arrow points to the brake line.
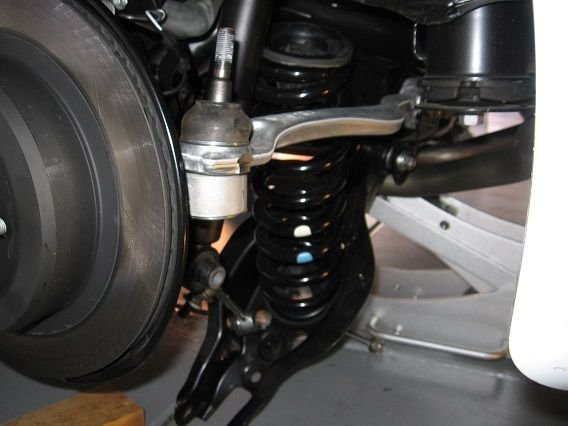
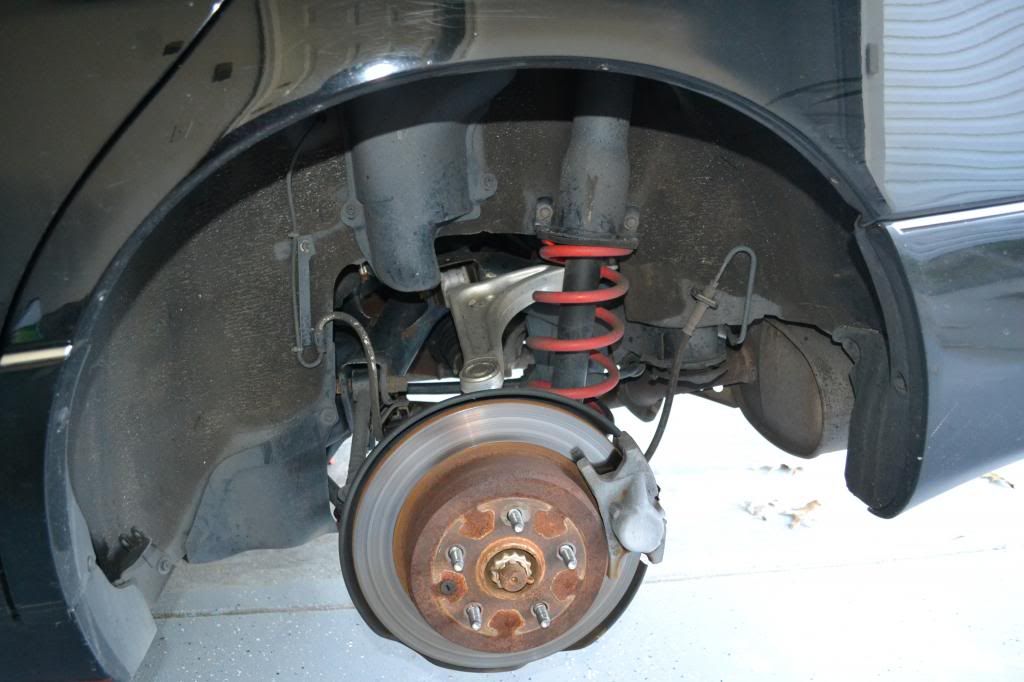
Step 4 - Remove the nut from the lower shock mount
Use a 17mm wrench to remove the nut that holds the bottom of the shock absorber.
Figure 4. The lower shock mount nut.
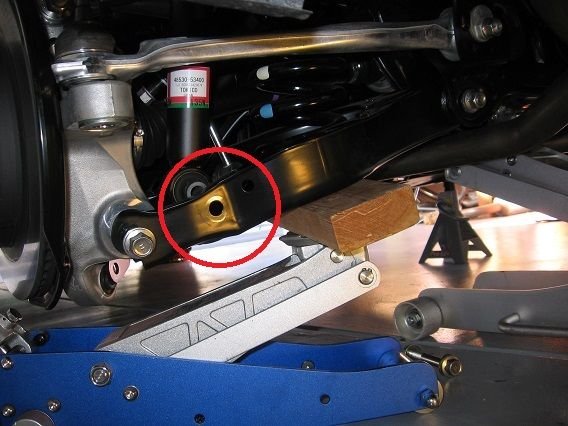
Step 5 - Remove the nut from the lower control arm and the end link
Use a wrench to remove the lower control arm (LCA) bolt and end link.
Figure 5. LCA bolt is indicated.
Step 6 - Remove the shock assembly
Use the jack to relieve stress on the A frame in order to get the bolts free, and remove the assembly.
Figure 6. A removed bolt.
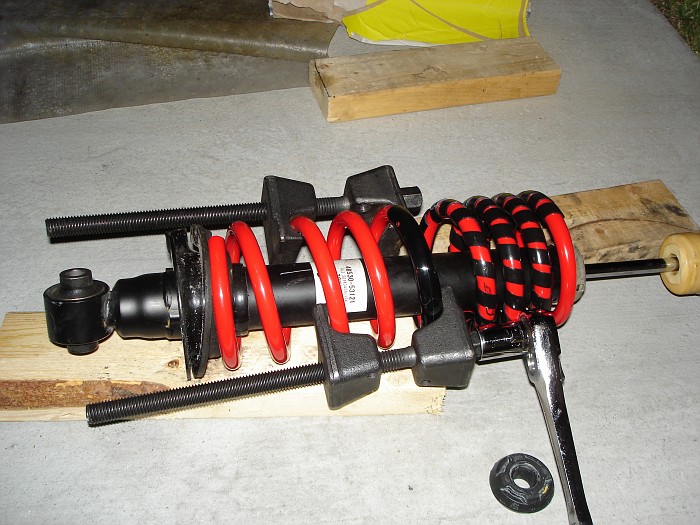
Step 7 - Remove the spring
Loosen the nut that holds the spring and then lower the jack. You may have to use a spring compressor or pry bar in order to remove the spring.
Figure 7. Lower the jack and suspension arm.
Figure 8. Using a compressor to remove spring.
Pro Tip
Wear safety glasses and gloves as many of these items are under pressure or stress from the suspension system and weight of other components.
Step 8 - Insert the new spring and assembly
You may have to use a spring compressor in order to insert the new spring. In most cases, a lower spring is not as tall as the original and slips right in. After you set the new spring in place, put the cover back on and tighten the bolt.
Figure 9. A spring compressor helps shorten the spring for easier installation.
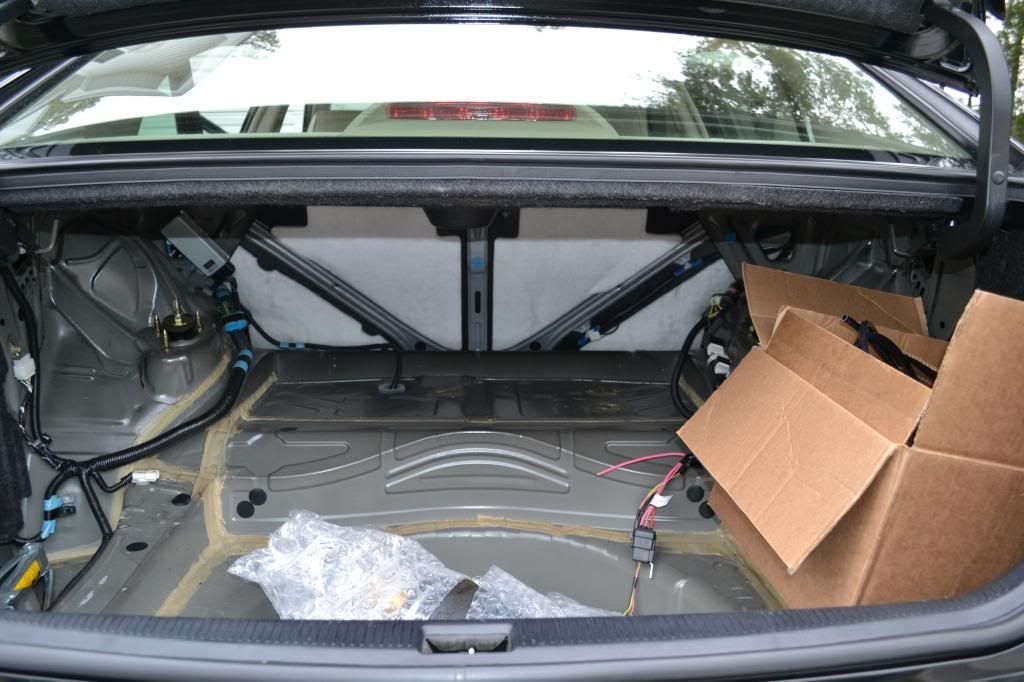
Step 9 - Repeat the procedure for the back springs
The back springs are similar to the front with three upper bolts located in the trunk and a single lower bolt. Remove the three belts from the trunk, then remove the one bolt holding the bottom shock absorber in place, and wiggle it out. Use the same procedure in steps 7 and 8 to remove the spring from the shock, install the new spring, and re-install again.
Figure 10. View of the upper shock bolts for the back springs.
Figure 11. Remove the two bolts that hold the shock to the body.
How to Replace Front Shocks
Here is how to replace the front shocks on your Lexus IS yourself and save the labor cost.
This article applies to the Lexus IS (2005-2013).
A vehicle's suspension contributes to its ...
How to Replace Rear Shocks
Replace your rear shocks on your lexus IS with these easy steps.
This article applies to the Lexus IS (2005-2013).
Replacing the rear shocks on your Lexus IS is part of the maintenance ...
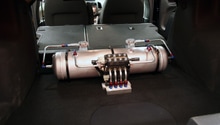
How to Install Airbag Suspension
Air bag suspension kits increase the versatility of your Lexus by allowing you to adjust ride height and stiffness.
This article applies Lexus IS (2005-2013).
Installing airbag ...
How to Install Lowering Springs
Learn how to install lowering springs on your Lexus IS or GS.
This article applies to the Lexus IS and GS (2005-2013).
Lowering the Lexus IS or GS is one of the most popular ...
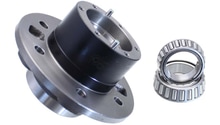
How to Replace Your Wheel Hub Bearing
A wobbly wheel can mean more than just a loose lug nut or low air pressure on your Lexus.
This article applies to the Lexus (2005-2013).
If you ever feel a little play or ...
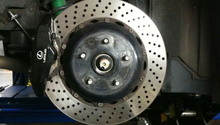
How to Change Brake Disc
A grinding sound or a shudder when braking could be a sign your Lexus IS needs new rotors.
This article applies to the Lexus IS 250, IS 350, IS F (2004-2014).
If you hear a grinding noise ...