Lexus: How to Repair Scratches and Paint Chips
Make those pock marks and divots in your Lexus' paint disappear with these simple steps.
This article applies to the Lexus IS, GS, ES, and RX (2005-2014).
Nothing ruins the thrill of driving a luxury vehicle more than a damaged paint job. Even if the curves on your Lexus are breathtaking, the engine purrs like a kitten, and the car corners like it's on rails, the experience just isn't the same. Nevertheless, life happens and sometimes your luxury car gets dinged as part of the journey. If your Lexus needs a little TLC in the paint department, consider taking on the task yourself. The reward for doing paint repair yourself is more than just a sparkling exterior; it's also a great way to tap into your creative side and turn a minor hassle into a little project. On the other hand, if you're worried that your handiwork might further weather the exterior of your Lexus, taking it to the pros is always an option.

Materials Needed
- Dr. ColorChip Basic Paint Chip Repair Kit
- Car washing supplies (soap, hose, buckets, microfiber sponge)
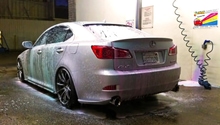
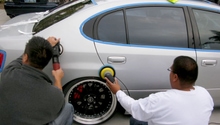
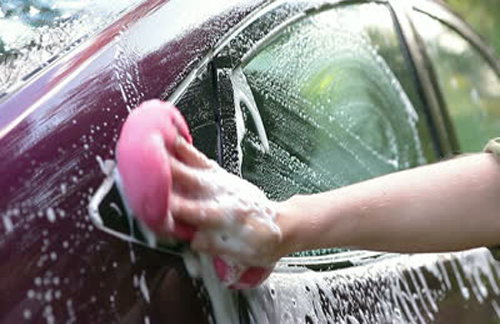
Step 1 - Wash and dry the car
Clean the Lexus with car soap and a microfiber sponge. We suggest using the two bucket method to ensure that the paint doesn't get scratched accidentally by dust and dirt particles. Just be certain that your Lexus IS is debris-free and dry.
(Related Article: How to Wash and Wax Your Lexus - ClubLexus.com)
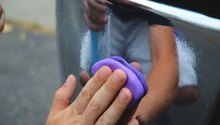
Step 2 - Apply ColorChip paint to the damaged area
A small amount of paint applied evenly to the chip(s) should do the trick. While the paint might appear dry just a few minutes after application, wait two hours before moving onto Step 3.
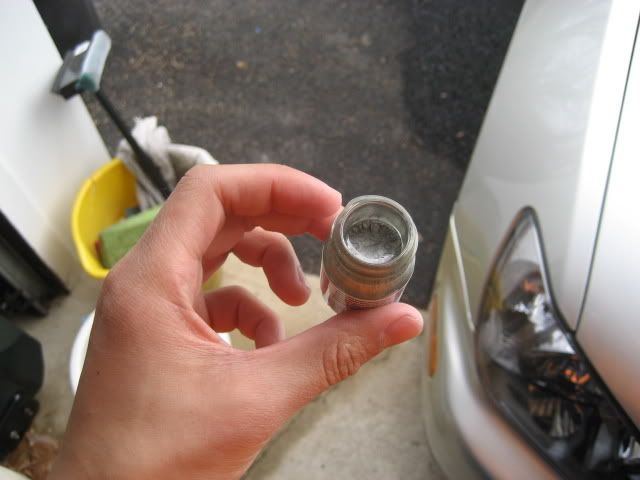
Figure 2. A ColorChip paint container. 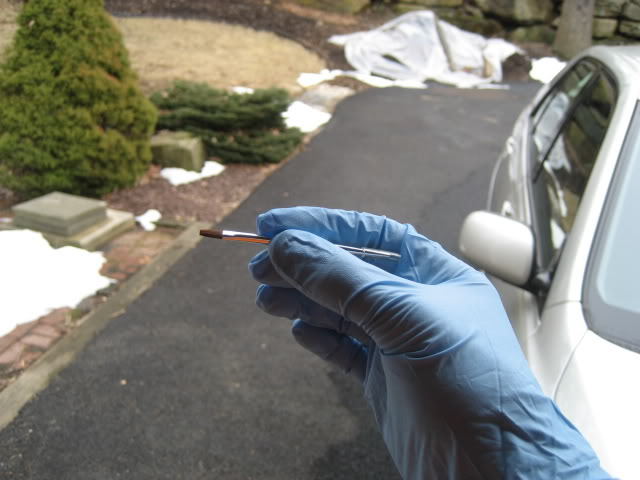
Figure 3. Apply paint to chipped area with brush. 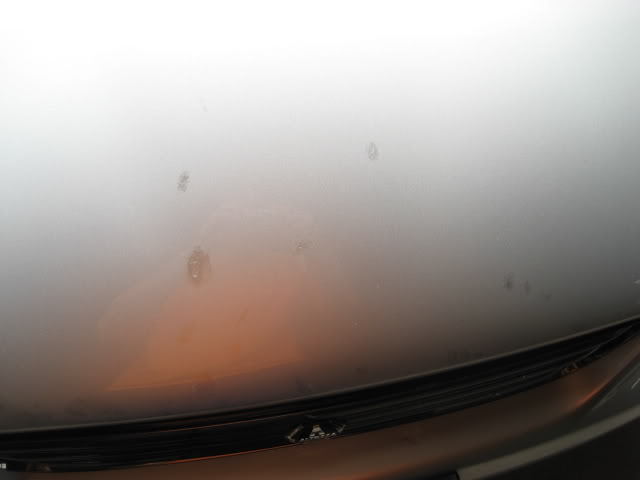
Figure 4. Apply paint smoothly to surface.
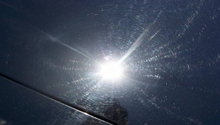
Step 3 - Buff with the sealant
Use an old t-shirt or used rag to lightly buff the section of the car with new paint. Buff in a slow, soft circular motion to avoid removing the replacement paint you applied in Step 2.
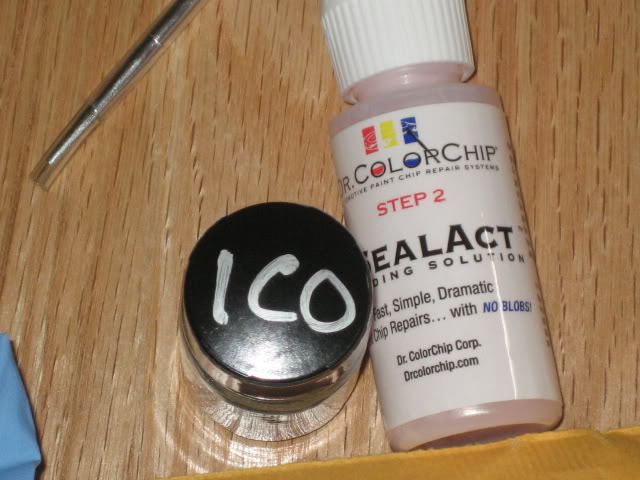
Figure 5. Sealant will keep the paint from getting damaged by the sun or chemicals. 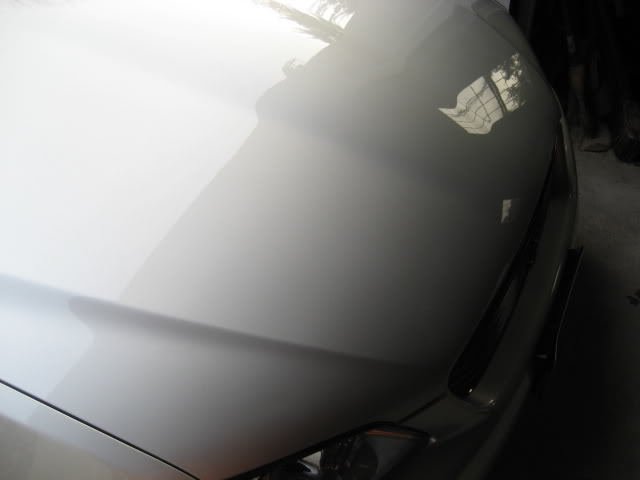
Figure 6. Damaged area after sealant and buffing.
Those three simple steps are all you need if you repair your paint job with a Dr. ColorChip kit. If you wish to save even more money, you could purchase the necessary products separately for around $30, but the useful instructions will not be included if you choose to go this route.
Featured Video: Repairing Scratches/Paint Chips
Related Discussions and Sites
- Dr. ColorChip DIY Review - ClubLexus.com
- Dr. ColorChip Basic Paint Chip Repair Kit - Drcolorchip.com
- Auto Scratch Repair - Paintscratch.com
- A Little How-To on Chip Repair - ClubLexus.com