Lexus: How to Protect Your Paint
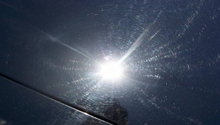
Start protecting your car's paint now, even if you just have thirty minutes. A thorough cleaning followed by the best paint protecting materials can make your car look noticeably shinier and refreshed.
This article applies to the Lexus IS, GS, ES, RX (2005-2014).
Long commutes to work each week, not to mention the occasional road trip, quickly rack up the mileage. If you're like most drivers, you know that your car demands basic maintenance to keep running strong. Although routine oil changes and services are great for your car's health, you can keep the outside looking healthy by protecting the vehicle's paint. Some drivers opt for a clear coat to protect the front end of the car, which is often factory installed, but you can save time and money by tackling the issue with a few basic tools and a free afternoon.

Materials Needed
- One or more microfiber/terry towels
- Clay bar for car paint
- Bucket
- Car soap
- Hose
- Sealant or wax
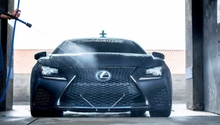
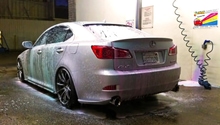
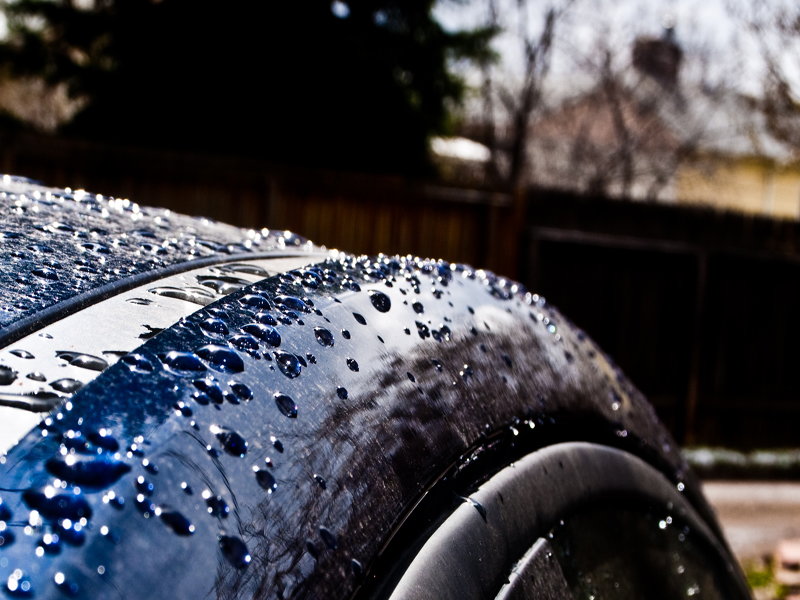
Step 1 - Rinse the car
This important step might seem basic, but it's crucial for figuring out what kind of shape your car's paint is in. On well-protected paint, water drops appear in tight, uniform beads after you hose the car down. However, water drops fail to bead or form poorly-shaped beads on sub-par paint.
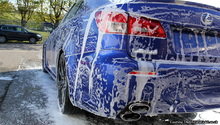
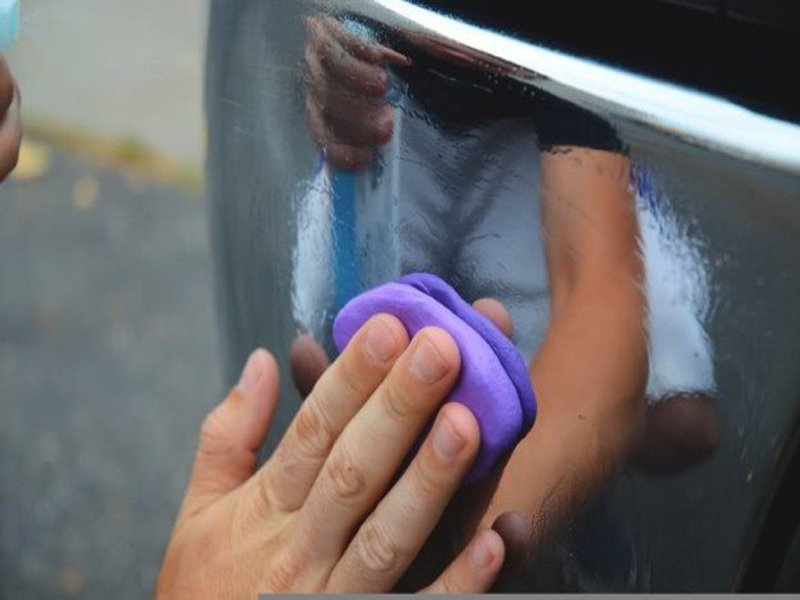
Step 2 - Clean with the clay bar
The clay bar effectively moves dirt and debris by reaching farther into the paint than a typical sponge would. Simply glide the clay bar over small sections at a time using very little pressure. Continue to go over the area until the bar is no longer picking up contaminants and debris. Repeat this step until you've completely cleaned the car's exterior. When you're finished, remove the clay buildup with a clean microfiber cloth or towel.
Pro Tip
The paint should be clean and cool to the touch before using the clay bar.
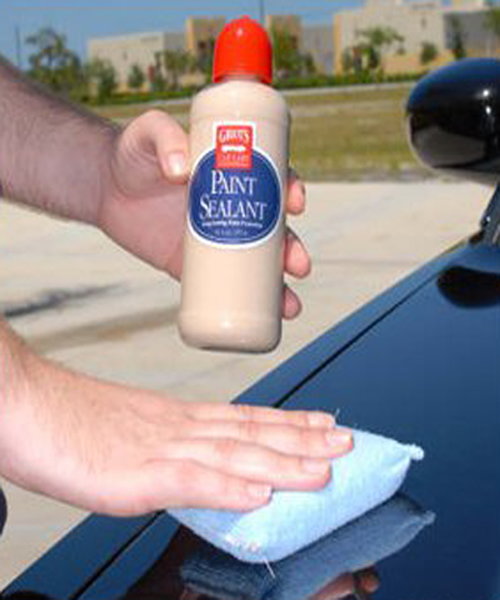
Step 3 - Seal the paint
Spray a small amount of sealant onto the paint, and use a clean terry cloth to rub it into the paint. For best results, use front-to-back motions on the top panels and up and down motions on the side panels.
Pro Tip
Some drivers rely on sealant or wax for paint protection. The best way to keep your paint looking its best is to first seal the paint then apply a layer of wax. Synthetic sealants use polymers to bind to the vehicle's paint, giving three to six months of protection. Most waxes are actually stronger than sealants but typically provide just three to eight weeks of protection.
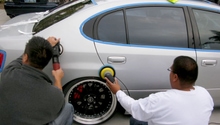
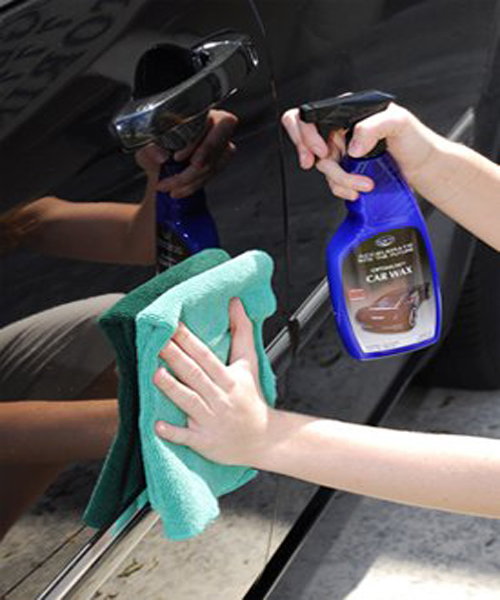
Step 4 - Apply wax
Start with a small, inconspicuous area if this is the first time applying wax to the vehicle. Spray or rub the wax on, then immediately buffer it into the paint with a (clean) soft cloth or towel. If there's discoloration or some other reaction, stop using the wax. If not, continue waxing the whole panel. Repeat this process until you've waxed all of the car's paint.
Pro Tip
Avoid abrasive waxes if the car is dark-colored or has a clear coat or sensitive lacquer finish.
Related Discussions and Sites
- Is Your Paint Protected? - ClubLexus.com
- Exterior Paint Protection - ClubLexus.com
- How to Apply Car Paint Sealant - Autos.com
- How to Use a Clay Bar - Paintcaredetailing.com
- How to Wax Your Vehicle - Dummies.com