
Battle Version Solid rack spacer and tie rod install
 07-31-16, 10:54 AM
#1
This is honestly one of the best investments you can make. These solid spacer cost 40$ and will remove so much slop in your steering. It took me about 30 minutes to swap out the bushings and re install the rack. THIS IS INCREDIBLY EASY TO DO!
3/8 socket wrench
14mm socket
17mm socket
3" 3/8 extension
needle nose pliers
small butane torch
Start off by removing the factory cross brace. It will be four 14mm bolts, two on each side.
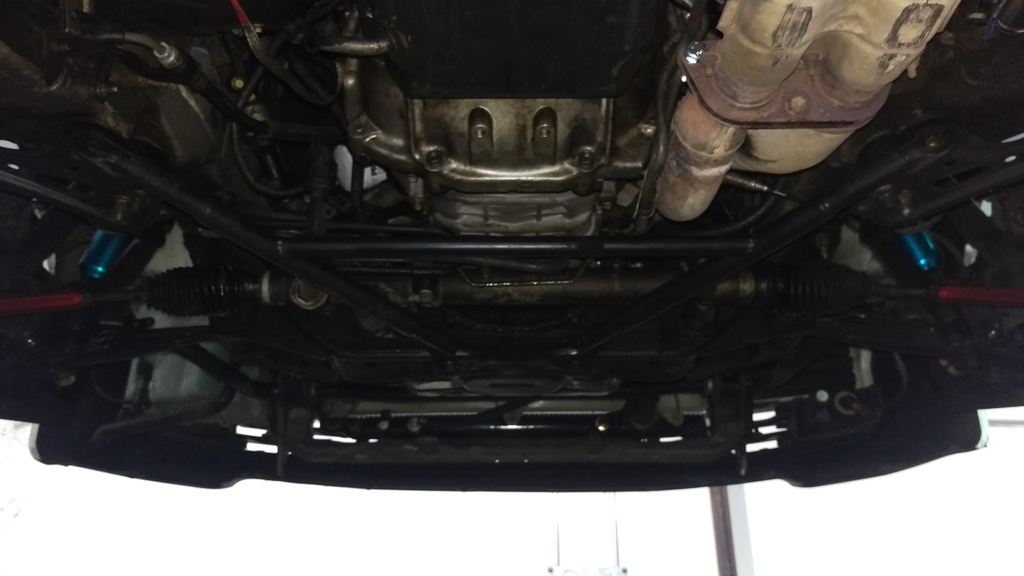
once you got that off, use your socket wrench and 17mm sockets to remove the four bolts holding the rack. The two on the passenger side are fairly easy to get to, the driver side you will need to use and extension and work your way around the p's line. Once those are off go ahead and let the rack hang. The tie rods will be hold it up and give you plenty of room to work on it.
as you can see my bushing were already in pretty bad shape.
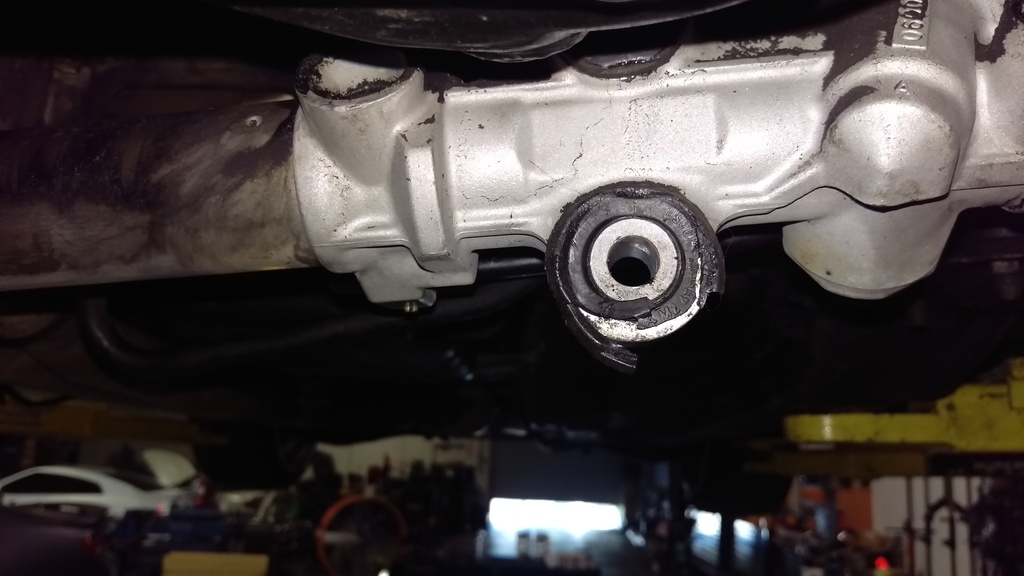
So here is where the torch will come in handy. Apply a little bit of direct heat to the rubber bushing, once you see it start to bubble a bit, grab a set of needle nose pliers and you will pull the bushing out.
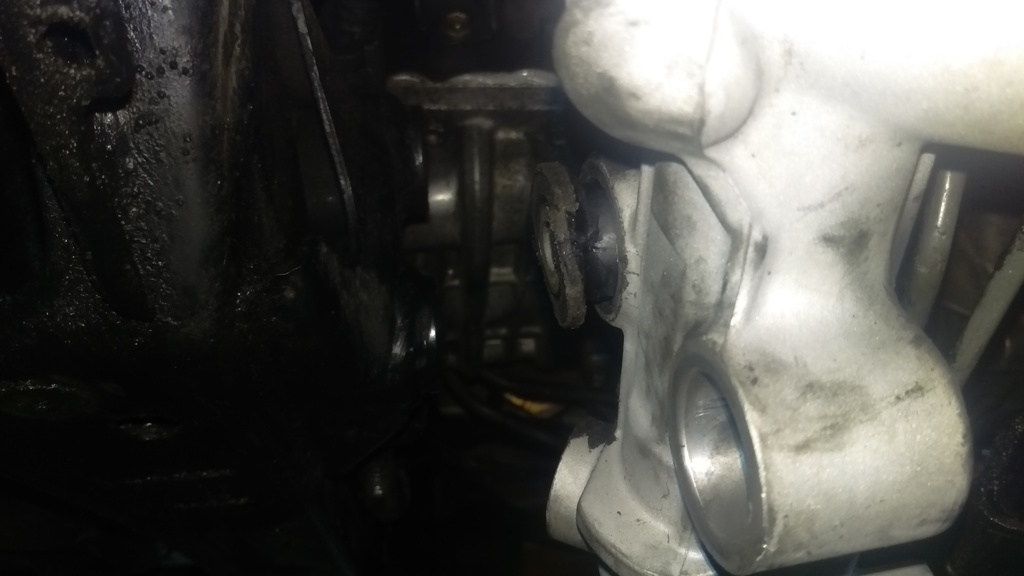
Once you have both bushing out make sure that the inside of the hole are clean and free of any rubber or residue. After you made sure its all clean the new solid spacers will slip right in. You should not have to beat them in or force them in. If you find your self having to do either of those then there is something wrong and you need to stop. Double check that you are putting the spacer in straight, there isn't any rubber left over inside, or that there is any scoring or damage.If installing these correctly you should be able to put them in by hand with some firm pressure.
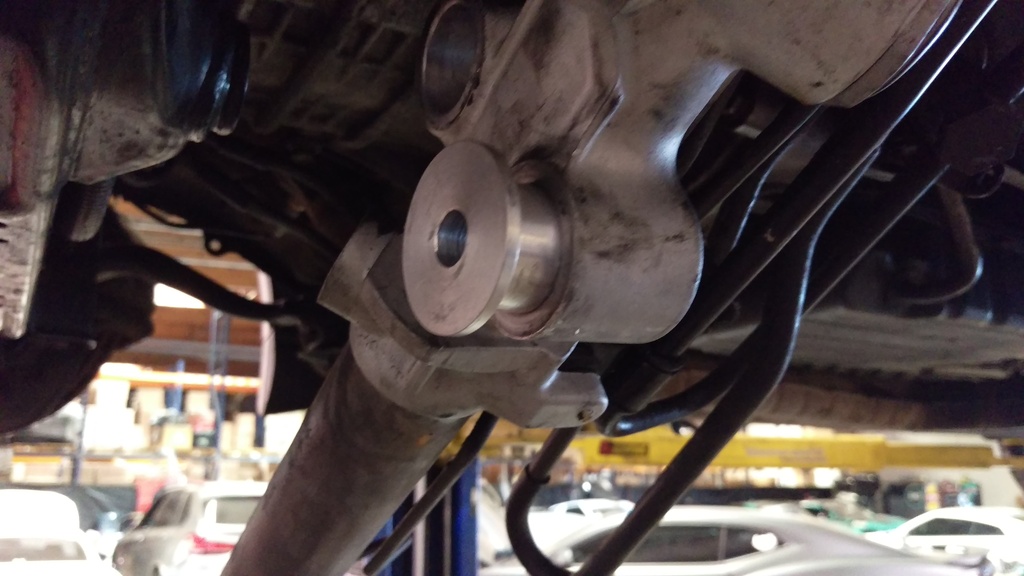
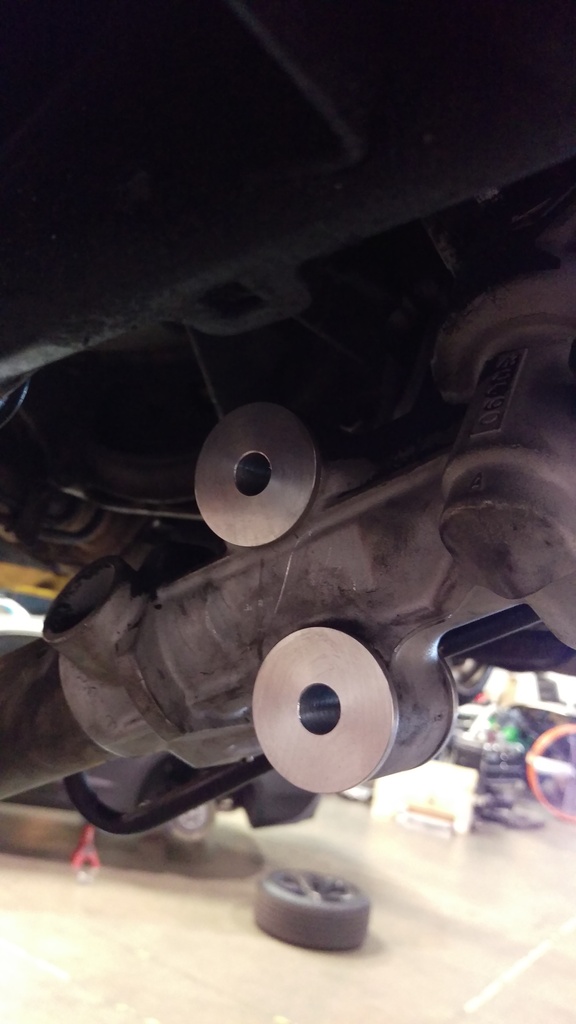
Re install the four bolts holding your rack, then re install the factory cross brace and you are all done with the rack spacers. Car felt night and day after the solid bushing install. If you have replacement tie rods I would also recommend doing them at this time.


 08-03-16, 12:44 PM
#4
They are a bit rigid for a daily driver. but hey, every other bushing on my car has already been swapped to a solid spacer or monoball. If your car is mostly stock then maybe these might not be what you are looking for.
10-11-16, 09:56 PM
#5

Have you gotten tired of these yet? Can you explain if you feel more information from the road to the tires to the steering wheel vs stock rubber bushings? There are a few companies that make the poly bushings for the passenger side as well.
Last edited by GS400V8; 10-12-16 at 09:46 AM.
10-12-16, 09:42 AM
#6
I still like it. The steering feels much more direct since I put them on. I'm using a poly bushing for the passenger side, but I machined a few delrin pieces too. I'm going to try those out and see how that feels with the solid spacers

Thread
Thread Starter
Forum
Replies
Last Post