When you click on links to various merchants on this site and make a purchase, this can result in this site earning a commission. Affiliate programs and affiliations include, but are not limited to, the eBay Partner Network.
New Head Unit, Mic in OEM Location and Back Up Camera
Hey everyone, I started the Head unit replacement with the Beat Sonic, pioneer AVH-X5700BHS head unit, Pioneer XM module and a back up camera.
I looked in my shop manuals and located the section on the factory phone that was offered in the beginning. It showed the microphone located in the overhead light area. I will post some pictures later on.
I plan to mount the XM antenna right behind the plexiglass, one of our regulars did this and I like the placement.
Like I said, pics will be coming...I was just in a rush today and did not finish the job...
Well, time to start the Memorial Day weekend...
Please remember, Some Gave All, but All Gave Some! Salute! POW, You Are Not Forgotten!
I plan to mount the XM antenna right behind the plexiglass, one of our regulars did this and I like the placement.
I think that might be me. I was thinking about this while driving today, now that the trees have leaves. I definitely get signal drops for a couple of seconds now and then. I'm not exactly sure why that doesn't bother me, but it doesn't in the least. Just a word of warning.
I need some help. Please tell me what wires I connect together for the power antenna, so that it goes up when the radio is turned on. Beatsonic and pioneer AVH-X5700BHS
The blue/white wire (REMOTE) coming off the Pioneer head connects to the antenna wire on the Beatsonic.
Originally Posted by Bgw70
I need some help. Please tell me what wires I connect together for the power antenna, so that it goes up when the radio is turned on. Beatsonic and pioneer AVH-X5700BHS
Before I button everything up I am going to test it. I will let you know.
I purchased the DVD bypass cable on Amazon and it has you use the the blue wire and it says not to use the blue wire for the antenna. It says to use the red acc.
I went ahead and connected the blue antenna wire to the blue radio and override wires. The movie still played and the antenna went up and down as it should.
Yeah, I think I remember mine saying not to use it as well, but I did anyway and it works fine. If you use the red accy wire the antenna will go up every time the ignition switch is turned on.
Originally Posted by Bgw70
Before I button everything up I am going to test it. I will let you know.
I purchased the DVD bypass cable on Amazon and it has you use the the blue wire and it says not to use the blue wire for the antenna. It says to use the red acc.
I went ahead and connected the blue antenna wire to the blue radio and override wires. The movie still played and the antenna went up and down as it should.
Yeah, I think I remember mine saying not to use it as well, but I did anyway and it works fine. If you use the red accy wire the antenna will go up every time the ignition switch is turned on.
A big tks Helo! I was looking for some advice from someone who connected the blue wire to the antenna. I bet they advise against it because it may intermittently cause issues with the DVD player.
Well, to be honest I haven't used the DVD player on mine, so I surely hope it doesn't!
Originally Posted by Bgw70
A big tks Helo! I was looking for some advice from someone who connected the blue wire to the antenna. I bet they advise against it because it may intermittently cause issues with the DVD player.
A big tks Helo! I was looking for some advice from someone who connected the blue wire to the antenna. I bet they advise against it because it may intermittently cause issues with the DVD player.
This radio was my wife's birthday present and she told me again today how much she likes the new radio, with all of the new features and how much better it makes the ML amp and speakers sound.
Two of my findings, the microphone was installed in the stock location and it sounds fantastic! No issues at all, very clear. If you look back in the pictures you can see the placement is in the overhead light home link assembly.
My other find was the recommendation from the barking brake bypass maker. They said I should not connect the beat sonic to the radio antenna wire and that I should connect it to the acc wire.
Helo and I both connected them and I can say that I have not had issues playing movies.
Now for my new question, did anyone connect the head unit reverse camera control wire to the reverse lights? I believe this wire will make the head unit switch to the video port when the wire receives 12vdc from the reverse lights.
Glad to hear the mic works good in that position. I see a minor project soon.
What issues did that wire cause with DVD's? Although I don't really plan on playing DVD's on mine, if it causes issues I may go back and re-wire it, although I would have to install some sort of switch to drop the antenna for car washes.
Originally Posted by Bgw70
This radio was my wife's birthday present and she told me again today how much she likes the new radio, with all of the new features and how much better it makes the ML amp and speakers sound.
Two of my findings, the microphone was installed in the stock location and it sounds fantastic! No issues at all, very clear. If you look back in the pictures you can see the placement is in the overhead light home link assembly.
My other find was the recommendation from the barking brake bypass maker. They said I should not connect the beat sonic to the radio antenna wire and that I should connect it to the acc wire.
Helo and I both connected them and I can say that I have had issues playing movies.
Now for my new question, did anyone connect the head unit reverse camera control wire to the reverse lights? I believe this wire will make the head unit switch to the video port when the wire receives 12vdc from the reverse lights.
Glad to hear the mic works good in that position. I see a minor project soon.
What issues did that wire cause with DVD's? Although I don't really plan on playing DVD's on mine, if it causes issues I may go back and re-wire it, although I would have to install some sort of switch to drop the antenna for car washes.
Hey Helo, I have not had any issues with the wiring configuration and have briefly played movies while the car is in motion.
I previously forgot the word "not" in my sentence.
Hey Helo, I have not had any issues with the wiring configuration and have briefly played movies while the car is in motion.
I previously forgot the word "not" in my sentence.
Well I went back and finished the install today. I moved the XM antenna from the temp location to the permanent location just forward and on top of the package tray and just aft the plexiglas. I decided not to put it under the plastic piece next to the GPS antenna.
I also installed the back up camera. I pulled power for the camera and the wire on the radio that will switch the radio screen when the shifter is placed in reverse from the luggage area junction box, it was very simple and I did not need to cut or splice any wires.
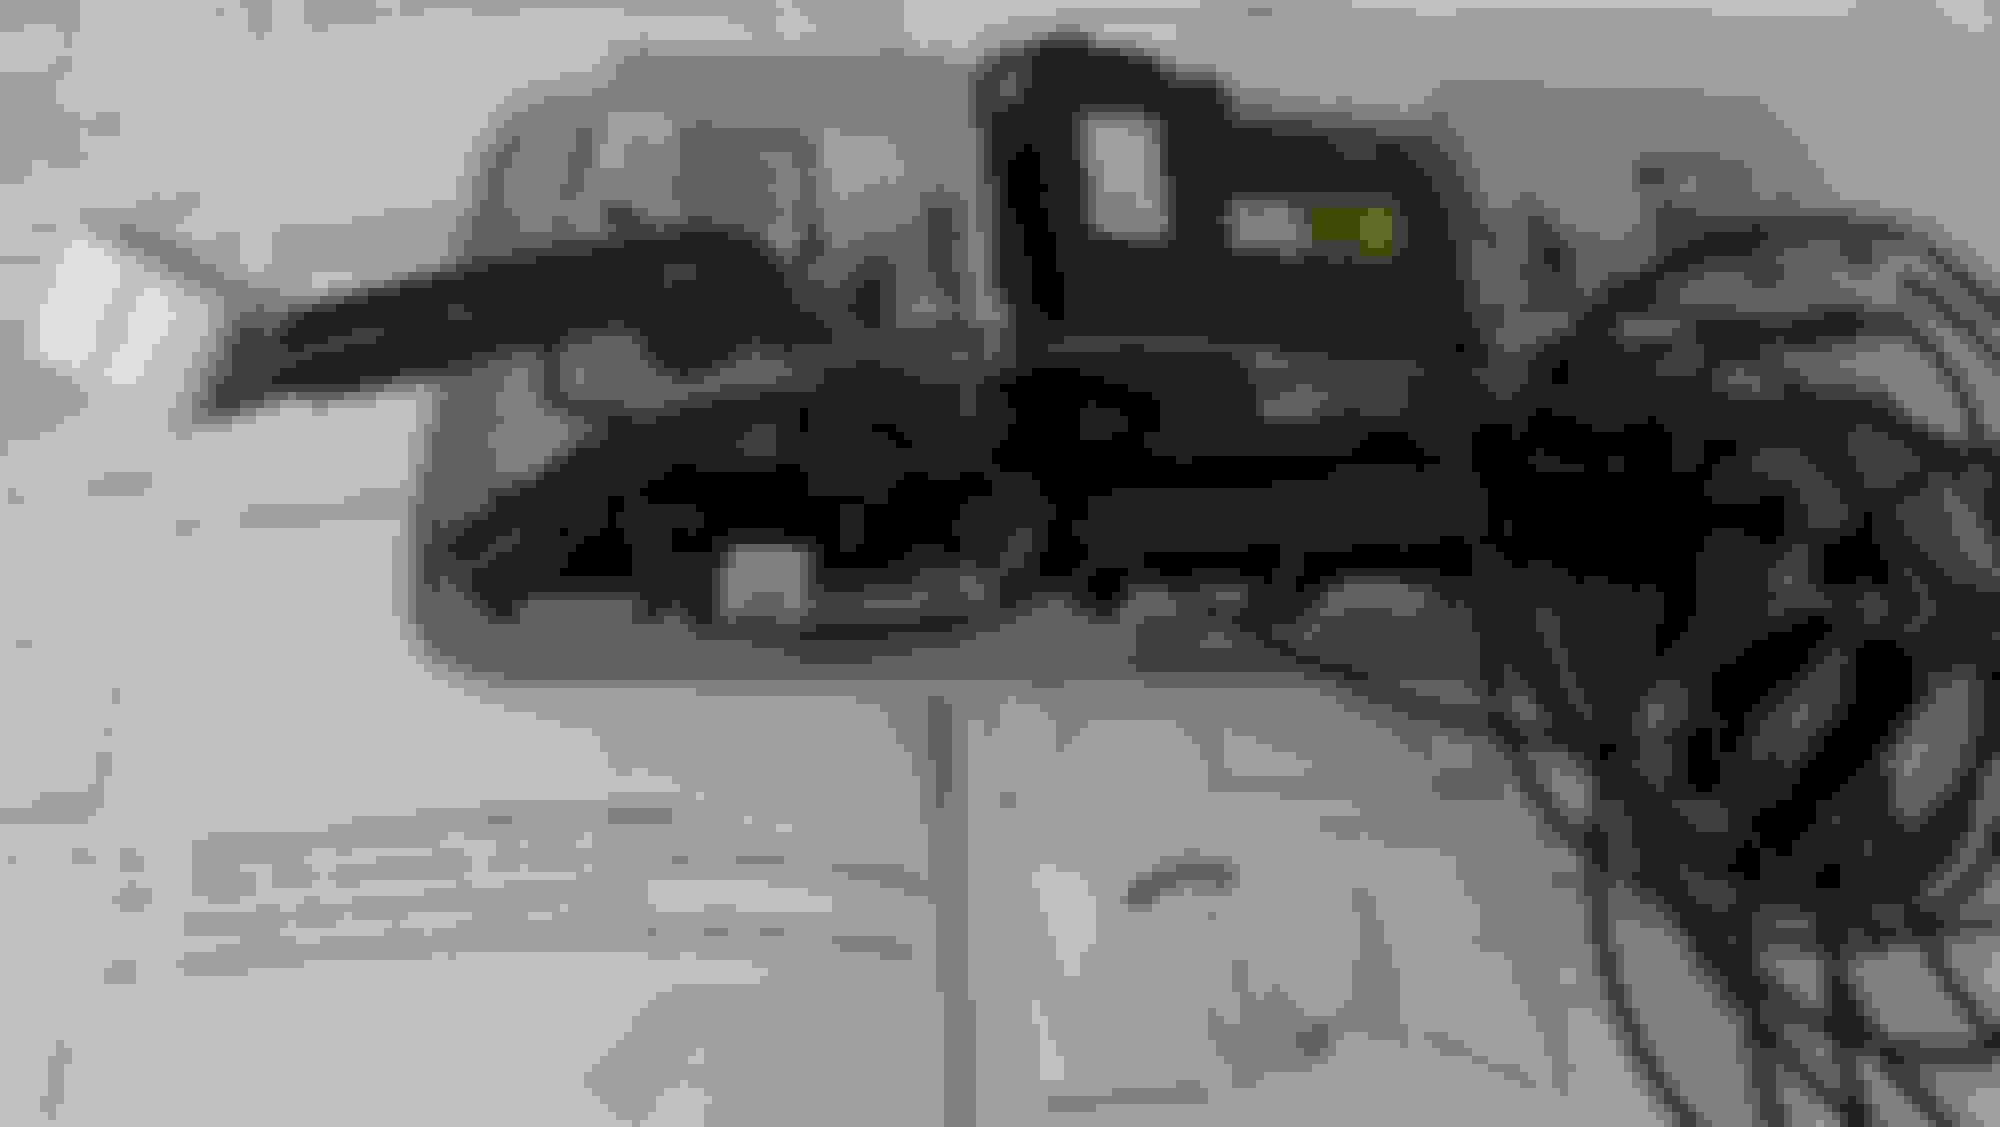
Disassembled the backend
This is looking to the rear, I used one of the backup light access holes to run the camera wires. Look at the left one, this is the one I used and it is loose in the picture.
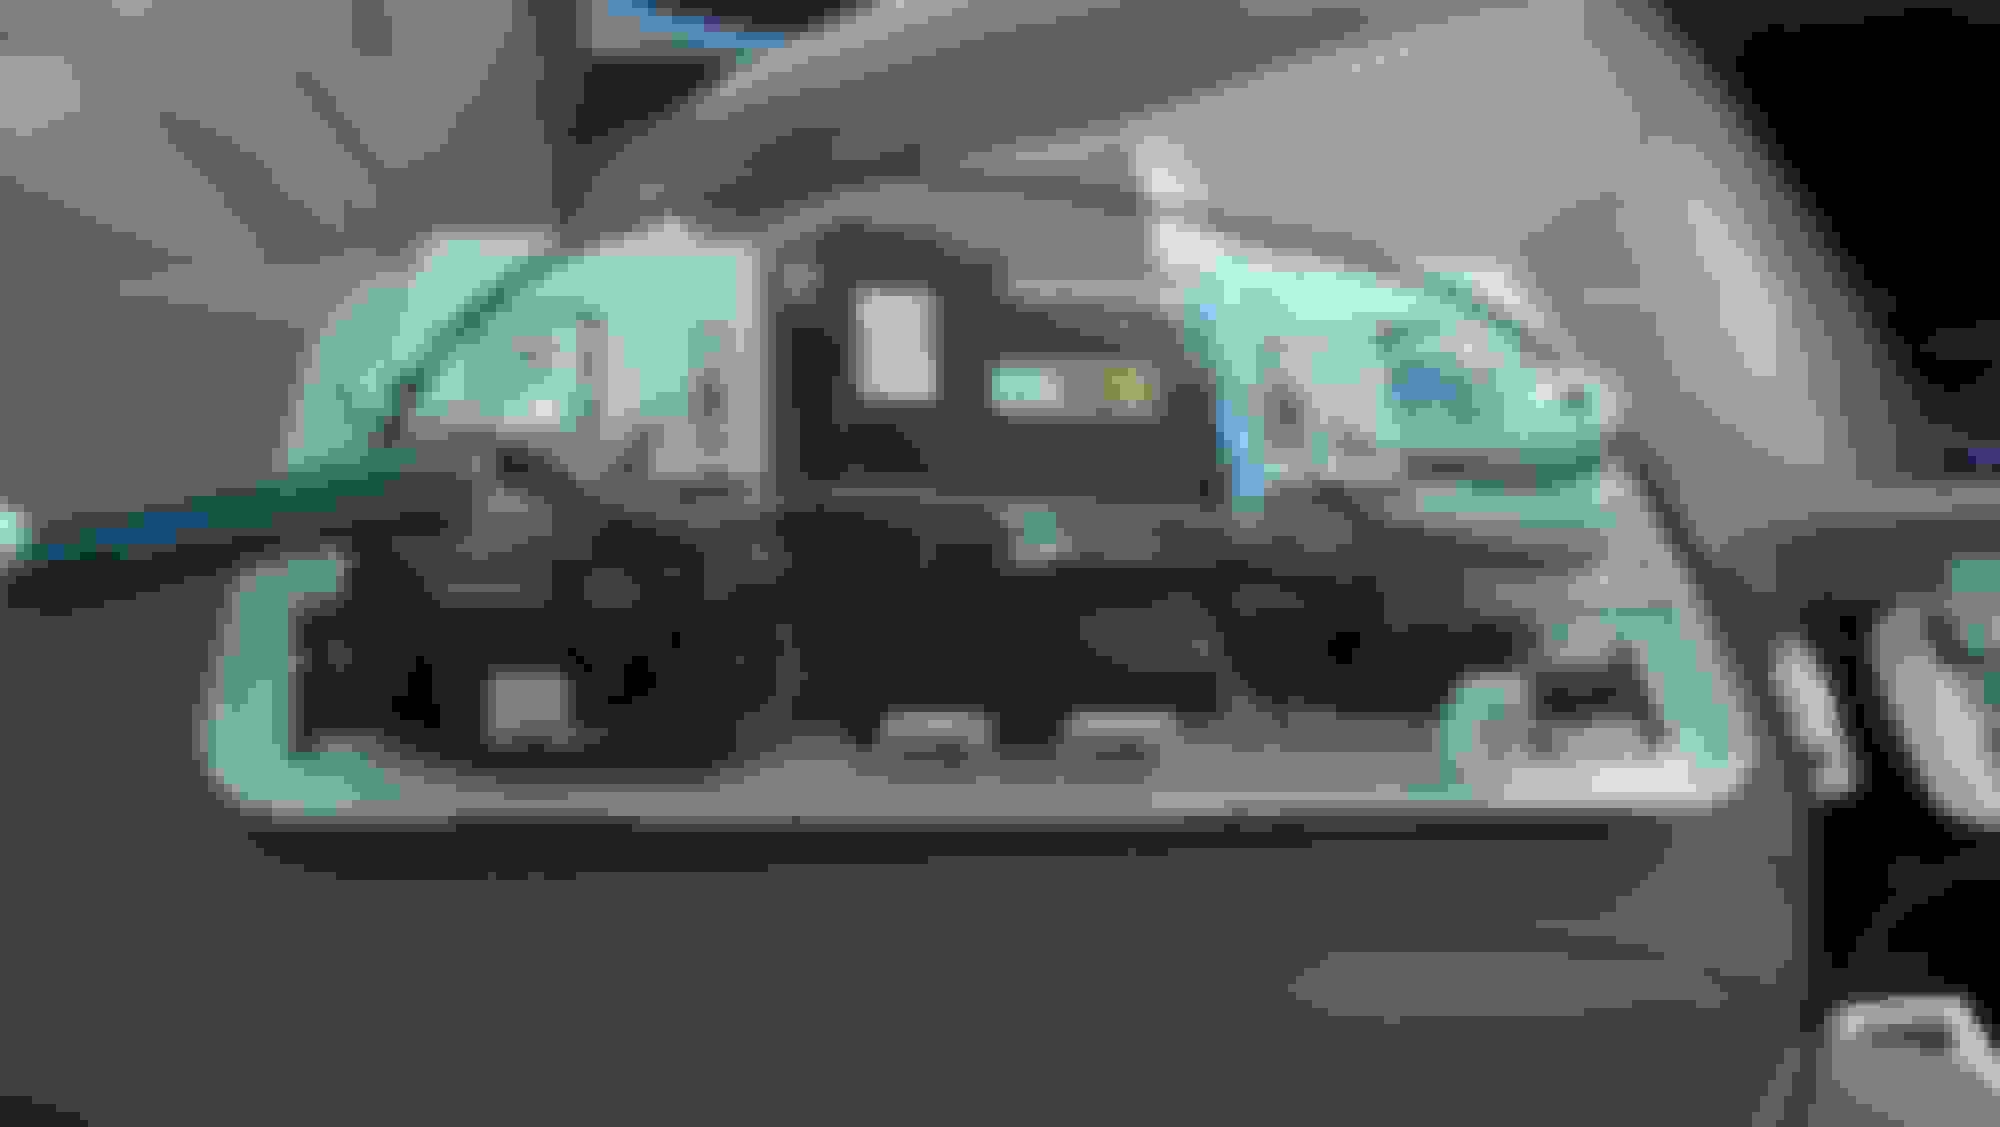
The wiring diagram was a big help to locate the back up light power wire in the junction box, which is located in the left side of the picture with the cover removed.<br/>I was testing the camera at this point.
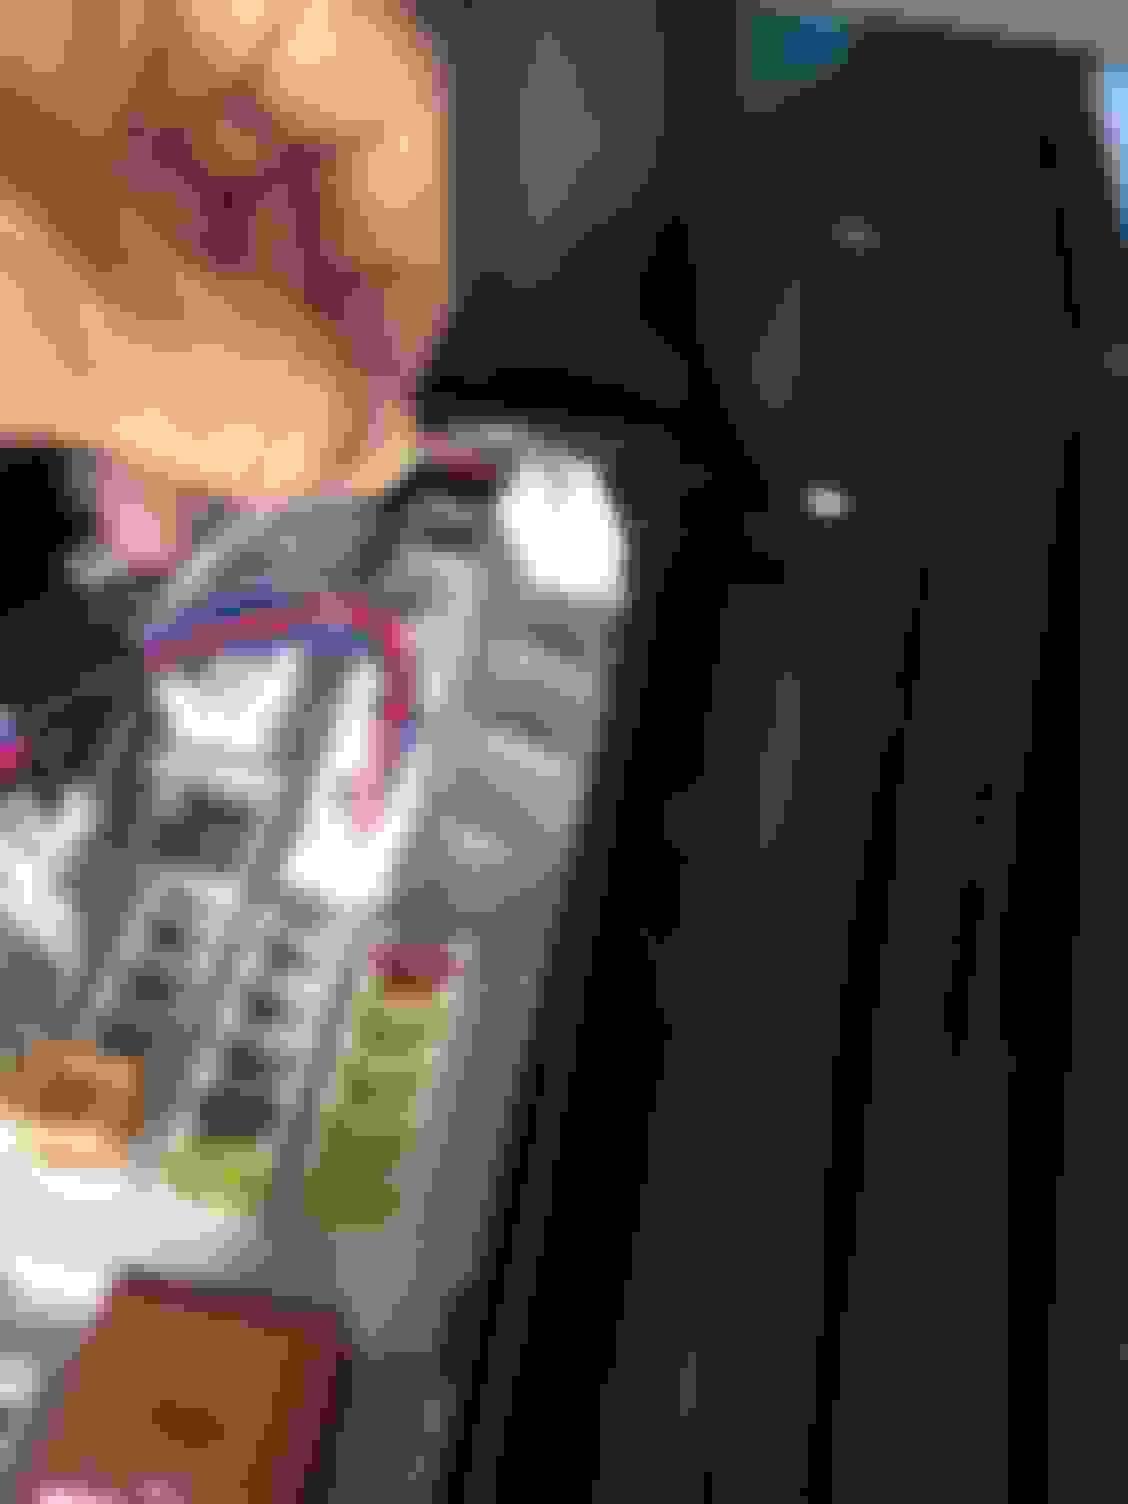
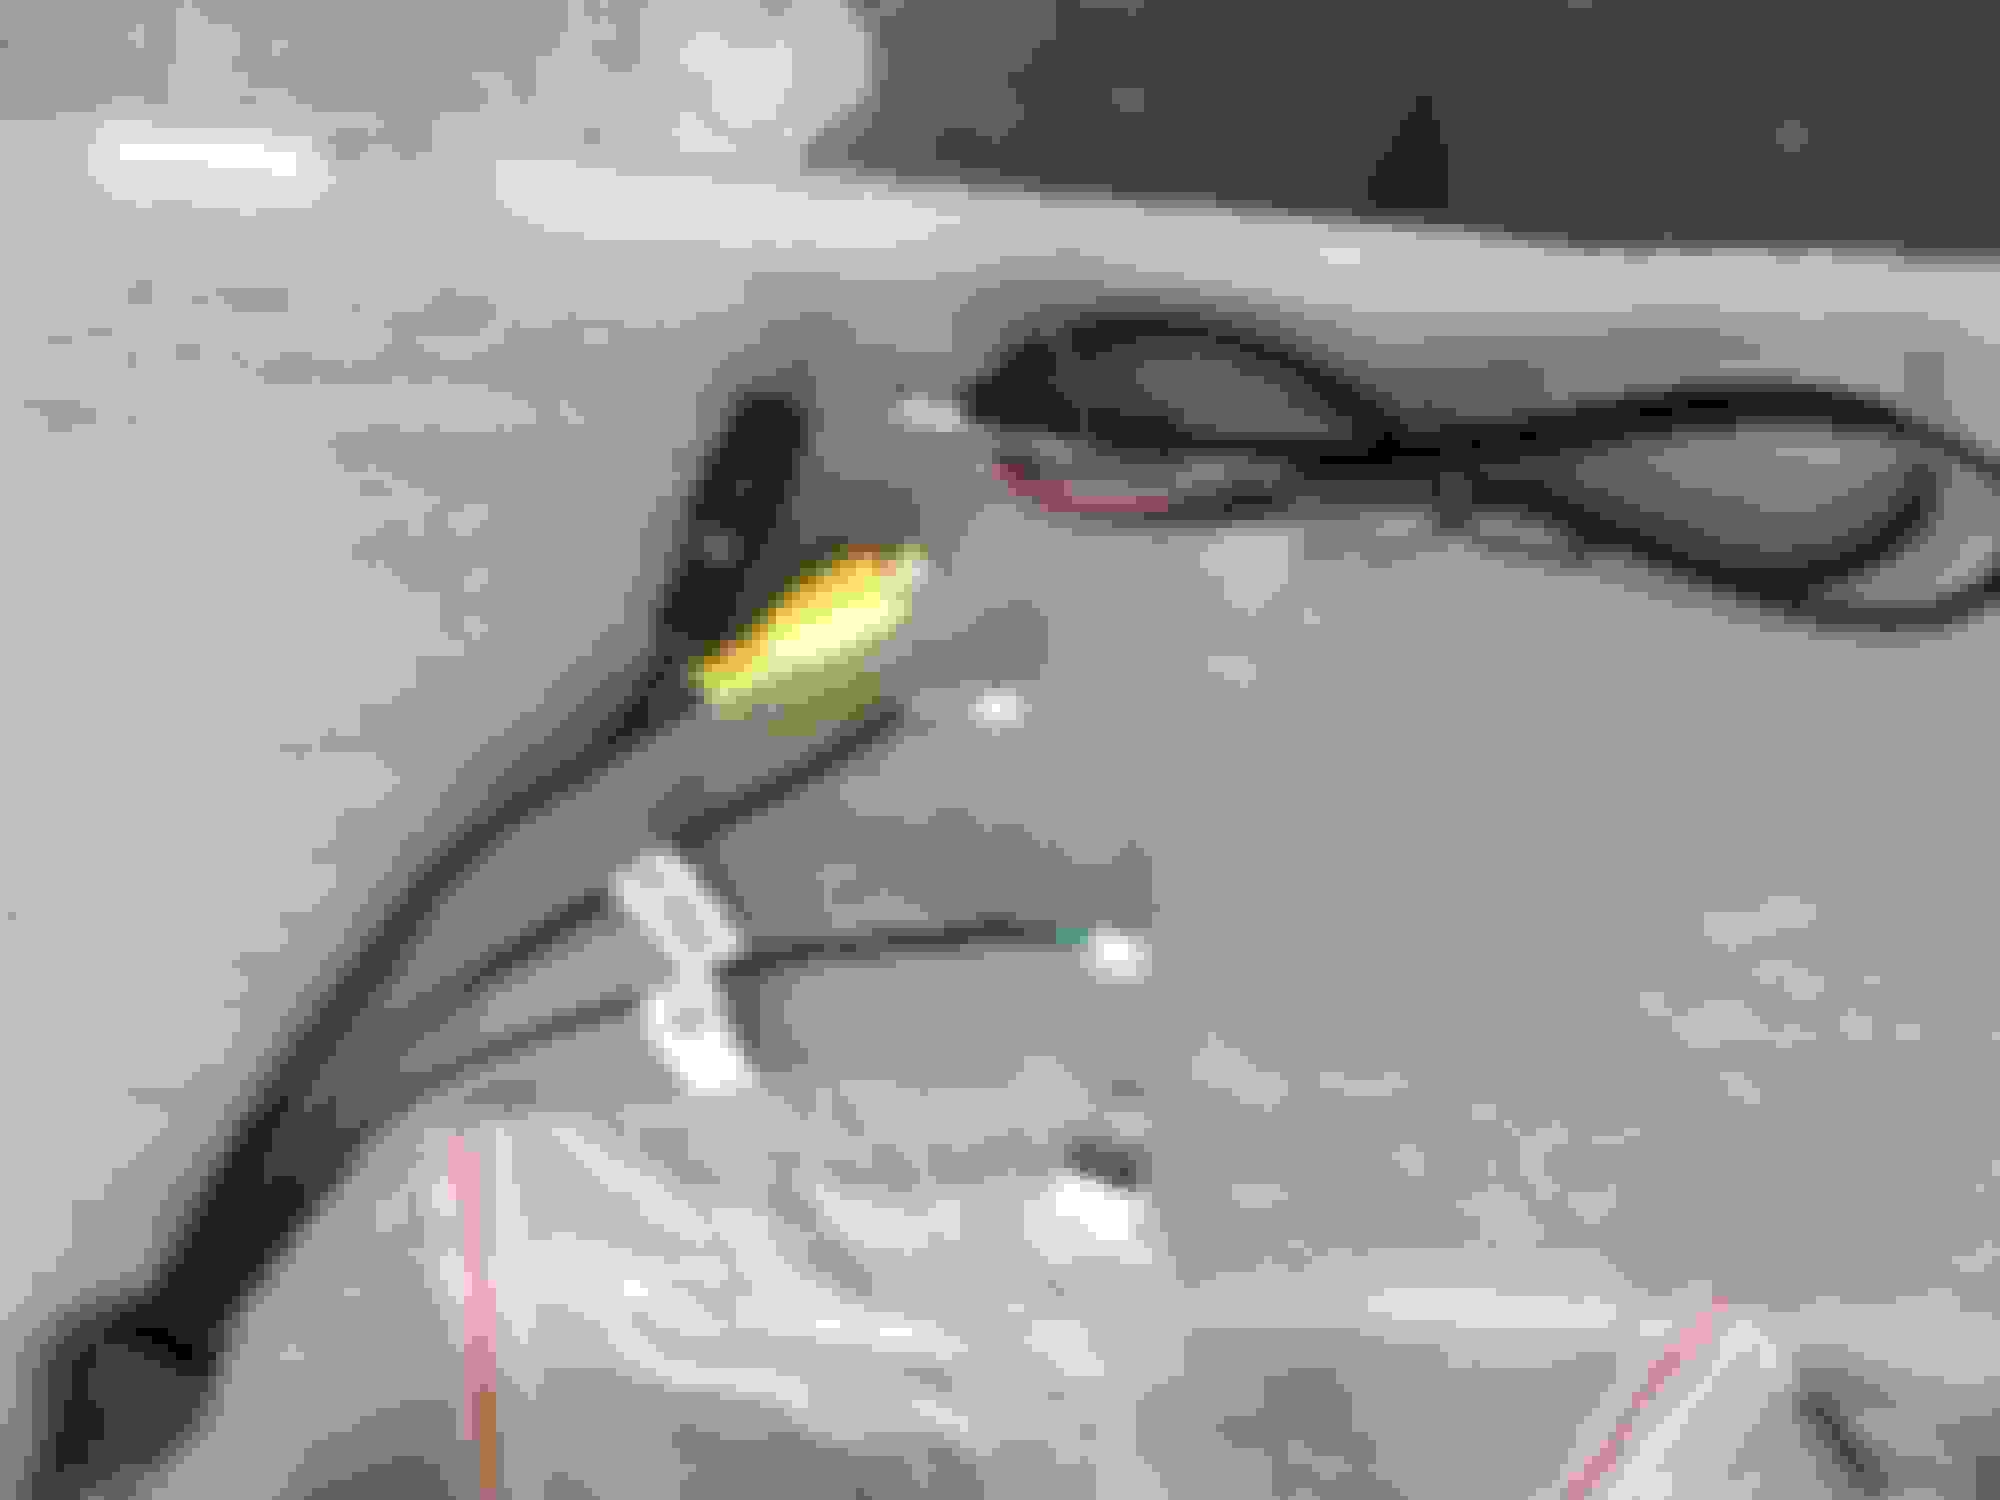
A closeup of the connector. The wire is the red with black stripe with silver dashes.
The red wire is the new camera power wire. I ran it to the radio area so I could connect it to the radio camera switch control and I ran the camera video and power cable to the radio area, then the radio and camera power were both connected to the J-Box backup light power.
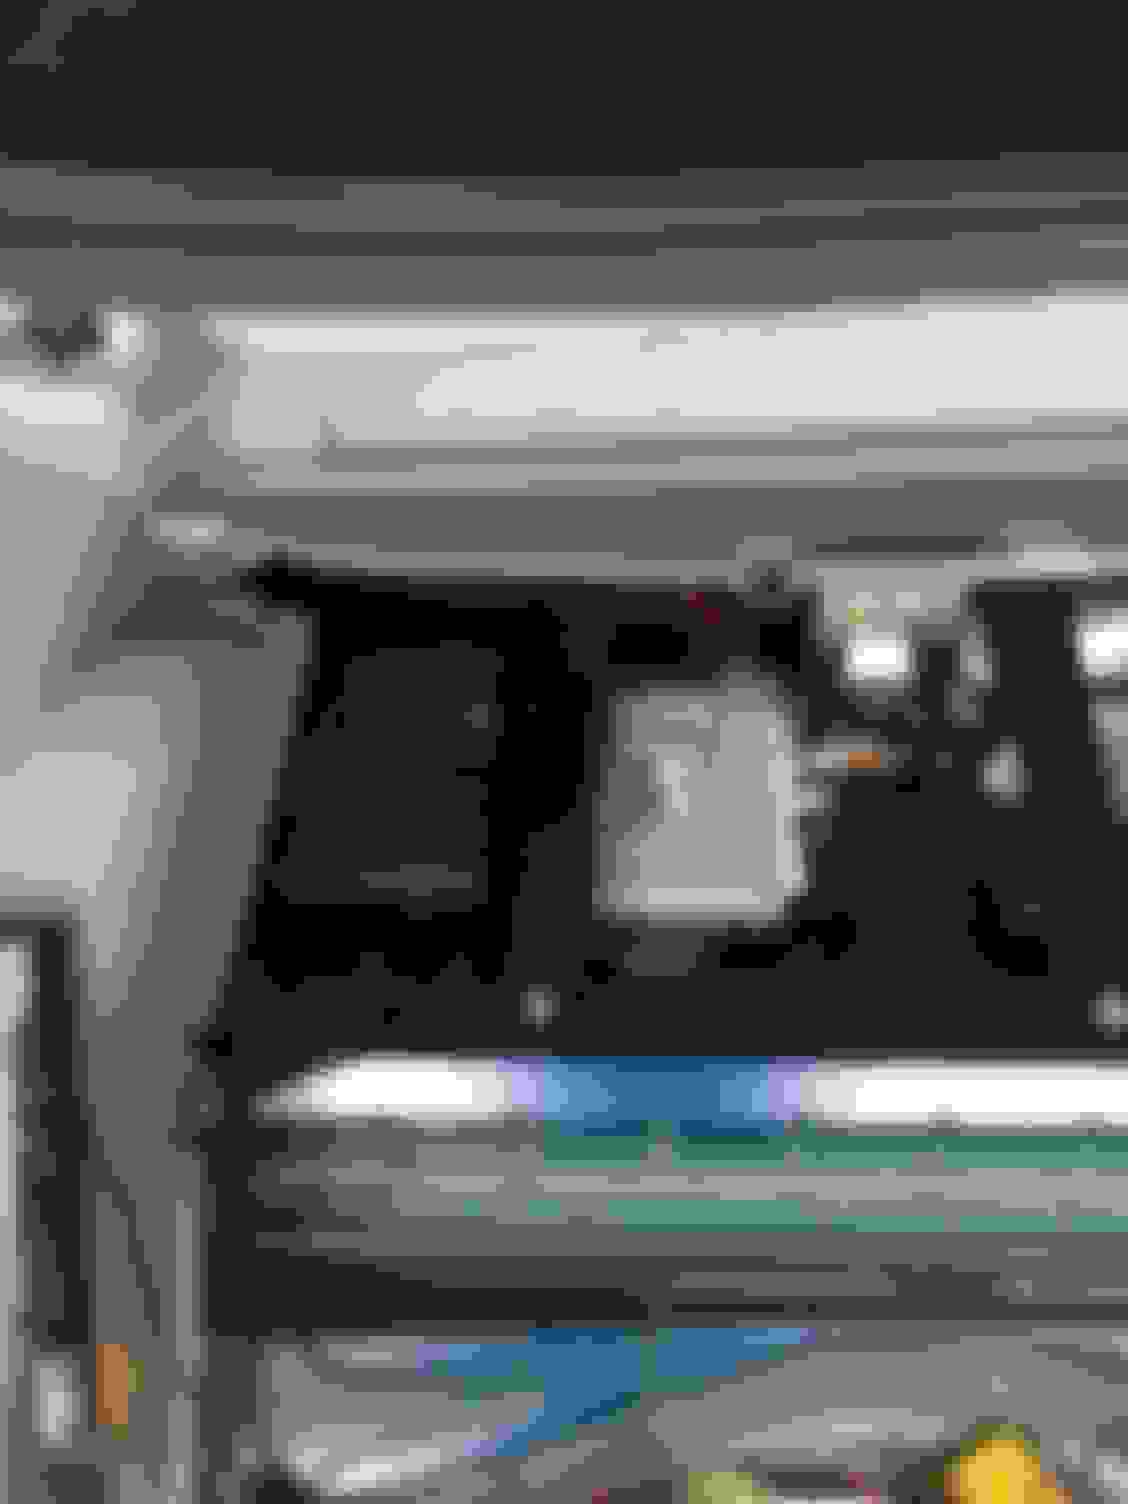
J-Box cover reinstalled. I will post a couple more pictures of the completed job.
This is a pic of the camera cable. It has the power and video. The two labeled wires allow the selection of mirrored or normal viewing and the selection of with or without the green, yellow, red backup lines.

 05-22-15, 02:34 PM