When you click on links to various merchants on this site and make a purchase, this can result in this site earning a commission. Affiliate programs and affiliations include, but are not limited to, the eBay Partner Network.
So today on my break I got some more work done on the grille.
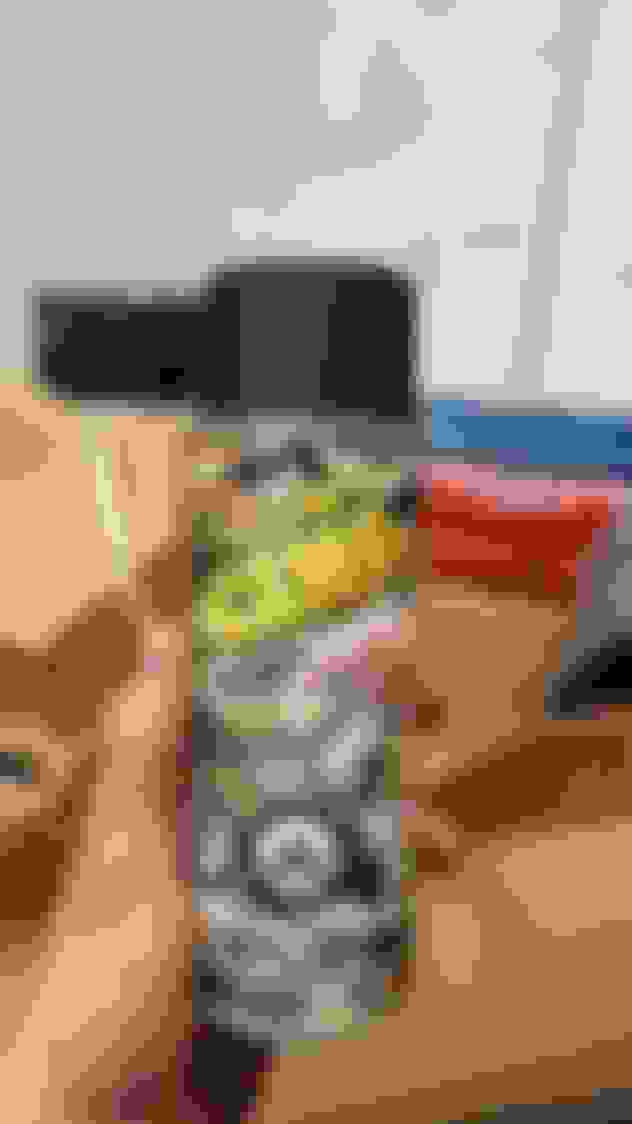
I started by making a jig to hold the braces so I could use tape and mock up the spaces between the horizontal bars
The grille was a little floppy so I decided to add 2 more vertical braces so I traced out the original and used double sided tape to tape them together and flush router the shape.
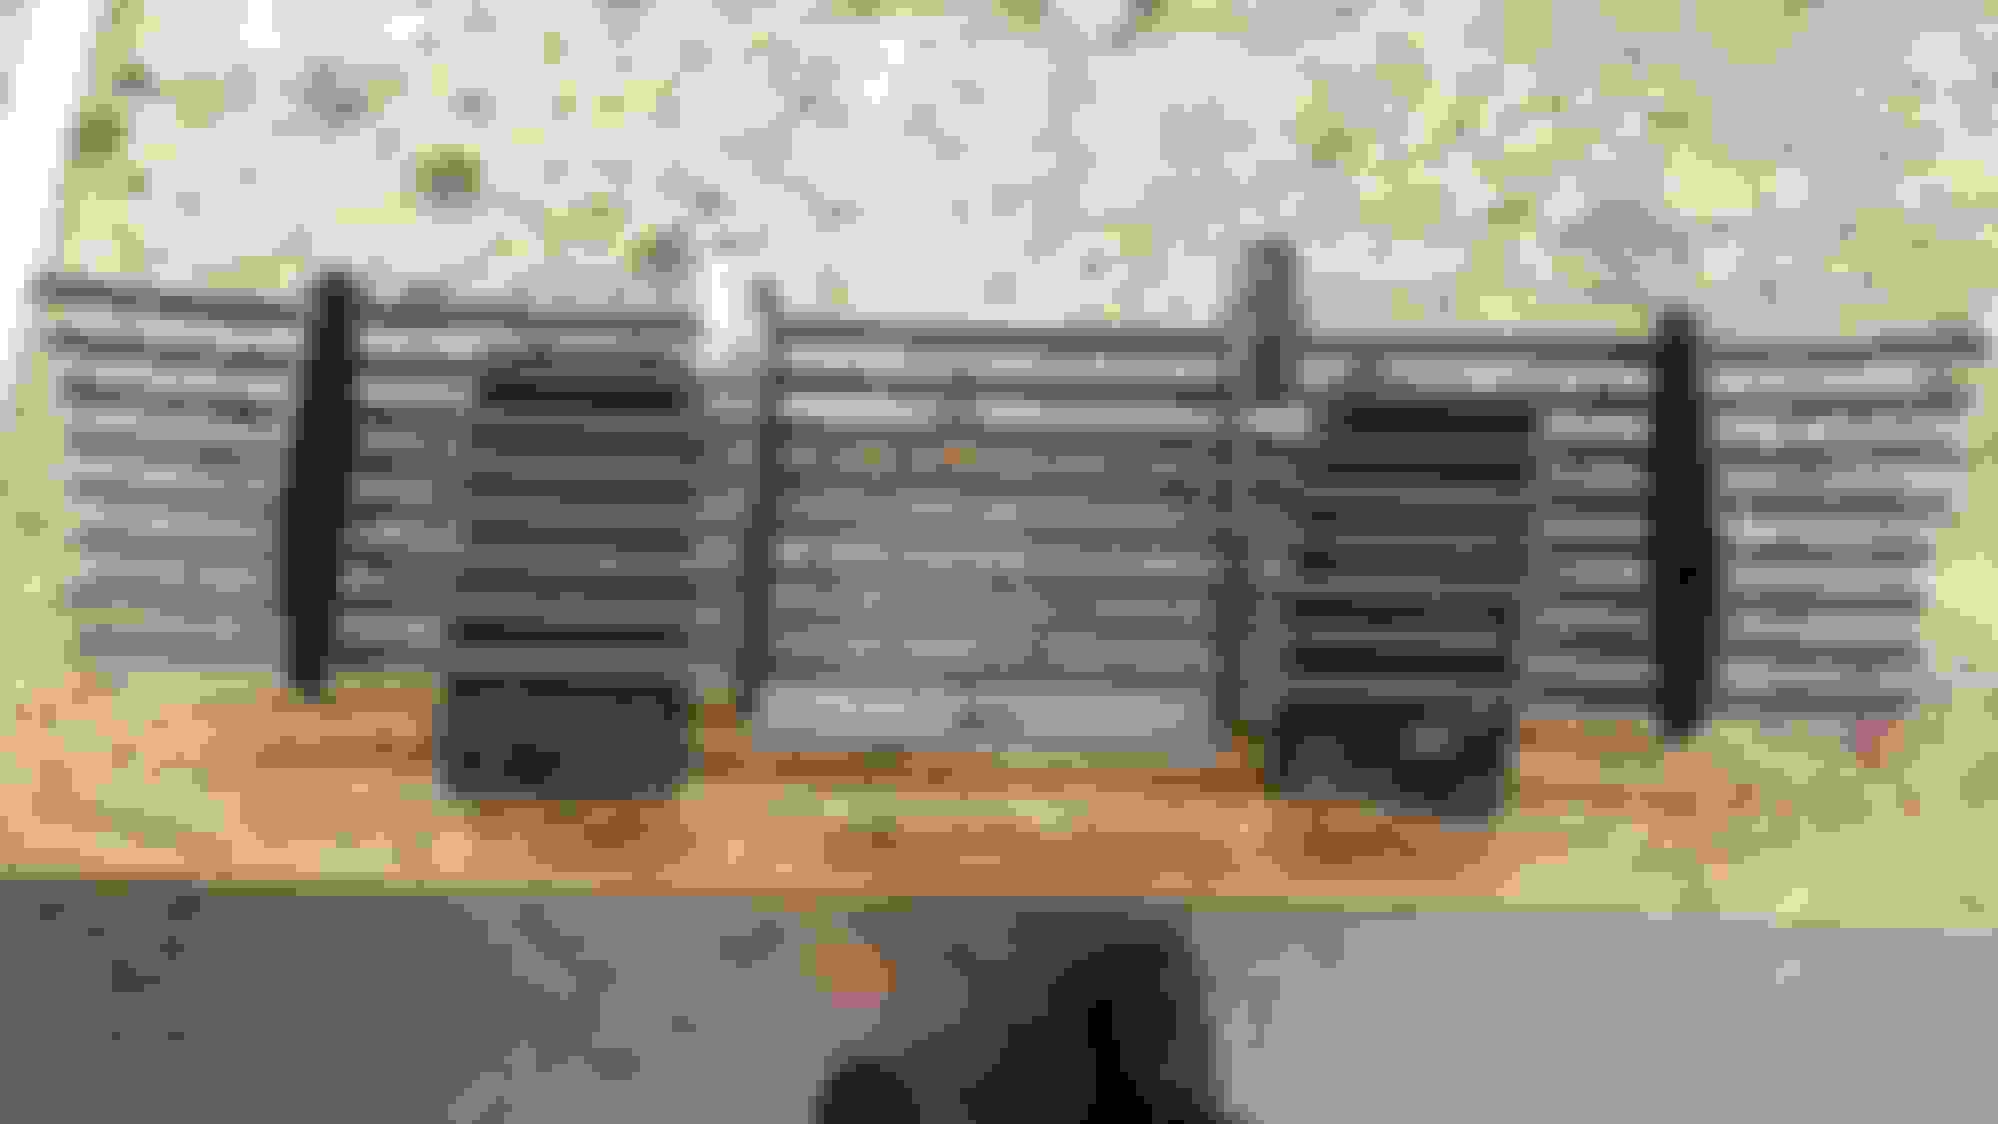
I bought some ABS cement for plumbers from Canadian tire to bond it all together
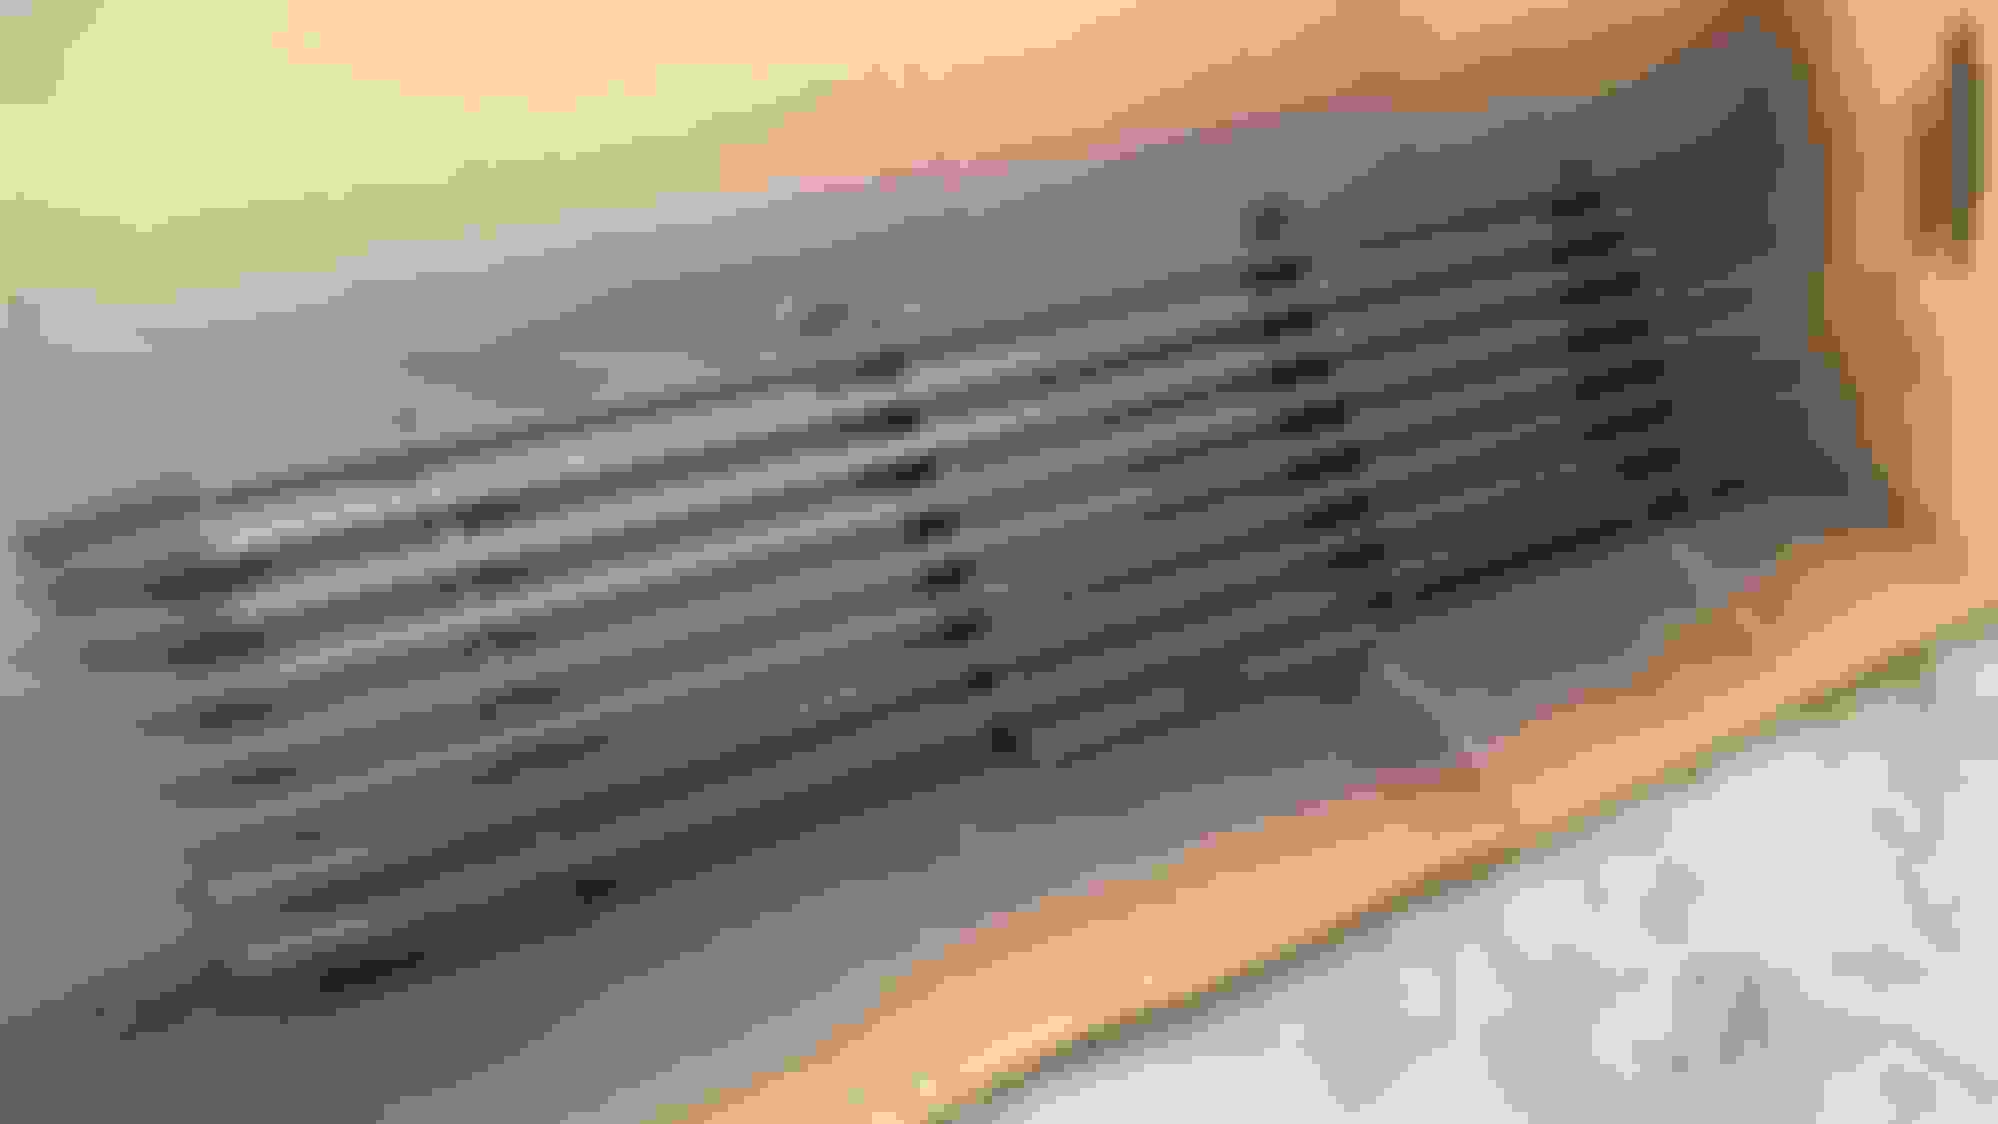
Here is a picture of it all bonded together.
Again I'm at work so I will elaborate and post more pictures later on just wanted to give a little update ! Tomorrow I will fabricate the mounting and bend the horizontal bars and cross my fingers it fits in the shroud hahah.
Alright so I'm home now and I managed to get a little work on the grille done, so of course I had to post another update.
I managed to get it all put together so the cement had a lot of time to cure on my commute home, so when I get to my apartment I thought why not start bending the sides into shape. I have a pencil torch from when I used to build coils for vaping and It was the perfect tool.
ABS is really easy to bend if you heat it up with a blue flame just be careful not to get too close, and move around a lot.
The starts of the bends
I made Sure to heat it up from the back and bend up like so
The first side I wasn't too happy with but this was my first time bending thin strips of ABS and hey you have to learn somehow.
The finished result of side 1
And like I said this is the other side, my second attempt. Looks WAY better.
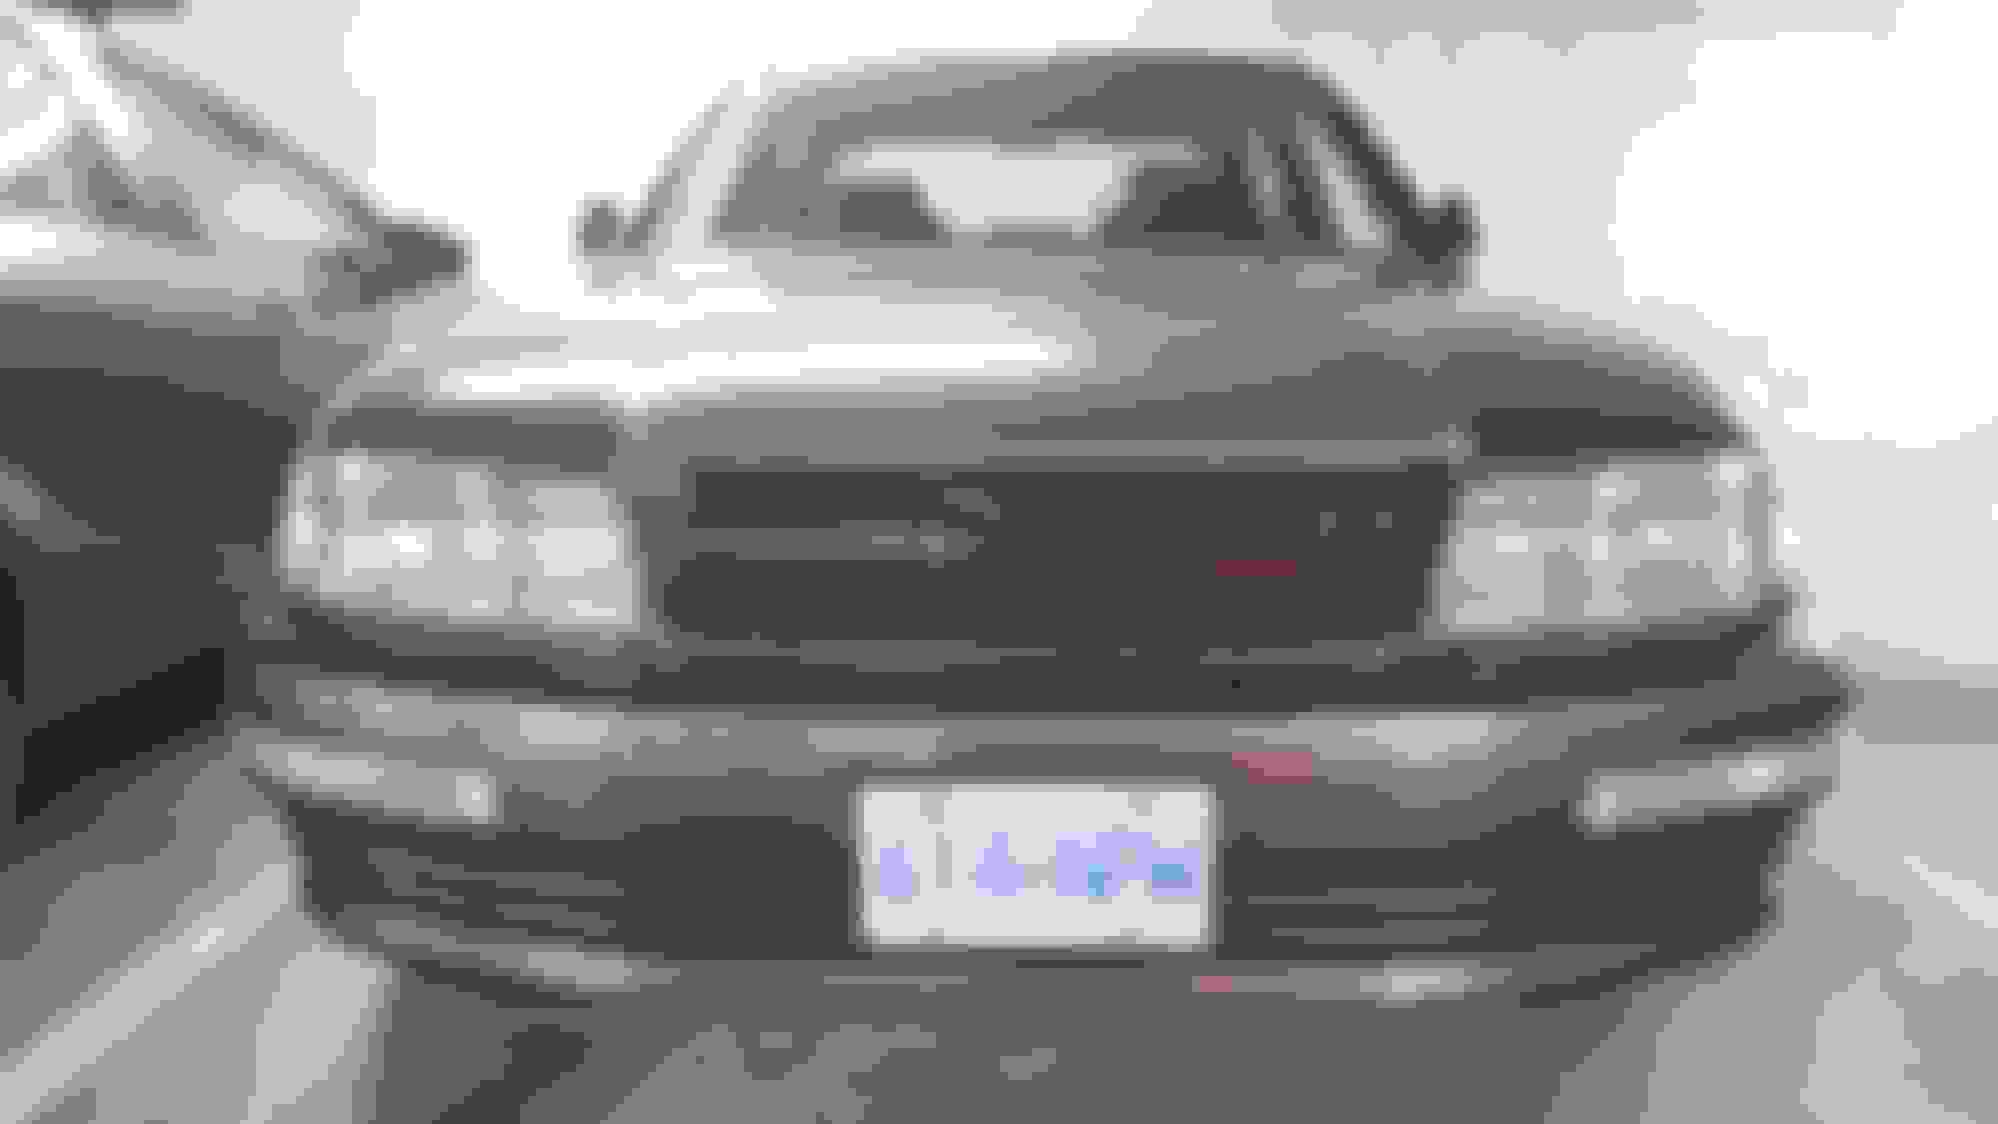
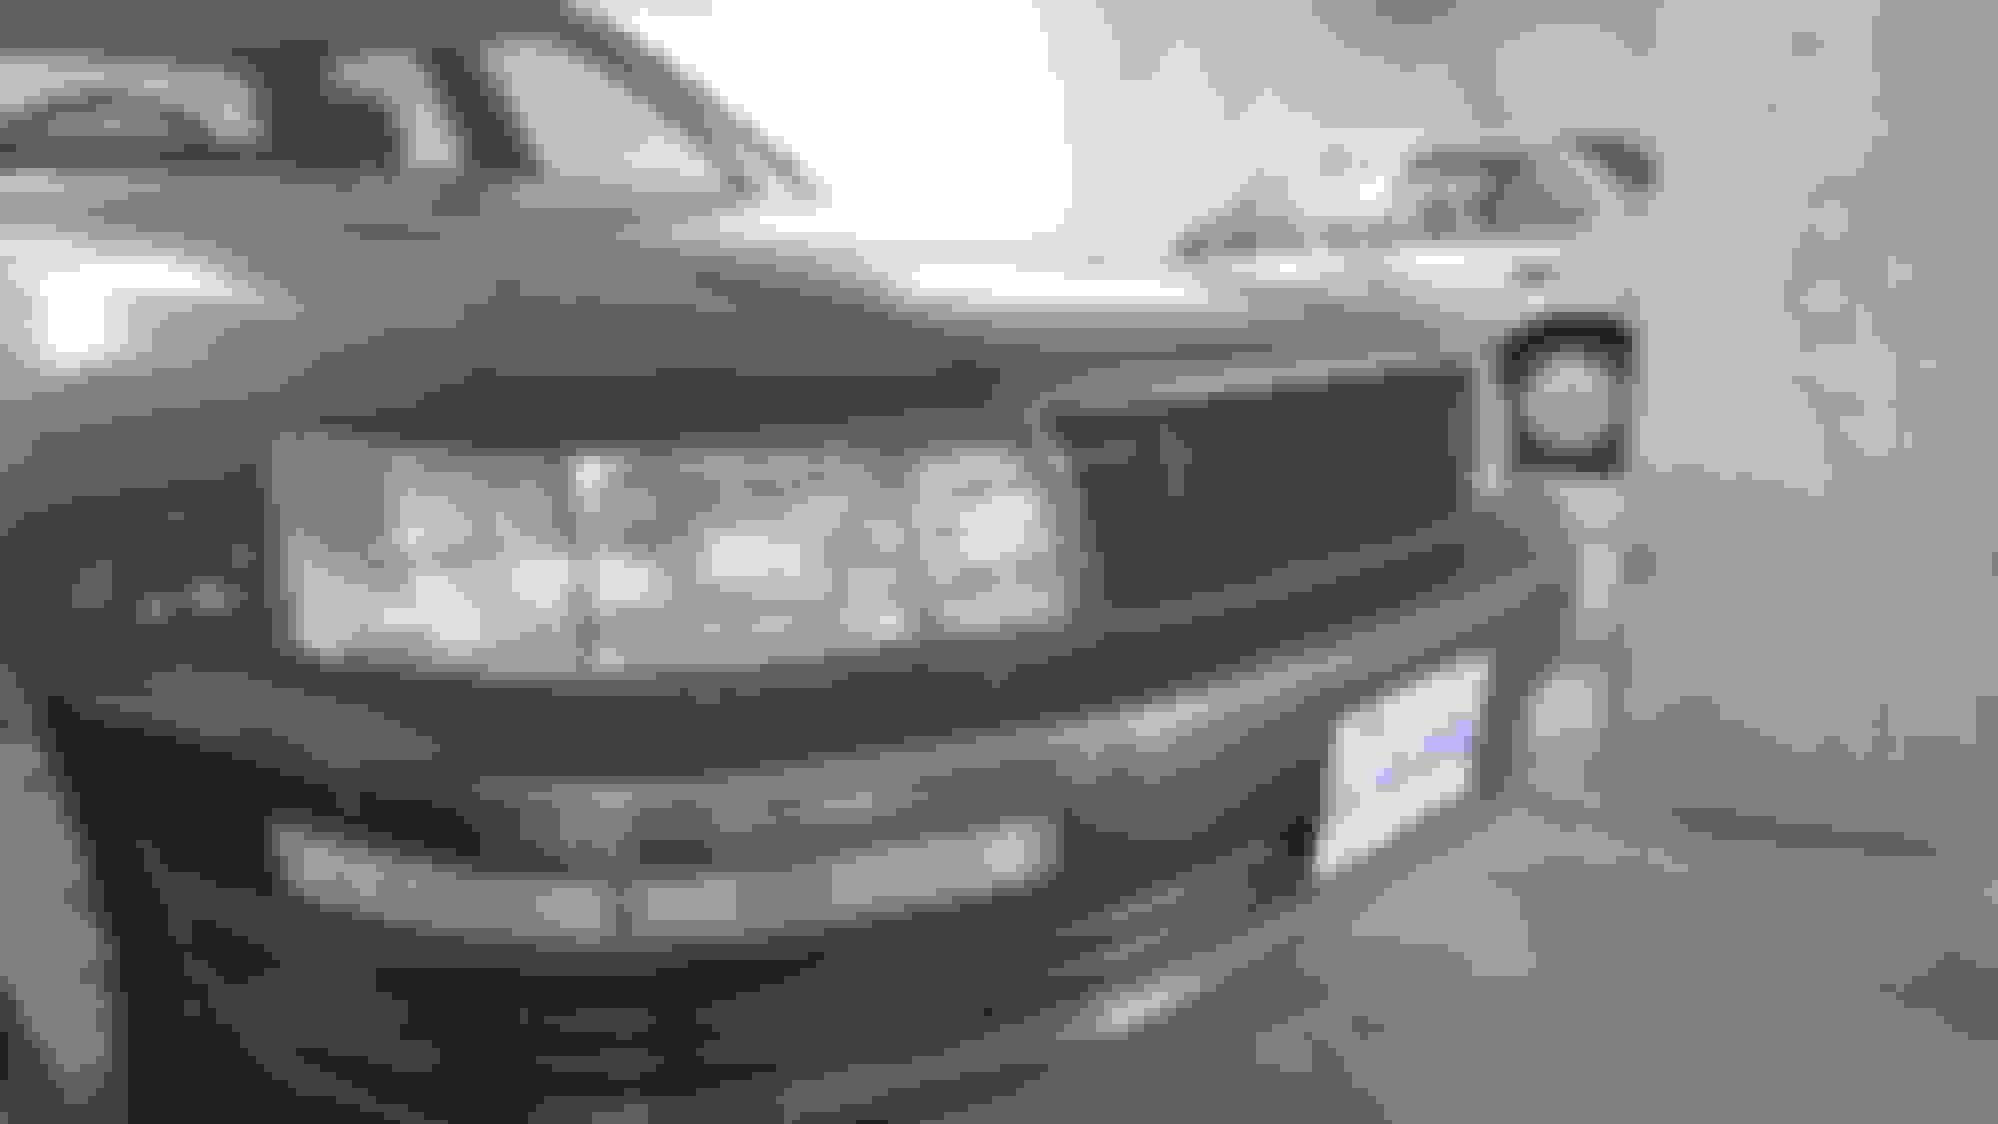
And after a few minor test fits and tweaks, I ran down to my parking garage and gave her a test fit. Amazingly it actually looks pretty decent For the fact that I just took measurements and built the grille without having the chrome housing with me .
Take a look I think it looks half decent for sure. Not bad for 5$ ! ( I only had to pay for the glue the ABS was scraps. )
Tomorrow I will try my hardest to fab up the mounts and get it mounted and finished ( minus primer and paint ) but I only have a half hour break in the morning and an hour at lunch. And Friday is my birthday so if I don't get it done tomorrow there will be a nice pause in the work done on it haha. Music fest this weekend.
So I actually ended up finishing the grille today. I started at lunch by finishing the mounts. I started with a small mount but there wasn't enough surface area to bond properly so it broke off
I ended up cutting a bigger peice and rednecking a slot instead of a round hole. Worked a lot better in the end
Here is a shot of the joint up close
And here is another of the final and finished mount setup. I left out a lot of holes since it seemed to work ok and I didn't want to spend too much more time since I had such a busy weekend ahead of me and was pretty excited to see the final product.
I had to let the bonds sit for about 5 hours ... to make sure they were solid before I actually installed it . But it was well worth the wait ! Let me k ow what you think guys. I am actually pretty proud of it.
Not bad for 5$ and 6 hours of hard work!
P.s. this project was extremely hard and was not without its bull**** moments lol. But I encourage you to try yourself ! Basic hand tools and not expensive and help is everywhere. If you put your mind to it you can achieve anything ! Remember that and give it a shot ! Have fun ! That's what it is all about.
Like you said, not bad for $5 - this came out pretty well.
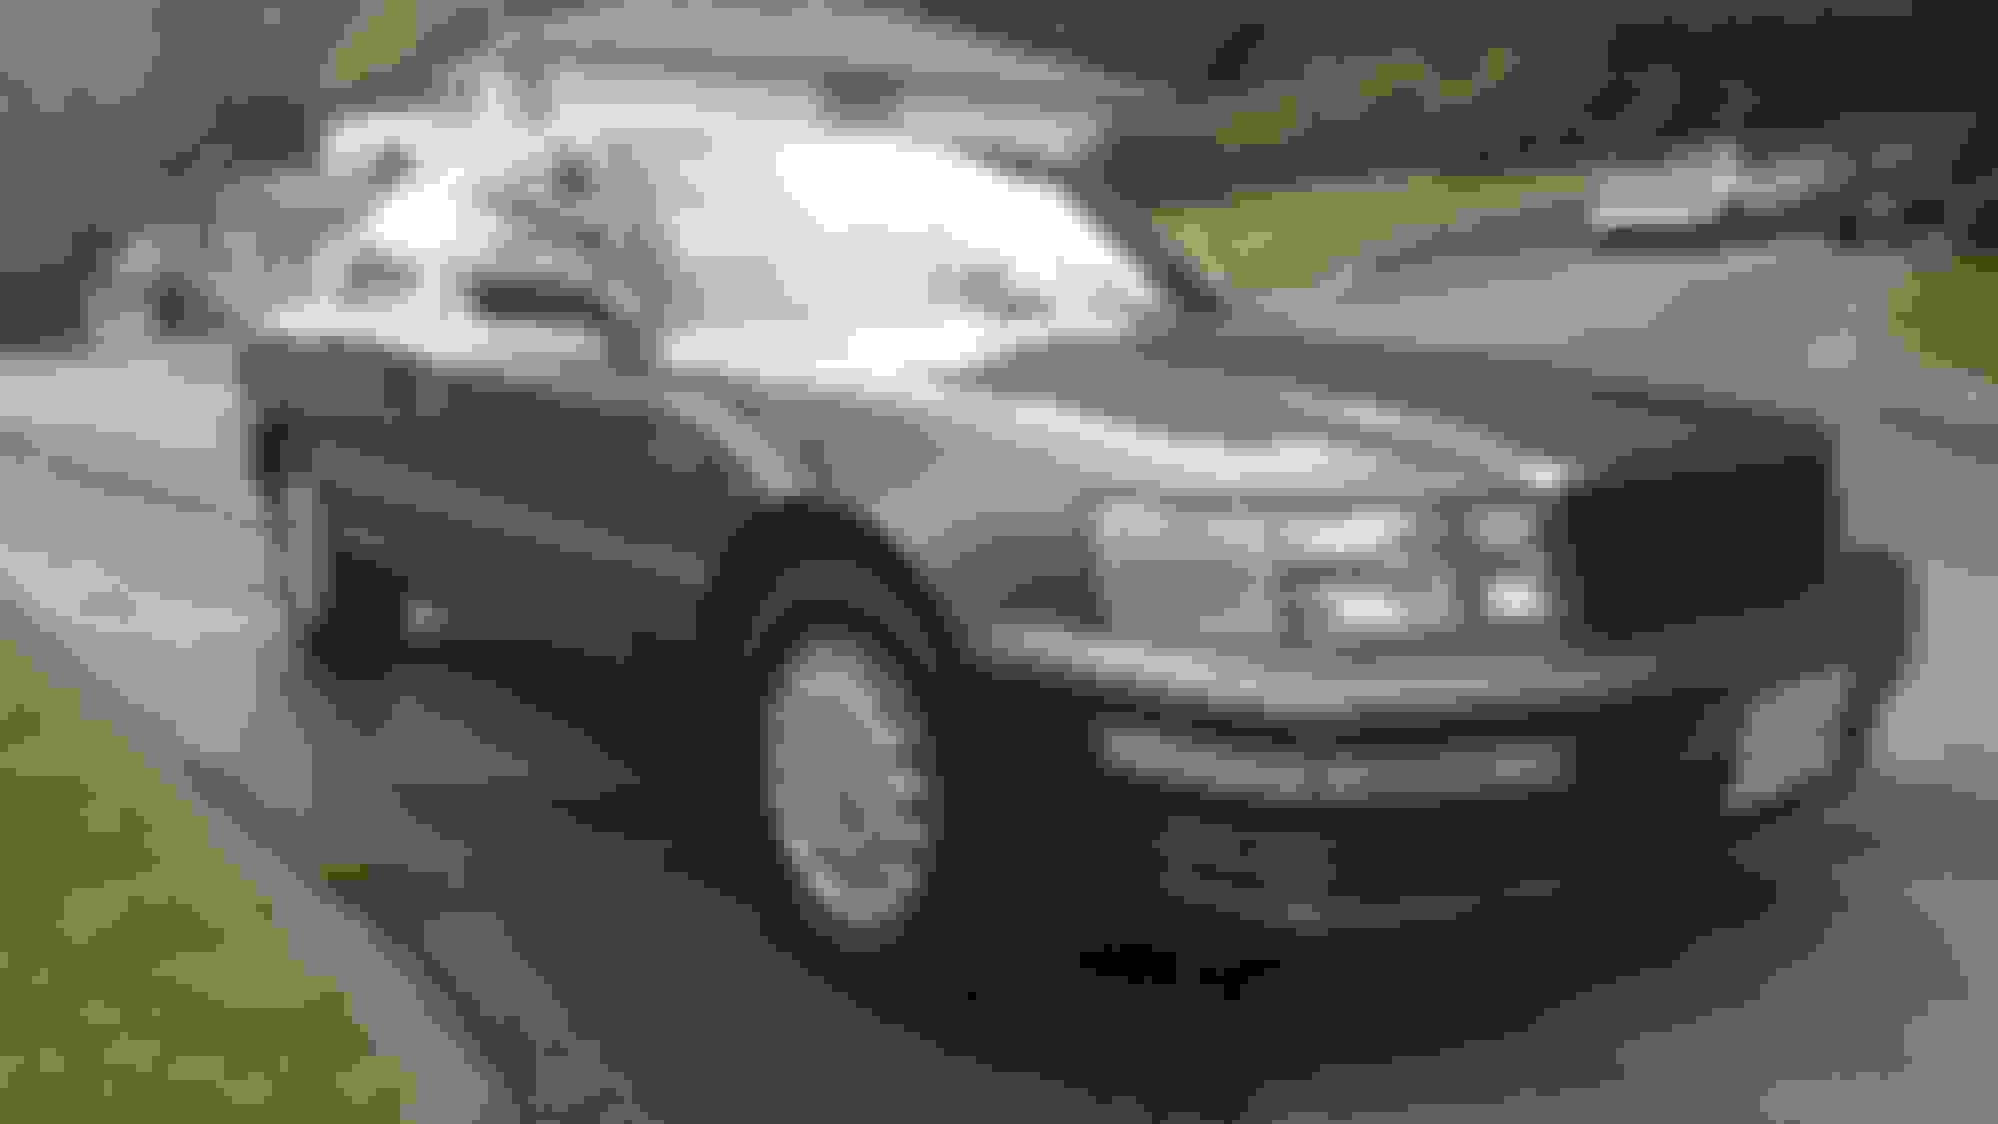
This is a pretty fair guide thread, for those interested in the same kind of project. On a side note, are those LEDs mounted on your bumper, right below the headlights? They look interesting.
Like you said, not bad for $5 - this came out pretty well.
This is a pretty fair guide thread, for those interested in the same kind of project. On a side note, are those LEDs mounted on your bumper, right below the headlights? They look interesting.
Thanks man I appreciate the feedback. I've got a ton more measurements and things to explain that I will edit in later on after this weekend to make it a little easier if you wanted to do the same style.
And those LED strips, under the headlights. The guy that imported my celsior for me had to put them on to make it street legal here in Canada. Daytime running lights . And I kinda like them ( even though they are a little hokey ) so I never removed them lol.
I applaud the DIY effort but don't think the finished product looks very...finished.
Sand it and a coat of paint, maybe round off the edges and it'll look much better I think.
Thanks, I was thinking of doing some more finishing work however ; ABS does not sand very well at all it leaves these little "hairs" and never retains a smooth finish at least by my experience. And of course it also does not hold paint or most primers very well.
But I did end up buying a can of plasti dip and sprayed it today it looks actually way better in a matte black finish. I'll post pics up tomorrow hopefully maybe see outdoor shots too.

 06-28-16, 01:04 PM