When you click on links to various merchants on this site and make a purchase, this can result in this site earning a commission. Affiliate programs and affiliations include, but are not limited to, the eBay Partner Network.
Here's my DIY front door panels removal guide. As you will notice, the pictures in this DIY are front the right side front panel but you can follow the same process to remove the driver side panel.
For this DIY you will need at the very least a flat heat and a #2 Phillips head screw driver. I would recommend a panel removal kit if available as sometimes when pulling the door panel from the door itself some of the clips will stay attached to the actual door and will have to be removed to be reinserted back into the door panel before installing them. The panel removal kit usually has a side to remove clips and makes it very easy without damaging the clip.
***Please remember to roll down the window as this will make it a lot easier when having to pop up the door panel after all the clips and screws are out of the way.
There are two screws to remove before attempting to pull apart the door panel.
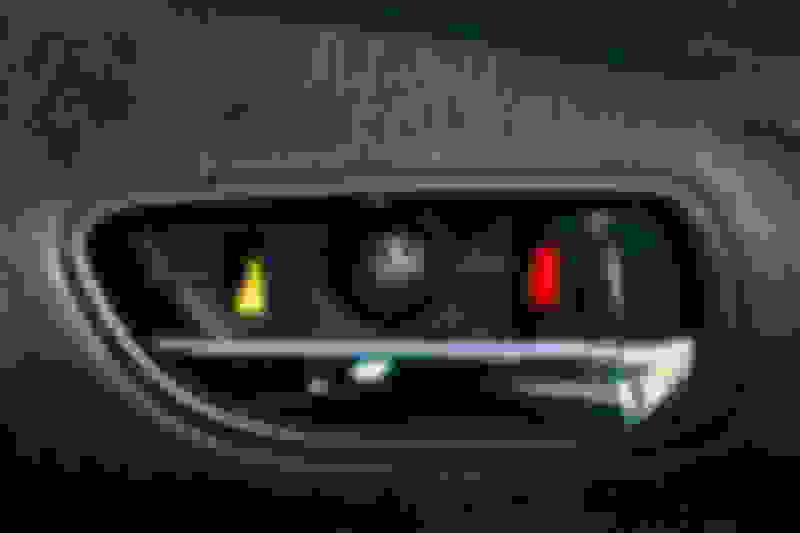
Grab your panel removal tool or a flat head screw driver and pop the small cover which will reveal one of the screws.
Once you remove the small plastic cover you will see the screw ( screw has been removed in this photo as you can see )
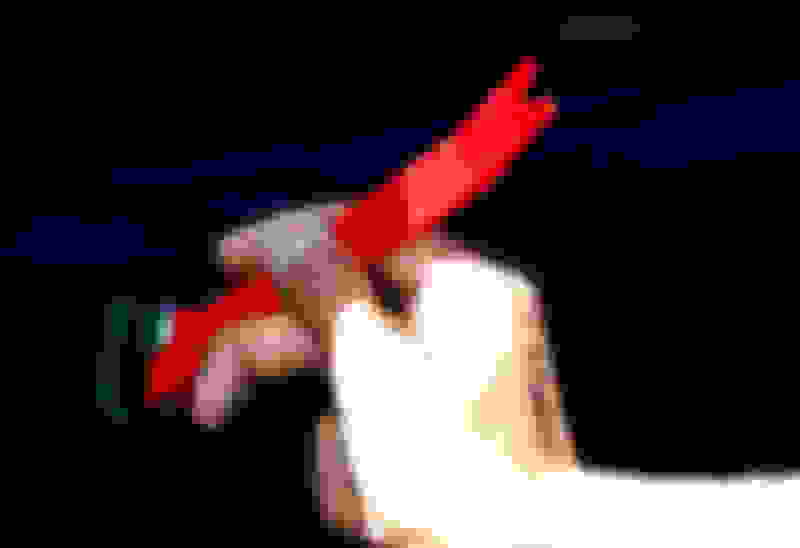
Use the panel removal tool ( a small one ) or a flat head screw driver and pop out the small dome light that is located under the arm rest. This will reveal the second and final screw.
Once you pop out the dome light you will be able to see the screw ( had already been taken out in this pic. Goes in that yellow clip ) **Please note : Removal of the dome light from the plug is optional.
There are 9 nylon clips attached to the door panel. Once the 2 screws are removed you can start to gently pull on the door panel. I would suggest to start on either end ( left or right ) and move along to the opposite end. Once all the clips are loose you can proceed to pull the door panel upward.
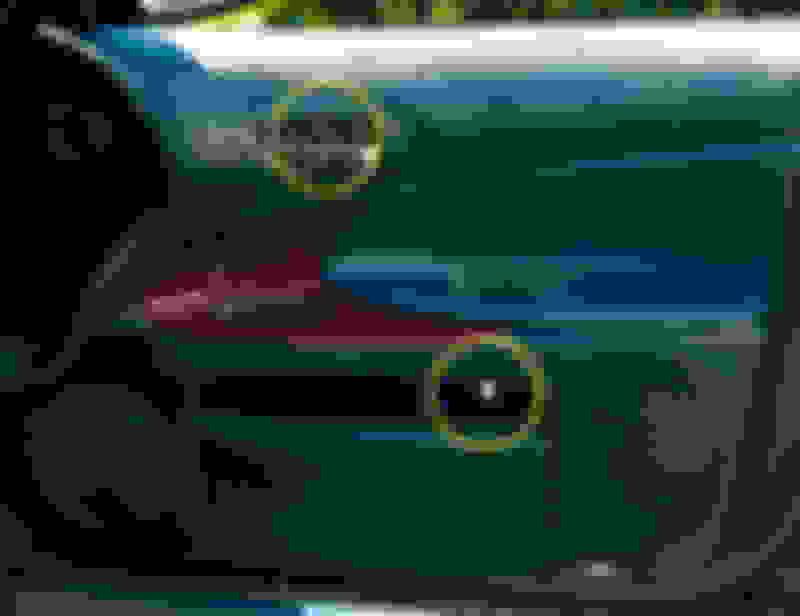
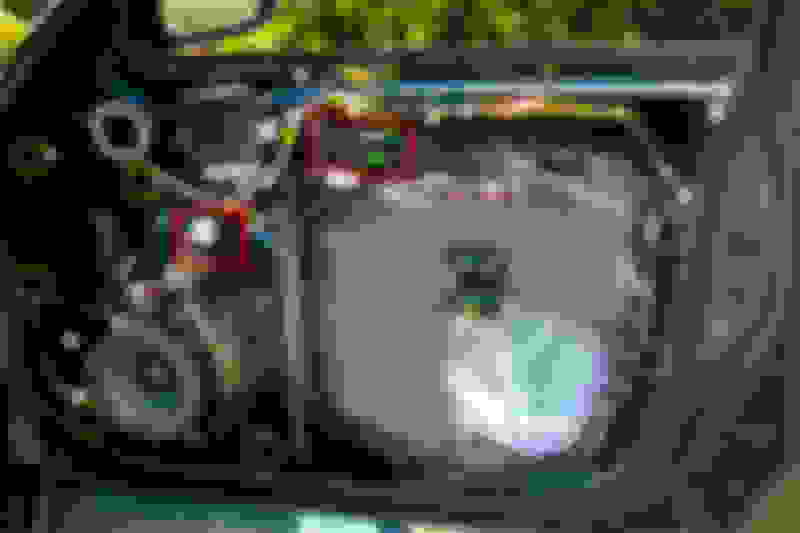
The yellow circles is where the nylon clips will go onto on the actual door. Please note that if you want to completely remove the door panel as shown above you will need to unplug the connector shown in the small red rectangle above and also the 2 cables shown on the larger rectangle. The cables are for the power lock ( white ) and for the door handle ( green/turquoise ). These two are fairly easy to take off and put back on.
I hope this guide can help current and future members. If this is DIY is hard to follow please let me know. I'm open to suggestions to help improve it.
 03-07-16, 04:21 PM