When you click on links to various merchants on this site and make a purchase, this can result in this site earning a commission. Affiliate programs and affiliations include, but are not limited to, the eBay Partner Network.
DIY How to fix detached lower exterior door panel trim
It is common for the lower door trim panel to get snagged on your pants or a curb and get detached from the door. Here's a DIY on how to remove it and re-attach the panel. You'll need:
10mm deep socket
long-bladed knife, like a serrated bread knife
coarse grit sandpaper
epoxy suitable for bonding plastics
adhesive foam tape
razor blade
paper towels and Windex or suitable cleaner
First step is to remove the four nuts on the inside of the door:
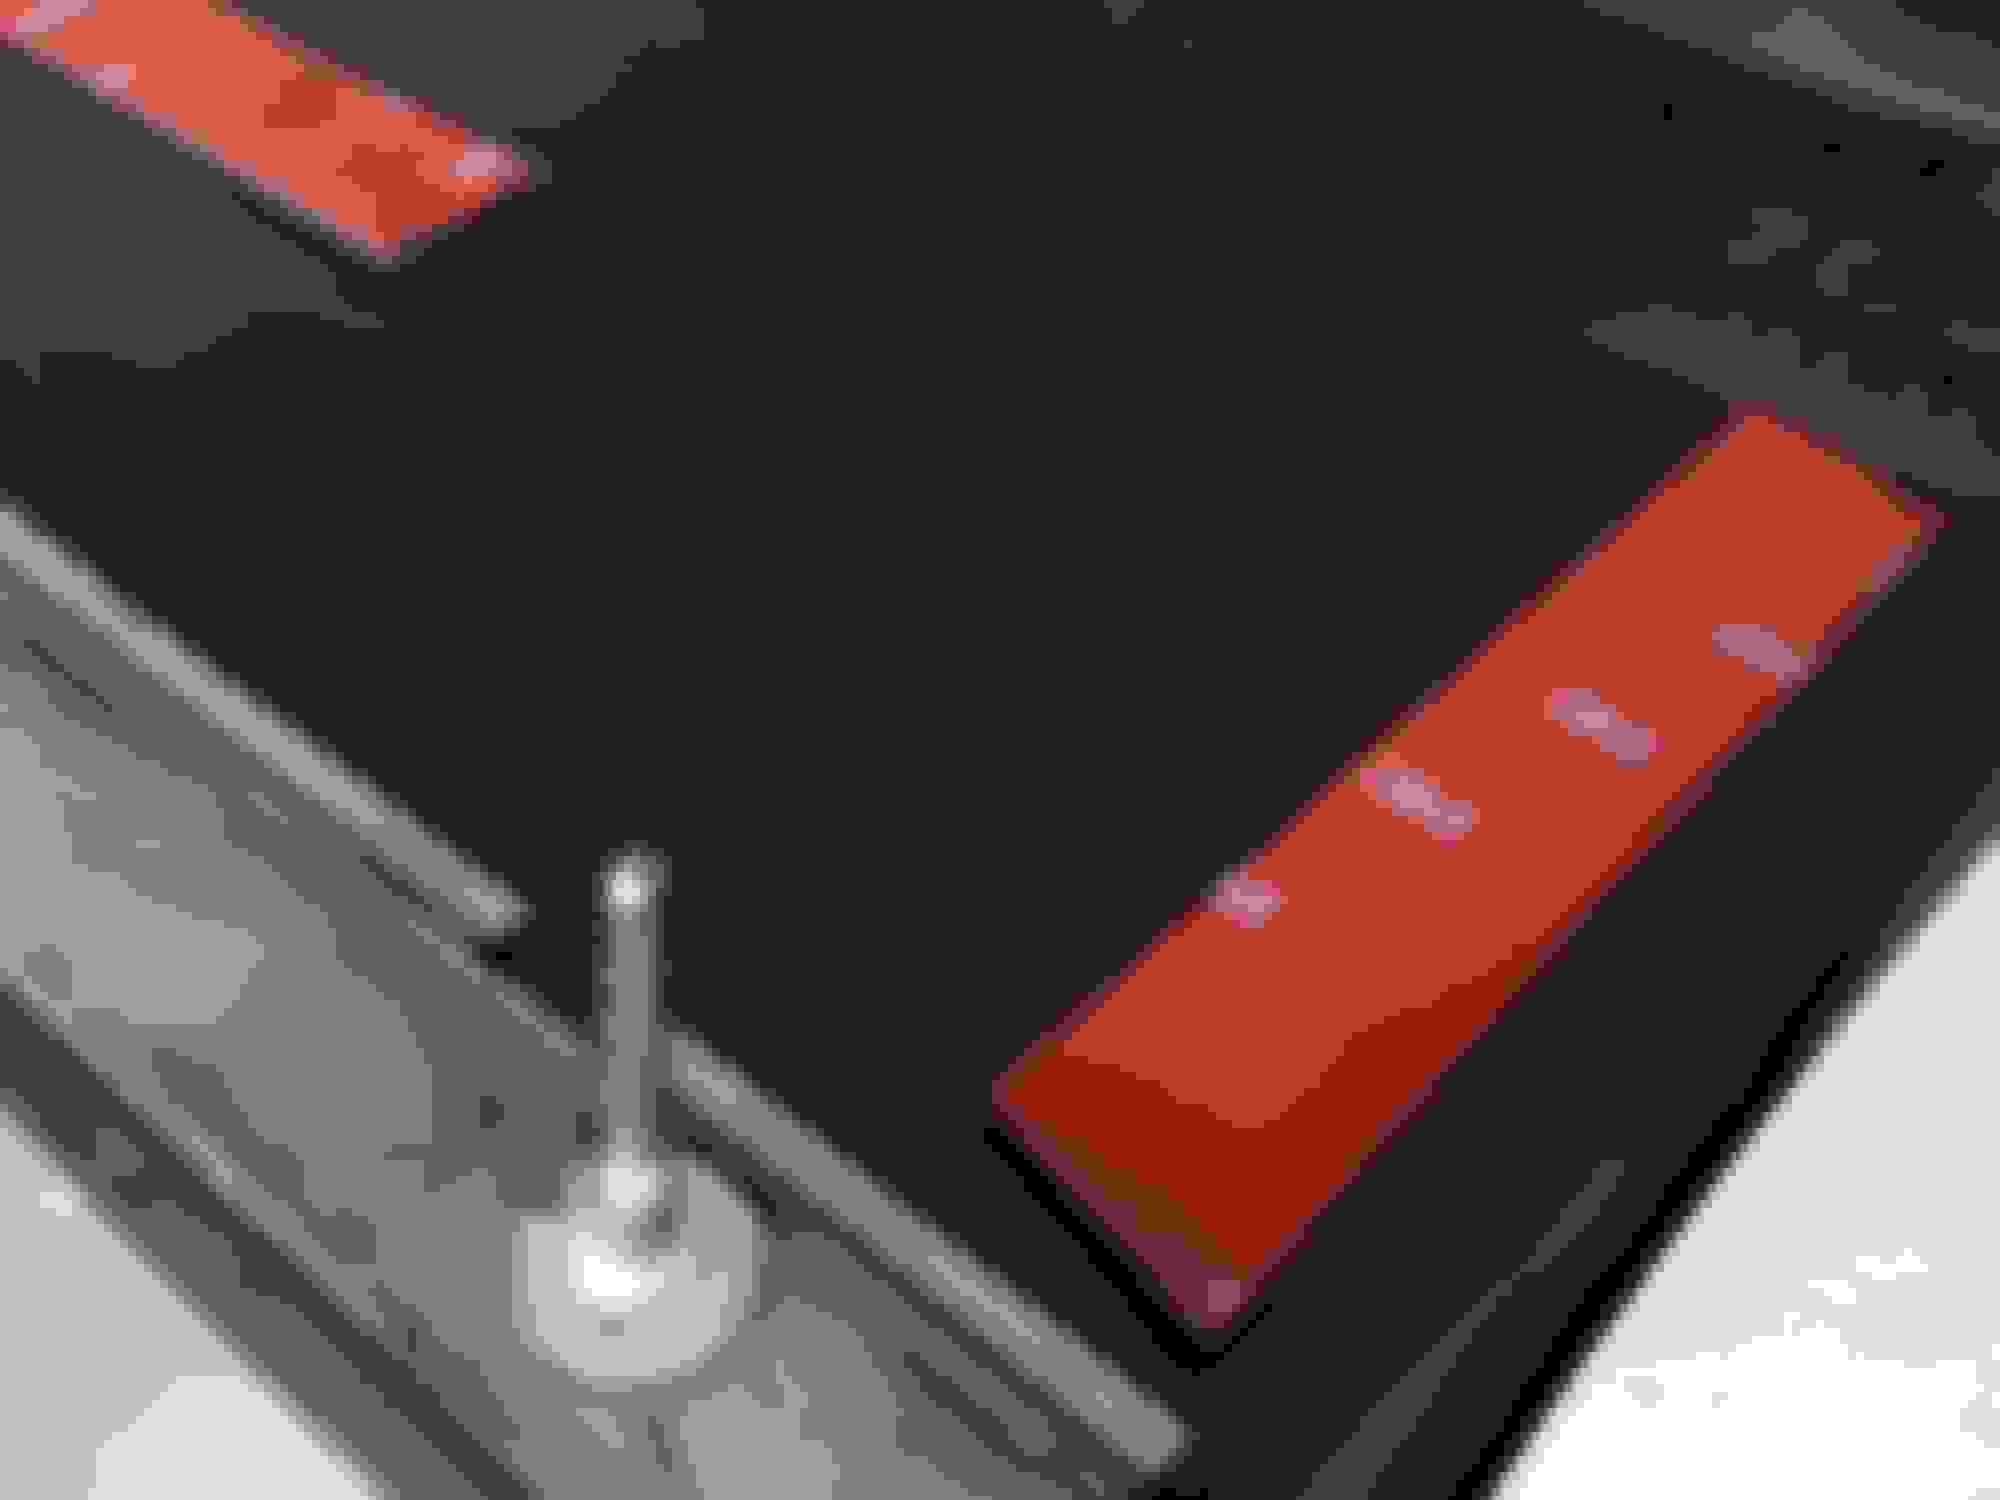
Grab the edge of the panel and start pulling it off the door, using the knife to cut the adhesive tape. Note the location of the tape on the diagram:
The clips will pop out as you move along cutting the tape. There are four pin-like clips on the top edge and three other along the bottom edge.
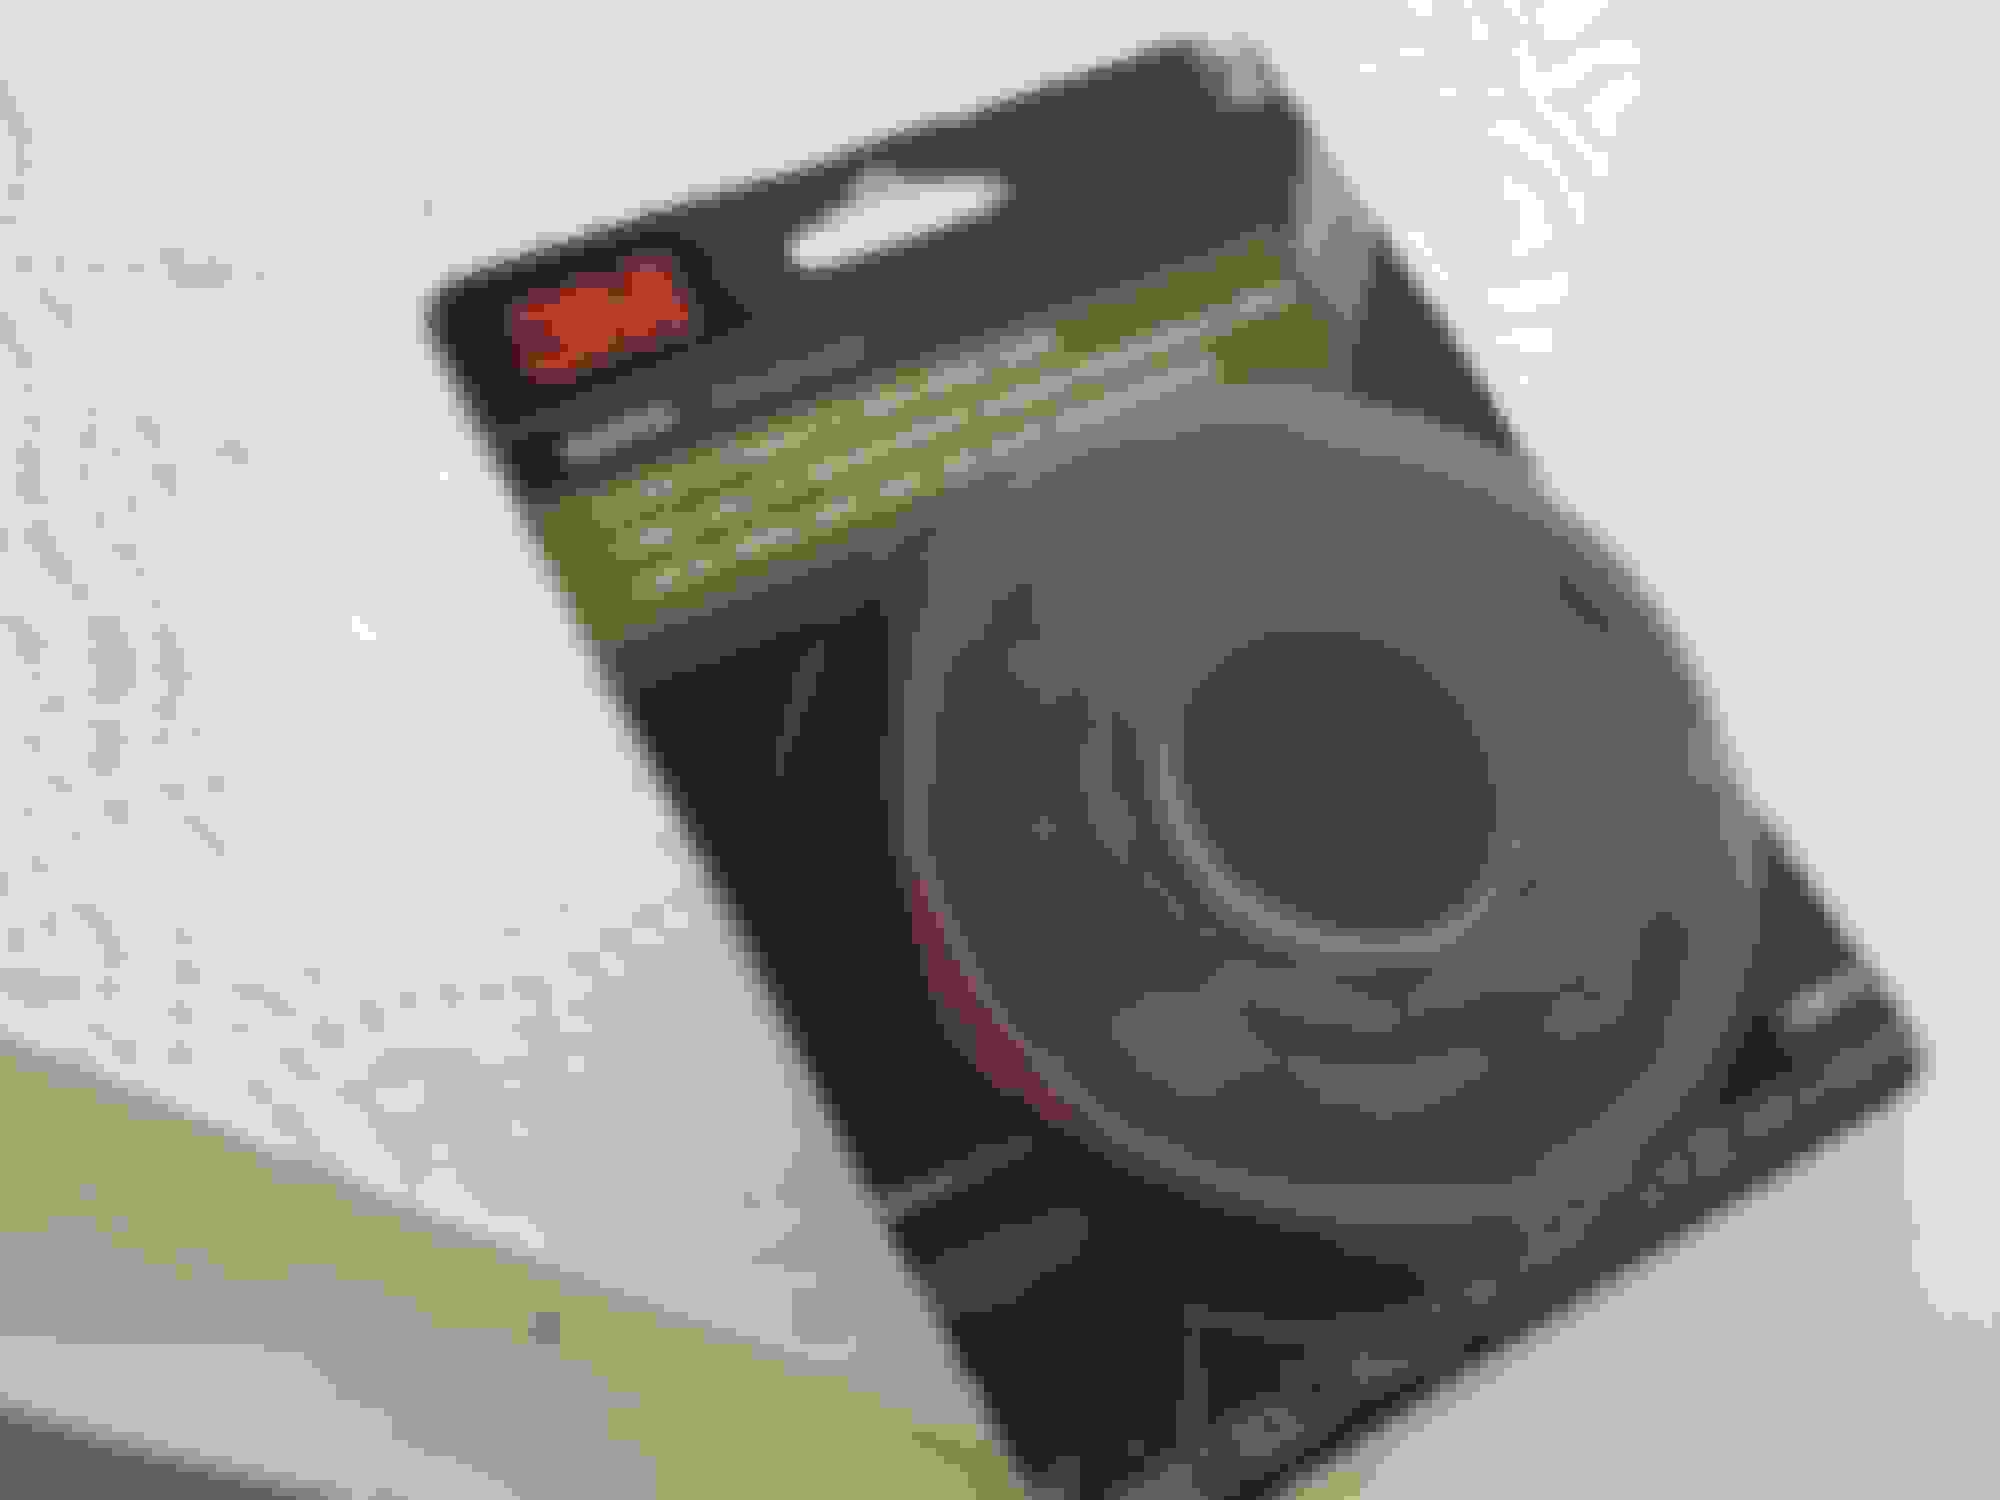
These two lower studs need to be re-bonded to the panel. They aren't secured to the panel very well and are easily broken off when the corner of the panel is snagged. The lower rubber edge molding may need to be removed to get the stud positioned correctly; if so, remove the phillips screws that secure the molding. I used some sandpaper to prep the surface, then used JB Weld plasticweld epoxy. It has a 5-minute set time and a 1-hr full cure time:
The adhesive tape is a nightmare to remove, so don't bother trying to get all of it off, just try to get most of it cleaned up with a razor. I used 3M trim tape from the auto parts store, it is about half the thickness of the Lexus tape, so I used two layers:
Clean up any leftover tape on the door and re-attach the panel by pressing it on and securing it with the four 10mm nuts on the inside.
I gave it the specified cure time according to the instructions. I'm beginning to think it was the wrong cement; I should probably use a urethane cement, like the type used for bumper mounting tab repairs.
The JB Weld that I used comes in a dual barrel syringe, and I sanded the surface and cleaned it thoroughly. Are you referring to a different cement than what is pictured above?
Well I finally got around to fixing this trim panel before I sell the car. Instead of trying to bond the mounting tabs to the back of the panel, I decided to weld them on just like the factory did. I bought a $9 woodworking iron from Harbor Freight; basically a soldering iron with an assortment of tips. I used the flathead screwdriver-style tip to melt and mush the edges of the mounting tabs into the backside of the panel and fuse the two together. It was really easy to do and there's no chance of damaging the exterior finish. There's no way the tabs can de-bond now. The only problem I have now is with one of the three lower white plastic clips that are mounted in the metal door panel, one of them is slightly broken and won't clip into the trim panel. I mounted the trim panel to the car and it fits perfectly, except for a very slight and almost unnoticeable bulge where the broken clip is failing to engage the trim panel. If you're going to repair your trim panels I highly suggest you order the three little white plastic clips ahead of time, that way if any of them break when you're removing the trim panel you can easily replace them at the same time.
It's common for rust to develop on the lower door panels (I believe only the front doors). Anybody know where the rust starts forming? Is it around the holes in the door where the clips go into?
I just purchased and drove back an 04 LS430 from Los Angeles (always a California car) that has ZERO rust anywhere and want to undercoat everything as well as possible. I am going to mist Wurth Body Wax inside all the cavities (rockers, quarters, lower doors, Fluid Film on the entire underbody, and Boeshield T9 on every square inch of the engine bay including the engine itself. Have done this combo many times and should prevent any chance of getting any kind of rust from salt exposure in the winter.
Was gonna store the car, but we already have too many cars in winter storage and this one I decided to drive in all weather.
 01-10-15, 03:47 PM