
DIY: Paint Caliper for 2GS
 02-01-13, 11:44 PM
#1
A few members on the forums have known that I've been wanting to paint my calipers for a while now, but haven't got around to it.
Well I'm currently sitting here waiting for the paint to dry so thought I would make a write up for those who want to do this.
Its not a complete DIY but should have many pictures for those who need it.
I DO NOT HAVE ANY RESPONSIBILITY FOR THOSE WHO MESS UP! PLEASE BE CAREFUL WHEN WORKING UNDER / NEAR YOUR CAR.
*All pictures are taken on the passenger front side
Tools needed:
-Masking tape
- Plastic paint sheet
- Newspapers
- Wire brush
- Small screwdriver
- Low profile jack + jack stands + scizzor jack (my cars too low
- Tools to open lug nuts + open lock
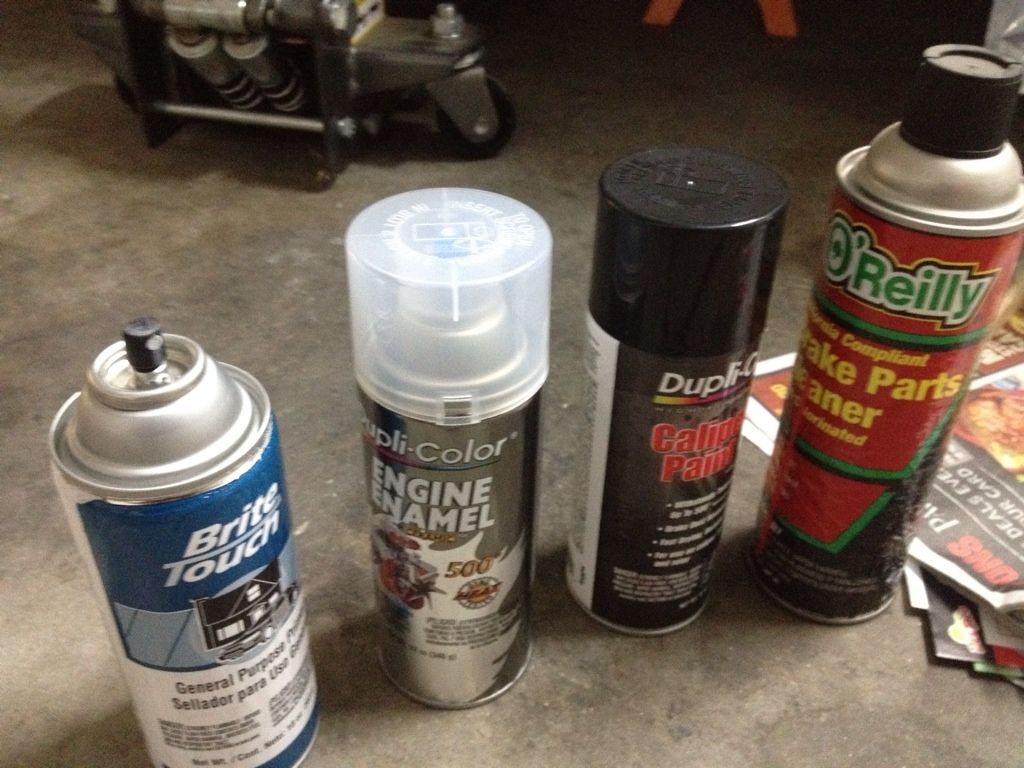
- Caliper paint
- Brake cleaner
- Warm water + soap solution
- rags to wipe down brakes
- lexus decals
left to right
primer, clear coat, caliper paint, brake cleaner
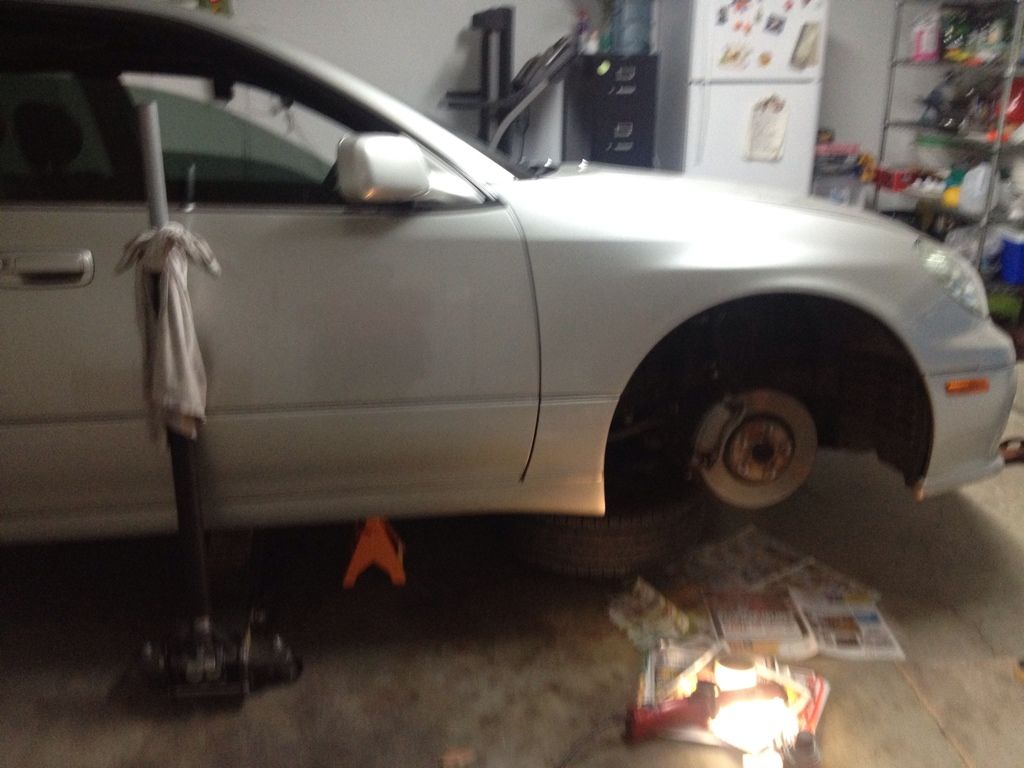
i skipped the jacking up part (use the frame) and make sure to use jackstands, im doing 1 side at a time because i only have two jackstands.
heres how it looks jacked up
After that, I layed down newspaper on the floor, sprayed brake cleaner and used a toothbrush / metal brush to clean the calipers wipe it off
After, use a toothbrush along with the warm soap + water solution and wipe it off once again
Let it dry ~30 mins
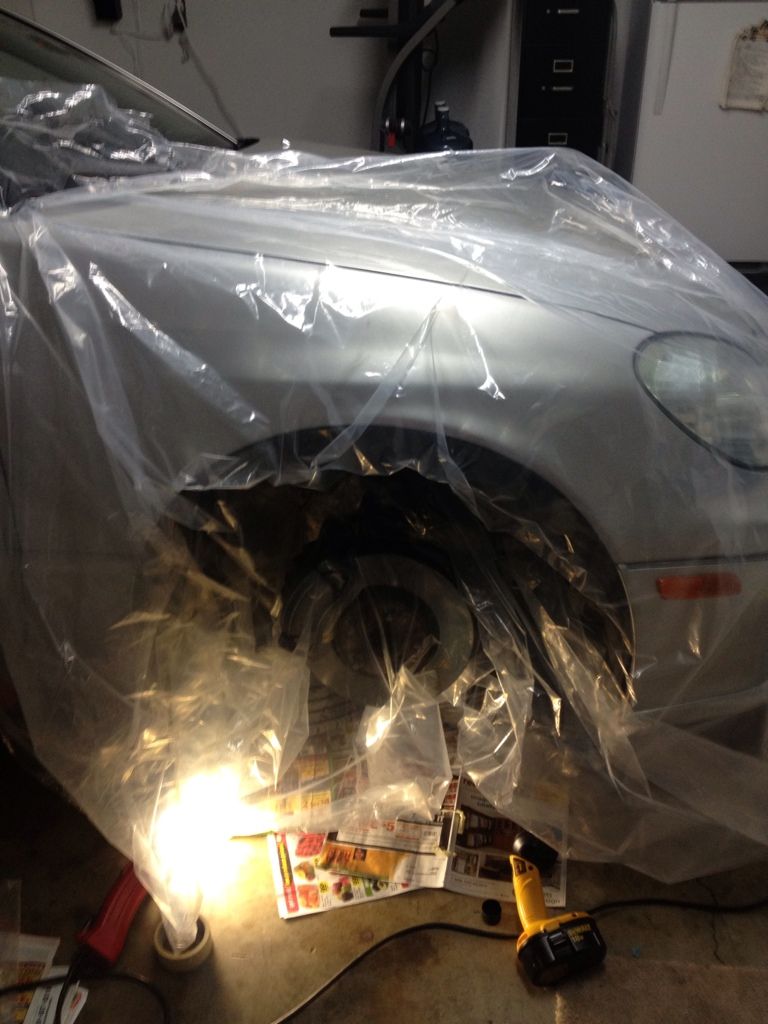
Grab masking tape and mask off anything that you aren't painting. I myself masked off metal tabs, rubber pieces, and the brake pads.
What I did with the plastic bag is draped it over everything then teared it to exactly fit just the caliper
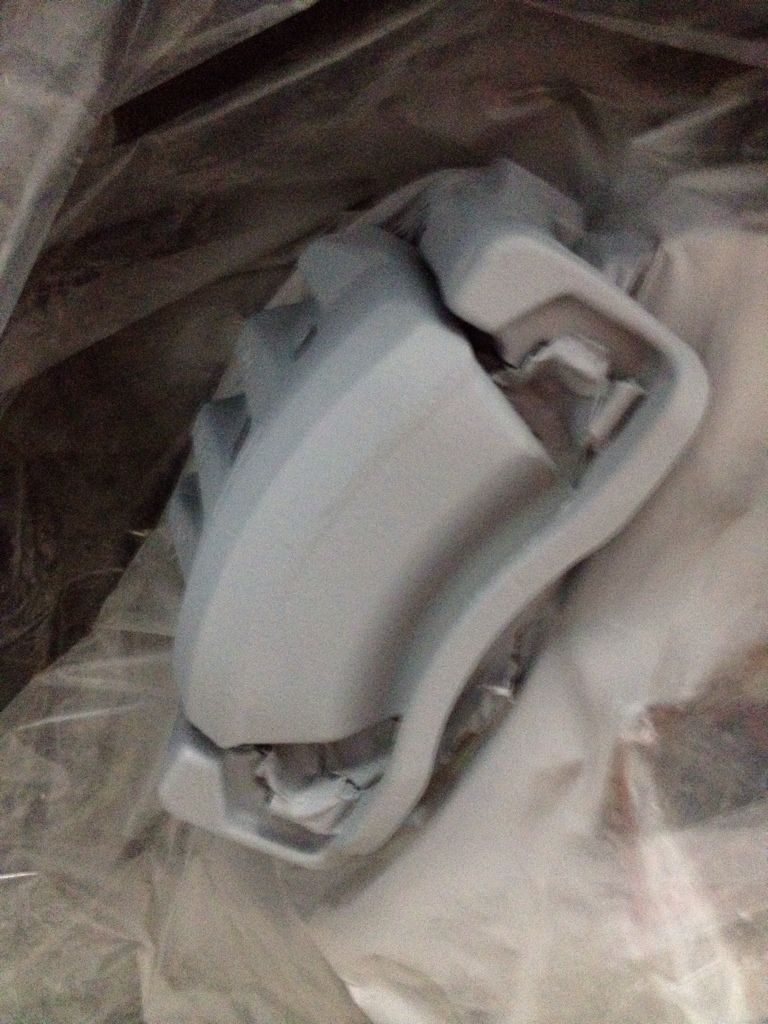
Grab the primer can and shake well. Hold ~8-12 inches away and apply 1 coat of primer. Between sprays, turn can upside down and spray alittle to clear the valve.
Wait 15 minutes, and apply a second coat
Heres how it looks with two coats of primer
Heres the first coat of black. I applied coats total, waiting 10 minutes between each coat.
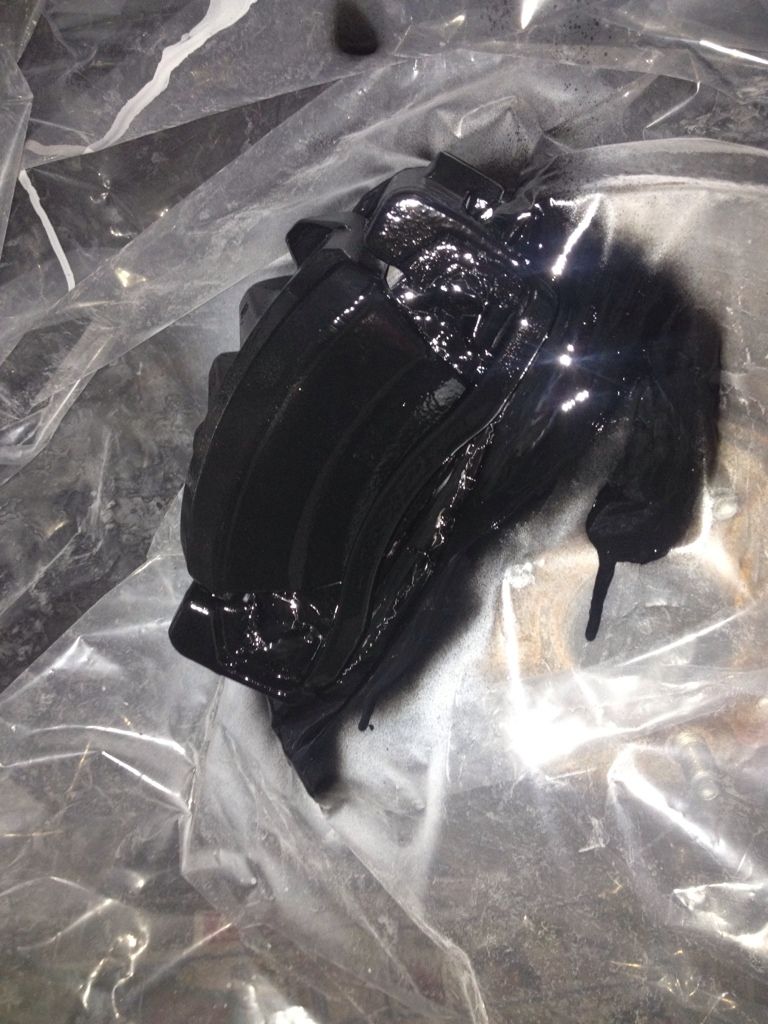
second coat of black

decal installed + 1 layer clear coat

near the E, the sticker took off part of the paint already due to me being stupid and putting it on and taking it off . make sure you only put it on ONCE the first time!
Well I'm currently sitting here waiting for the paint to dry so thought I would make a write up for those who want to do this.
Its not a complete DIY but should have many pictures for those who need it.
I DO NOT HAVE ANY RESPONSIBILITY FOR THOSE WHO MESS UP! PLEASE BE CAREFUL WHEN WORKING UNDER / NEAR YOUR CAR.
*All pictures are taken on the passenger front side
Tools needed:
-Masking tape
- Plastic paint sheet
- Newspapers
- Wire brush
- Small screwdriver
- Low profile jack + jack stands + scizzor jack (my cars too low
- Tools to open lug nuts + open lock
- Caliper paint
- Brake cleaner
- Warm water + soap solution
- rags to wipe down brakes
- lexus decals
left to right
primer, clear coat, caliper paint, brake cleaner
i skipped the jacking up part (use the frame) and make sure to use jackstands, im doing 1 side at a time because i only have two jackstands.
heres how it looks jacked up
After that, I layed down newspaper on the floor, sprayed brake cleaner and used a toothbrush / metal brush to clean the calipers wipe it off
After, use a toothbrush along with the warm soap + water solution and wipe it off once again
Let it dry ~30 mins
Grab masking tape and mask off anything that you aren't painting. I myself masked off metal tabs, rubber pieces, and the brake pads.
What I did with the plastic bag is draped it over everything then teared it to exactly fit just the caliper
Grab the primer can and shake well. Hold ~8-12 inches away and apply 1 coat of primer. Between sprays, turn can upside down and spray alittle to clear the valve.
Wait 15 minutes, and apply a second coat
Heres how it looks with two coats of primer
Heres the first coat of black. I applied coats total, waiting 10 minutes between each coat.
second coat of black
decal installed + 1 layer clear coat
near the E, the sticker took off part of the paint already due to me being stupid and putting it on and taking it off
. make sure you only put it on ONCE the first time!
Last edited by 1sWt2GS; 02-02-13 at 03:44 AM.


 02-02-13, 01:57 AM
#6
i feel like its not needed or i could just be lazy 
ive read that you dont really need the primer, but the can was only 2 bucks, so why not. i mainly used it just so the paint would stick better and so it had a base coat.
the engine clear enamel is the thing that holds down the decals so i definitely need it, also gives it a gloss look. haven't heard anything about it turning yellow, but then again im painting the brakes black so it wouldn't really affect it.
do it! its super easy and cheap. just make sure you have something to pass your time, because theres more downtime than acutally working.

Trending Topics
02-02-13, 03:35 AM
#8

on the driver side, ill definitely perfect the technique.
the decal is kind of old (left it sitting a long time) so a litle of the paint came off with it on the passenger side! im so upset! but then again, no1 is gonna stare at it
it looks a lot better in person than that picture with the decal installed in the DIY

 02-03-13, 12:11 AM
#14
Lead Lap
iTrader: (4)

Join Date: Jul 2009
Location: CA
Posts: 544
Likes: 0
Received 0 Likes
on
0 Posts
you should of taken your calipers off and when I installed my decals i taped it on and went for a small drive until the caipers got hot and pealed the back of the decals off and no clear coat. its been fine ever since. and you only need the paint, no clear or primer because the paint gets baked onto the caliper