Lexus IS: How to Replace Ignition Coils
Back in the day, cars had distributors, points, and special high-tension spark plug wires. Now, most have individual ignition coils at each spark plug for improved power and cleaner emissions, which can be easily replaced.
This article applies to the Lexus IS 250, IS 350, IS-F (2004-2013).
While reliable, the coil packs on your Lexus IS don’t last forever due to time, heat, and corrosion. Like any electronic component, they go bad from age and use, which creates misfires and the resulting CEL (Check Engine Light) and trouble codes. Luckily, those trouble codes will tell you which packs are faulty. Replacing them is an easy fix that anyone with the proper tools can do.

Pro Tip
An official Lexus coil pack from Sewell costs about $100, but you can buy it for less from other online distributors. Consensus is that OE-level coil packs, not bargain brands, must be used. It's also important to note that for V-6 motors, this fix will take several hours due to difficulty accessing the rear bank of the cylinders.
Tools Needed
- Basic 3/8” ratchet set with metric sockets
- 10mm ratcheting box end wrench
- Inch-pound or pound-foot torque wrench
- Optional, but recommended: basic scan tool for reading and erasing codes
- Optional: dielectric grease and DeOxit cleaner (Amazon or Radio Shack)
- Specialized plug wrench with rubber or magnetic retainer if doing spark plug replacement
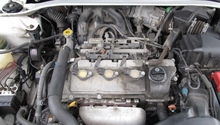
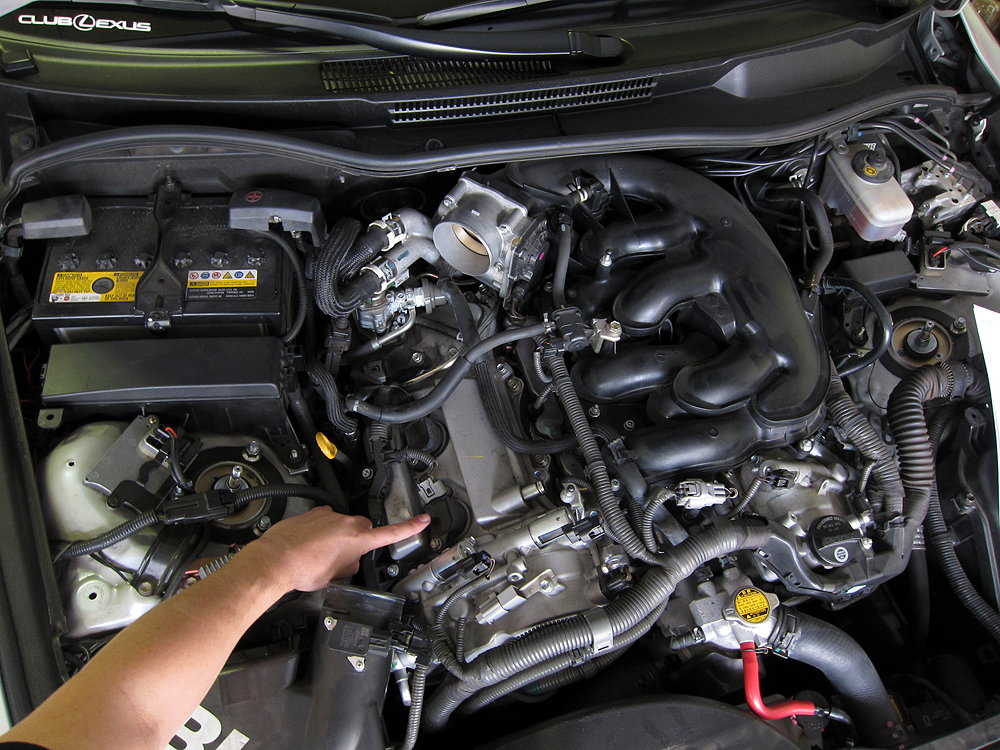
Step 1 - Remove all engine covers
Remove everything that covers the engine, including coverings, air box and hose, and air intake.
Pro Tip
Now is not a bad time to clean your engine covers. Some soap and water should be fine as they should only be covered in dust and grime. If there are any other chemicals like oil or crusted coolant, you should take a close look at the area the engine covers were covering other signs of future engine trouble. Wiping the covers down with 303 Aerospace Protectant will keep your plastics looking good, too.
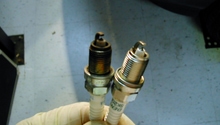
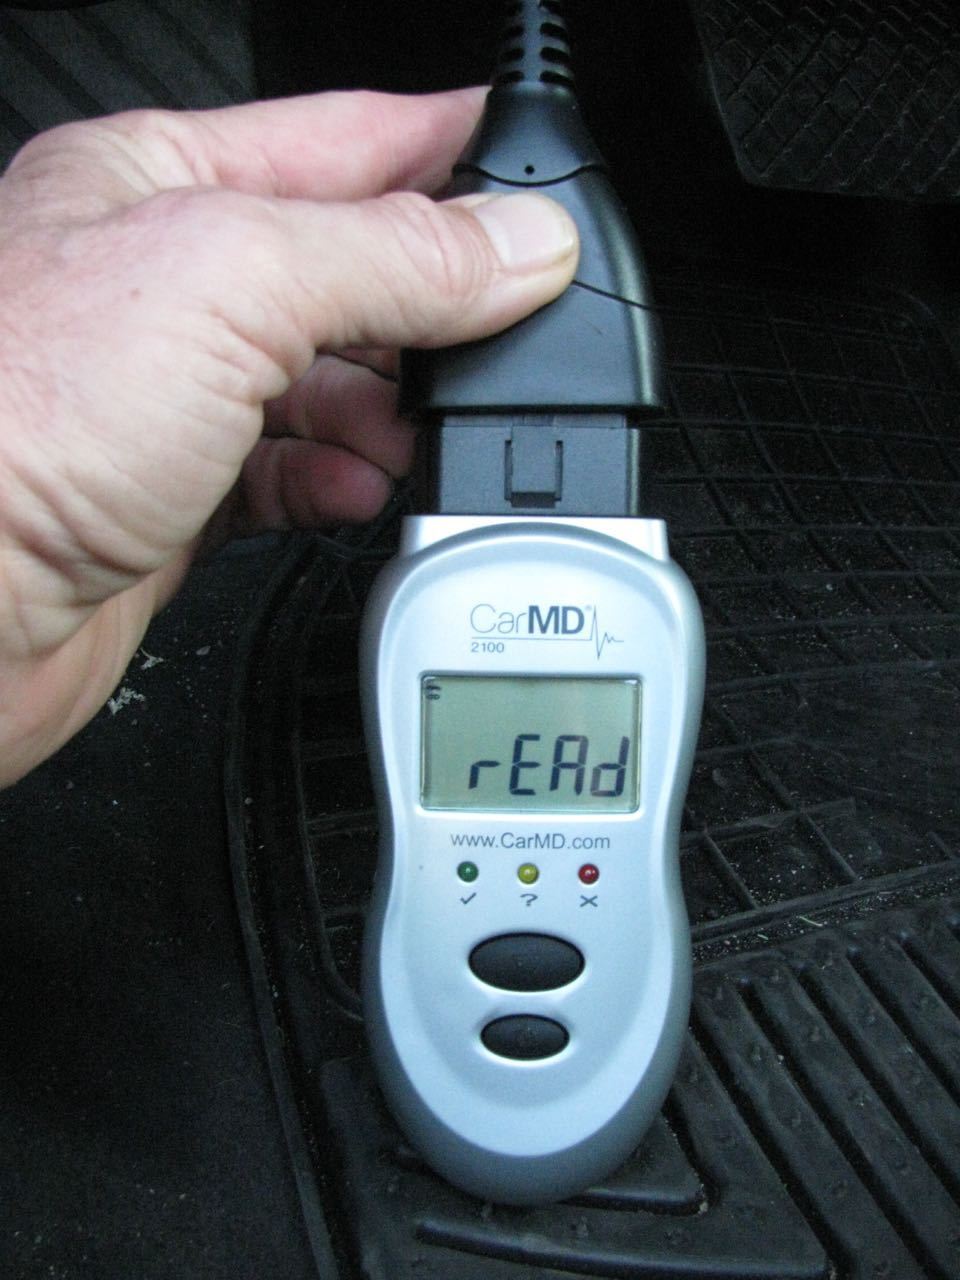
Step 2 - Determine which coil pack is defective
Plug your OBD reader into the port under your steering wheel and start pulling codes. Either take those codes to a dealership and ask what they mean, or simply search for them on the internet. Misfiring engines will often give a code that signals a bad coil pack. It will also tell you which pack is failing. Likely, they'll be several other codes as well. A bad coil pack likely to cause a "cascading failure". When it fails, several other problems start appearing, too. Replacing the coil pack will likely alleviate those other issues.
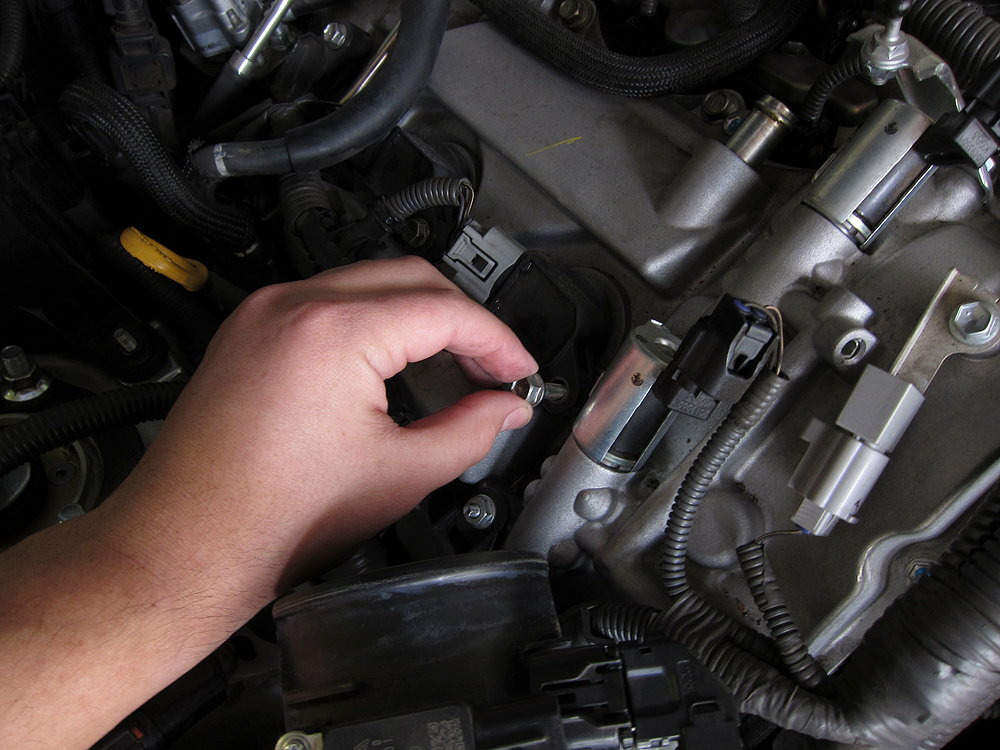
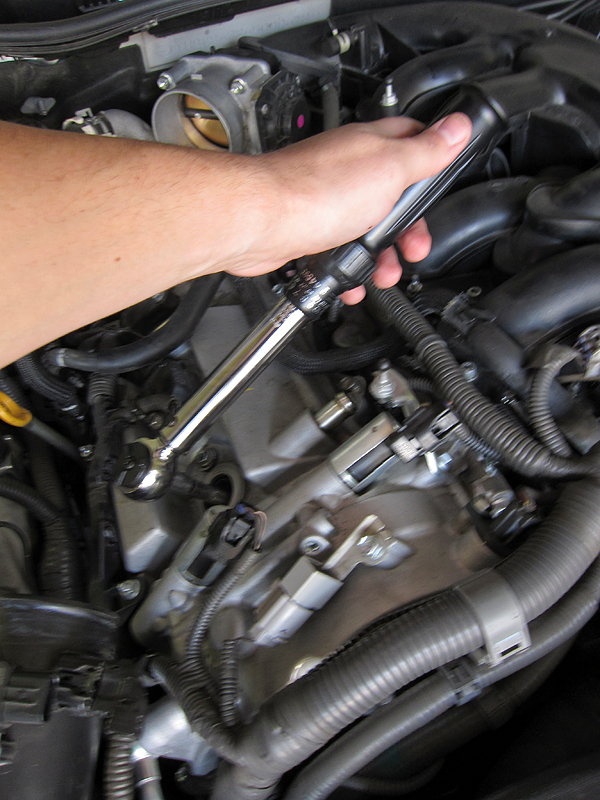
Step 3 - Remove 10mm nuts securing wiring harness
With a 10mm socket, remove each nut holding in the wiring harness. This should make it easier to remove the coil packs. If you can free the ignition coils without removing the ignition harness, skip this step.

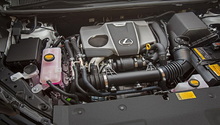
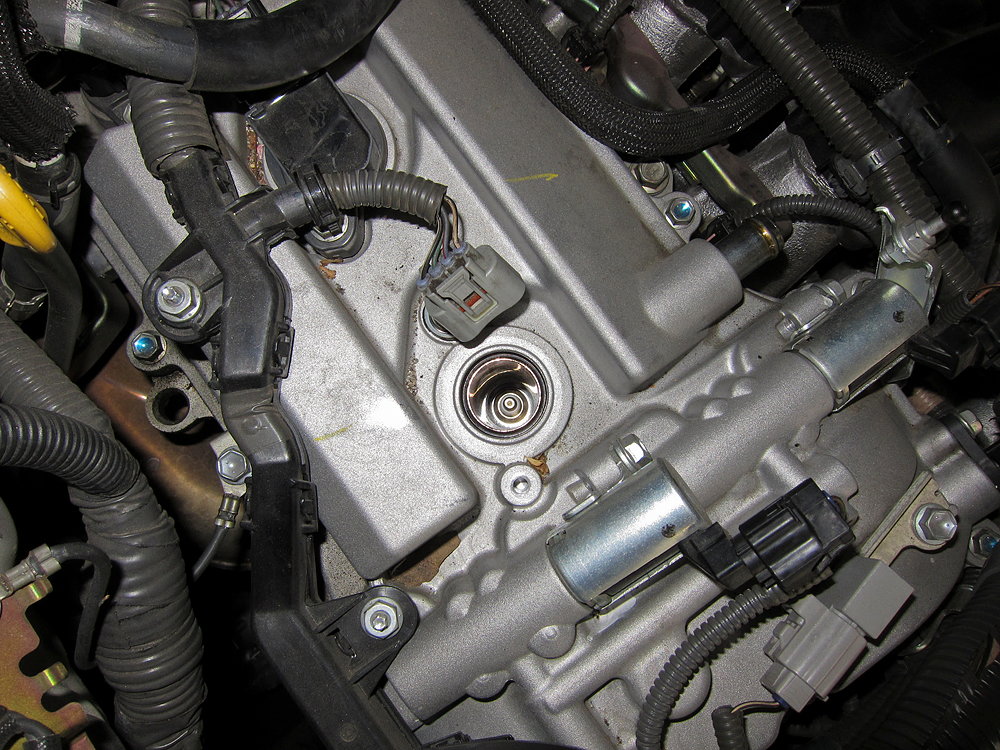
Step 4 - Remove 10mm nuts securing ignition modules to head
With 10mm socket, remove the nut holding the ignition coil to the engine.
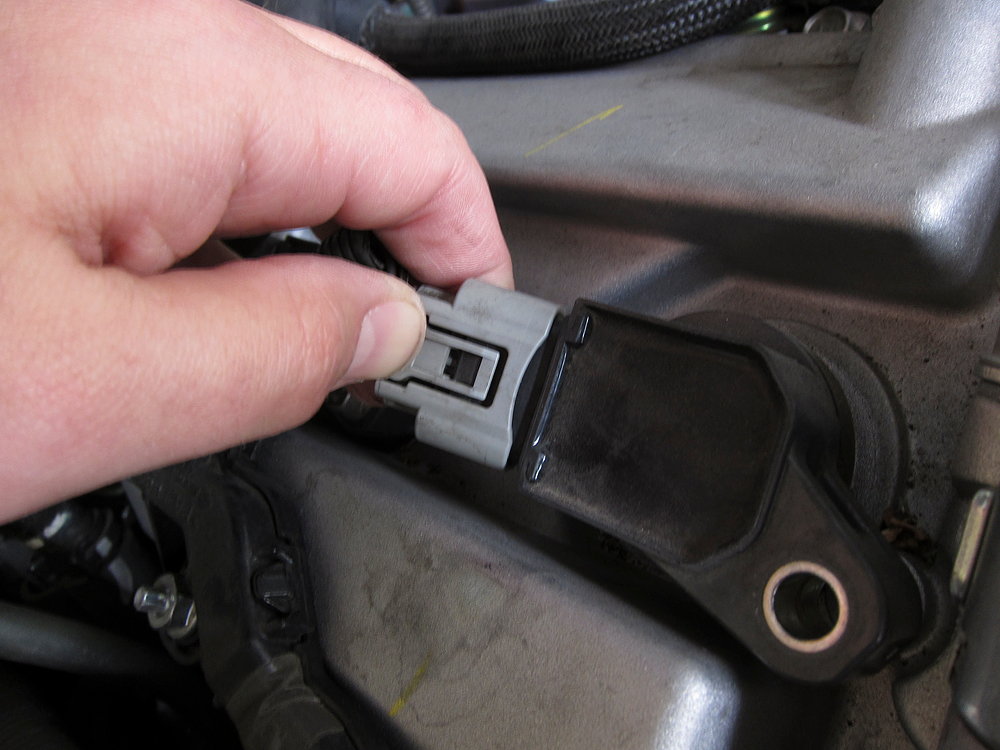
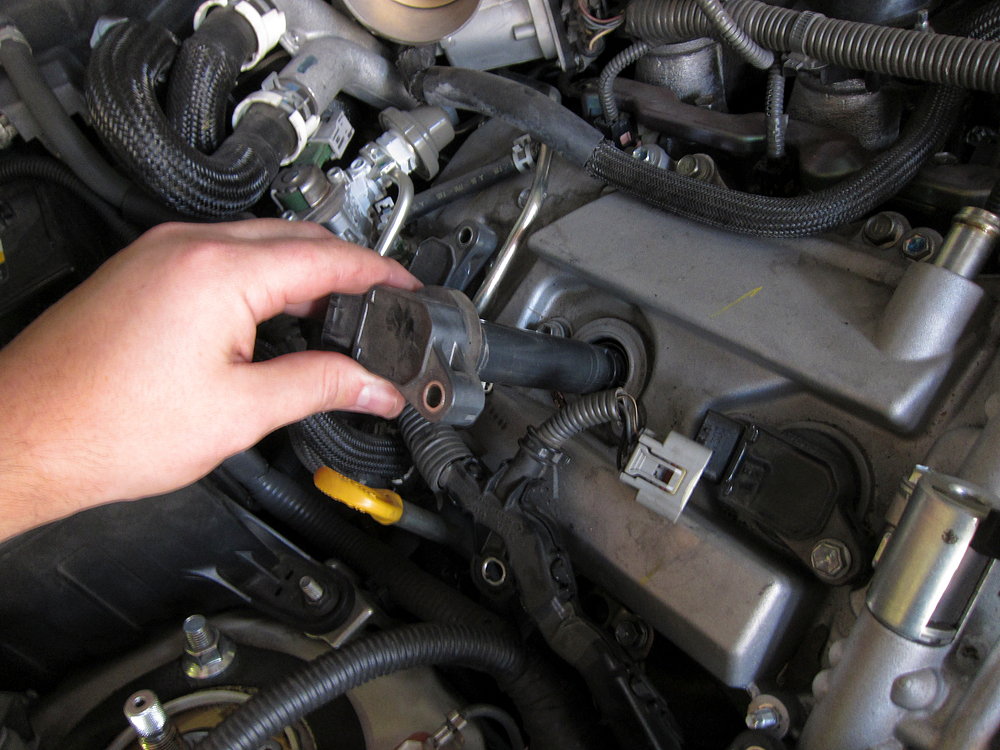
Step 5 - Disconnect individual ignition coil modules
Gently pinch the electrical connector and wiggle off the coil connection. If the plug is reluctant to release, insert the screwdriver at the side of the connector and rotate gently. It may be necessary to gently pry on the fastener “grabber” in order to get it to release.
Pro Tip
If you find more than a slight trace of oil at the tip of the ignition module, there is a valve cover gasket leak that will need to be replaced. This is a major repair not for a novice.
Step 6 - Install new ignition coil
Replace the failed module with the new ignition coil. A bit of silicone dielectric grease may help. Re-install the bolt that holds the coil pack in and re-attach electrical connector.
Pro Tip
Clean all electrical connections with DeOxit (not WD-40). Also, a dab of dielectric grease at the spark plug-to-ignition coil will encourage better spark and prevent corrosion.
Step 7 - Reinstall removed harness and engine covers
After replacing the failed module(s), reverse the process to re-install. Secure 10mm nuts finger tight and torque to 10 Nm/7 lb-ft. We recommended using a trace of Locktite (242 or 290). Reinstall the engine covers and start the car.
Related Discussion
- How to Change Spark Plugs (Ignition Coils Included) - ClubLexus.com