Lexus: How to Paint Rims Using Plasti-Dip
Plasti-Dip is a protective coating product that most Lexus owners can easily apply to their vehicle's rims. Here's how to do it yourself.
This article applies to the Lexus IS, ES, GS, and RX (2005-2014).
Unless you're one of the few car owners who keeps their vehicle safe and sound in the garage, occasionally taking it out for a joy ride, you've probably noticed that your car's rims tend to scratch, scuff, and generally look a bit dull over time. Although this is a common issue on most cars, the good news is you can take relatively simple and inexpensive measures to restore your rims. This is a simple project, but be sure to spray several coats on each rim to ensure a lasting result.

Materials Needed
- 2-4 cans of Plasti-Dip, your choice of color
- Windex or other fast-drying cleaner
- Bucket
- Scrubbing brush
- Newspaper or paper towels for coverage
- Old rag or t-shirt
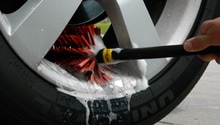
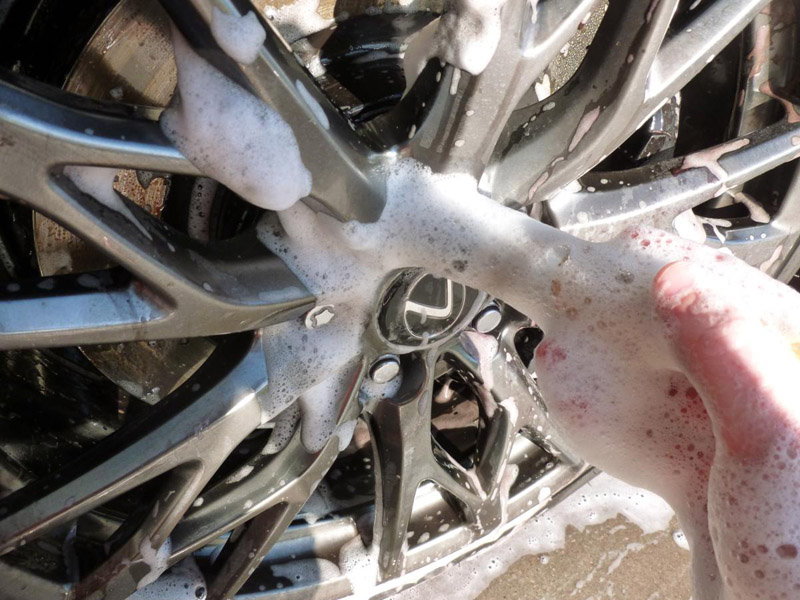
Step 1 - Clean the rims and wheels
You're about to apply an adhesive product with the goal of protecting and even enhancing your car's exterior. Getting rid of excess dirt, dust, and grime is an important step towards a successful end result. Whether you prefer the simple soap and bucket method or a fast-drying product, such as Windex, make sure to take the necessary amount of time to really scrub the rims and wheels clean.
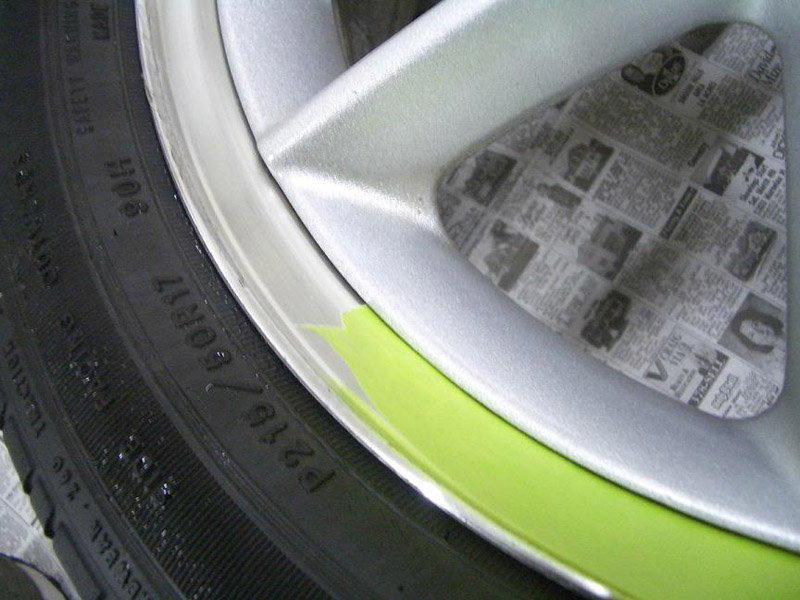
Step 2 - Cover up the brakes
Grab a handful (or more) of paper towels, newspaper, or whatever else you've chosen to keep the brakes safe from Plasti-Dip. The main goal here is to prevent a potentially frustrating and time-consuming cleanup if the product does happen to get on the brakes.
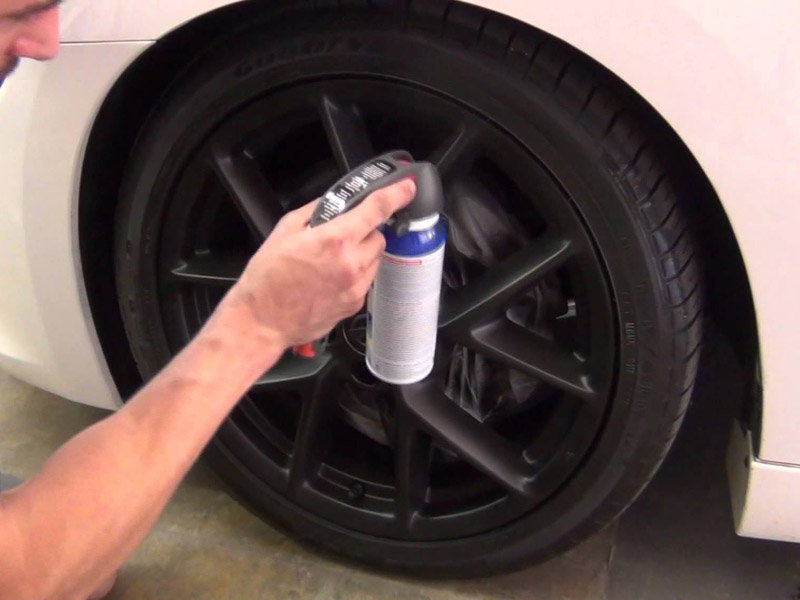
Step 3 - Apply the base layer
There are two main goals to keep in mind when applying the base layer. First, you'll want to apply a thin coat (as thin as possible). Keep in mind that subsequent layers need to go on as smoothly as possible. The second goal is to completely and evenly cover the base. For best results, apply even pressure and continue to move your hand and arm around so that you cover the entire base. Don't worry if you get a bit of Plasti-Dip on the car's tires; it will peel right off afterwards.
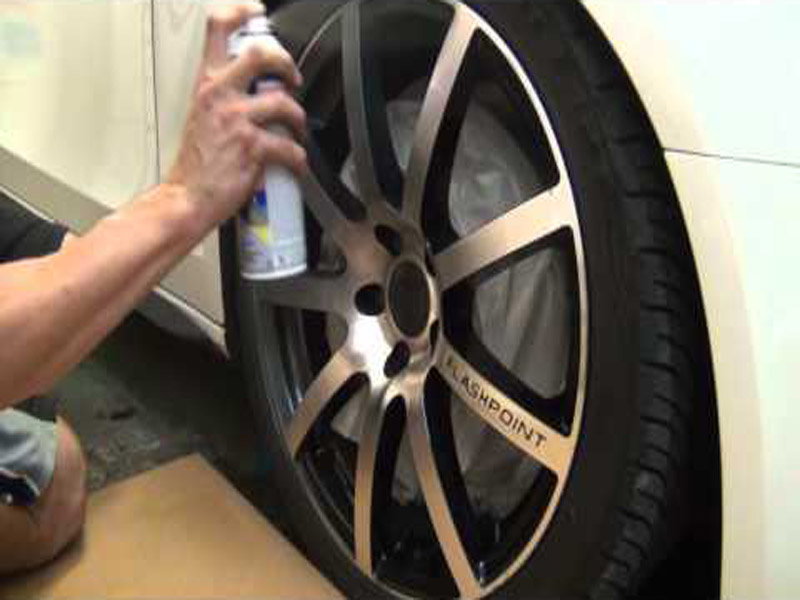
Pro Tip
The key to applying Plasti-Dip the right way is to get the right distance between the nozzle and the rim. In general, this is around four to six inches.
Step 4 - Apply subsequent layers
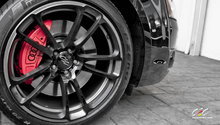
Once you're happy with how the base layer looks, give the rims about 10 minutes each to dry. Start applying the second layer, following the same steps as you did for the base. The main difference here is that the second coat will make the rims look a bit darker, regardless of color. When you're done with the second layer, give the rims another 10 minutes to dry then apply any additional layers. You don't have to add a third and fourth layer, but it's generally recommended to ensure longevity and a stronger appearance. After applying the final layer, give the product about 30 minutes to dry before peeling it off the covers on the brakes.
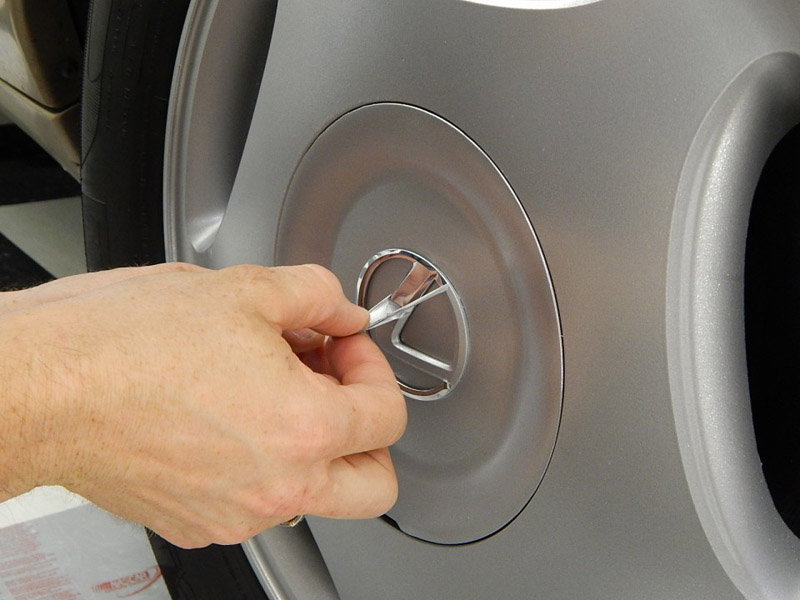
Step 5 - Peel off excess Plasti-Dip
You might have coated your tires a bit during application. That's okay; it's easy to peel off any residue. Simply use your nail or a screwdriver to lift up one section, gently peeling it back until you've removed any excess outside of the designated areas.
Pro Tip
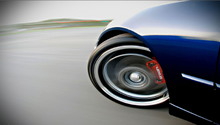
Plasti-Dip generally takes a day to harden after you've applied it. Although it's fine to drive the car during this time, it's best to avoid situations where the rims could potentially get scratched or scuffed.
Featured Video: How to Paint Rims Using Plasti-Dip
Related Discussions and Sites
- Did Anyone Paint Their Rims Using Plasti-Dip? - ClubLexus.com
- Plasti-Dip Rims, the New Way? - ClubLexus.com
- How to Plasti-Dip Your Car's Rims Matte Black Without Tire Removal - Instructables.com
- Dipping Your Wheels - Dipyourcar.com