Lexus: How to Repair Leather Tears
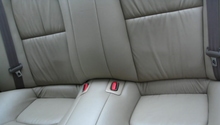
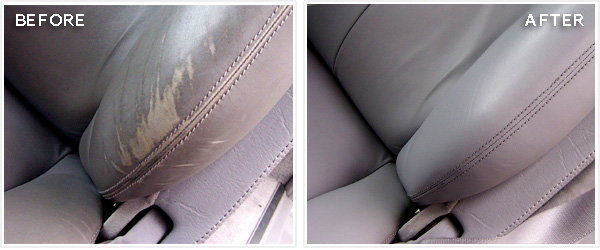
Small tears in your leather seat covers don't mean you need to replace the panel or re-skin the whole thing. Follow these simple steps to make your seats look like new.
This article applies to the Lexus IS, GS, ES, RX (2004-2014).
Replacing a seat cover just to take care of a small tear is a needless expense. While some things like perforated inserts are probably better replaced, small tears or holes can be fixed at home. Learn how to fix rips without coming apart at the seams.

Materials Needed
- Manicuring or similar small scissors or sharp hobby knife
- Tweezers
- Popsicle stick/tongue depressor (or similar)
- Spatula
- Heat gun
- Airbrush or compressed-air sprayer (e.g. Preval sprayer)
- Leather repair kit
- Backing material
- Contact cement
- Leather dye
- Denatured alcohol wipes
- Leather conditioner
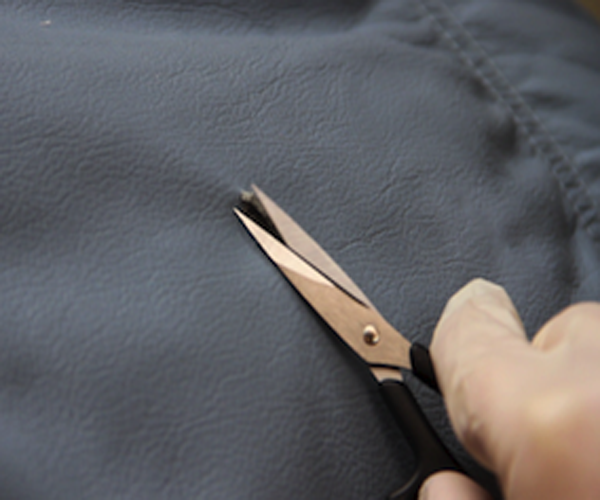
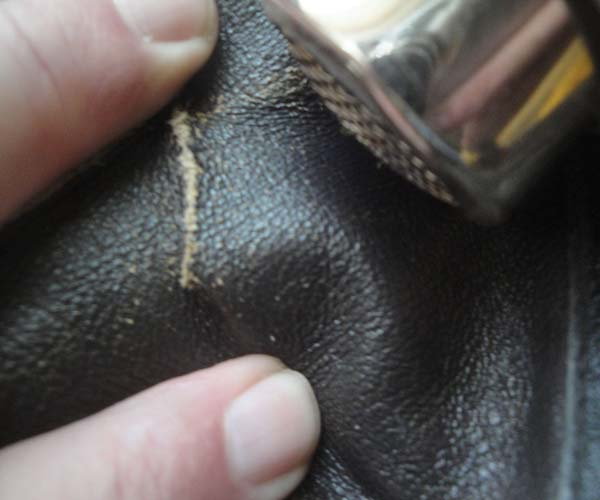
Step 1 - Clean up the edges
Trim fuzz off edges of tear with scissors.
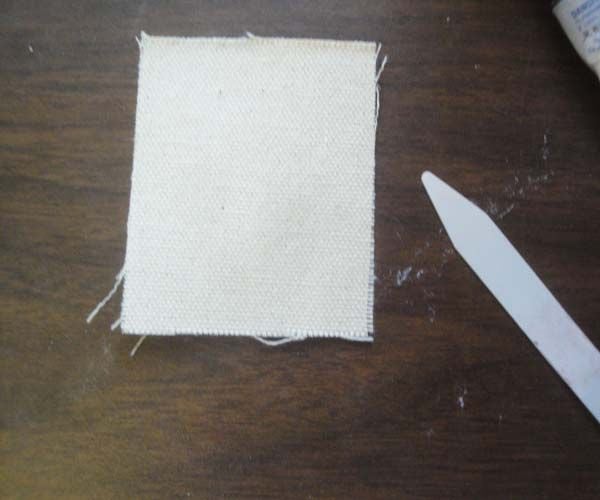
Step 2 - Cut backing material to size
Transfer length/shape of tear onto backing. Cut backing minimum of 1" (25mm) from sides and end of tear.
Pro Tip
Use a piece of tracing/tissue paper to mark the shape of the tear and size of the backer. Place an "X" at the center of the backer to help position it.
Step 3 - Place backing material under tear and glue
Place backing material under tear and position. Use a small brush to apply glue to the backer through the tear. Allow glue to get tacky, then apply pressure while glue sets.
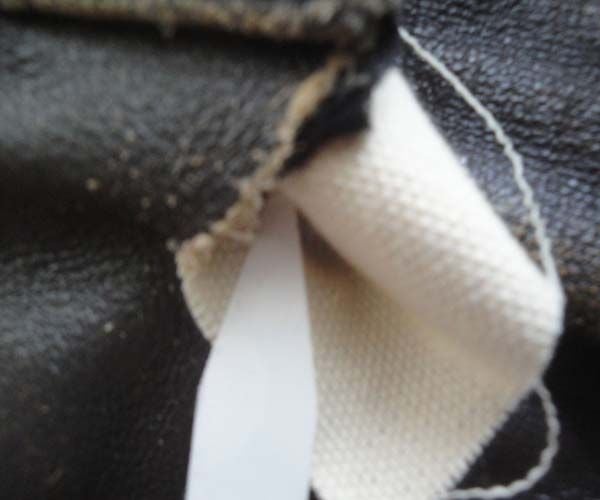
Figure 3. Stuff the backing material into the tear. 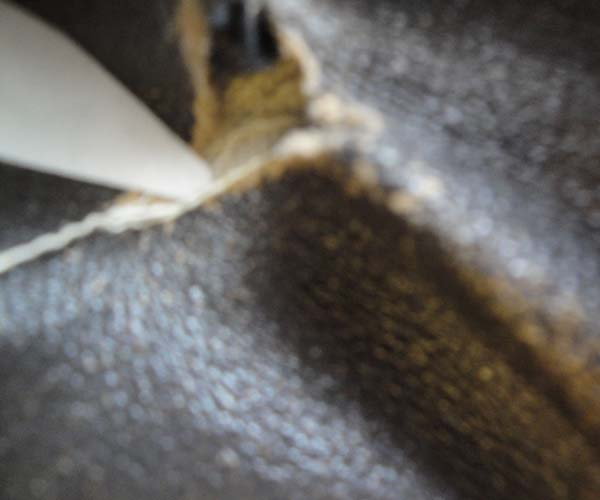
Figure 4. Glue the packing into place.
Pro Tip
Mask off the area around the tear to keep off excess glue and filler.
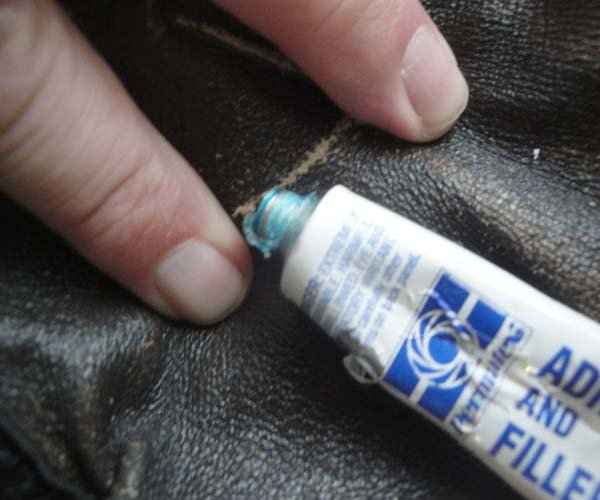
Step 4 - Apply first layer of filler
From the repair kit, mix up filler. Use a small plastic spatula, popsicle stick, or tongue depressor to apply a thin layer and let dry. Apply filler to tear, then spread out with spatula.
Step 5 - Build up and level out repair
Apply filler in layers to fill tear until it is level with the face of leather. Cure filler by blasting it with a heat gun (or hair dryer) set on low.
Step 6 - Dye repair area
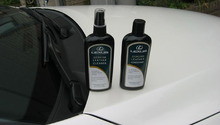
Mix dyes in repair kit to match leather color. Apply dye using very light coats until repair is blended in with adjacent material. Repair kits contain colors that can be mixed in with filler. Some leather repair kit makers offer a premixed colored filler that can be smoothed out and sanded down to level it with the upholstery. Others, like those from SEM, can simply be sprayed on.
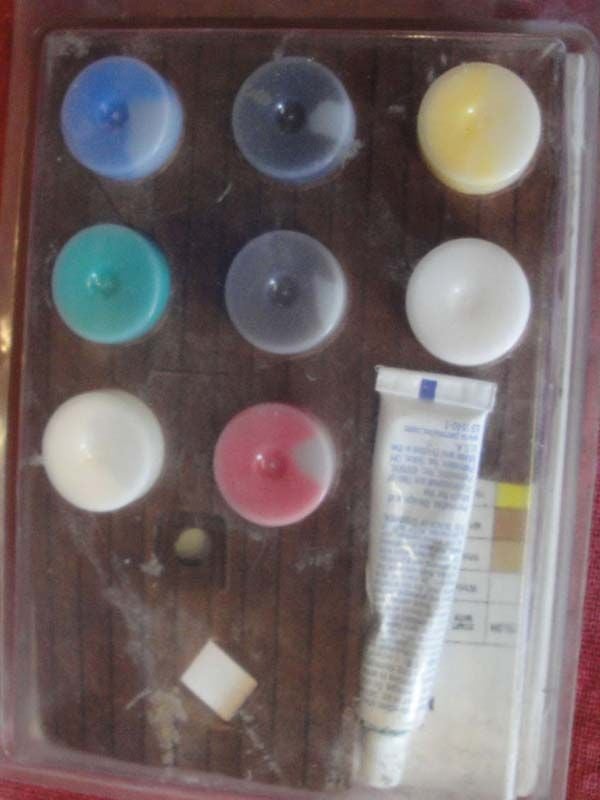
Figure 7. Color repair kit. 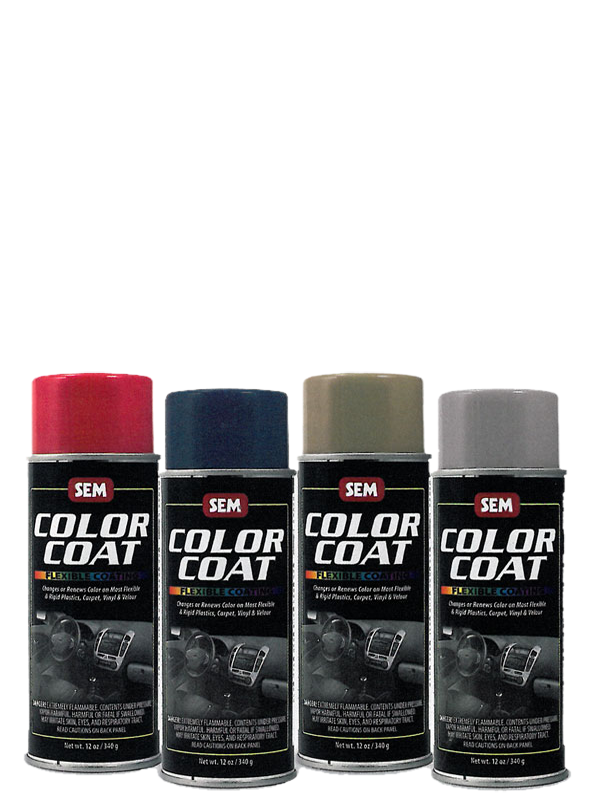
Figure 8. SEM color coat.
Pro Tip
Pull up the rear seat bottom cushion to see if there is a flap or small section of leather that you can cut off; take it to your shoe repair shop to find a match. Auto body/paint supply stores may have vinyl/leather dyes in spray cans or be able to mix a small amount of touch-up dye.
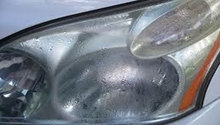
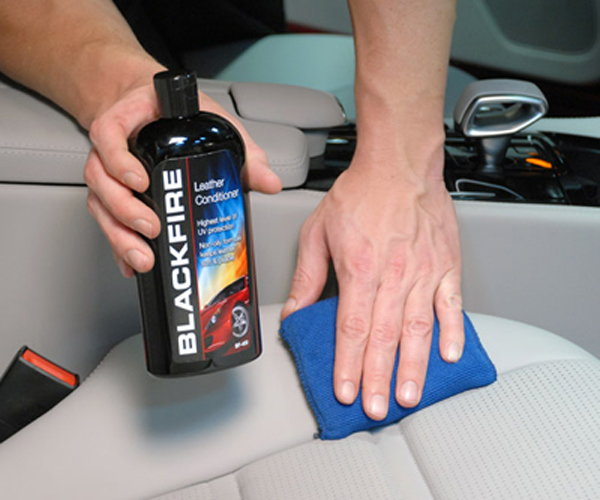
Step 7 - Condition and blend in repair
After dye has dried, set heat gun on high-heat and warm up repair area to draw out oils in leather. Apply conditioner to seat skin, starting at the repair and working outward, to blend in repair.
Step 8 - Additional care and maintenance
Periodically check the repaired area for separating, and repeat this process as necessary. Make sure to clean and condition the leather regularly.
Featured Video: How to Repair Leather Tears in a Lexus
Related Discussions and Sites
- How to Repair a Torn Leather Car Seat - Carsdirect.com
- Leather Repair - How to Repair Torn Leather Seat - Interiorguyllc.com
- Review Leather Repair Kit Pretty Good Results - ClubLexus.com
- What is the Best Method to Repair Leather Seat Tear? - ClubLexus.com
- How to Repair Torn Leather - Doityourself.com