Lexus: How to Check Your Tire Tread
Bald or thinning tires means poor traction and, even worse, risk of a blow out. Here is how to check the tire tread on your Lexus.
This article applies to the Lexus IS, RX, GS, LS, and ES (2005-2013).
Checking tire tread is a simple task that doesn’t require specialized tool kits, additional mechanical helpers, or a background in automotive repair. If you suspect your tires might not be up to par, all you’ll need is a tire tread depth gauge or, alternatively, a US coin (see link below). If you opt to purchase a tire tread depth gauge, you can pick one up for about four dollars. Checking your tire tread won’t damage your vehicle and can be completed in just a few minutes.

Check Your Tire Tread Using a Tire Tread Gauge
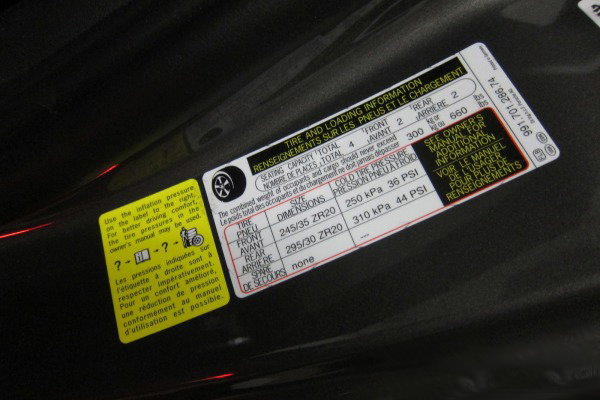
Step 1 - Check your tire pressure
Make sure your tires are inflated to the recommended air pressure. The recommended pressure will be indicated on your driver's side door panel sticker. If you have aftermarket tires, they will have the recommended PSI on their side.
Step 2 - Test the gauge for accuracy
In order to ensure accurate results, press the tire gauge against the ground or a comparable flat surface and make sure it zeroes out (goes all the way to zero) when it touches the surface.
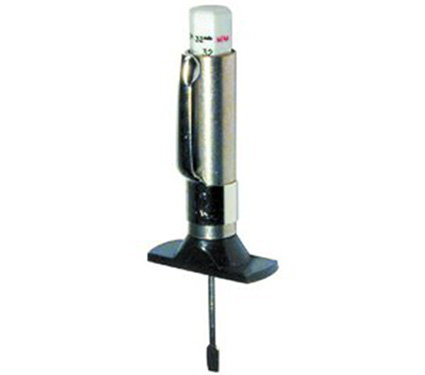
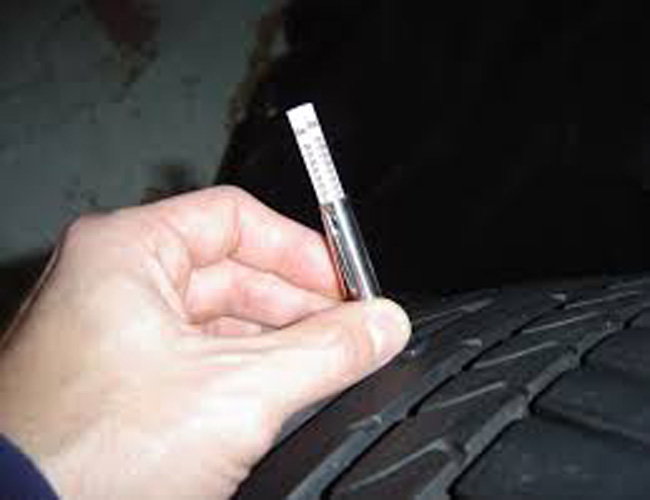
Step 3 - Push the scale all the way into the tube
Press the scale firmly down the tube so its point comes out of the bottom of the tool.
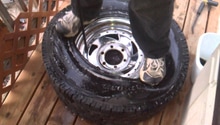
Step 4 - Position the gauge in the tire
The tire tread gauge should fit snug into the center groove of the tire.
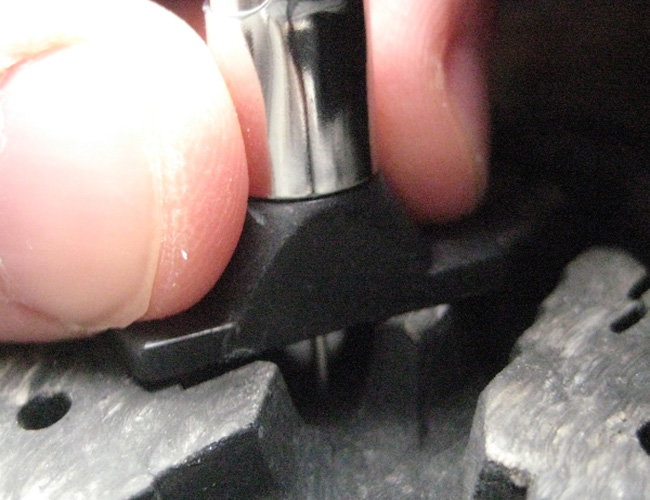
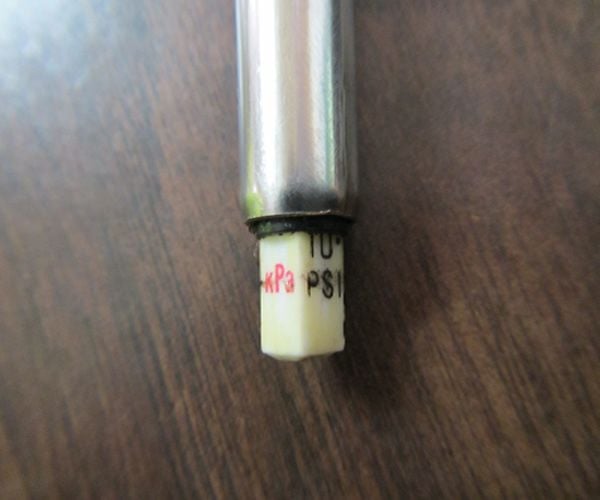
Step 5 - Remove the gauge and read the results
Carefully remove the tire tread gauge, keeping a firm grip on the barrel, and read your results. The legal minimum tire tread allowed in most U.S. states is 1/16th of an inch. However, with 2/32" remaining tread depth, you sacrifice stoppage power, comfort, and quietness.
Step 6 - Repeat above steps
For the most accurate reading, it's best to repeat steps one through four on different sections of the tire (always using the center tread). Once you’ve repeated the process a few times, determine the average measurement and compare this number with the vehicle’s original or recommended tread depth.
Check Your Tread Using a Penny or Quarter
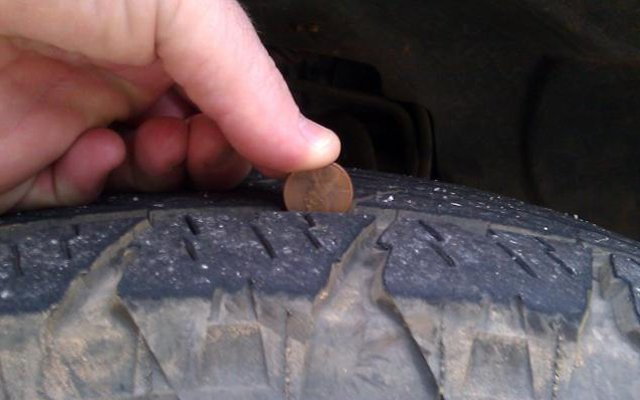
Step 1 - Place penny into tread groove
Place a penny into the tread grooves on several spots around the tire. Make sure Lincoln's head is upside down and facing you. If you can see all of the head, your tread depth is less than 2/32nds and it's time to replace the tire.
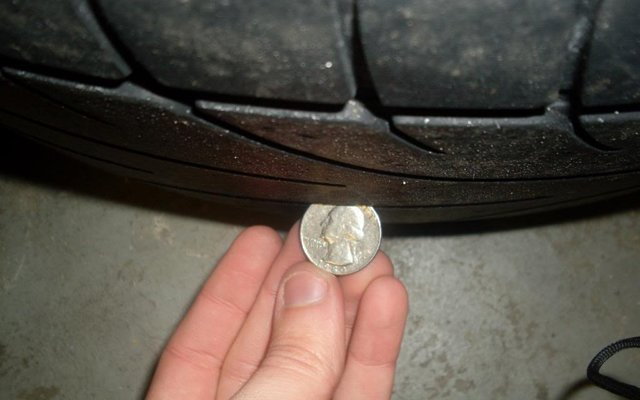
Step 2 - (optional) - Place quarter into tread groove
Do the same test with a quarter, again making sure the coin is in the proper position. If the tread touches Washington's head, you have at least 4/32nds inch of tread remaining.
Pro Tip
There’s a tread wear indicator bar that’s molded into your tires. The bars are found on the bottom of the tread grooves in several spots around the tire. If the tread bar is flush with the top of the tread groove, the tire should be replaced.
Related Discussions and Article
- Determining Tread Life on Winter Tires - ClubLexus.com
- What Does 6/32 Mean for Tire Wear? - ClubLexus.com
- 25k Miles Mark. Tire Tread Life - ClubLexus.com
- How to Align Your Tires - ClubLexus.com