Lexus GS: How to Change Air Filter and Cabin Air Filter
Keep the air in the cabin and engine clean by changing the filters regularly.
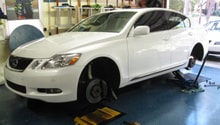
This article applies to the Lexus GS (2005-2014).
Changing the engine air filter on a Lexus GS is a simple and straightforward process. Changing the cabin air filter is a little different, but still easy. The cabin air filter is accessed through the glove box and there is little room to work with. However, It is definitely recommended changing both the cabin filter and engine air filter yourself. Read on to learn how to change them both with just a little spare time.

Materials Needed
- Phillips head screwdriver
- Plastic, narrow-blade putty knife or flathead screwdriver
Changing the Engine Air Filter
Step 1 - Remove the left hand side engine cover
Using a plastic, narrow-blade putty knife or a flathead screwdriver, remove the plastic pop-rivets that hold the left hand engine cover in place. Push in the top center of the rivet until it is recessed and no longer flush with the outer edge of the rivet. Then, from the bottom edge, use your tool to pop the rivet up and out. There is also one plastic Phillips head screw holding this piece in place. Take care when removing these plastic bits.

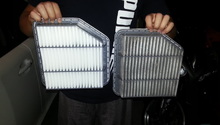
Step 2 - Remove and replace air filter housing
After removing the engine cover, you'll see the air filter housing. This can be slightly difficult to open as sometimes the latches on the side get pretty stiff. Unlatch each of the four clips from the side of the housing, and the top will come right off. The hose will be attached to this lid, so you just need to hold it up with one hand long enough to pull out the old filter with the other hand. Replace with your new air filter, and re-attach the air filter housing and engine cover.

Figure 2a. Remove these two clips on the passenger side. 
Figure 2b. This clip is located on the driver's side of the air box under the engine cover. 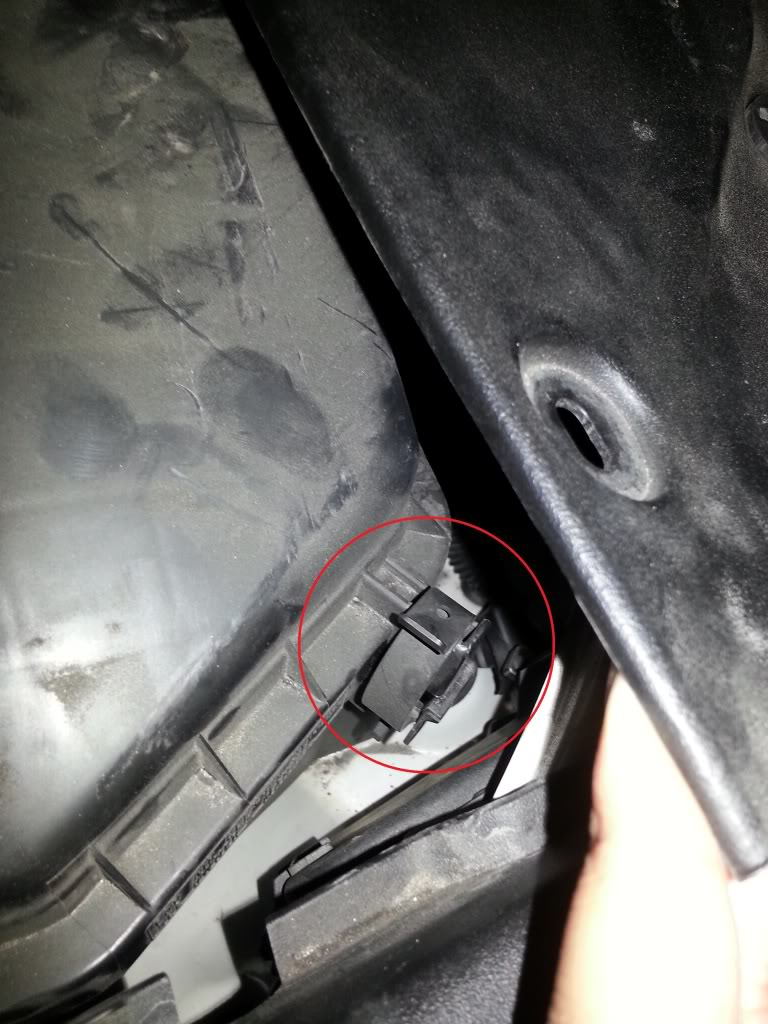
Figure 2c. This clip is hidden slightly under the engine cover as well.
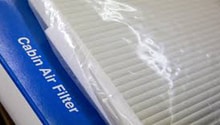
Changing the Cabin Filter
Step 1 - Open the glove box
The cabin air filter is accessed through the glove box. There may be a shelf in your glove box that needs to be removed first. You won't need tools because it simply comes right out. In the back of the glove box, you'll see the access panel for the filter. Make sure not to let it drop down behind the glove box when removing it.
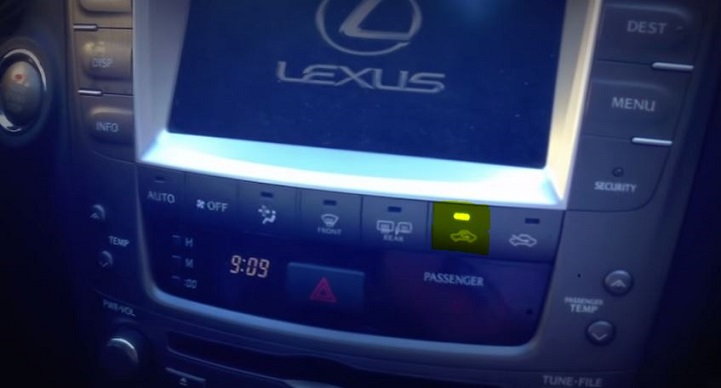
Step 2 - Make sure the air flow is set on internal (recirculating)
The part of the cabin air filter assembly that covers the air filter cannot be opened if your vent or A/C setting is set to external. Make sure that your environmental controls are set to internal, recirculating air only. You will need to start your vehicle to make sure of the setting. This will allow access to the actual air filter itself.
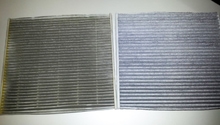
Step 3 - Pull out and replace the old cabin air filter
With the air flow setting turned to internal, the door should be automatically opened to gain access to the air filter. If not, it lifts up rather easily. Pop up and pull out the old air filter, and replace with the new. The new air filter will click into place.

Featured Video: How to Change Cabin Filter in Lexus GS
Related Discussions
- Lexus IS 250/350 How to Change Cabin Air Filter - ClubLexus.com
- DIY IS350 Cabin Air Filter Change - ClubLexus.com