When you click on links to various merchants on this site and make a purchase, this can result in this site earning a commission. Affiliate programs and affiliations include, but are not limited to, the eBay Partner Network.
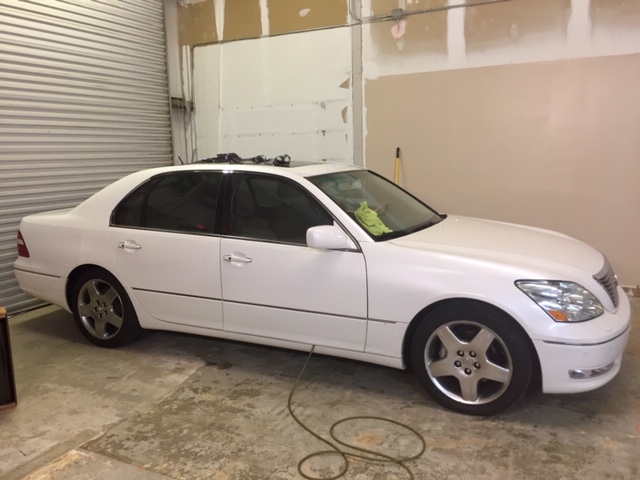
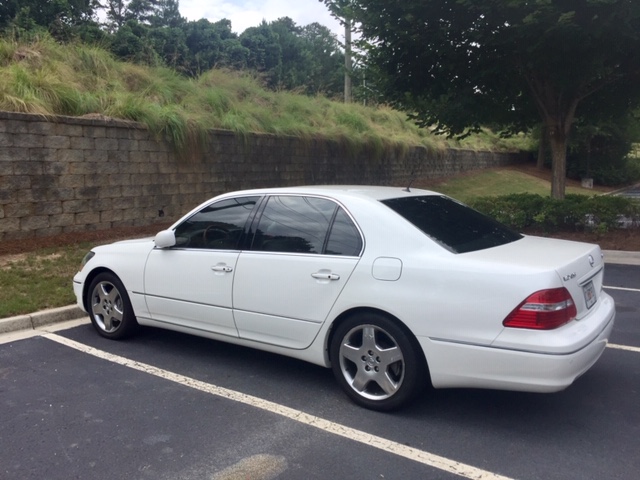
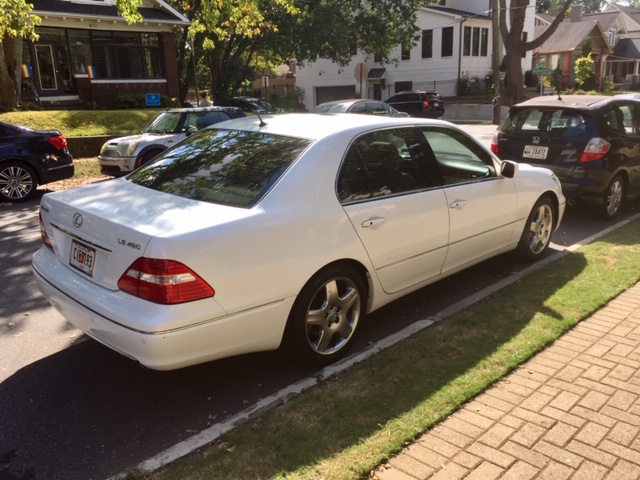
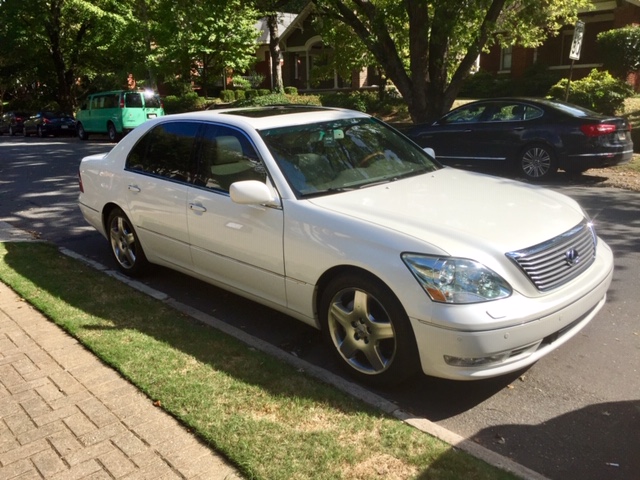
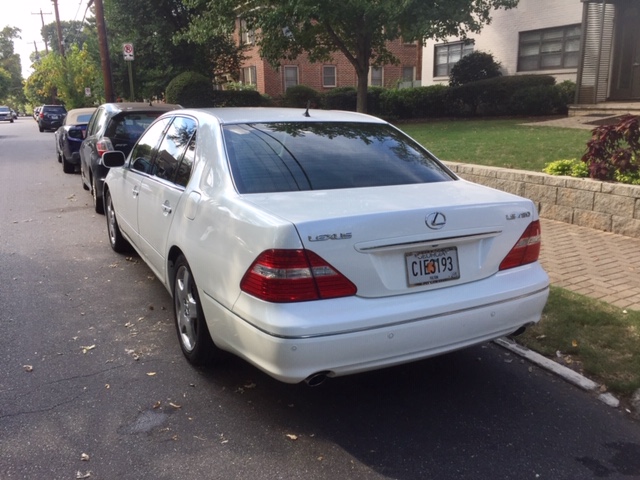
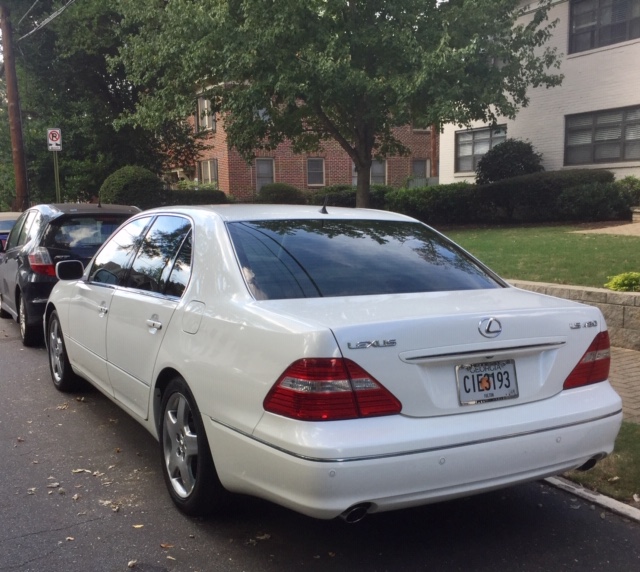
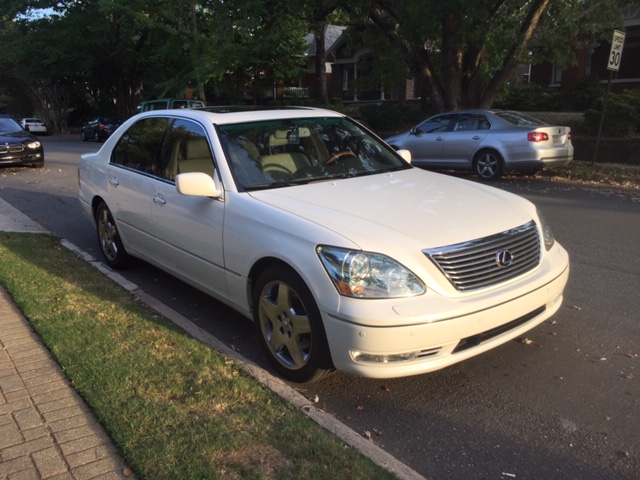
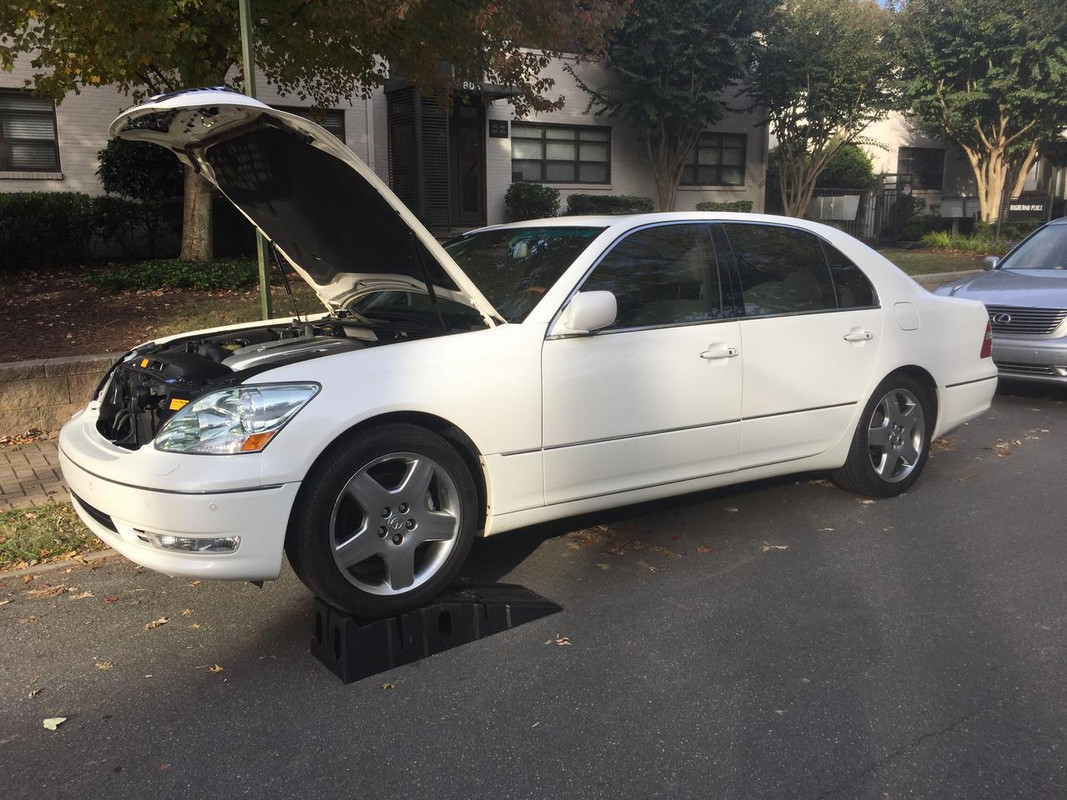
I got my 05 LS430 back in march (which I love), and have been taking care of it since day 1 of my ownership.
I thought I would document and show you my progress with the car. I spent most of the last few months tidying it up, along with basic maintenance work.
Day 1:
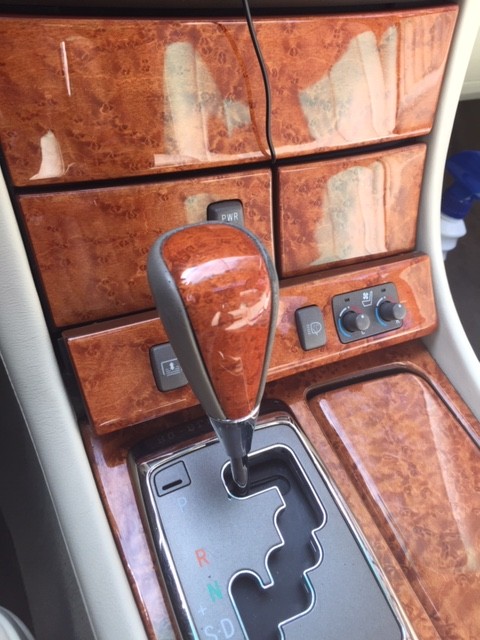
I had noticed that some of the interior light bulbs werent working, so I replaced those:
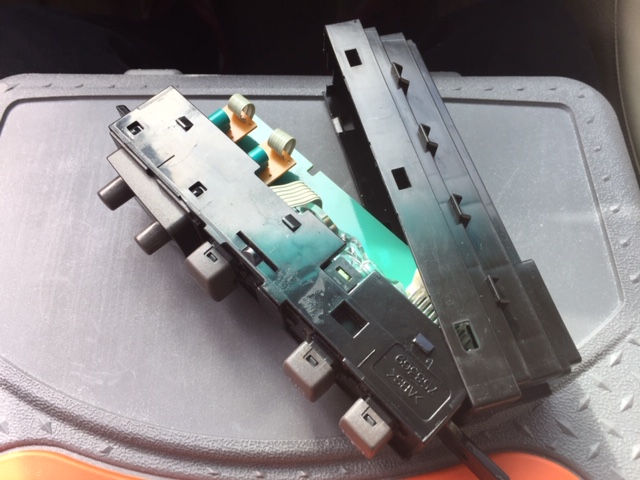
Step 1: Remove panel carefully!
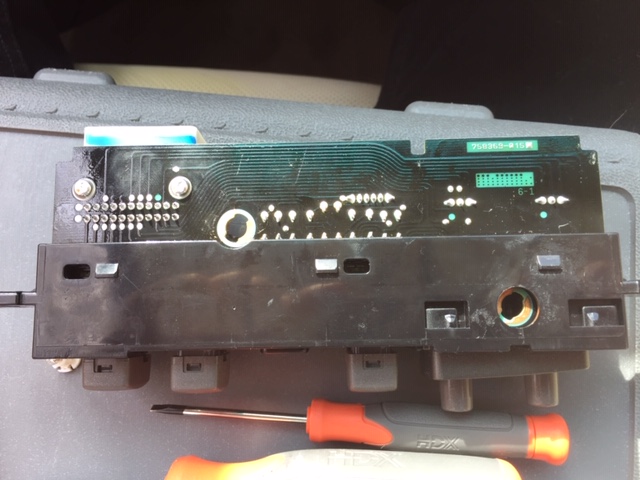
Step 2: Disassemble unit, again carefully!
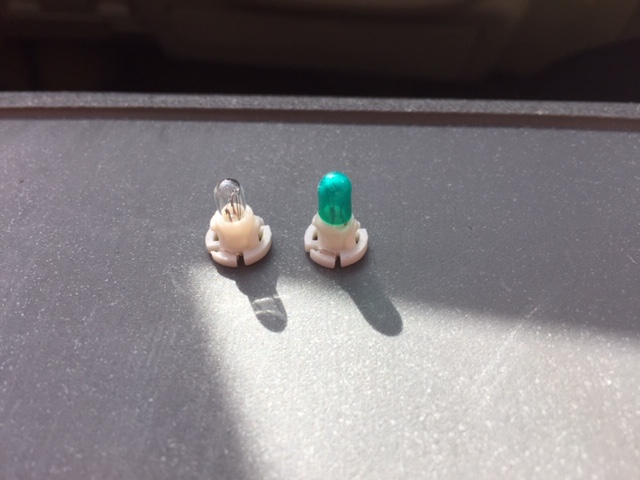
Replace the bulb:
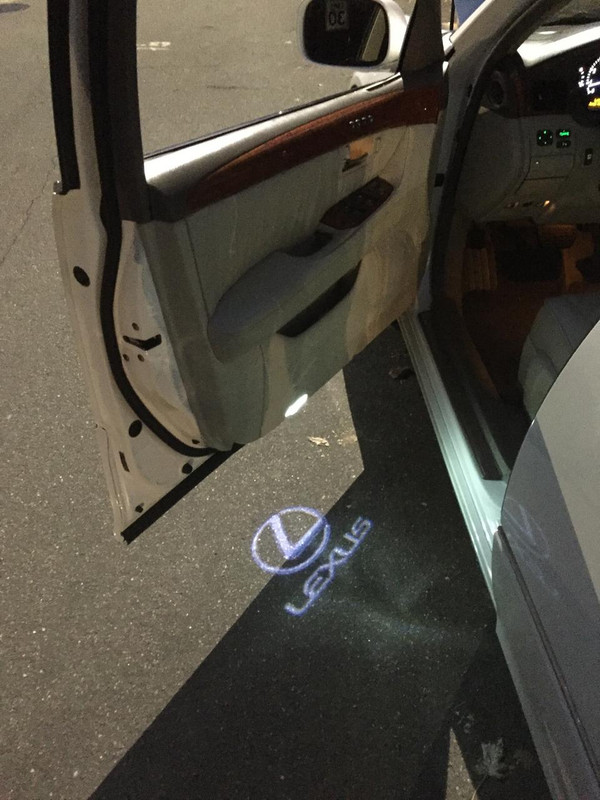
Ive also replaced all the interior bulbs with LEDs.
I then decided to get my windows tinted. I went with 50% on the windshield and 35% all around.
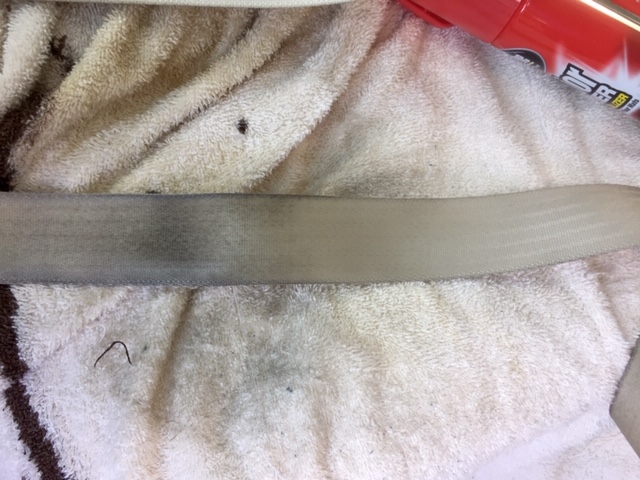
On a hot sunny summer day, I decided to clean my supposedly "tan colored" seatbelts. I don't think they had ever been washed as they were covered in black stuff.
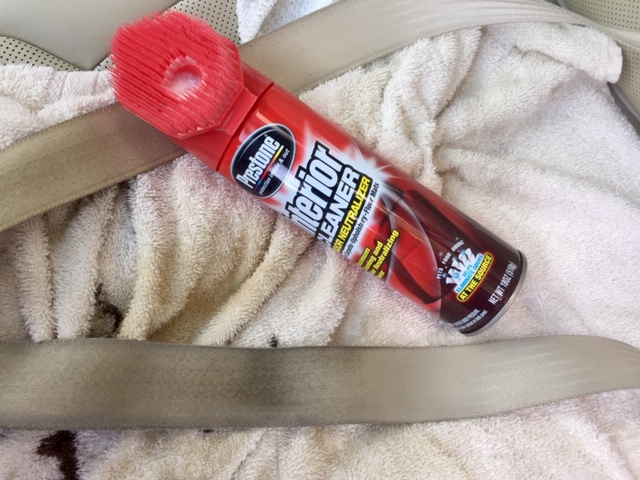
I used Prestone Interior Cleaner with a plastic scrubbing brush and it actually worked pretty well, I was very happy with the outcome. You can see on the right-hand side how clean they were after a good scrubbing.
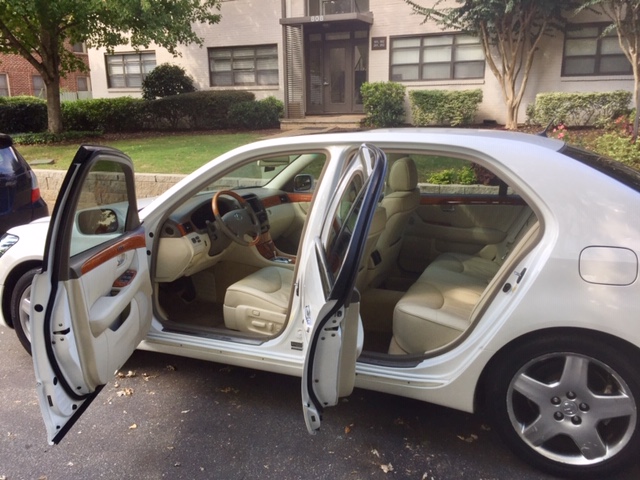
A few random pictures after a very long cleaning session. (included full interior carpet cleaning, seat cleaning, exterior clay bar, wash & dry, wax and seal...)
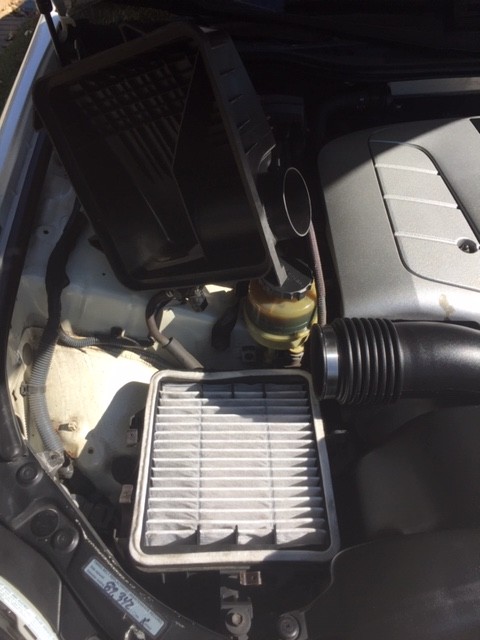
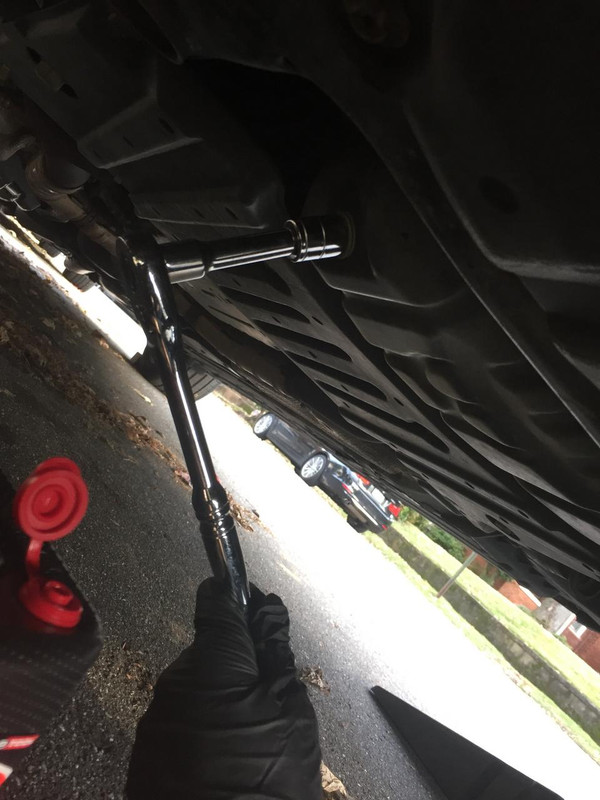
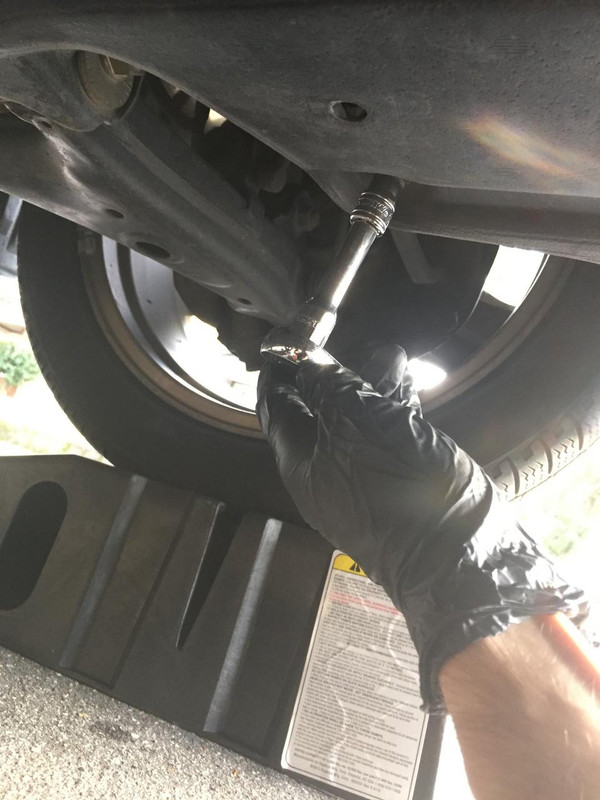
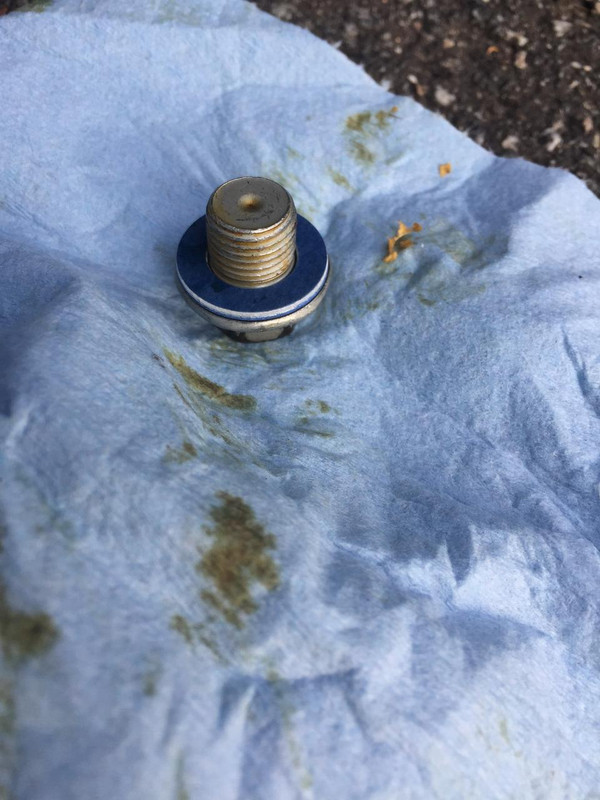
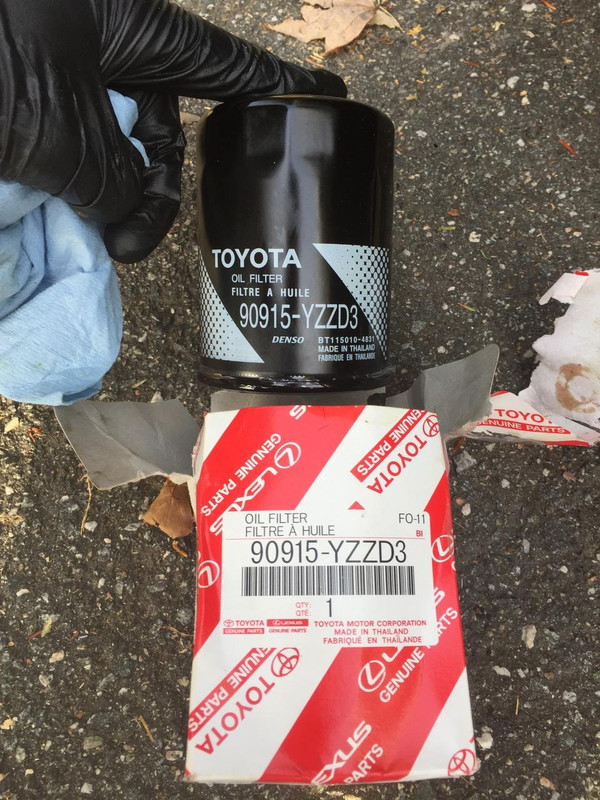
About a week ago I changed the engine air filter (new OEM one...) along with new Michelin Wiper blades.
Looks awesome. Reminds me of my LS,. I really like the 18" wheels, I think I'll try to find a used set when my 17" tires start going.
Mind sharing what bulbs you used for the parking lights (Did they retain the high-beams?) and where you sourced the bulb for the instrument light (seat heater *****)
Thanks
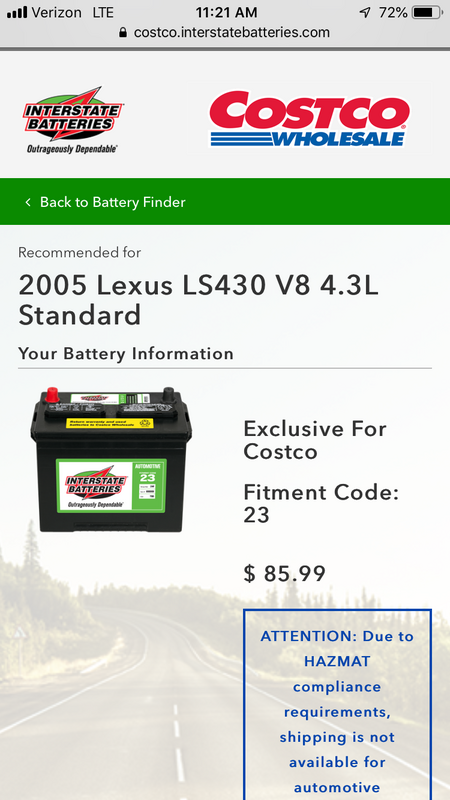
Great progress. Per the manual, you're about � a quart shy, make sure you double check the dipstick.
Thank you Romanova, I did infact top up the oil
Originally Posted by LS430Z32TT
Looks awesome. Reminds me of my LS,. I really like the 18" wheels, I think I'll try to find a used set when my 17" tires start going.
Mind sharing what bulbs you used for the parking lights (Did they retain the high-beams?) and where you sourced the bulb for the instrument light (seat heater *****)
Thanks
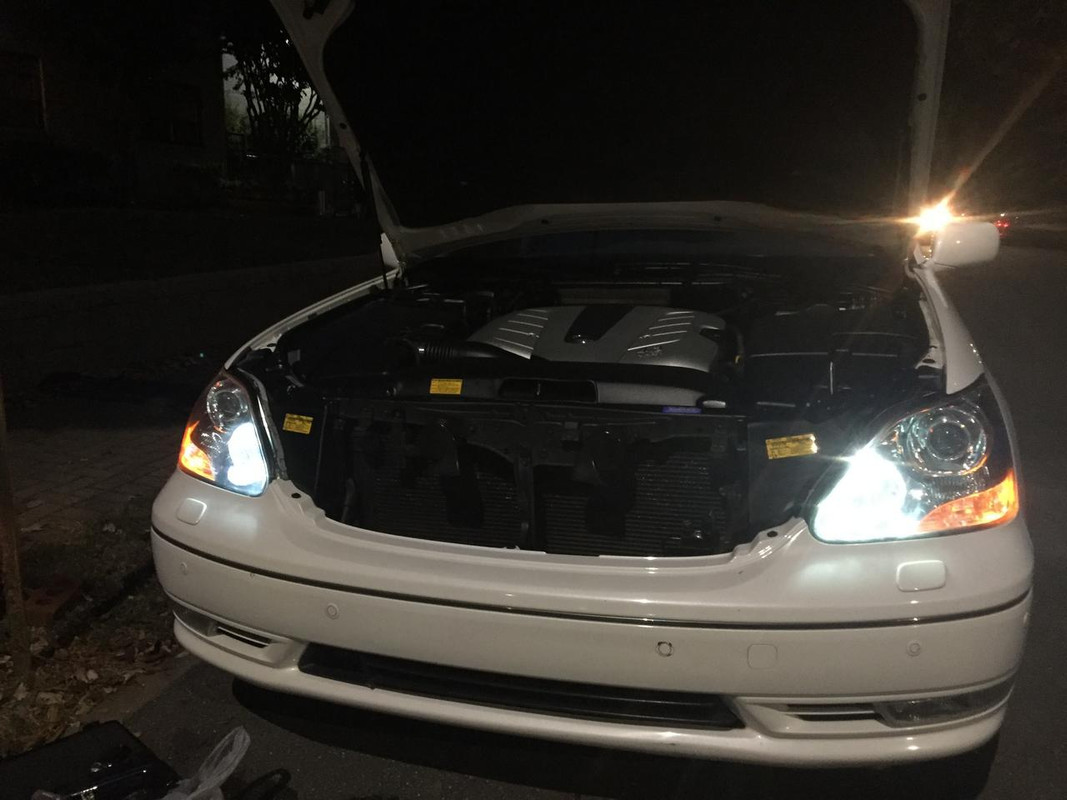
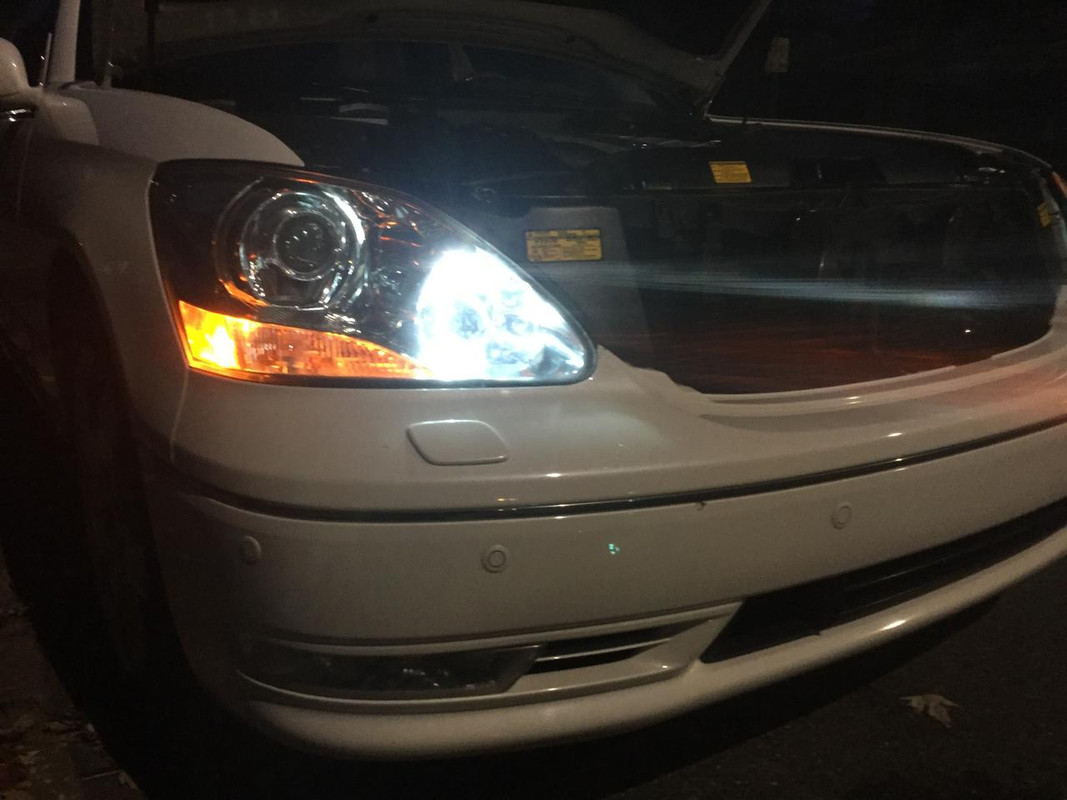
Thanks for your message LS430Z32TT...The parking lights are LED 501 bulb, they arent for the high beams, thats a different bulb.
The bulbs for the instrument cluster were sourced from Toyota...I did try to get some bulbs off amazon but they didnt fit properly and ended melting some of the bulb casing. I recommend using OEM bulbs
Full Air Lift Performance 3P kit, with dual compressors. This should keep me busy for a few weeks, as im looking to do a nice hard wood floor trunk setup.
Ill do my best to add pictures when I install the Air lift kit.
Thanks for your message LS430Z32TT...The parking lights are LED 501 bulb, they arent for the high beams, thats a different bulb.
The bulbs for the instrument cluster were sourced from Toyota...I did try to get some bulbs off amazon but they didnt fit properly and ended melting some of the bulb casing. I recommend using OEM bulbs
Thanks
Sorry, I meant what are you running for your DRL/High beam?
Oh, wow. From your 2nd post they look much brighter/cooler temp than the OEM.
I dont have my DRL on any of the pictures. The super bright LED are actually the parking lights! Ill show you a pic later of me still using OEM DRL, however I prefer driving with my low beams on...
Ps: My vision / plans for the car ( + would like to source a lip kit and roof spoiler)
I know the leon hardiritt orden wheels have been done loads before but I absolutely love the design...
Hah! I'm new to this platform and was very confused. I didn't even know those parking light bulbs existed. I thought those were just the highbeam bulbs with lower voltage.
I like the the Leon Hardiritt Orden's. They look very classy on the 430.
Let me know if you decide to sell your OEM 18's
Managed to start building my hard wood floor this weekend and thought I would share some pictures!
I really wanted to keep access to my spare wheel, so I measured 20 times before cutting anything, and Im really happy with the result. I still need to treat the wood, apply a (wood look-a-like vinyl) and bolt all of the components down.
Step 1 : Buy some plywood, lay flat the trunk carpet and mark the wood as a template.
Step 2: Cut the plywood carefully !
Step 3: Lay the air lift components as desired. Like I mentioned before I wanted to keep access to my spare, so tried to maximise the space I had and decided to mount everything in the back of the trunk.
Step 4: Measure again a 100 times so that you have to cut the correct amount of each side only once ! ( Measure twice cut once )
Step 5 : I can successfully access my spare wheel !
Next steps:
Treat the wood with polyurethane
Apply vinyl (Decided to go with vinyl due to it being scratch resistant as im still looking to use my trunk, and water repellent/resistant)
Looks good man on your way to a clean setup. Don't forget to run the water trap line outside the vehicle from the water trap and an external airline that has a Schrader valve on it for manual air fill/drain. Its recommend to install that outside incase water is in your tank it will drain externally and not into your trunk. Here is a tip. If you install a nut sert or since its wood a wood insert you can then bolt the equipment down from the top instead of doing a nut and bolt or dry wall screws Can't wait to see the updates

 11-17-18, 05:09 PM