When you click on links to various merchants on this site and make a purchase, this can result in this site earning a commission. Affiliate programs and affiliations include, but are not limited to, the eBay Partner Network.
MKiii Supra W58 swapped into my SC400. Some cutting and creativity was needed, but nothing impossible to perform. Parts needed (or that I used):
- MKiii W58 (upgraded version as noted by the steel sandwich plate holding the aluminum front and rear halves together)
- XAT 1uzfe Manual Flywheel
- 3vz Clutch kit (could also use a 3sgte clutch kit)
- 1uzfe Adapter Plate for w58
- clutch Pedal (buy a sc300 one, I modified an is300 one but it was a pita)
- Sc300 Manual Driveshaft
- T56 Style Throwout Bearing
- SS clutch Lines
- 5/8 Toyota Clutch-Master cylinder
- W58 Transmission Mount (I used a sc300 manual mount, which didn't entirely fit my MKiii supra one. It only aligns with 2 of the 4 mounting holes. I eventually bought a MKiii to SC300 mount (Series 1 mount as found here: http://xcessivemanufacturing.com/ind...nsmission.html )
I hope this write-up is simple enough for anyone with access to basic tools, jacks and a drill and grinder can perform.
Remove the exhaust. I did this starting from the rear, working forward. Keeps things from dropping on my head.
Cats are destroyed- If we didn't have smog laws here, I would just cut them or get long-tubes. Oh'well, will order some Ebay replacements.
<NOT MY PHOTO: Credit - LexusLS.com>
After removing the exhaust, and exhaust heat-shield, remove the driveshaft. This is three bolts on the Rear Diff end, and three bolts on the transmission end. Then two bolts at the center yolk.
This view is from the OIL PAN looking REAR. Notice the cats on either side.
This is the step that no one really went into detail on. So I wanted to do that now.
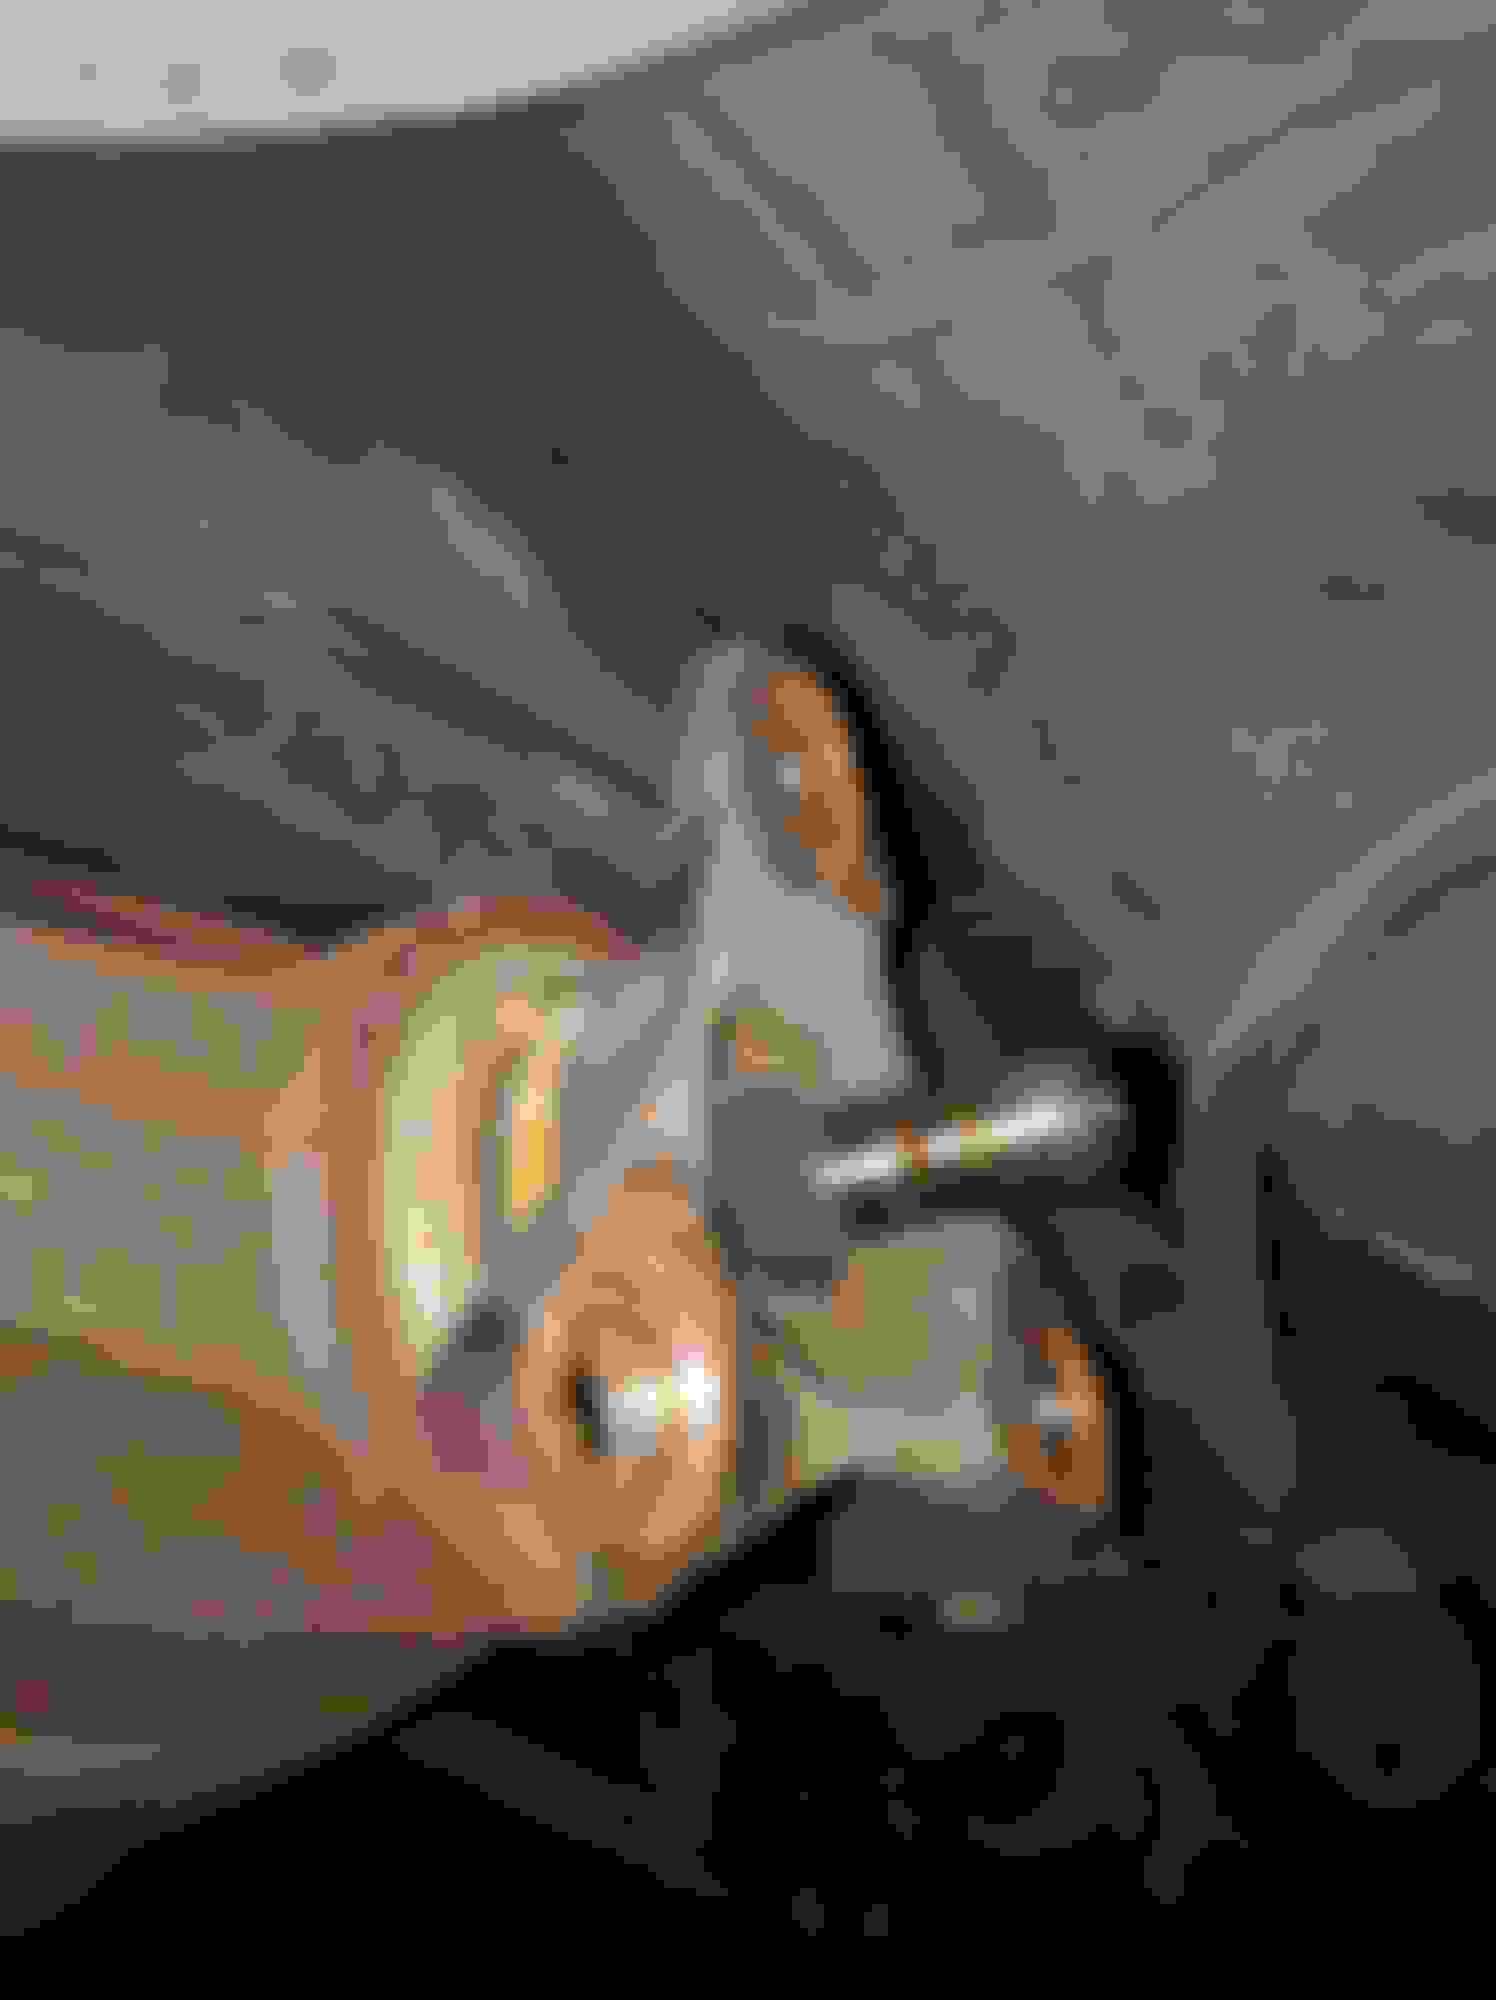
There is a little black cover on the transmission that is held there by two 12mm bolts. The head of the bolts faces the engine.
Here is a close up of the flexplate cover. It's just behind the cross beam.
I actually removed three bolts on each end of the cross beam, pulled down on it and put some blocks of wood to keep it held low.
Remove the cover, and now you can see the flexplate/flywheel.
See the bolt in the flexplate/flywheel? Remove all 6 of them. Remove one, then rotate the engine by using a size 19mm socket on the crank pulley. Then remove the next flexplate/flywheel bolt.
<NOT MY PHOTO: Credit - LexusLS.com> I use LexusLS's photo to note the steps under the hood.
1. Remove this first throttle cable, as it is attached to the transmission. Chase it behind the enginewhile unclipping it from the support clips.
2. Remove the transmission dipstick, and dipstick-tube. There is a bolt that holds the dipstick-tube to the exhaust header on the driver side. I believe it's a 12mm. Unbolt it to free the tube, then pull it up and out.
Now, time to get to that transmission. Will post the steps and more photo's as I go. There are still the transmission cooling lines to remove, the electrical clips on the transmission itself to unplug, and the transmission cross-bracket to drop so that I can unbolt the bellhousing from the engine.
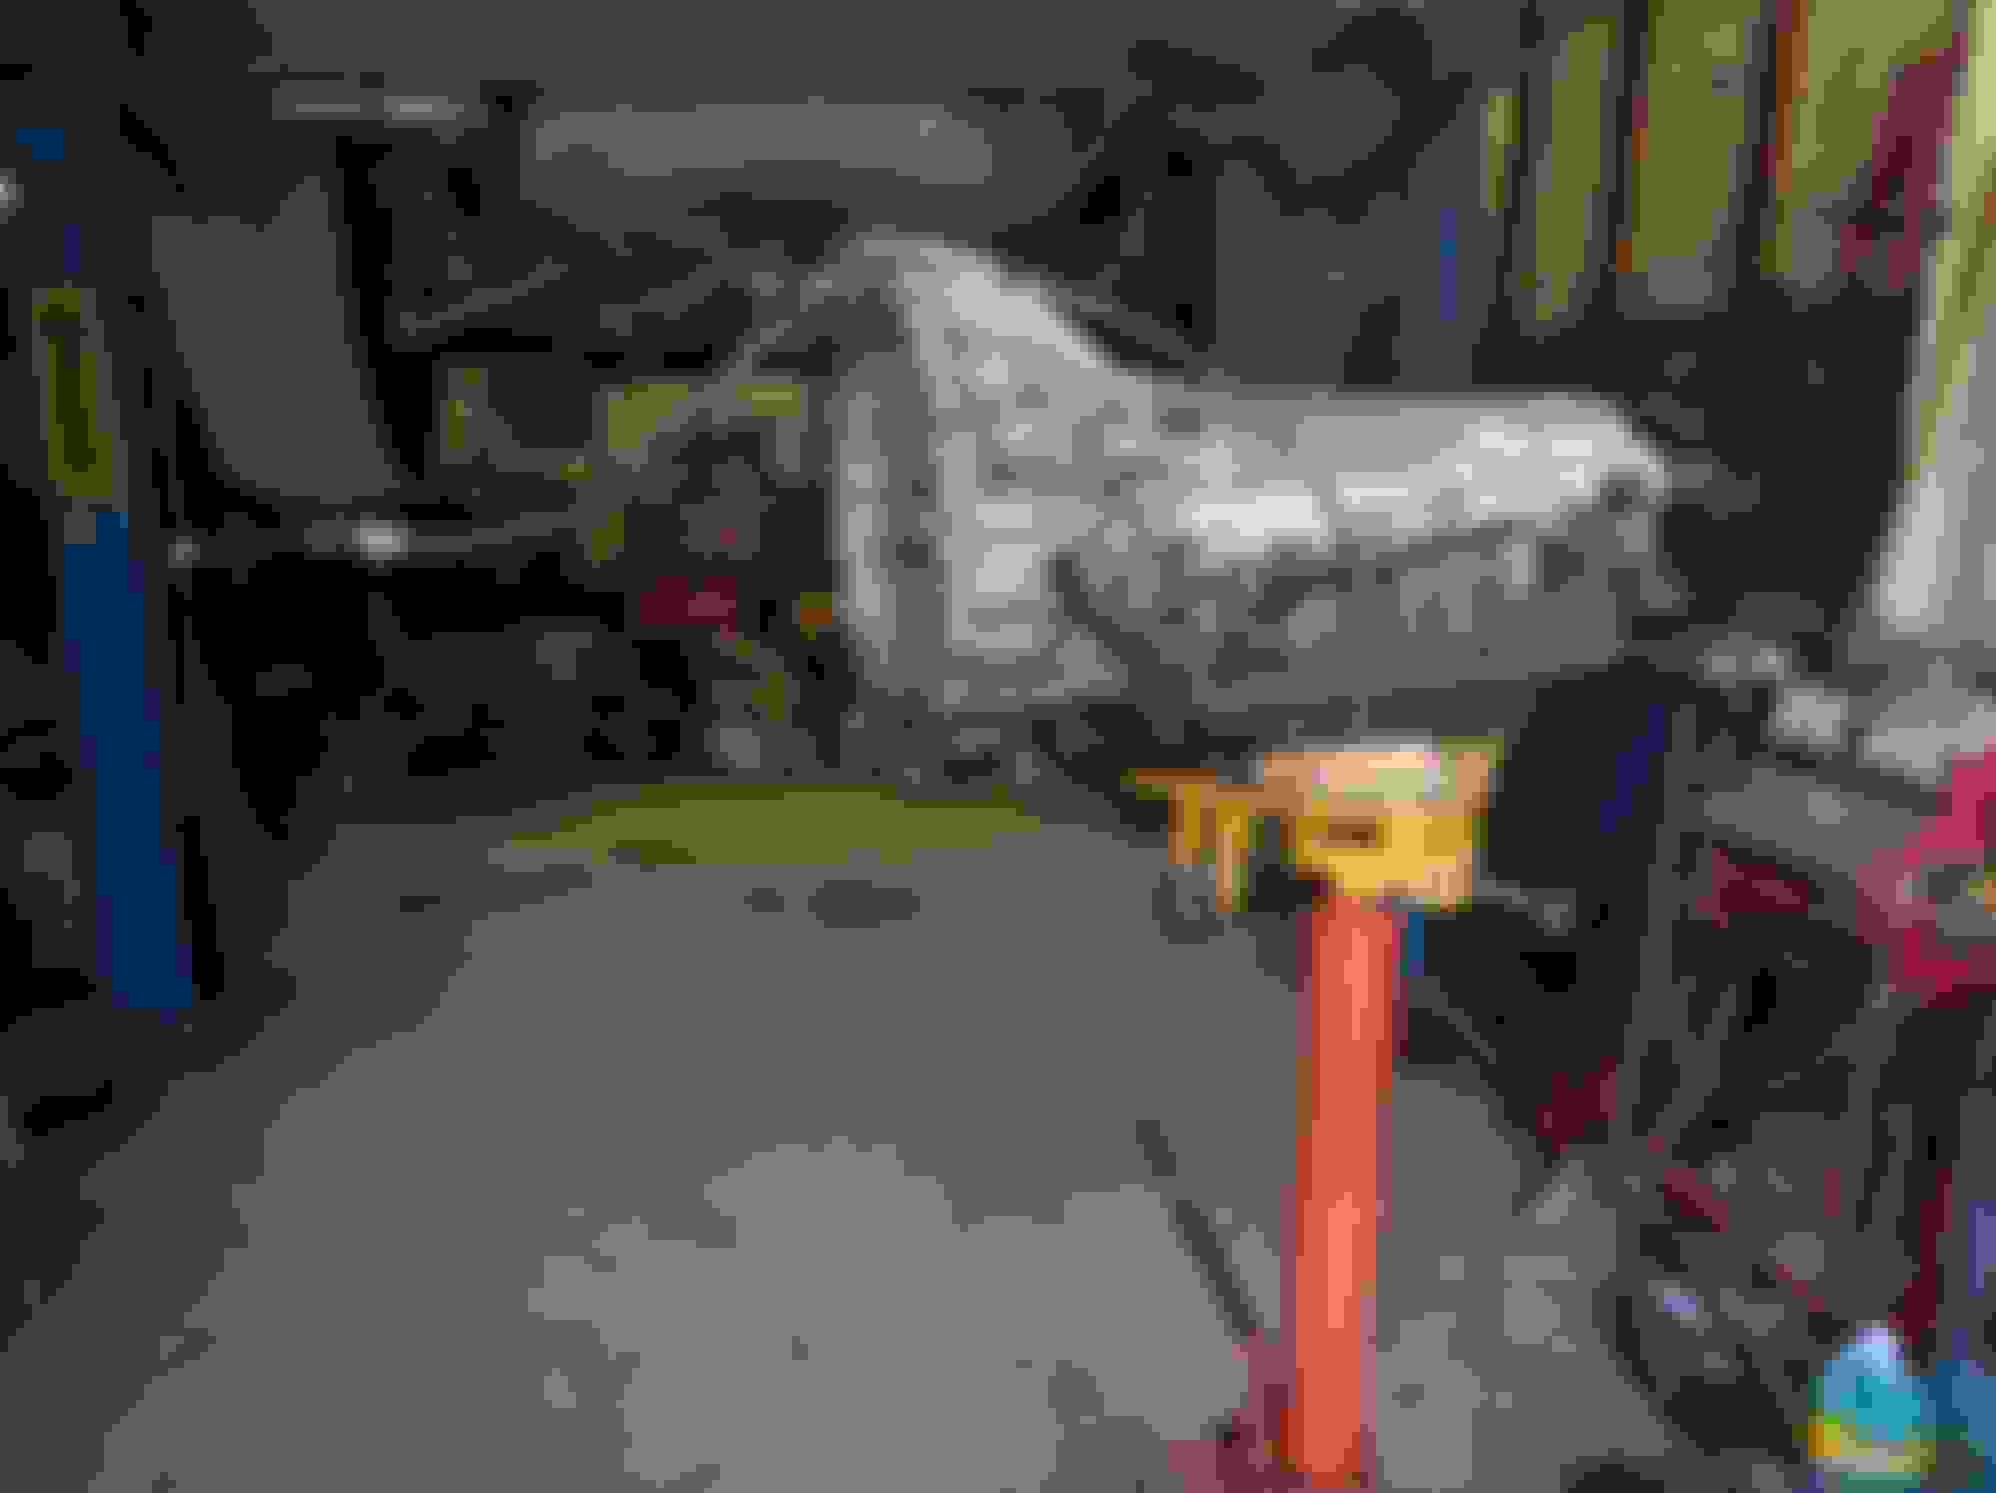
Looking good! I wish there was a better place to get a clutch pedal from - especially with the scarcity of the chassis that came OEM with it. There is Xcessive but I feel like that could be better. I dunno. Regardless, I'm in for updates!
I am tired. I hate the fact that some people are like, "Yeah only took 1 day to put everything in! It was great!" Yeah... right.
Pulling the trans, replacing the pedals and modifying the auto bellhousing is as far as I've gotten in two days. Then again, I have been limited to working after work.
Continuing from yesterday, I disconnected the shift linkage that comes down from the cabin. Simply removed the cotter pin, and pulled the rod aside.
I then disconnected the two transmission cooler lines. Use a little muscle to pull them from the holes.
Then I drained the fluid from the transmission and transmission cooler hoses.
This is where the super long extension and some leverage comes into play.
1. Lower the rear of the transmission so that you can see all of the bellhousing bolts.
2. Get a super long extension that enables you to reach them from the rear of the transmission.
3. Find a pipe or something to make your ratchet handle longer for leverage.
4. Try not to use swear words.
Out. *Self-applaud* Man... I guess this means I'm committed to finishing this swap now.
Unbolt the 6 bell housing bolts.
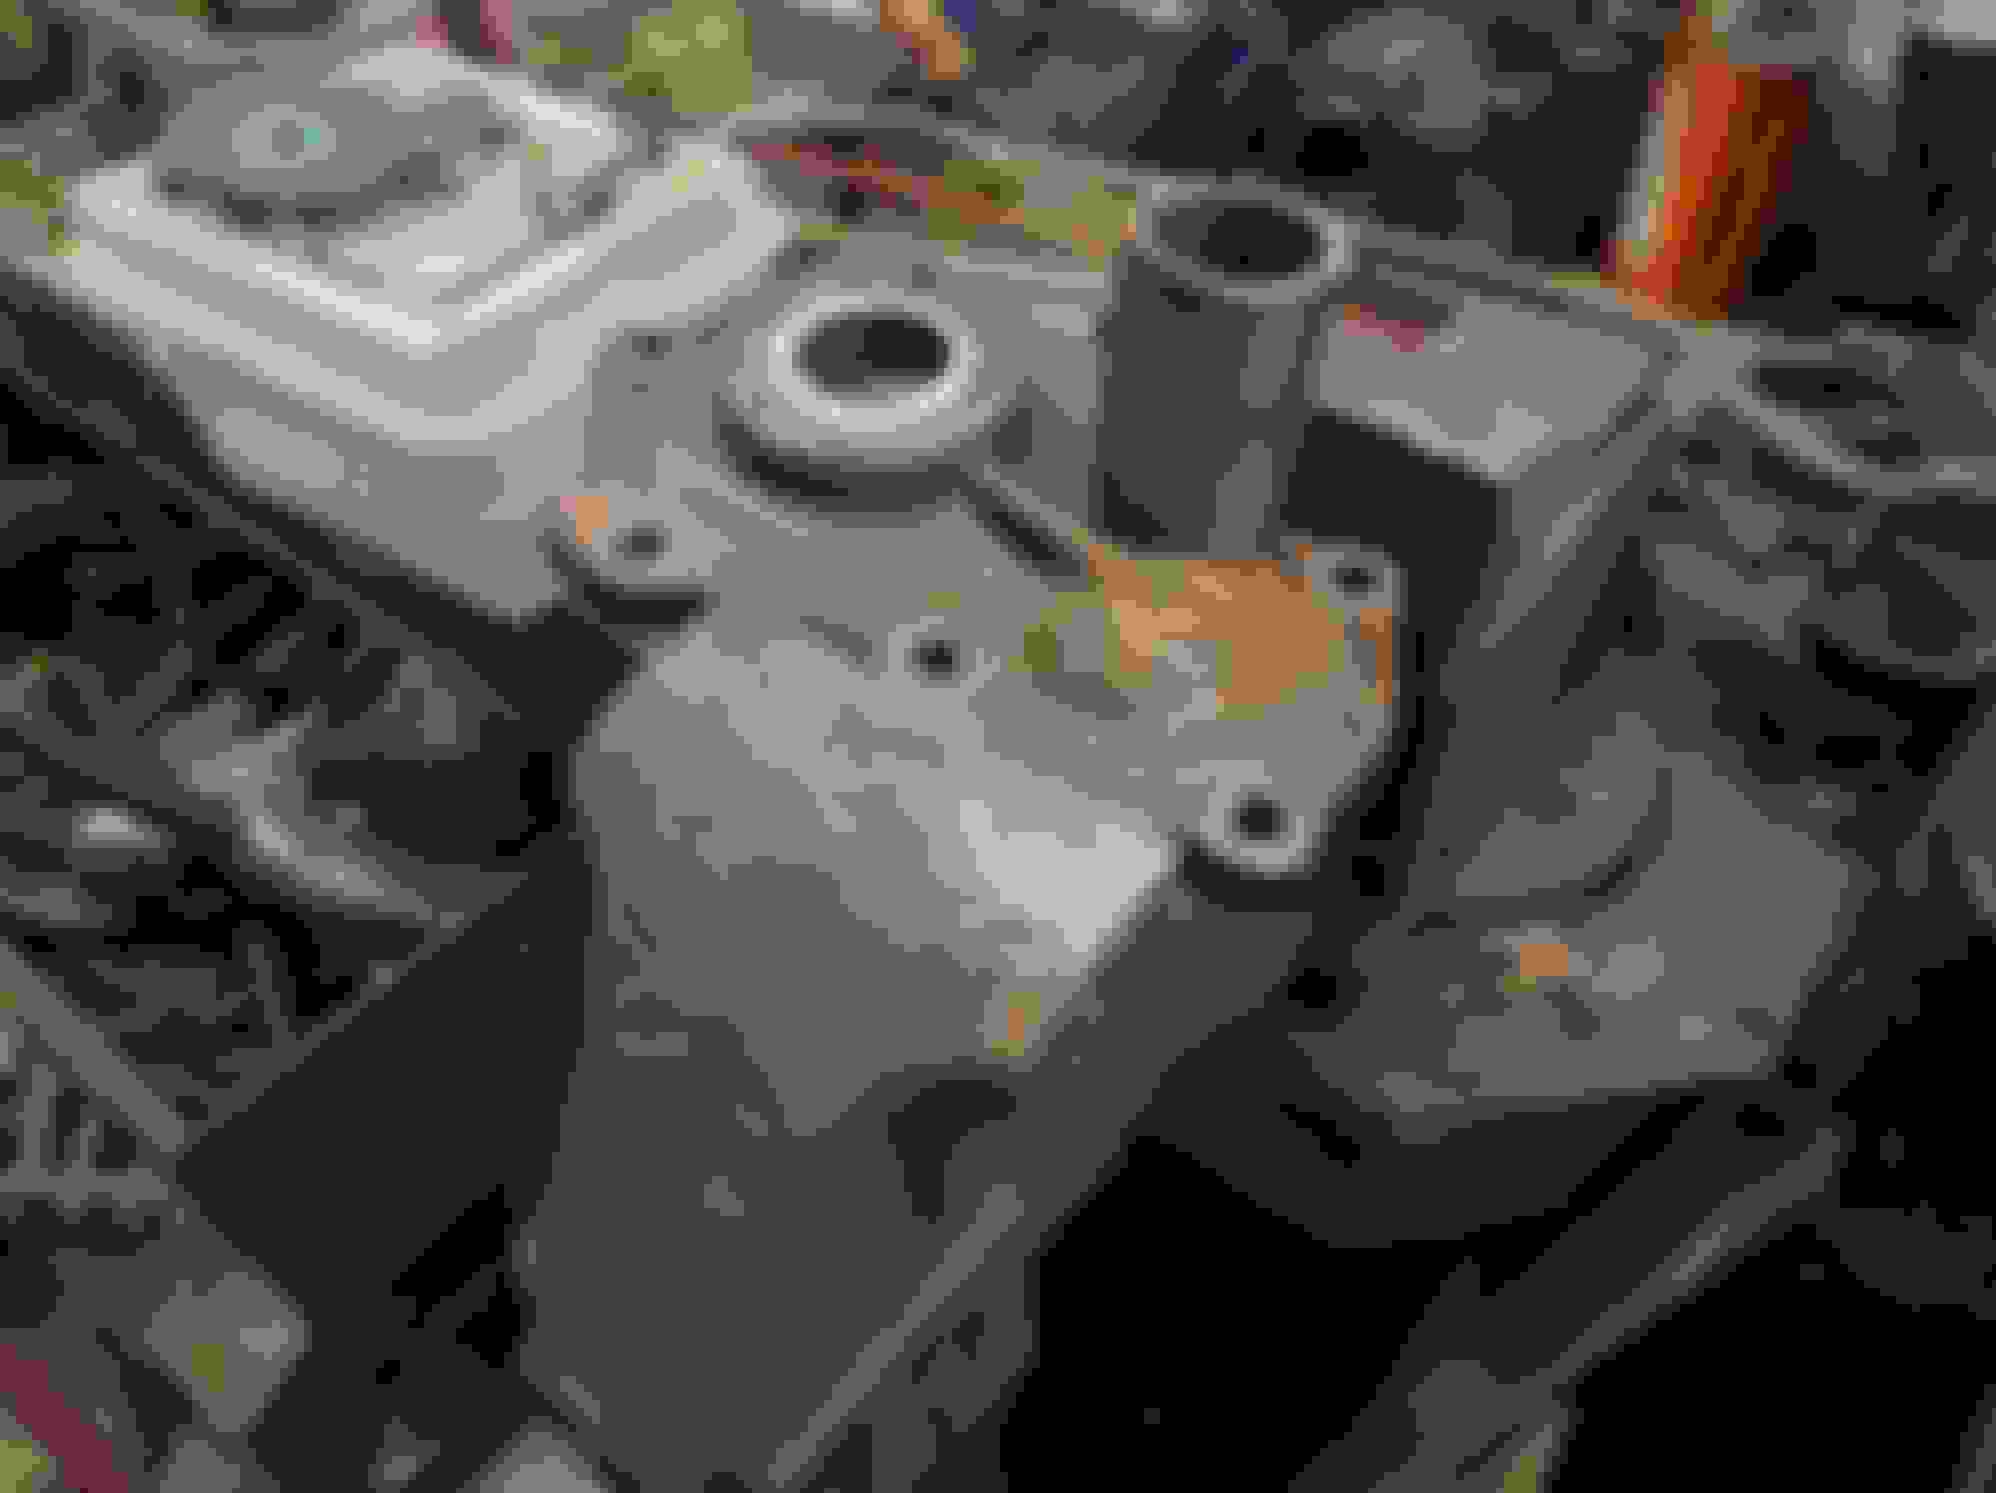
W58 with 1uz adaptor plate-face bolted on. Note this is a MKiii MK3 Supra W58 but all the steps are the same for any swap so far.
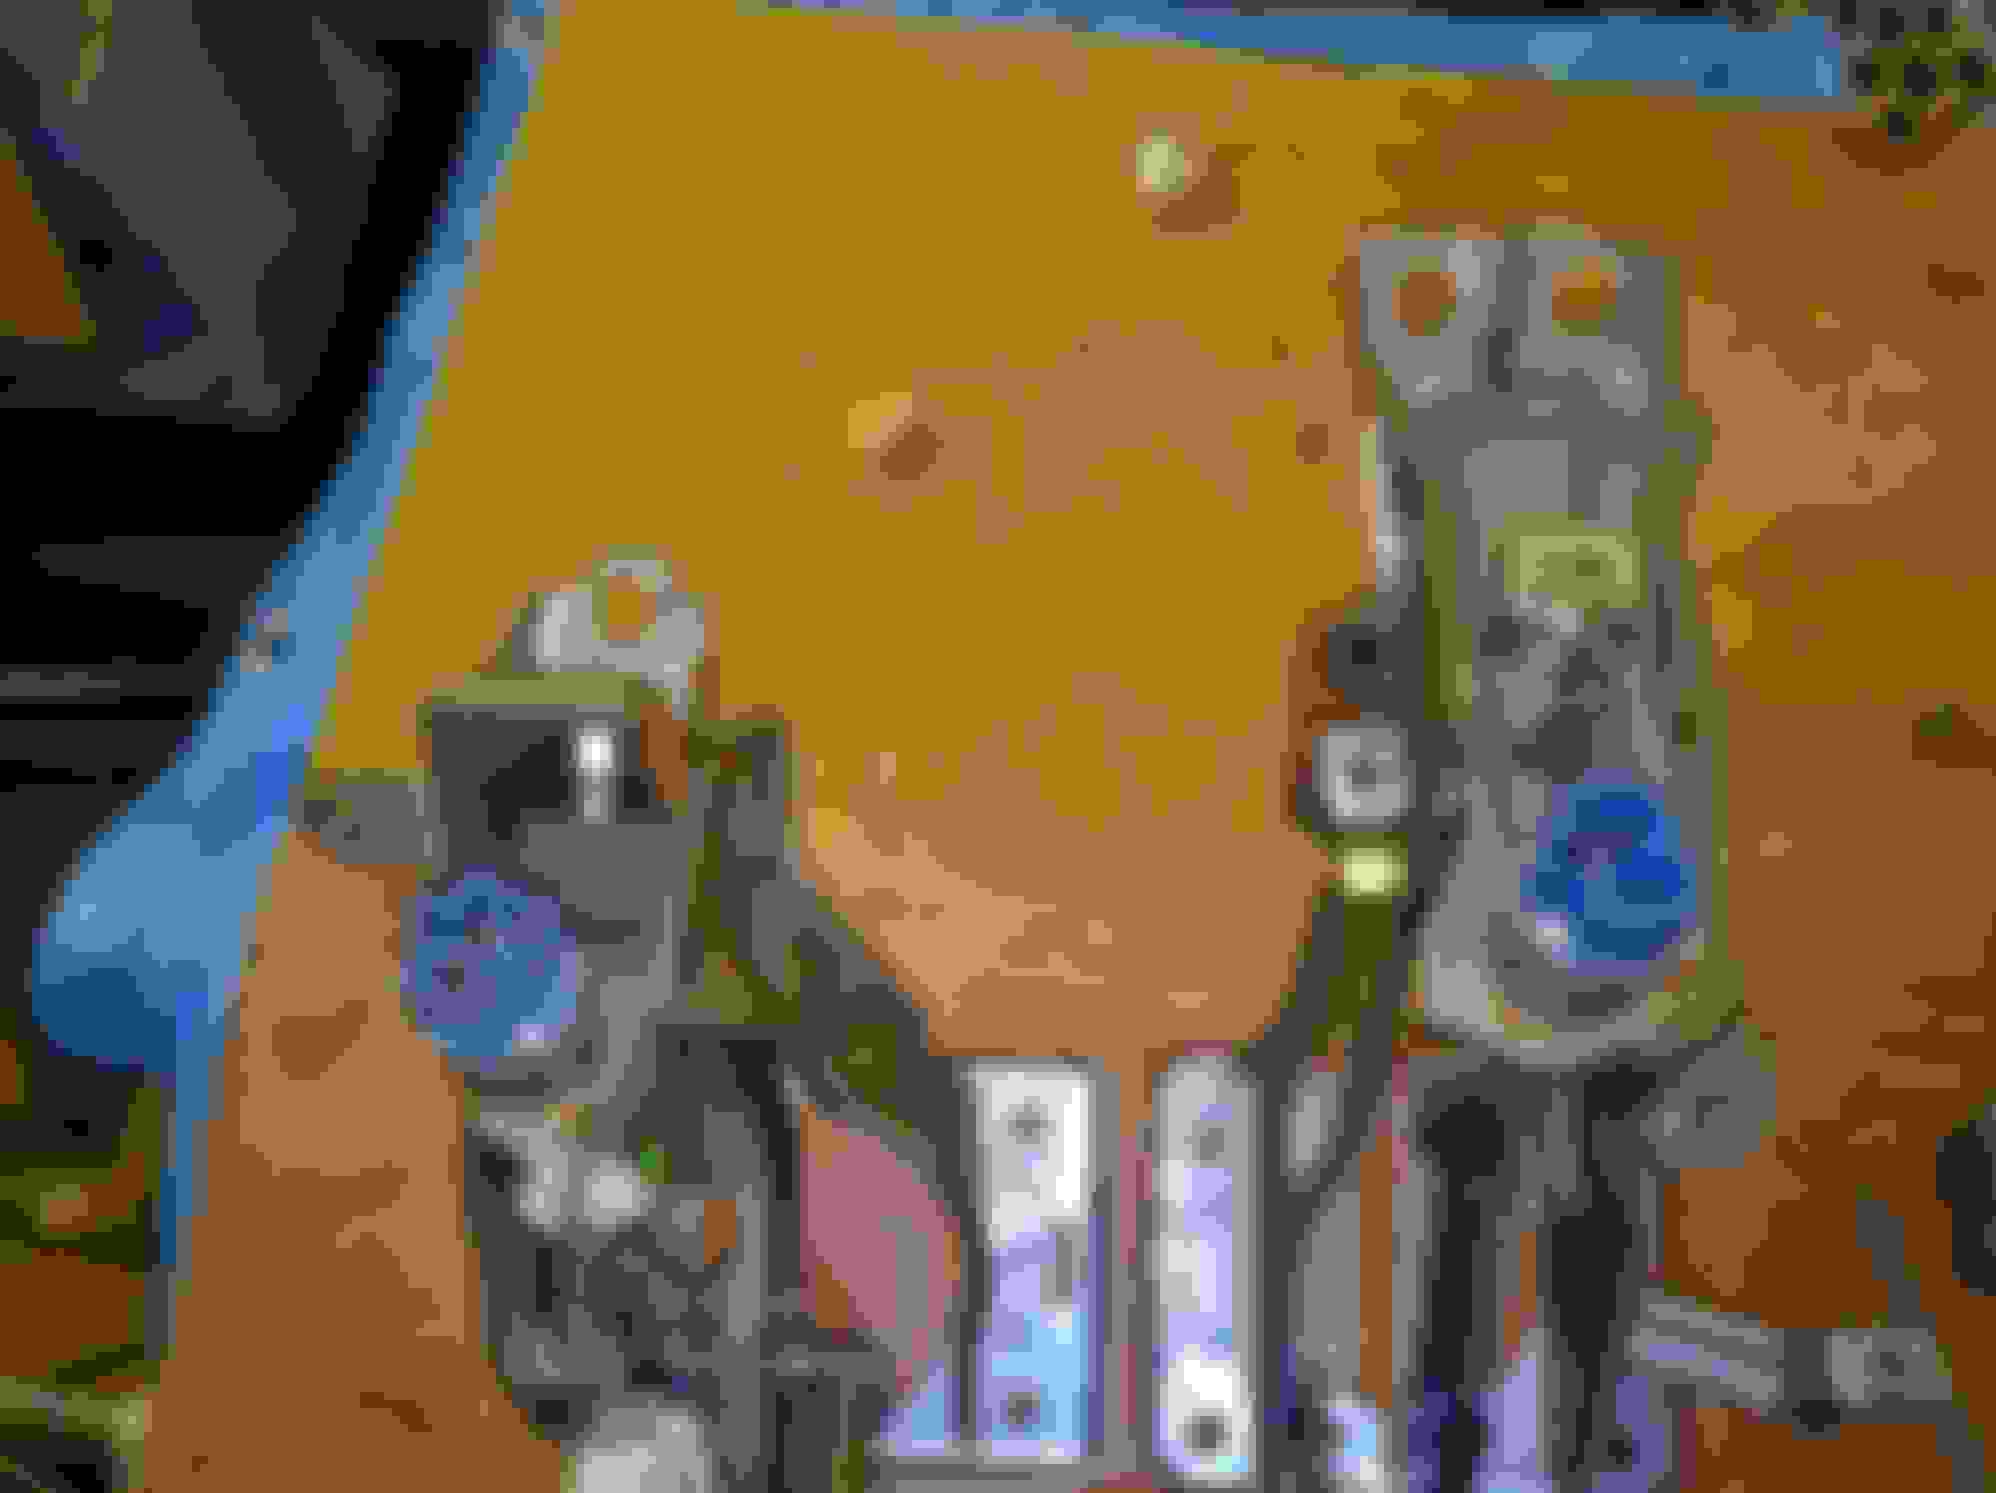
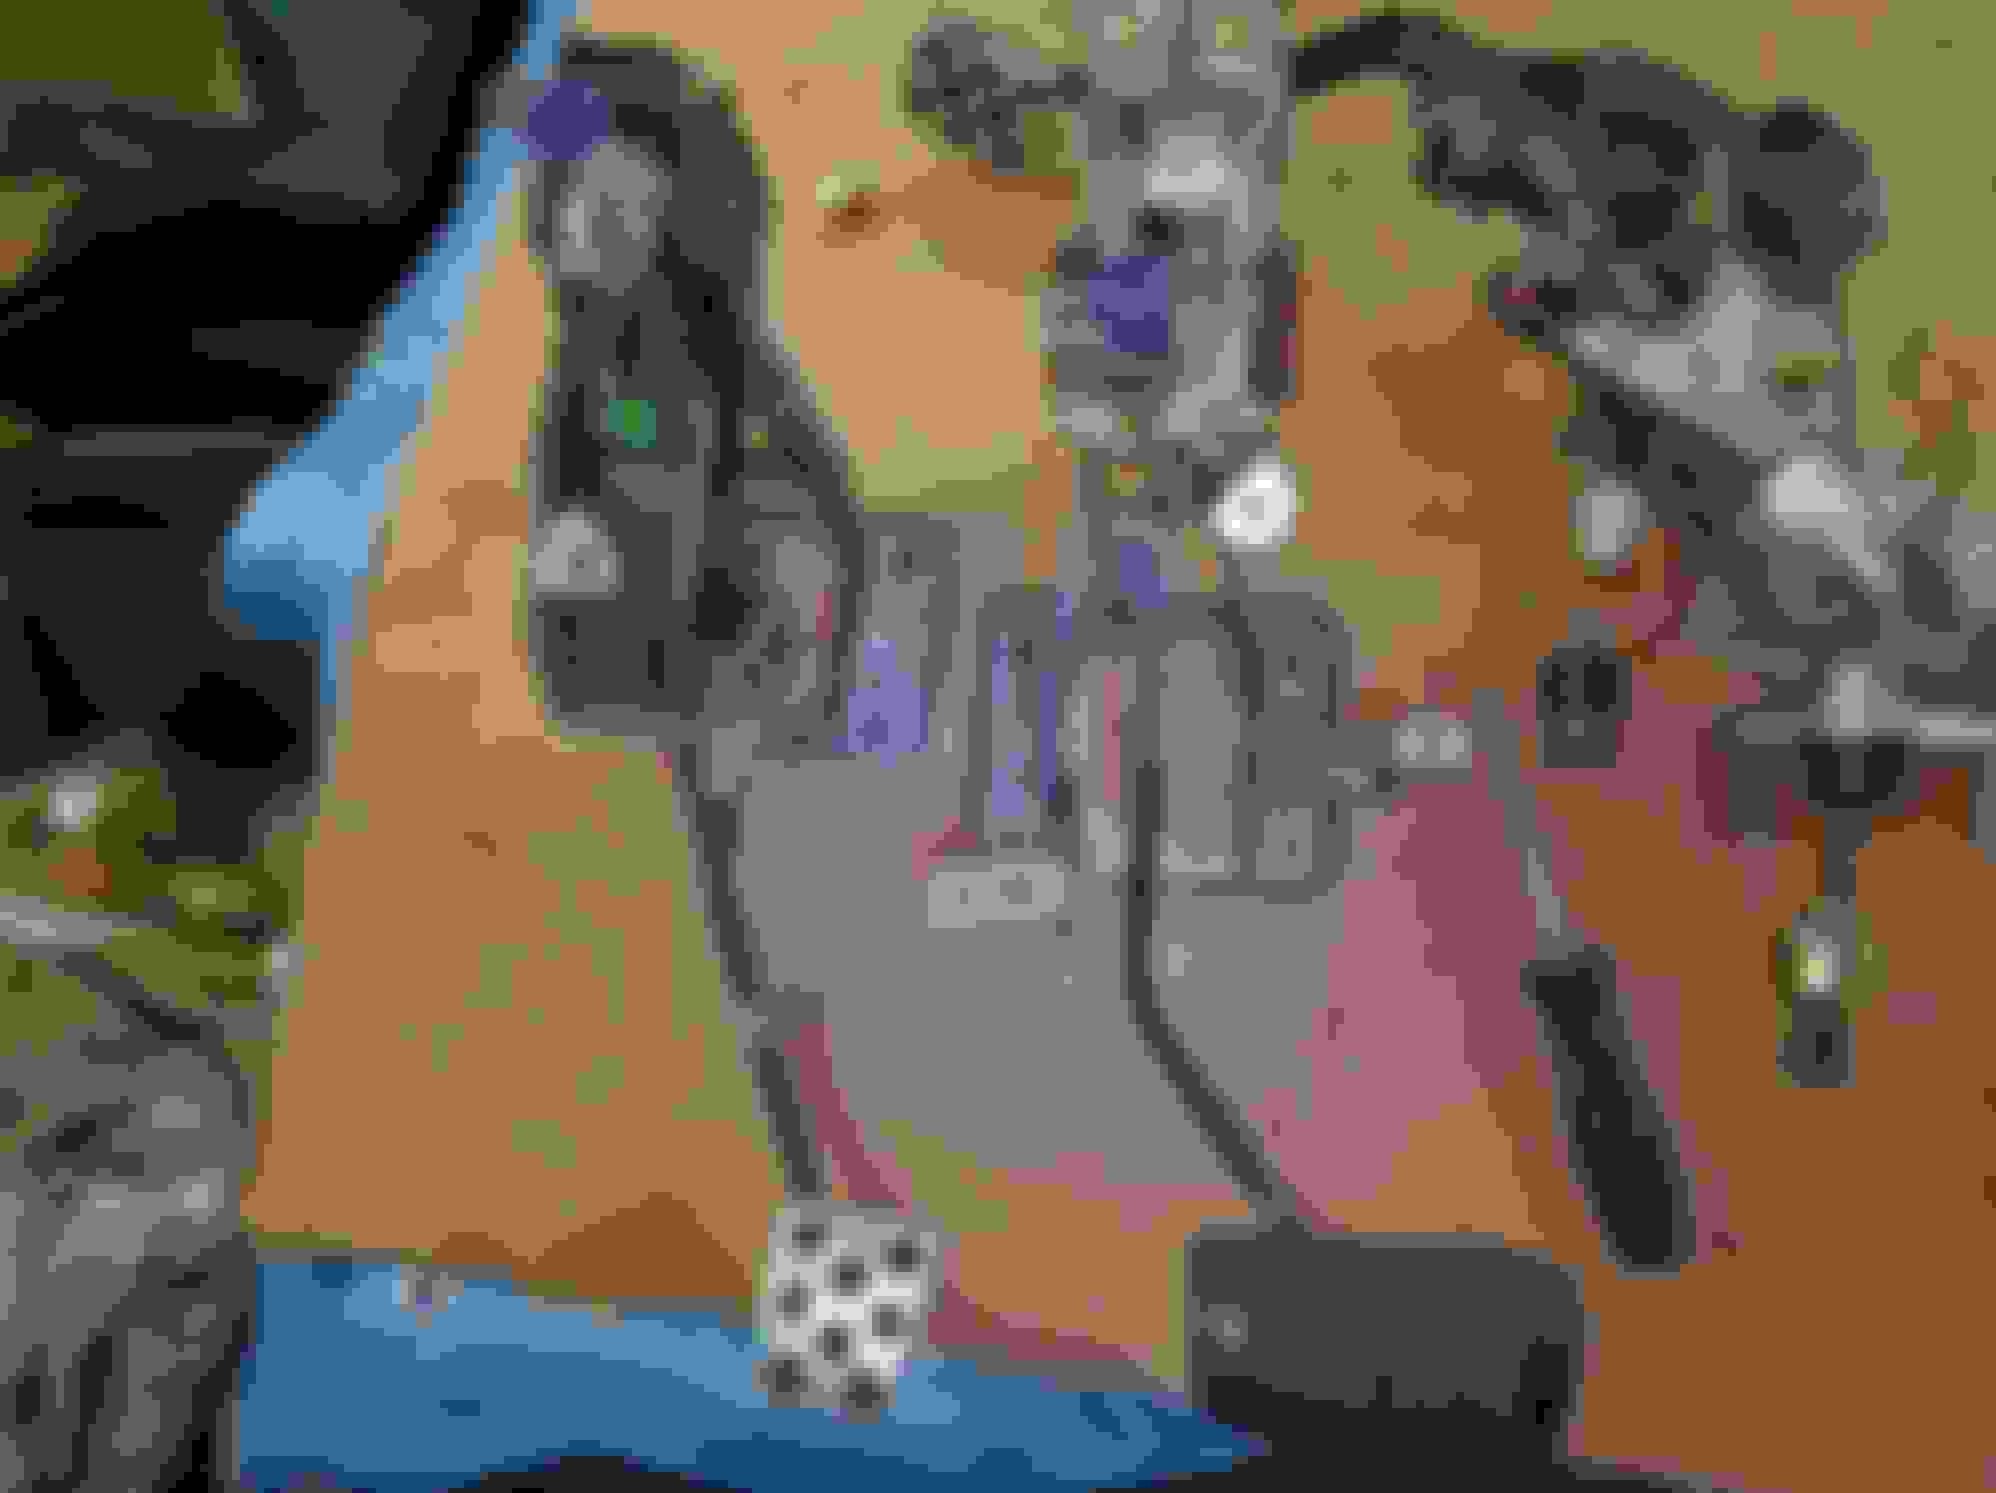
In order to fit on the w58 Adaptor plate, some grinding is needed on the auto bellhousing.
Notice the rust on the bottom? Yeah, that's where you have to grind out the bell housing to fit onto the W58 with adaptor plate.
MK3 Supra W58 with 1uz bellhousing. Note the steel sandwich plates holding the two halves of the transmission together. This is the updated W58.
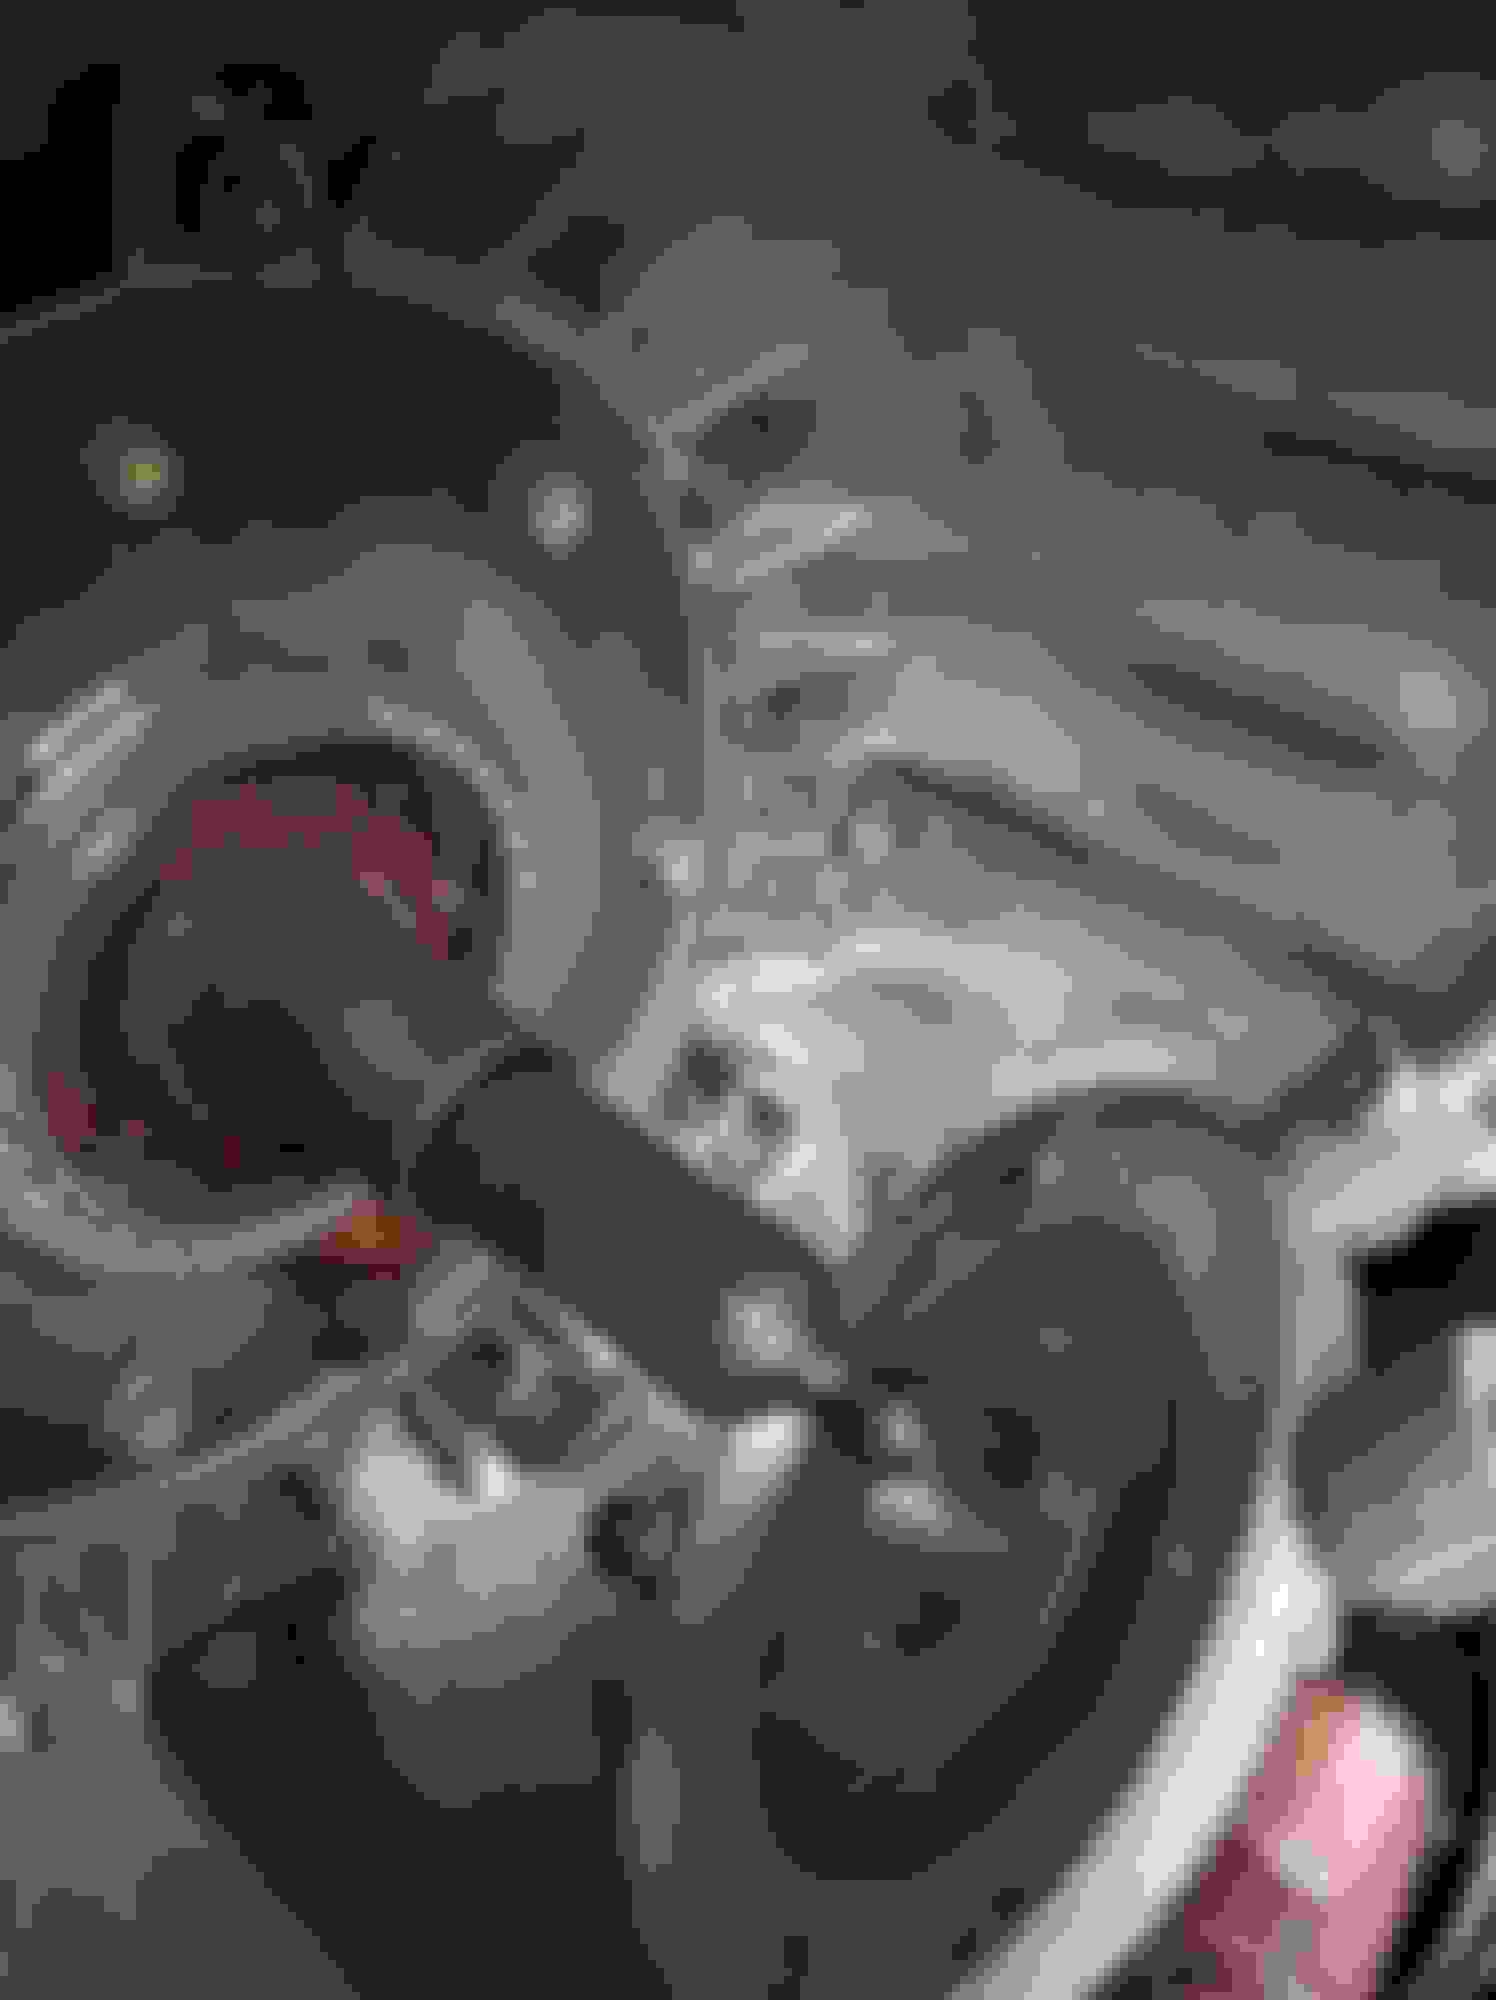
Now this is where lift starts to suck. This is a T5/T56 Hydraulic Throw Out bearing. The diameter is too small to slide all the way up on the W58 shaft and sit flush with the face.
Measured the shaft, which is 1.365
The throw out bearing was like 1.127. Way too small.
While we are on the subject, the master clutch cylinder only has one output line. The Hydraulic throw out has two lines. One for bleeding.
Oh'well let's remove the brake pedal assembly while we figure that one out.
Note: I went the long route on this one.
Total PITA.
Just when you think you have all of the bolts removed, look way up past the steering column through a marsh of wires and hoses and there are more!
The pedal assembly would come out without some additional spacing. Had to slide the brake cyclinder back into the engine bay to get enough clearance. *Not Necessary, see below*
Manual brake on the left, auto brake on the right. See how high that thing goes back under the dash? Bah!!
TURNS OUT I DIDNT HAVE TO DO ANY OF THIS. It could have been as simple as swapping the bolts that hold the actual PEDAL ARM, and not the entire assembly.
Last edited by macna; 01-02-17 at 08:41 AM.
Reason: Update
Looking good! I wish there was a better place to get a clutch pedal from - especially with the scarcity of the chassis that came OEM with it. There is Xcessive but I feel like that could be better. I dunno. Regardless, I'm in for updates!
Hopefully I can follow some of your steps and some answers would really help me.
1. Can you please measure across the auto tran that you pulled out and give me the height of the beast. I want to make sure that I raise the SC high enough to extract it with something below. Yep I will be on my back.
2. What are your plans for the flywheel, gear ring and clutch. How are you assuring that the ring sits in the right position with respect to the starter gear?
3. Please comment on the adapter plate quality and precision. I am concerned about proper alignment the choice of ease of fitting vs precision.
4. Due to thickness of the adapter plate, are the mounting holes lining up. Body and rear mounting bar/beam.
5, Would there be a requirement to extend the input shaft due to the adapter plate.
6. Can you please add a picture .. looking up in the hole for the stick .. wide enough to cover the length of the transmission (with the transmission removed). There is a mention of tunnel adapter ... I think it is a plate that sits between the tunnel and the transmission and the rubber boot for the stick gets attached with a metal frame.
By the way, you didn't have to remove the whole brake pedal assembly. All you needed to do was swap over the pedal arm itself. Would've saved you some painful time and swear words.. May I suggest you update that post to say that, so that when others come across this, they don't think they have to do that. If you want to that is
Keep up the good work! Our cars are a whole nother animal with a stick
Yes, but for that price, may as well go WILWOOD - that was kind of my point. Oh well, can't complain. It could be worse. We could have a chassis like a Cressida that never came with a third pedal and you had to fabricate something to work. I remember those days...
I am tired. I hate the fact that some people are like, "Yeah only took 1 day to put everything in! It was great!" Yeah... right.
That's a big reason why I shied away from doing the swap. I always felt it was way more involved and way more troublesome than people wanted to fully admit. Props to you for powering through!
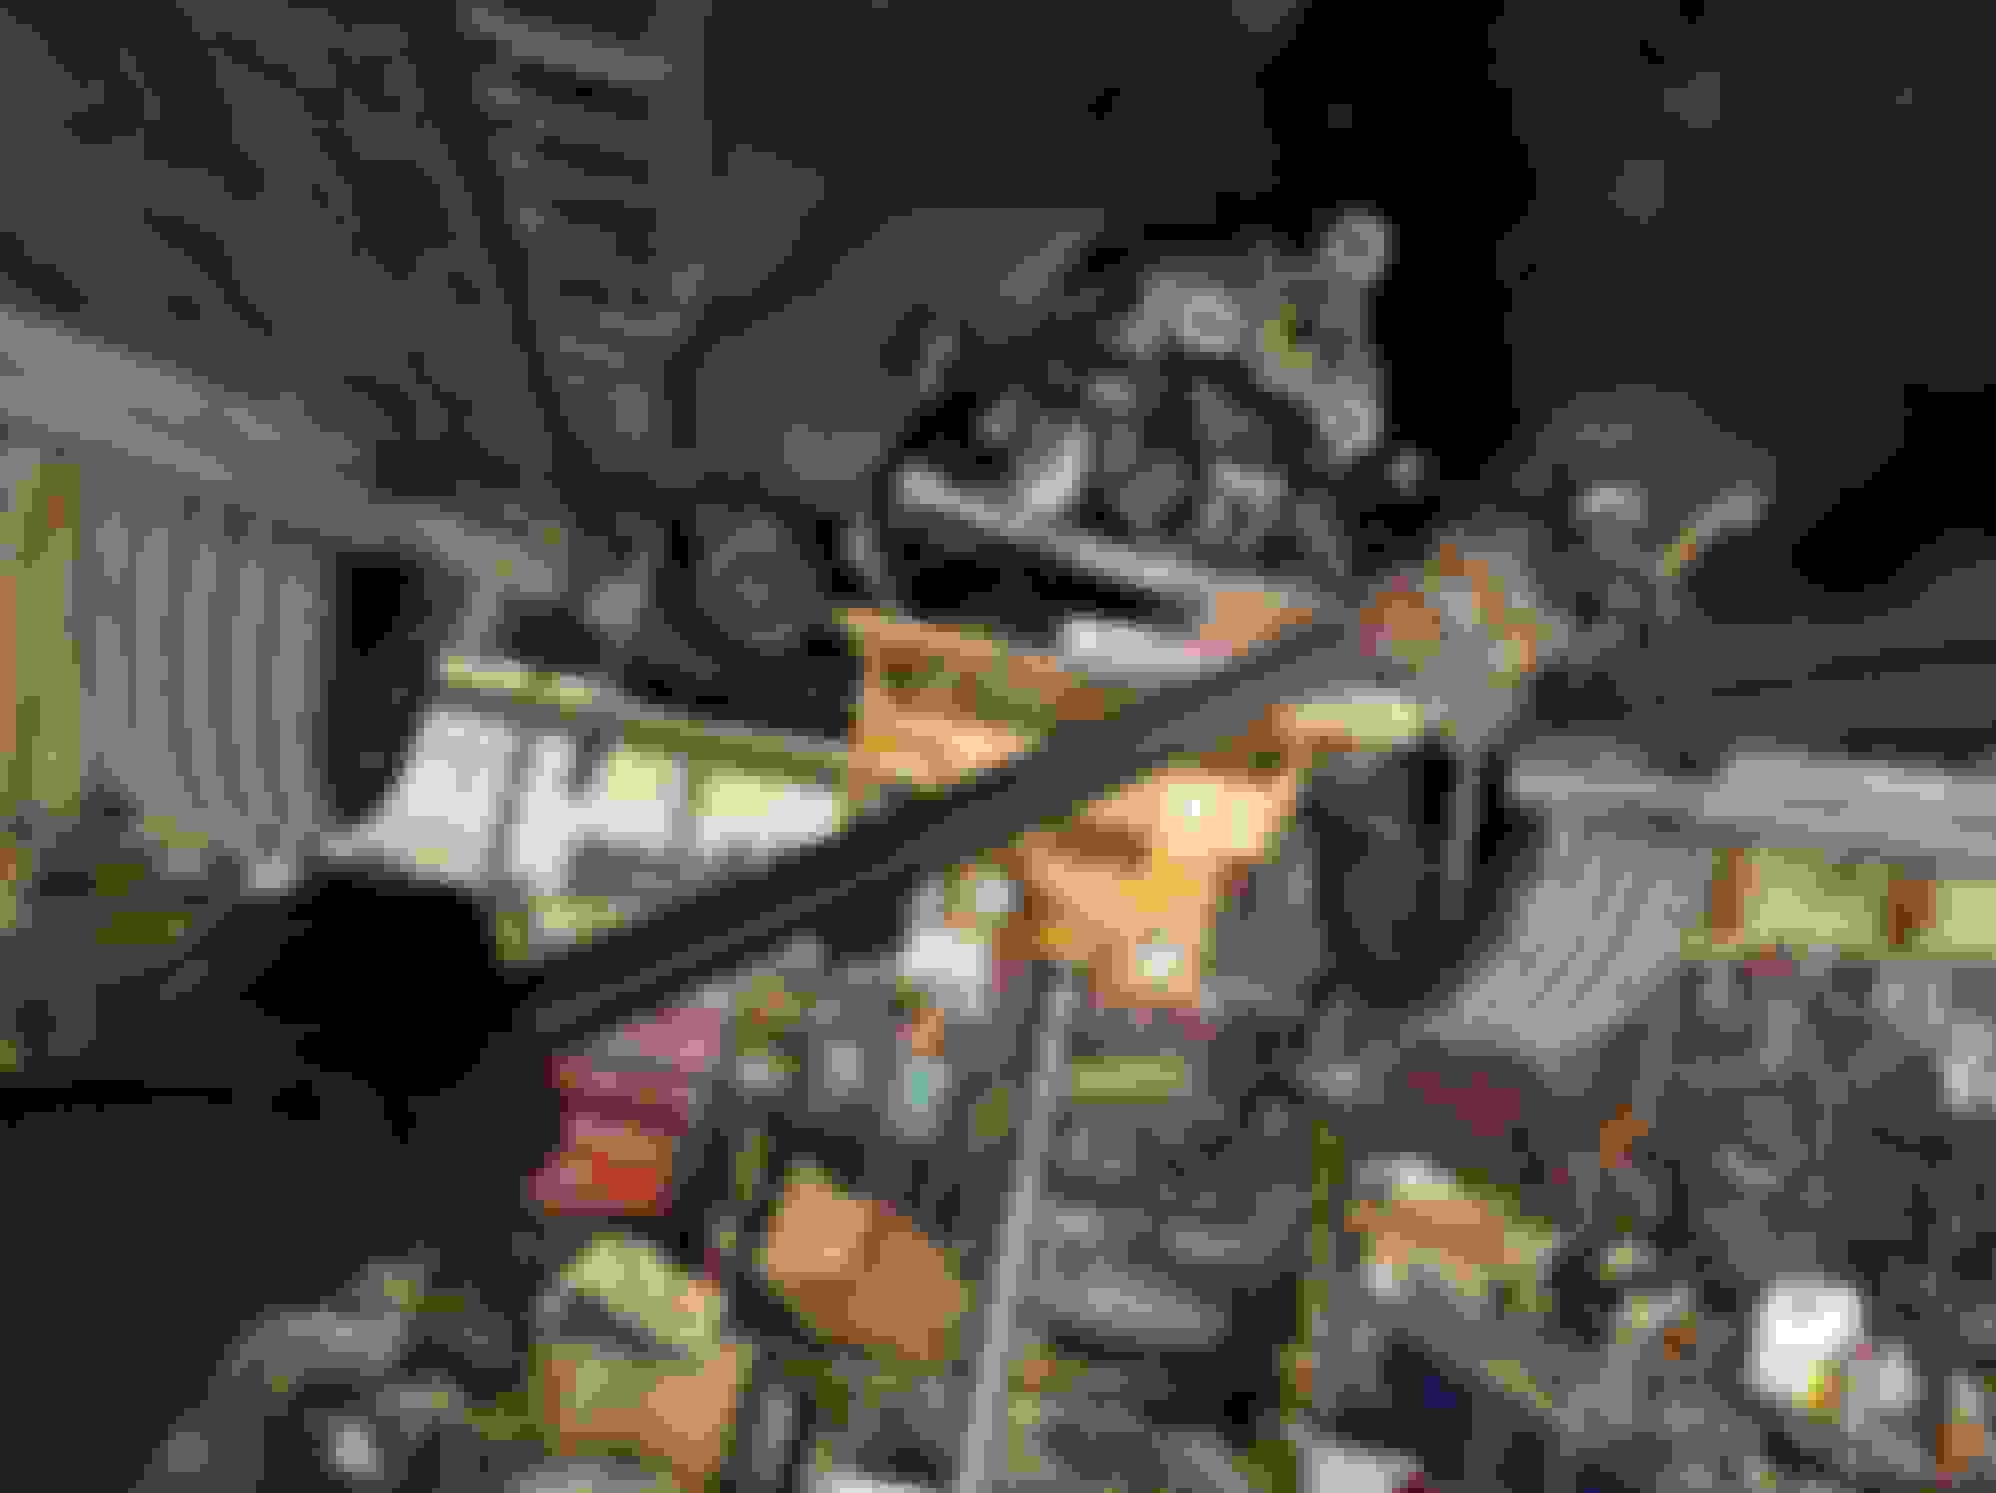
I love how your garage is like the quintessential "garage"...there's just tools and stuff everywhere and like 50 years dust and knowledge and sweat...reminds me of my grandfather's shop.
Another day... Day 3....
Was only a few hours today. Worked all day and had some spare time- So decided to start installing the brake pedal. Larry came over and then we decided to finish figuring out the whole hydraulic throw out bearing issue.
Don't worry sweet heart, you will be back and better than ever.
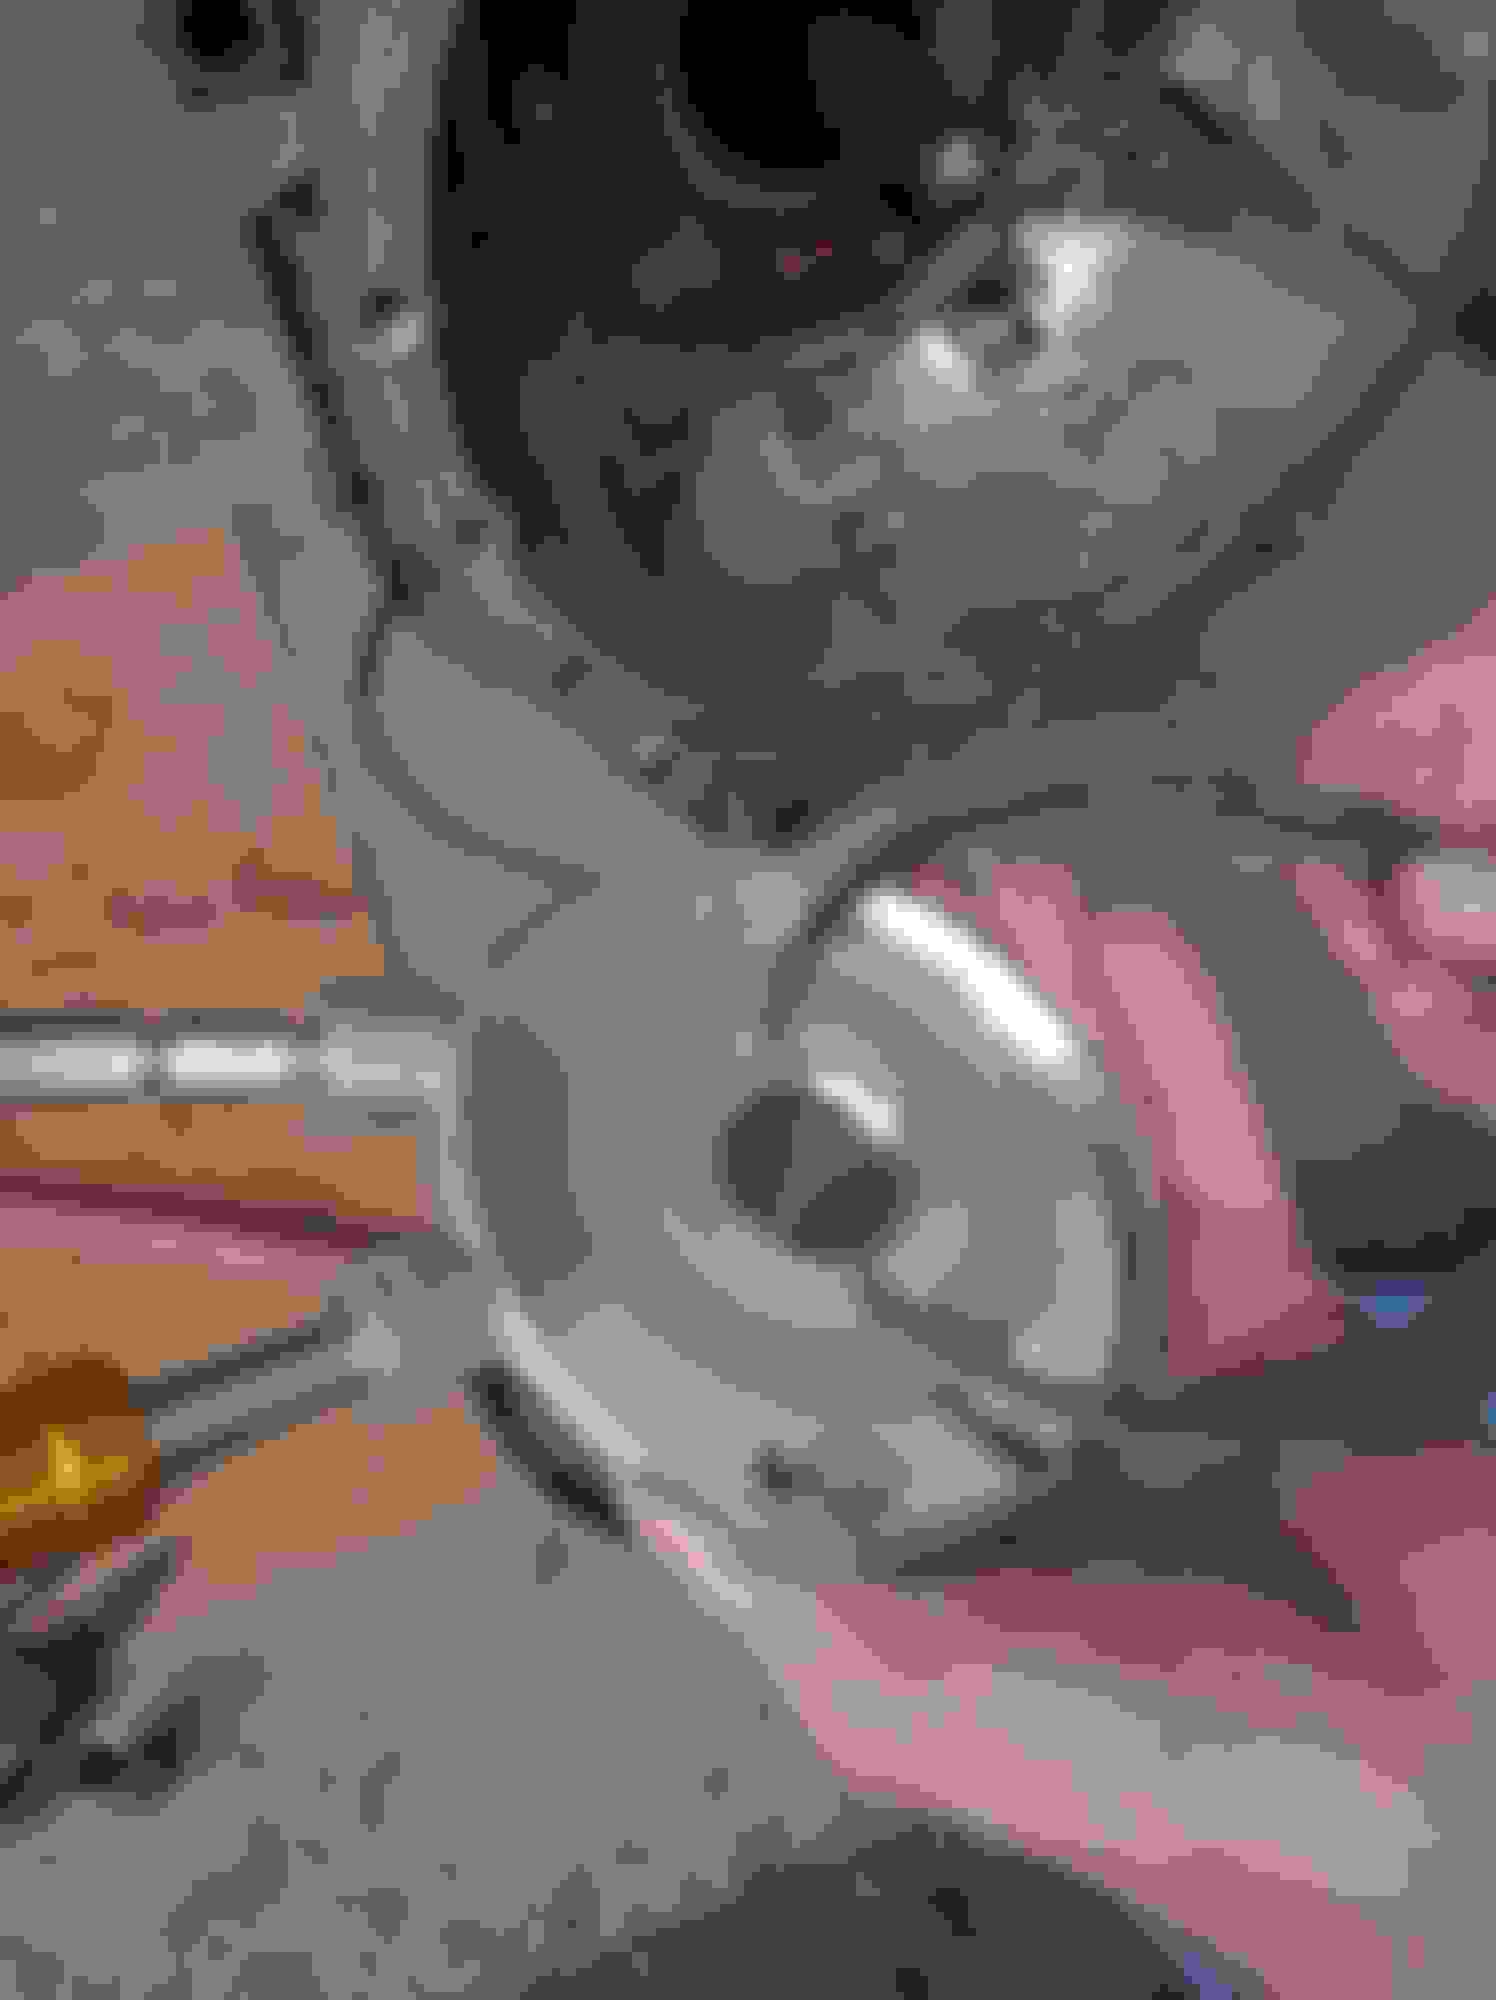
Taking off the front of the transmission to fix this fitment issue. Recall that the hydraulic throwout didn't fit over the shaft? Well...
Let's take this off..
And let's cut off that sleeve. This will allow us to slide the T56 style throwout bearing over the shaft.
Larry, my neighbor whose shop we're in, is a grand master mechanic. I would have stopped here but...
He wants to smooth it out and make it look nice...
So I would have stopped here but..
Nope, he wants to sand blast it and get rid of all the rust and debri
Then buff it out...
Must better.
This is as far as we got on day three. Now to bolt the bell housing back up, and drill holes for the hydraulic throw out bearing next.
By the way, you didn't have to remove the whole brake pedal assembly. All you needed to do was swap over the pedal arm itself. Would've saved you some painful time and swear words.. May I suggest you update that post to say that, so that when others come across this, they don't think they have to do that. If you want to that is
Keep up the good work! Our cars are a whole nother animal with a stick
Are you friggin kidding me?!
See... That is what I mean. No one has a detailed write up of this! I would have loved to have known that.
 08-18-16, 08:31 AM