When you click on links to various merchants on this site and make a purchase, this can result in this site earning a commission. Affiliate programs and affiliations include, but are not limited to, the eBay Partner Network.
This was done awhile ago, so I’m writing this from memory. If I don’t specify a socket size, it’s because it was one of the standard sizes usually used on the car (12mm, 14mm, 16mm)
Tools Needed:
Ratchet
Socket extension bar, 15”
socket knuckle
3/8” drive
sockets: 19mm deep well
24mm or 15/16” socket
standard sockets for this vehicle(12mm, 14mm, 16mm)
One of the following:
2” extension bar for the 3/8” drive
-OR-
1/4” drive AND an adapter for 3/8” sockets (1/4 to 3/8)
-OR-
something similar to SST 09249-63010
Pliers
24mm or 15/16” crescent wrench
flat head screwdriver (tip wrapped with vinyl tape) to remove oil seal
wheel chocks
floor jack
jack stands
bench vise or a really strong friend
masking tape and pen
Cushion to catch sensor if it falls (an old folded towel should work)
Parts Needed:
Pressure Feed Tube gasket (metal) (re-use not recommended but I did without issue as the kit I bought didn't include this)
Power Steering Pump rebuild kit
power steering fluid
Organization:
I did find it helpful to lay out all the components as I disassembled and to use a marker on masking tape to label them directly where they were placed. You'll see this in some of the pictures.
Caveat: These are primarily instructions from a repair manual. I'm including pictures I took and any solutions to problems I encountered. This is for entertainment purposes only - if you mess up your pump, it ain't my fault.
Last edited by thaeleelyr; Apr 10, 2016 at 04:01 PM.
Chock the wheels and jack up the front end just enough to remove the passenger wheel. Set the jack stand(s) and remove the wheel. Open the hood & disconnect the negative terminal on the battery (I like to do this whenever I�m dealing with any electrical component).
To prevent spilling fluid on the belt, remove it first and install it last. You access the bolts through the holes in the PS Pump pulley. Just loosen these bolts enough to remove the belt.
It is very tight in here and you are supposed to use a special tool. The timing belt cover blocks the socket from seating because it hits the driver. I tried a 3� extension, but then the driver hits the side wall. A 2� or less extension would probably work with a regular 3/8� driver. The deep-well sockets also didn�t work. The best I could do was to use a 1/4� drive with a standard 3/8� socket plus a 1/4� to 3/8� adapter. The adapter provided just enough space to clear the obstacles, but wasn�t long enough to hit the side wall.
Step 3: Remove the Oil Pressure Switch Wire Harness
Place some kind of cushion below the PS pump to catch the oil pressure switch should you drop it. Dropping it can break the switch. Disconnect the wire harness by either reaching through the side or down from the top.
Great write up so far! don't forget to add a link in the DIY stickies.
On an unrelated note...the connector to the oil pressure switch is part of the engine harness connected to the rear coil packs. It really helps to disconnect this one when doing a rear valve cover swap/service.
Last edited by fastnoypi; Apr 11, 2016 at 05:53 AM.
Step 4: Remove the Oil Pressure Switch (now starts the PITA)
The oil pressure switch and union bolt MUST be removed in order to release the pressure feed tube prior to removing the PS pump.
You�ll need to remove the oil pressure switch using the 15� extension rod, knuckle, and 19mm deep well socket. The best method is as follows: Attach the 19mm deep well socket to the extension rod. From the top, carefully lower the socket onto the oil pressure switch and seat it. The extension rod tip will be angled toward the firewall. Place the knuckle on the end of the extension rod and then connect to your ratchet.
This was the best (only) way I could figure out how to get to these parts. I tried putting the knuckle placed between the socket and extension rod, but it was too floppy and the angle was bad for wrenching. If you have a helper, this may be an option.
NOTE 1: the union bolt may break loose first while trying to unscrew the oil pressure switch. If this happens, I think there is enough room to back both out together, but you�ll need to separate them once removed for re-installation. If not, then you�ll need to hold the union bolt still with a 24mm crescent wrench.
Remove the cushion from step 3 and place something to collect power steering fluid under the area. Repeat the above procedure using a 24mm socket to remove the union bolt. Once you begin to loosen it, power steering fluid will drain from the pressure tube.
Place the front bracket into a vise and tighten. Mark the front of the pulley for re-assembly. You are supposed to use one of those �V� shaped wrenches for holding pulleys but I didn�t have one so I used a small metal rod through one of the pulley holes and braced against the vise to hold the pulley still while you remove the nut. Once the pulley nut is loose/removed you can release the pump from the vise and work on a bench.
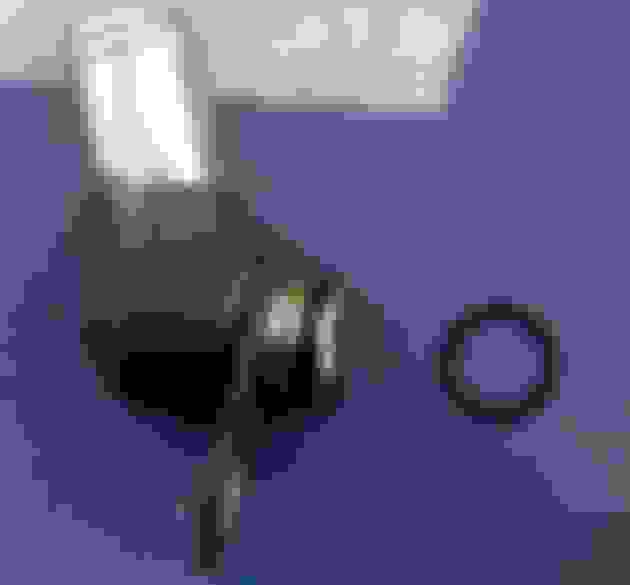
Remove the small bolt holding the suction port union. There is a small o-ring that should be replaced but I don�t recall it included in the kit I bought. In the second photo I�ve already removed the suction port union bolt and it is laying next to the port.
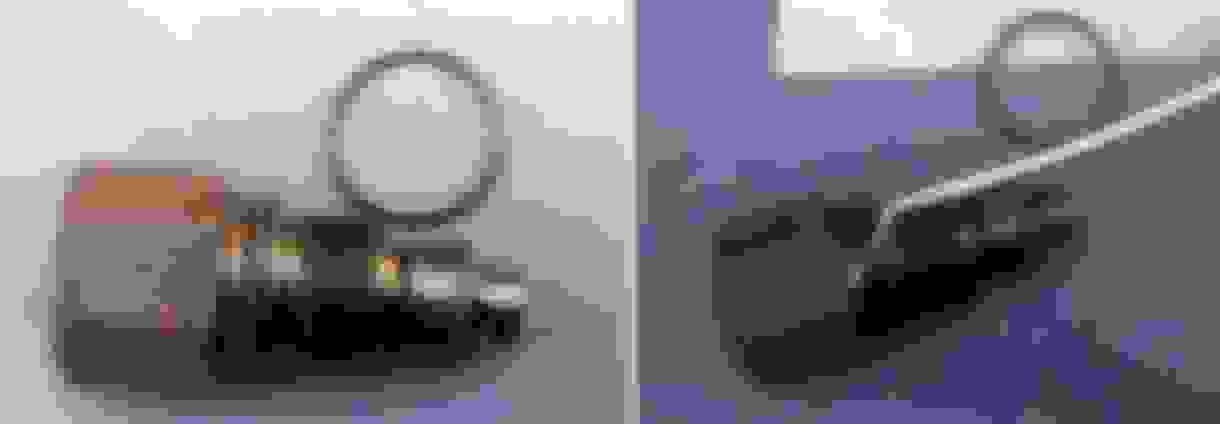
Step 10: Remove Pressure Port Union, Flow Control Valve, and Spring
In the above photo you can see that the pressure port union is hex shaped so just grab the appropriately sized socket (19mm?) and unbolt it. Be careful not to loose the spring. (see next entry for photo of flow control valve and spring)
Suction Port Union Removed
Pressure Port Union Removed
Last edited by thaeleelyr; Apr 10, 2016 at 05:03 PM.
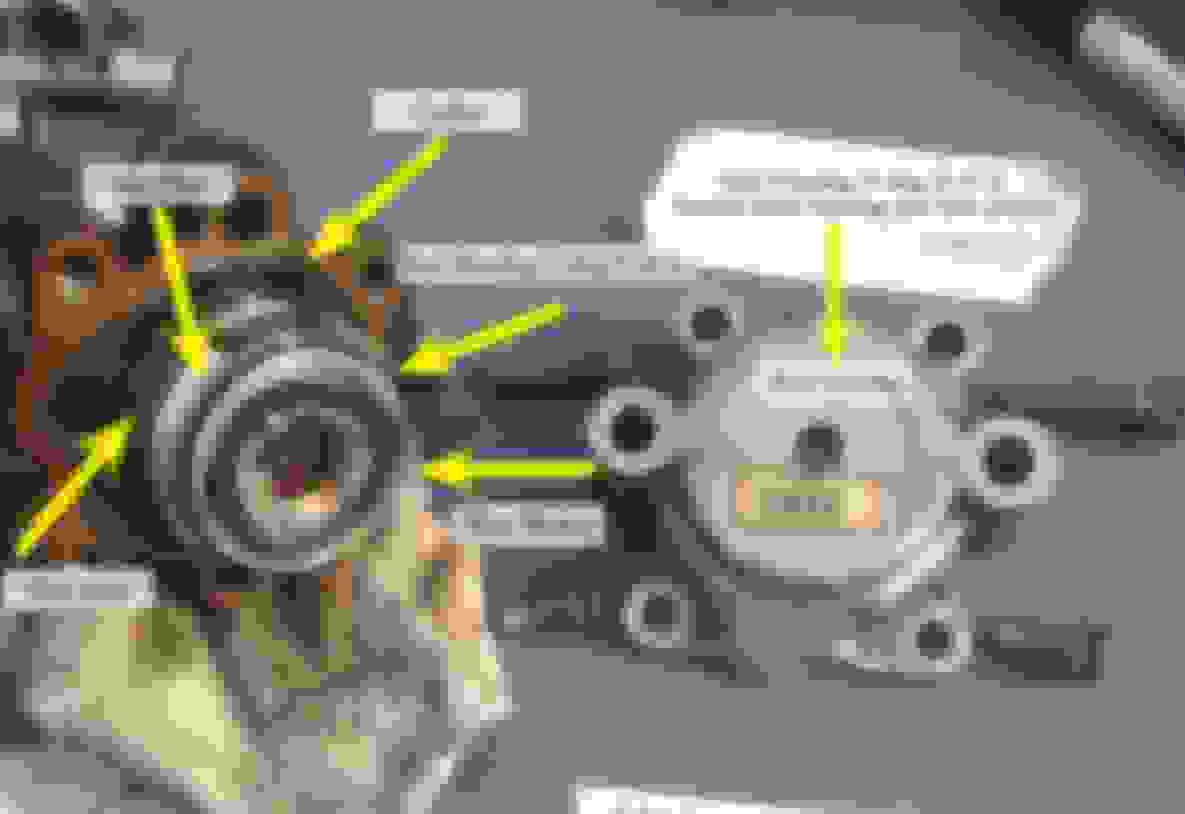
Using a 14mm socket, remove the 4 bolts on the back of the pump. Carefully remove the rear housing and make special note of the placement of the wave washer. There are two O-rings in the rear housing - one is very large, the other much smaller. The larger one seats seats best on the side plate, the other seats inside the housing.
Last edited by thaeleelyr; Apr 10, 2016 at 05:06 PM.
Once you have removed the wave washer and O-ring, grab the side plate close to the edge and pull straight out. In the photo you can just make out the seam between the side plate and cam ring. Once the side plate is removed, you will see the tips of the straight pins. Do not remove the straight pins unless you have replacements in your kit. It is not necessary to remove these pins unless you are replacing them.