
6x9 DIY speaker repair
 03-08-11, 01:54 PM
#1

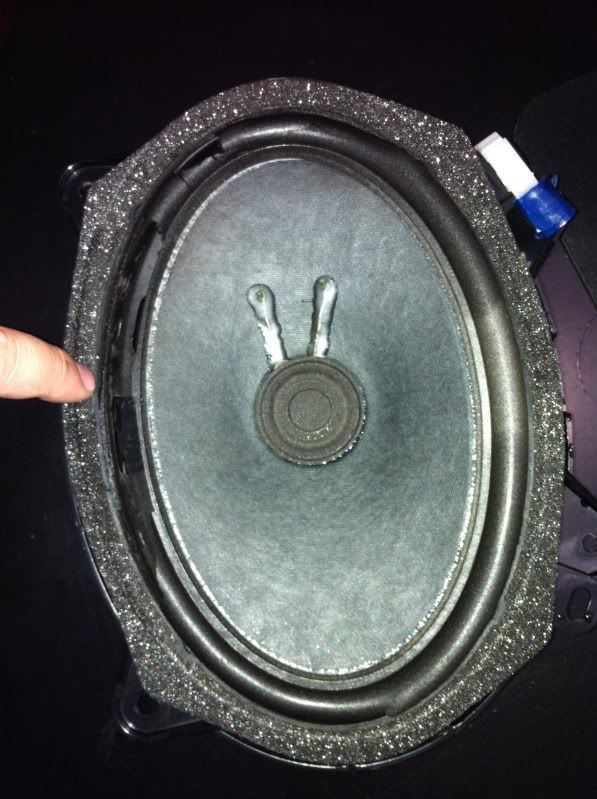
thanks to Mandyfig and Gzone for posting up guides on this. I took the plunge today and the door panel took me about 5 minutes to semi take off and I had my girlfriend Kristi(who is also on the board) hold the panel while I unscrewed the speakers.
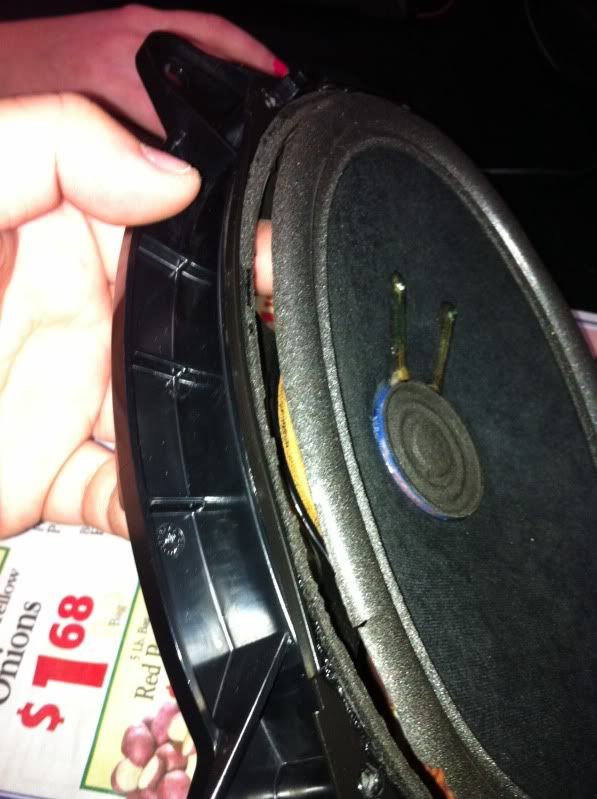
My 6x9 was rattling big time and you will see the reason why below. It was torn all the way around the speaker cone.
Our little friend that fixes this!
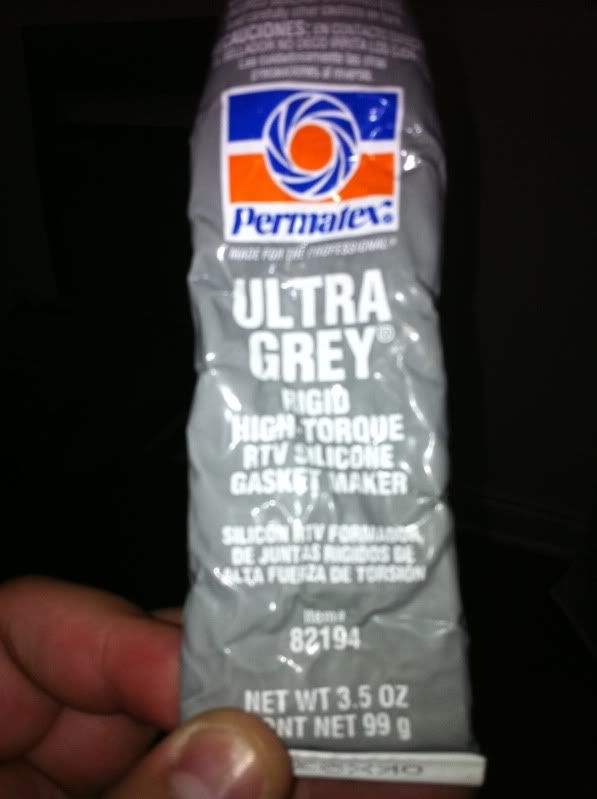
Not the best looking thing but its behind the door.. who cares... $7 well spent to fix a $250 speaker atleast..
My 6x9 was rattling big time and you will see the reason why below. It was torn all the way around the speaker cone.
Our little friend that fixes this!
Not the best looking thing but its behind the door.. who cares... $7 well spent to fix a $250 speaker atleast..
 03-08-11, 08:16 PM
#2
Driver
Join Date: Jan 2011
Location: Texas
Posts: 127
Likes: 0
Received 0 Likes
on
0 Posts
thanks to Mandyfig and Gzone for posting up guides on this. I took the plunge today and the door panel took me about 5 minutes to semi take off and I had my girlfriend Kristi(who is also on the board) hold the panel while I unscrewed the speakers.
My 6x9 was rattling big time and you will see the reason why below. It was torn all the way around the speaker cone.
Our little friend that fixes this!
Not the best looking thing but its behind the door.. who cares... $7 well spent to fix a $250 speaker atleast..
My 6x9 was rattling big time and you will see the reason why below. It was torn all the way around the speaker cone.
Our little friend that fixes this!
Not the best looking thing but its behind the door.. who cares... $7 well spent to fix a $250 speaker atleast..
03-09-11, 05:42 AM
#3
03-09-11, 06:02 AM
#4

My testimony...works the same! At least on my mid-range.
Trending Topics
 03-16-11, 03:32 AM
#10
Rookie
iTrader: (3)
Join Date: Nov 2010
Location: Venice, FL
Posts: 98
Likes: 0
Received 0 Likes
on
0 Posts
Thanks for the coupon code! I purchased the foam kit last week and fixed both of my 6x9's this past weekend and reinstalled them. The foam surrounds on my 6x9's were completely disintegrated and the kit worked perfectly.
03-16-11, 06:03 AM
#11
Im not sure if anyone put this into consideration but I think silicone is the best thing to use because you can make a very fine thin layer to fix them. Which is a good thing becaause i noticed you guys arent repairing the ENTIRE foam surrounding.. In time don't you think the foam that you did not apply any silicone/gasket sealant or whatever you used will start to deteriorate as well? I have a picture i took on my phone but im too lazy to upload
For example vipness unrepairable speaker.. Everyones repairing the outside of the foam.. But not applying anything to the inner part of the foam which will eventually deteriorate as well.
For example vipness unrepairable speaker.. Everyones repairing the outside of the foam.. But not applying anything to the inner part of the foam which will eventually deteriorate as well.
Last edited by Pnuge88; 03-16-11 at 03:18 PM.
03-16-11, 06:52 AM
#12
Got a point, have to re-visit all speakers again. Bet you the inner cone has separated and will need some silicone. Better sound!
Another DIY project!
Another DIY project!
03-16-11, 07:51 AM
#13
Im not sure if anyone put this into consideration but I think silicone is the best thing to use because you can make a very fine thin layer to fix them. Which is a good thing becaause i noticed you guys arent repairing the ENTIRE foam surrounding.. In time don't you think the foam that you did not apply any silicone/gasket sealant or whatever you used will start to deteriorate as well to the areas you didnt apply silicone/gasket sealant to? I have a picture i took on my phone but im too lazy to upload
For example vipness unrepairable speaker.. Everyones repairing the outside of the foam.. But not applying anything to the inner part of the foam which will eventually deteriorate as well.
For example vipness unrepairable speaker.. Everyones repairing the outside of the foam.. But not applying anything to the inner part of the foam which will eventually deteriorate as well.
 03-16-11, 08:43 AM
#14
Got that right. I am saving up for my LED tails!
03-16-11, 03:19 PM
#15
haha the LED tails are such an improvement! I'm finally debt free so first things first i need to buy a new a/c compressor since it took a dump on me and do my belts and stuff.
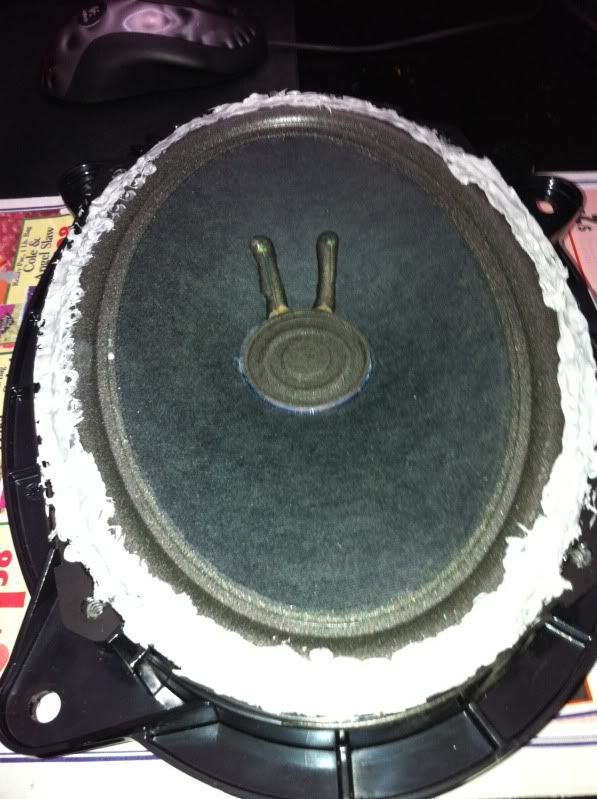
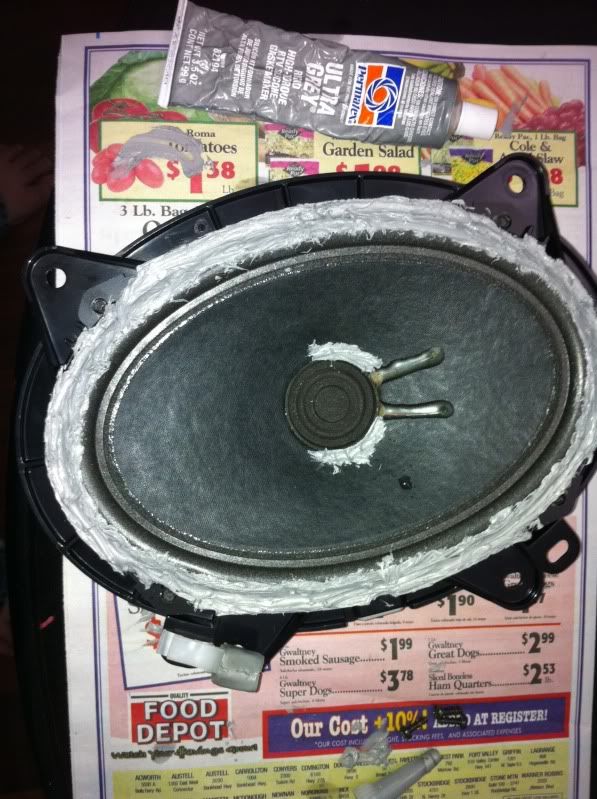
alright. heres my speaker that i fixed but still not in use..

as you can see i put a thin layer to the undamaged foam on the inner side just to have it hold up and prevent it from deterioating in the future. A nice good thin layer so that the speaker is still functional as if it were new
alright. heres my speaker that i fixed but still not in use..
as you can see i put a thin layer to the undamaged foam on the inner side just to have it hold up and prevent it from deterioating in the future. A nice good thin layer so that the speaker is still functional as if it were new
Last edited by Pnuge88; 03-16-11 at 03:26 PM.