CAD File Sharing
#136
Advanced
iTrader: (2)
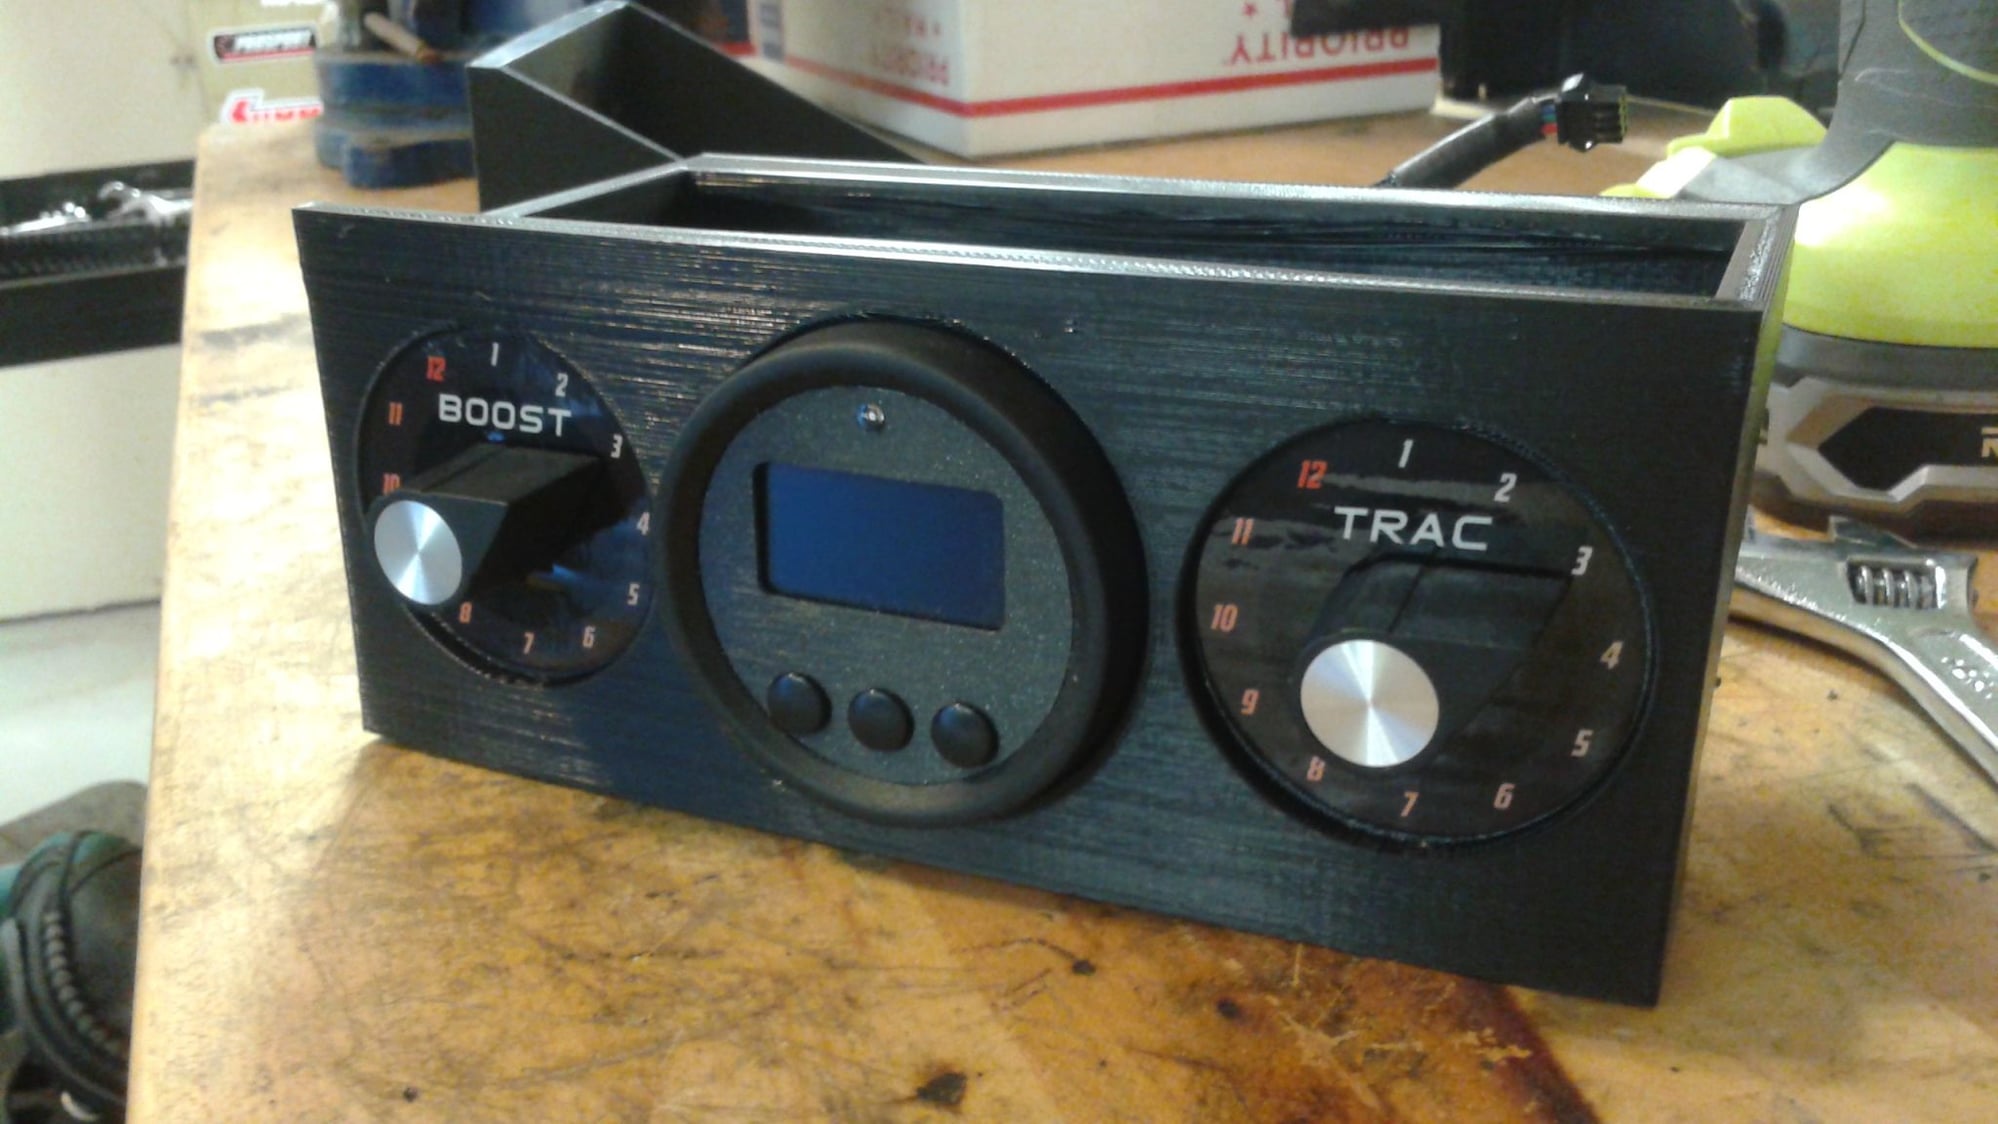
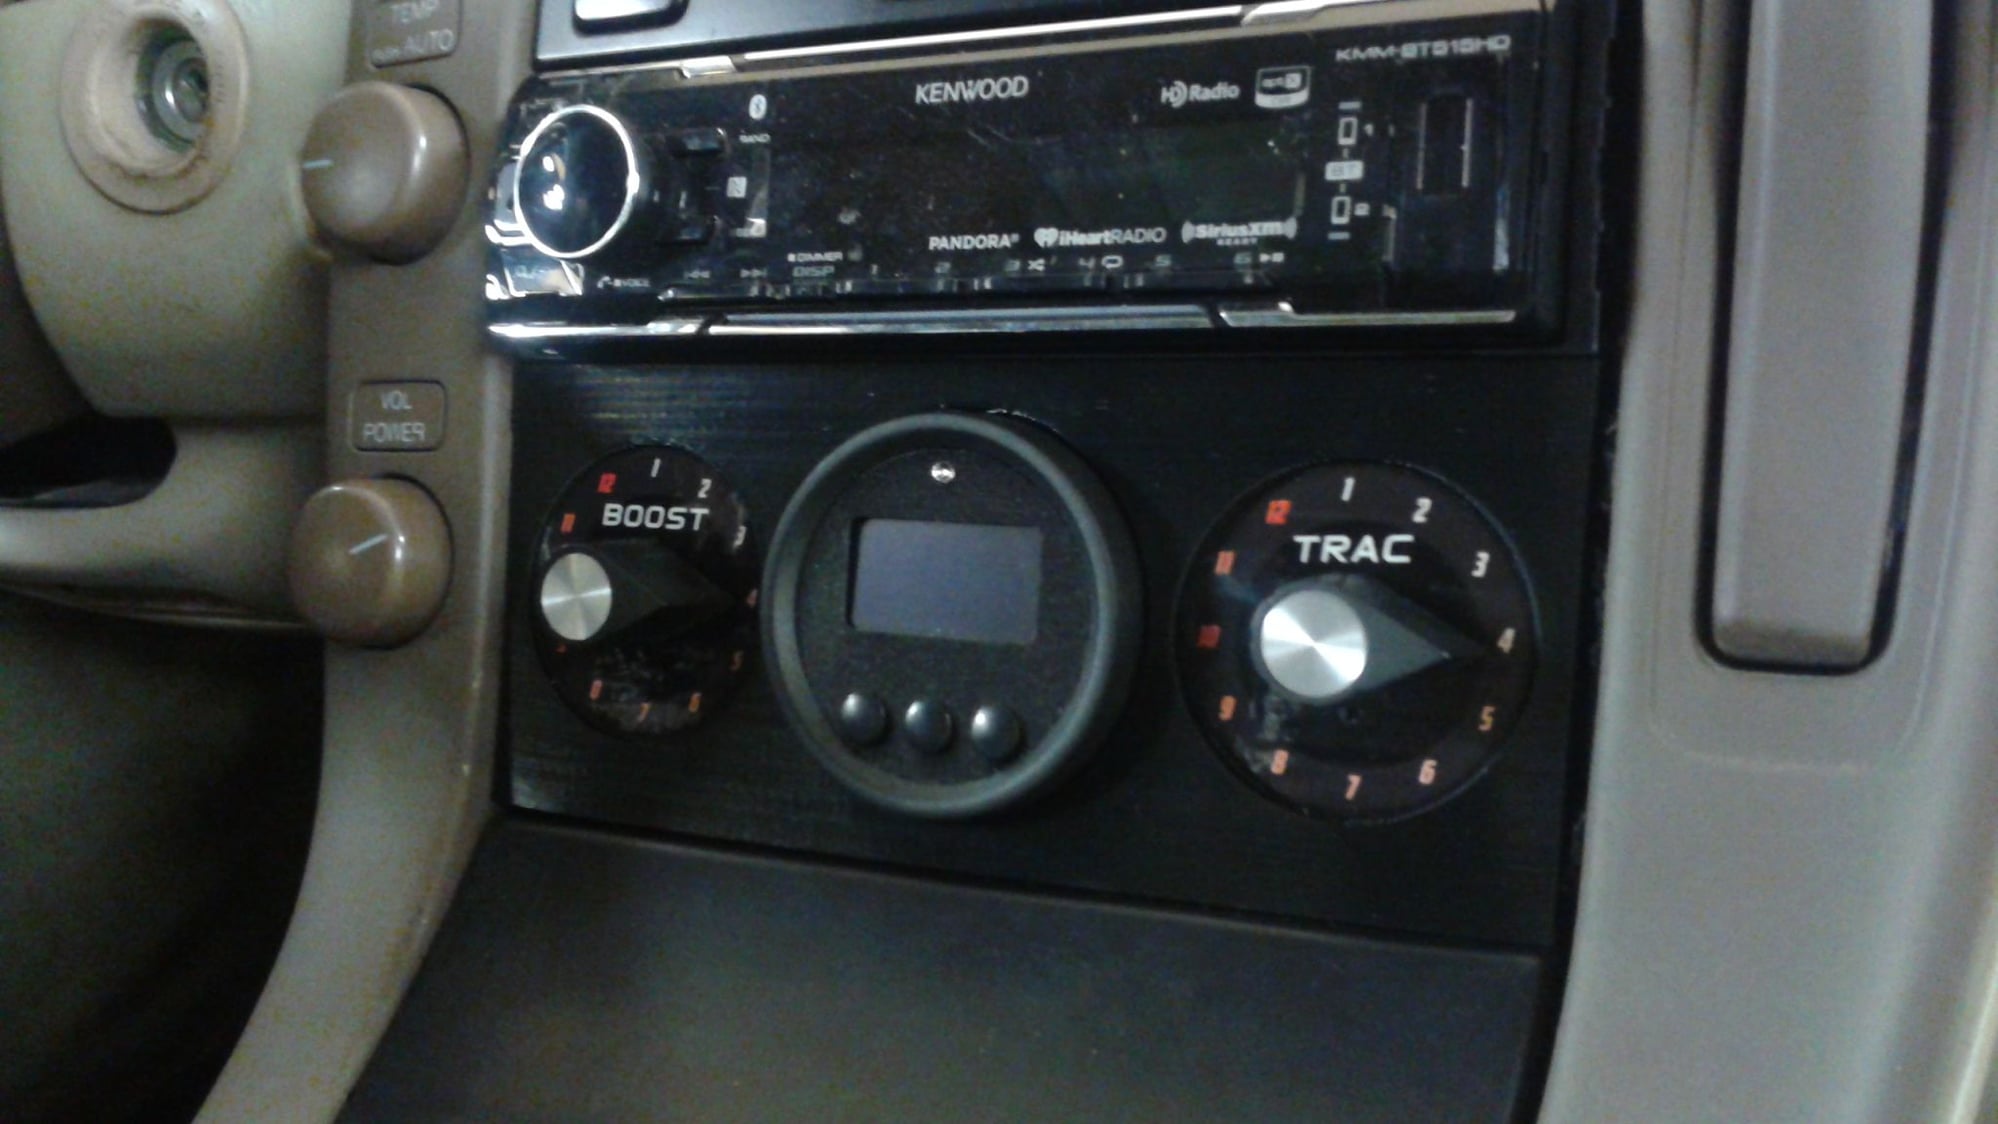
Gauge panel for Halon. Thanks for letting me print it out Brandon.
I have another triple gauge panel without the radio surround. I sanded it with 100 grit to knock the layer lines down, then wet sanded it with 320. It feels pretty smooth. Did the same with my distributor cover. Will paint it with some flat black paint to make it uniform. Will update you all once it is done.
I have another triple gauge panel without the radio surround. I sanded it with 100 grit to knock the layer lines down, then wet sanded it with 320. It feels pretty smooth. Did the same with my distributor cover. Will paint it with some flat black paint to make it uniform. Will update you all once it is done.
#137
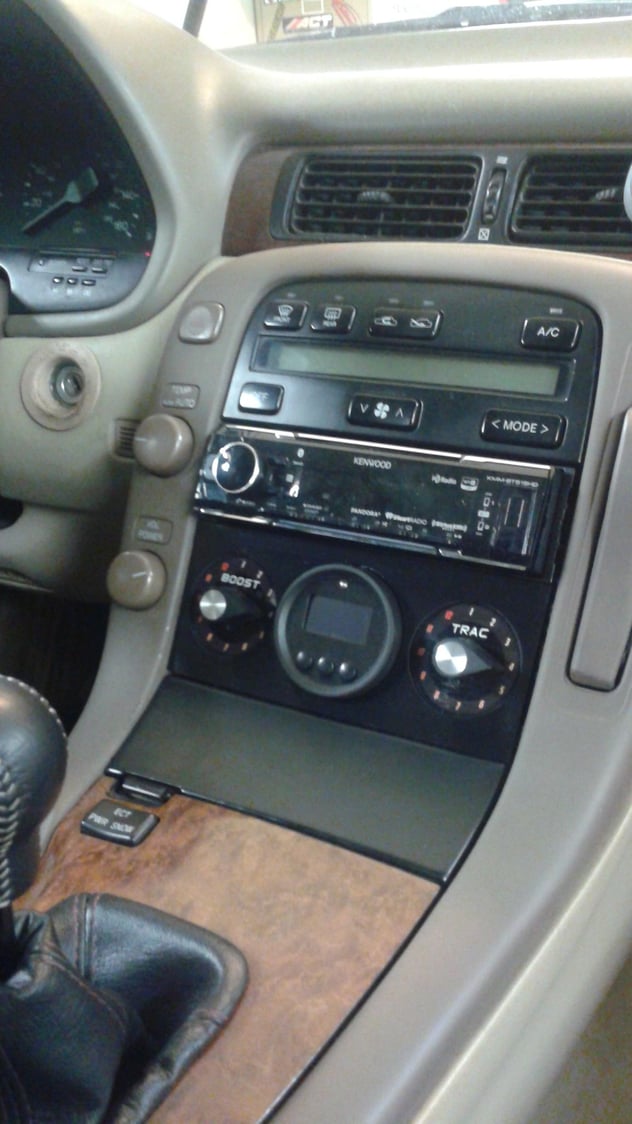
Today I received one of MLeopard's combination triple gauge and 1-DIN stereo dash panels printed by mrmj2u.
Pretty exciting to finally hold one of these in my hand! Thank you both!!
It is a unique shape because not only is the front face slightly curved but the lower section where the gauges are also is thicker and sticks out slightly more than the top section, other than the matching curve in the top bezel section.
Support/infill material was removed for me already by mrmj2u and I've carefully sanded just the easiest non-forward facing surfaces where the stereo unit and bezels need their tight clearances.
I would like to learn how to give this an OEM-like flat and smooth finish if it will not endanger the uniformity of the surfaces. Light sanding, primer and a choice of paint seems to be what is recommended but I want to learn more.
Right now I have no VDO gauges or stereo to install into it. I did have a Jensen stereo but it was not going to fit due to its front bezel. Expect an update later on.
It is a very sturdy and solid design in black ABS. Thank you Mleopard and mrmj2u!
For mine, I finished it by sanding and high fill primer. My print was in PLA which isn't easily dissolved. I've seen where ABS can be finished using an Acetone mist. Never tried that though.
#138
Lead Lap
iTrader: (8)
As with any painting activity, the consistency of my results should not be indicative of the expected outcome by anyone with skills.

#142
REDNECK RACE RAMPS
Next file I have is for something I've nicknamed as being my "Redneck Race Ramps". My car isn't slammed, but it is lowered a little bit on coilovers. And with my front lip, it is low enough that it does not get onto my flatbed using the manufacturers standard 5ft steel ramps, not even close to working really! I needed some sort of extensions. I found the nice name brand Race Ramps that are sold online and look really nice. However it was difficult for me to determine exactly what size/version I needed, and I would have hated to buy a set only to find out I didn't get long enough ones and I still scraped. They are not cheap either ranging from like $300 - $600. The particular ones I was looking at from them were around $400. I was concerned if I did get them and they ended up not being the correct size/angle for my car, it wouldn't exactly be a cheap mistake.
So, I decided to just make my own out of off-the-shelf lumber where I could just take my own measurements, and sort of hold them up to my car and if it wasn't quite the right length I could tweak it very easy since it's just a bunch of boards. And all said n done they cost me right around $50 using lumber from my local Menards.
With that being said, I introduce to you, my wonderful Redneck Race Ramp design . Feel free to copy them exactly how I did, or tweak them based on what you want. But here is how to make my exact ones with my exact dimensions. I've used them twice now with zero issues, but obviously use at your own risk and I accept no liability here.
File Naming:
RN_RCRAMP_RevA: This is the file for the Redneck Race Ramps.
As always, I've included both the Solidworks 3D model as well as a STEP 3D file that should work with any number of free viewers. Anyone with SW 2017 can open the 3D model and make any sort of edits they want.
Material:
- 2x12 x 8ft - Quantity of 4:
https://www.menards.com/main/building-materials/lumber-boards/dimensional-lumber/2-x-12-2-better-construction-framing-lumber/p-1444422433806-c-13125.htm?tid=-8419999665839088937&ipos=1
- 2x3 x 8ft - Quantity of 1:
https://www.menards.com/main/building-materials/lumber-boards/dimensional-lumber/2-x-3-stud-or-better-construction-framing-lumber/p-1444422058023-c-13125.htm?tid=3568720951940593365&ipos=2
- Box of 2.5" long wood screws
https://www.menards.com/main/tools-hardware/fasteners-fastener-accessories/screws/drywall-screws/grip-fast-reg-8-x-2-1-2-phillips-drive-coarse-thread-drywall-screw-1-lb-box/p-1444441845456-c-8930.htm?tid=5906201902410862410&ipos=7
Cuts:
(1) 2x12 x 8ft - Cut into one 72" length and one 18" length
(2) 2x12 x 8ft - Cut into one 72" length and one 18" length
(3) 2x12 x 8ft - Cut into one 54" length and one 36" length
(4) 2x12 x 8ft - Cut into one 54" length and one 36" length
(1) 2x3 x 8ft - Cut into four 6" lengths, four 7.5" lengths, & two 11.25" lengths
Photos:


Next file I have is for something I've nicknamed as being my "Redneck Race Ramps". My car isn't slammed, but it is lowered a little bit on coilovers. And with my front lip, it is low enough that it does not get onto my flatbed using the manufacturers standard 5ft steel ramps, not even close to working really! I needed some sort of extensions. I found the nice name brand Race Ramps that are sold online and look really nice. However it was difficult for me to determine exactly what size/version I needed, and I would have hated to buy a set only to find out I didn't get long enough ones and I still scraped. They are not cheap either ranging from like $300 - $600. The particular ones I was looking at from them were around $400. I was concerned if I did get them and they ended up not being the correct size/angle for my car, it wouldn't exactly be a cheap mistake.
So, I decided to just make my own out of off-the-shelf lumber where I could just take my own measurements, and sort of hold them up to my car and if it wasn't quite the right length I could tweak it very easy since it's just a bunch of boards. And all said n done they cost me right around $50 using lumber from my local Menards.
With that being said, I introduce to you, my wonderful Redneck Race Ramp design
 . Feel free to copy them exactly how I did, or tweak them based on what you want. But here is how to make my exact ones with my exact dimensions. I've used them twice now with zero issues, but obviously use at your own risk and I accept no liability here.
File Naming:
RN_RCRAMP_RevA: This is the file for the Redneck Race Ramps.
As always, I've included both the Solidworks 3D model as well as a STEP 3D file that should work with any number of free viewers. Anyone with SW 2017 can open the 3D model and make any sort of edits they want.
Material:
- 2x12 x 8ft - Quantity of 4:
https://www.menards.com/main/building-materials/lumber-boards/dimensional-lumber/2-x-12-2-better-construction-framing-lumber/p-1444422433806-c-13125.htm?tid=-8419999665839088937&ipos=1
- 2x3 x 8ft - Quantity of 1:
https://www.menards.com/main/building-materials/lumber-boards/dimensional-lumber/2-x-3-stud-or-better-construction-framing-lumber/p-1444422058023-c-13125.htm?tid=3568720951940593365&ipos=2
- Box of 2.5" long wood screws
https://www.menards.com/main/tools-hardware/fasteners-fastener-accessories/screws/drywall-screws/grip-fast-reg-8-x-2-1-2-phillips-drive-coarse-thread-drywall-screw-1-lb-box/p-1444441845456-c-8930.htm?tid=5906201902410862410&ipos=7
Cuts:
(1) 2x12 x 8ft - Cut into one 72" length and one 18" length
(2) 2x12 x 8ft - Cut into one 72" length and one 18" length
(3) 2x12 x 8ft - Cut into one 54" length and one 36" length
(4) 2x12 x 8ft - Cut into one 54" length and one 36" length
(1) 2x3 x 8ft - Cut into four 6" lengths, four 7.5" lengths, & two 11.25" lengths
Photos:


Last edited by Halon; 09-14-17 at 11:54 AM.
#145
2JZGTE NON-VVTI SPARK PLUG COVER
Next files I have are for a basic 2JZGTE Non-VVTI spark plug cover plate. I've only ever had one actually made (pictured). My goal again when making this was not to make them a absolute perfect molded $300 show car piece or something with cool 3D dimensioning like say the gorgeous pieces that PHR makes. My goal again was to just simply make something that fit well, looked good, while being extremely affordable so even the poorest high school kid could have one. So here it is. Very affordable because it can be cut from just flat sheet of whatever material you want (ABS Plastic, Aluminum, Stainless, CF, cardboard lol) which is what keeps it extremely affordable.
Supra Spark Plug Cover naming convention:
SUP_SPC_RevA: This is the file for the 2JZGTE (Supra) Spark Plug Cover plate.
As always, I've included both the Solidworks 3D model as well as a DXF 2D CAD drawing. Anyone with SW 2017 can open the 3D model and make any sort of edits they want (add different vents, add a logo, etc). The DXF file is the file you should be able to give anyone with a CNC machine to just load onto their machine. For example if you find a local waterjet cutter, you can bring them a sheet of aluminum, and that DXF file, and they should be able to just load that file onto their machine and it will cut it.
MATERIALS:
- Never made any aluminum ones, but I'd suggest trying .090" Aluminum or similar
- The CF one I made was from 2mm thick CF and I thought was a good thickness that still felt pretty solid.
- The piece is roughly 562mm long x 125mm wide. So when choosing your base material to cut this from, make sure to get something slightly larger than that.
Credit is due to local David Mao (Panda) who did much of the initial dimensioning, and I just sort of finished it up. He has actually had a big hand in almost all of these parts and I haven't given him enough credit. Props Panda!!
Photo of the Solidworks rendering

Photo of the one piece I ever had made, and a quick test fit on my friends Supra.


Next files I have are for a basic 2JZGTE Non-VVTI spark plug cover plate. I've only ever had one actually made (pictured). My goal again when making this was not to make them a absolute perfect molded $300 show car piece or something with cool 3D dimensioning like say the gorgeous pieces that PHR makes. My goal again was to just simply make something that fit well, looked good, while being extremely affordable so even the poorest high school kid could have one. So here it is. Very affordable because it can be cut from just flat sheet of whatever material you want (ABS Plastic, Aluminum, Stainless, CF, cardboard lol) which is what keeps it extremely affordable.
Supra Spark Plug Cover naming convention:
SUP_SPC_RevA: This is the file for the 2JZGTE (Supra) Spark Plug Cover plate.
As always, I've included both the Solidworks 3D model as well as a DXF 2D CAD drawing. Anyone with SW 2017 can open the 3D model and make any sort of edits they want (add different vents, add a logo, etc). The DXF file is the file you should be able to give anyone with a CNC machine to just load onto their machine. For example if you find a local waterjet cutter, you can bring them a sheet of aluminum, and that DXF file, and they should be able to just load that file onto their machine and it will cut it.
MATERIALS:
- Never made any aluminum ones, but I'd suggest trying .090" Aluminum or similar
- The CF one I made was from 2mm thick CF and I thought was a good thickness that still felt pretty solid.
- The piece is roughly 562mm long x 125mm wide. So when choosing your base material to cut this from, make sure to get something slightly larger than that.
Credit is due to local David Mao (Panda) who did much of the initial dimensioning, and I just sort of finished it up. He has actually had a big hand in almost all of these parts and I haven't given him enough credit. Props Panda!!
Photo of the Solidworks rendering

Photo of the one piece I ever had made, and a quick test fit on my friends Supra.


#148
Advanced
iTrader: (2)
Since I have a double din radio, I had to find another way to mount my gauges. AutoExtrude has designed a dual gauge pod that takes the place of the ashtray holder. Here is a picture of my install.
This is design could be improved by tilting the gauges toward the driver, as the left most gauge is a bit harder to read. Since he is running a business, he is unwilling to share his files (which makes perfect sense).
This is design could be improved by tilting the gauges toward the driver, as the left most gauge is a bit harder to read. Since he is running a business, he is unwilling to share his files (which makes perfect sense).
Last edited by mrmj2u; 04-04-18 at 07:27 PM.
#149
Reminds me of my crude version of that I ran for several years. Eventually I really missed having the cigarette lighter for charging my phone. I thought I heard he was ending his business venture and was doing one final closeout sale before he closes up shop.


