


ppayne's 1jz sc300 track project


So I just noticed your turbo lines..... I believe you might have it backwards on the feed/return lol Feed should be going down from the top of the turbo and return should be exiting from the bottom straight to the pan. 
But over all, this will be a great build! Good work Sir!
But over all, this will be a great build! Good work Sir!


Thread Starter
Driver School Candidate
Joined: Aug 2012
Posts: 45
Likes: 0
From: nh
haha thank you guys  appreciate the love, as for the lines. i got it mounted but couldnt get my turbo bolts free'd up to reclock the turbo basically. so i ended up ordering a new one from pte . ill have a bunch of updates this upcoming weekend for everyone
appreciate the love, as for the lines. i got it mounted but couldnt get my turbo bolts free'd up to reclock the turbo basically. so i ended up ordering a new one from pte . ill have a bunch of updates this upcoming weekend for everyone


Thread Starter
Driver School Candidate
Joined: Aug 2012
Posts: 45
Likes: 0
From: nh
Thread Starter
Driver School Candidate
Joined: Aug 2012
Posts: 45
Likes: 0
From: nh
alright so i know ive been slacking on the updates lately but ive finally got some good stuff going on haha.
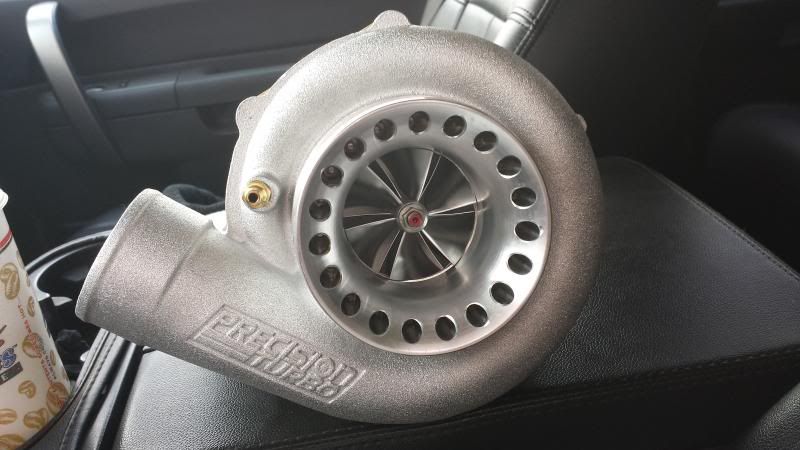
i didnt really want to try out the to4e so i gave in and purchased something a little bit more proven on these 1j's
here she is , brand spanking new t4 6262 .68 dual ball bearing with 4" anti surge housing
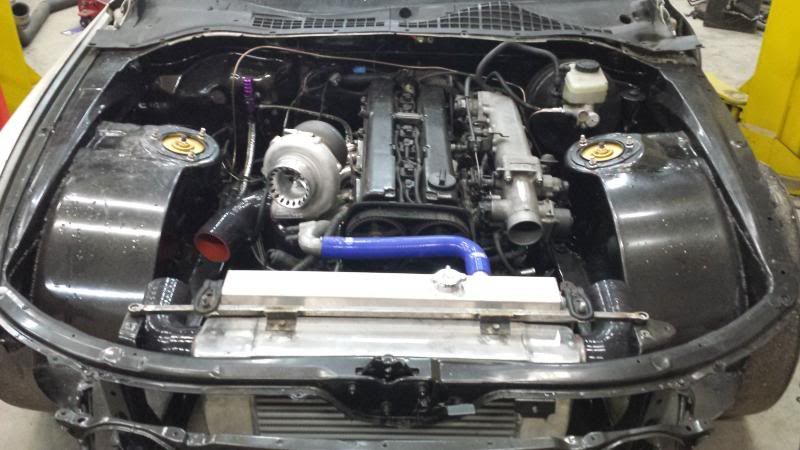
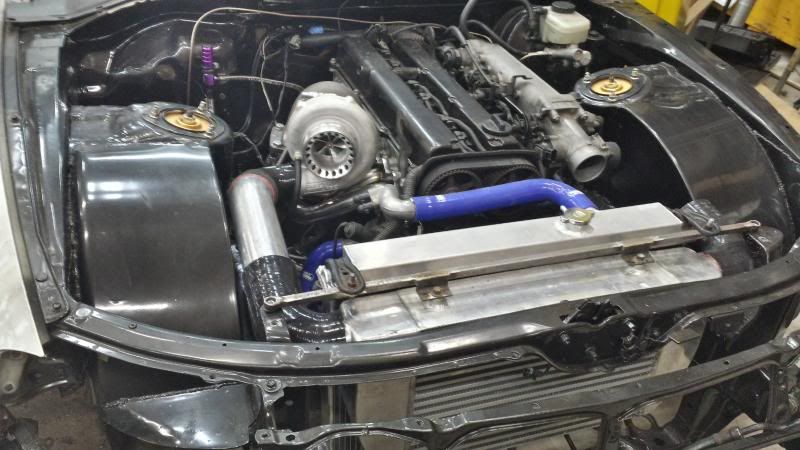
so i dropped the car off at a shop to have some work done and it just sat around for 2 months and practically nothing got done. so i picked it back up and started working on it again when id come home from work every couple of weeks.
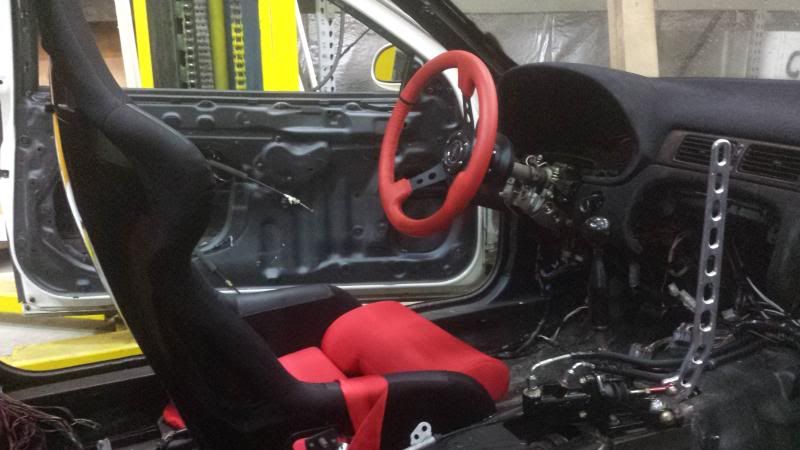
asd motorsports hydraulic handbrake all installed. and flocked dash
Soooooo now heres the goodstufff :
at first i was a bit skeptical about ordering stuff from extreme dimensions but i said screw it and gave in..... test fitting there new front and rear over fenders that they just came out with back in november of 2013. heres the results.
test fit between stock body
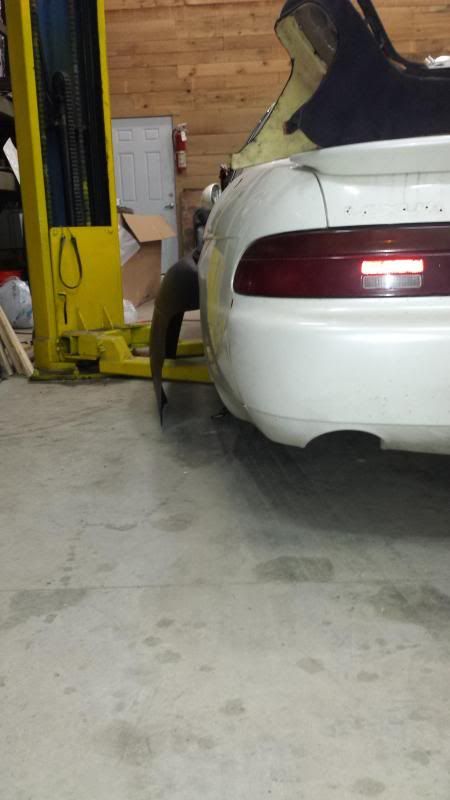
to widebody
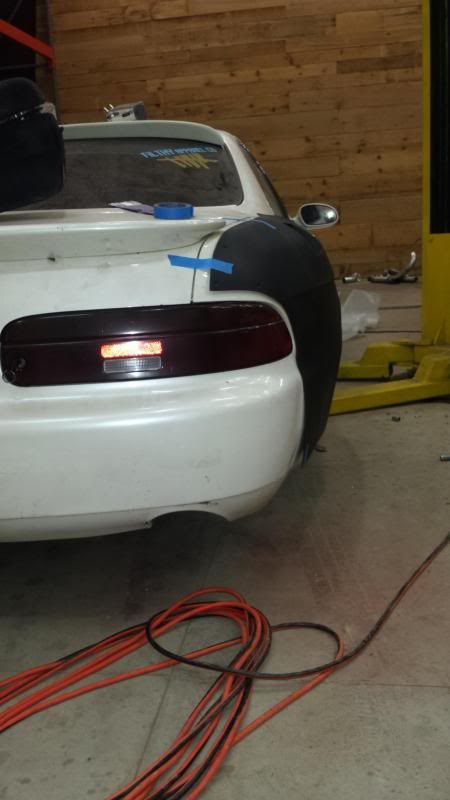
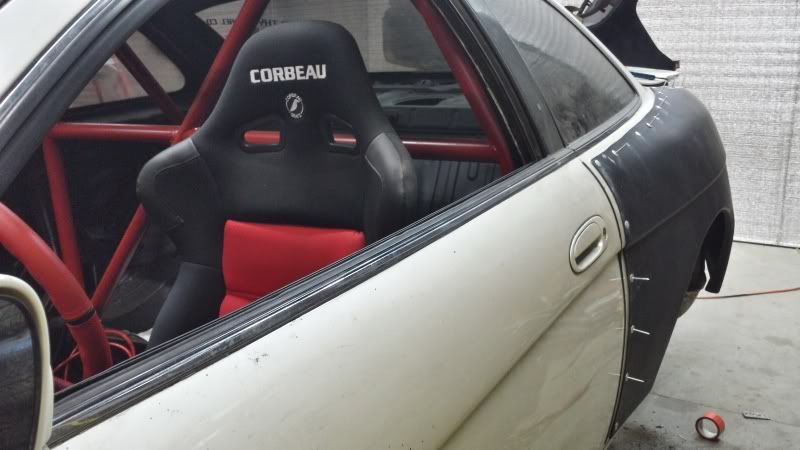
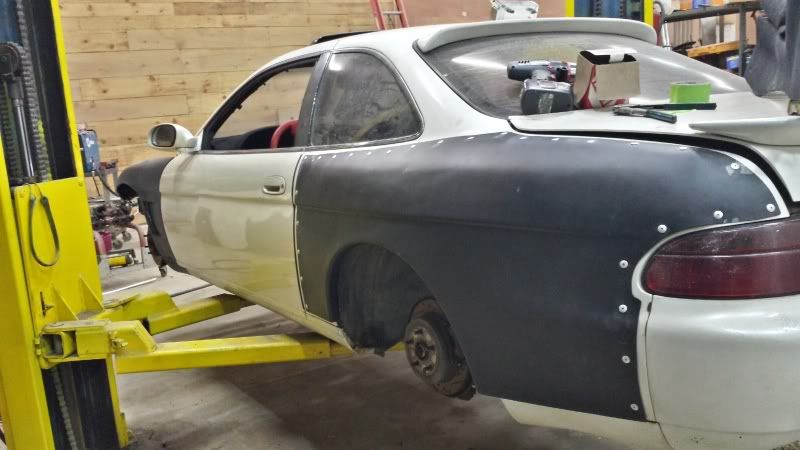
passenger side +50mm over fender. the fitment was pretty much spot on. the molding wasnt damaged or wavy etc like some stuff ive seen in the past. only thing that i had a little problem with was that theres like a 2mm high spot in the fiber glasss on the under side right where the over fender meets the rear pillar. took all of about 10 seconds to shave down the underside to make it fit more flush. not even enough of an issue to even speak of really.
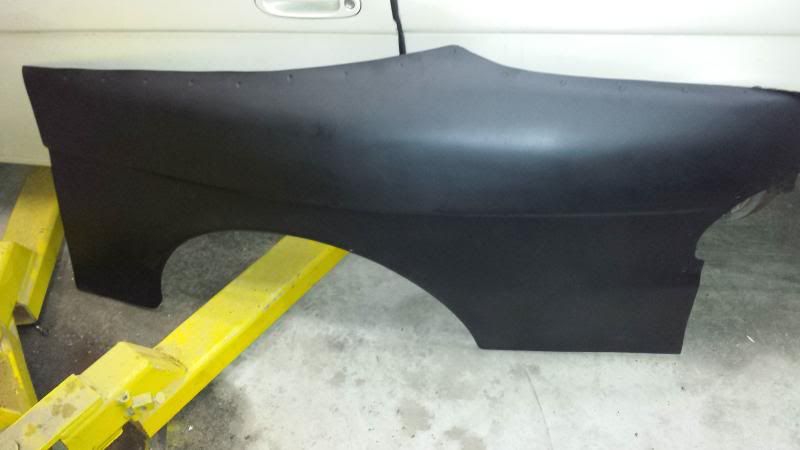
test fit
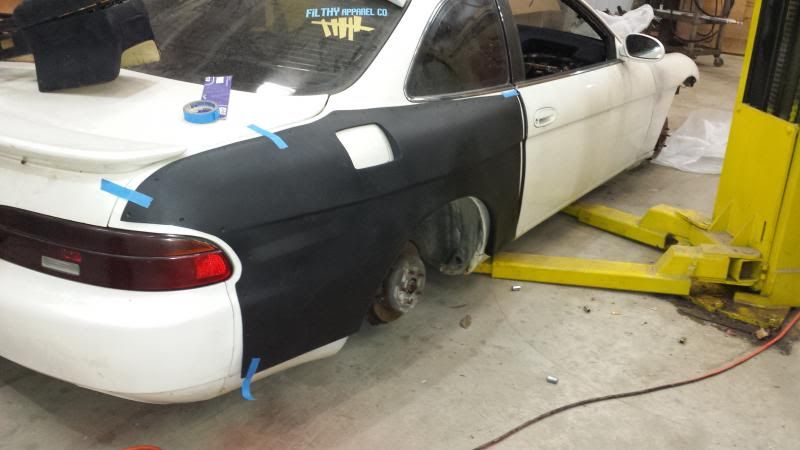
so i began making room for the goodness
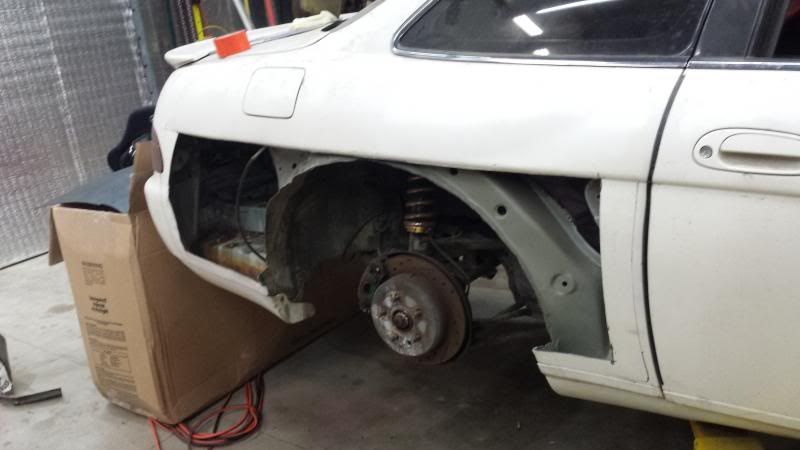
finished product for the passenger side!
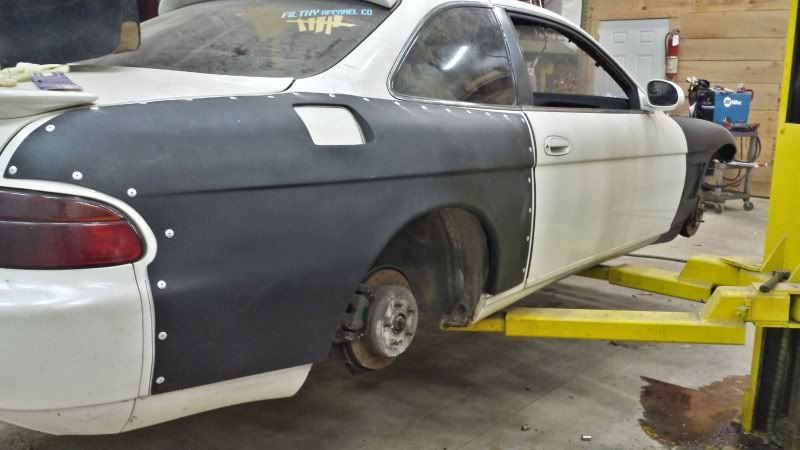
Next up: drivers side rear overfender!
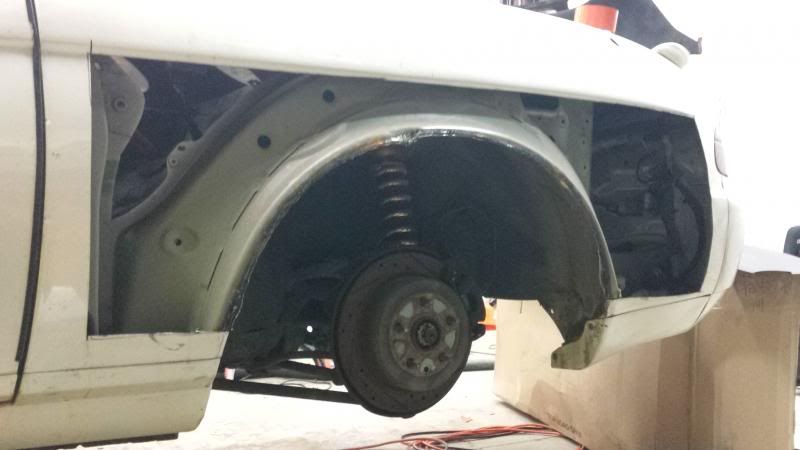
Review: the drivers side fit really well also!
only thing that i noticed really is that the bottom of the backside of the rear wheel well kind of stuck out a bit more then it should but if you heat it and just put something on it to push it towards the car or just bolt it to your rear bumper/lip then it would be perfect.
rivets for dayyyys
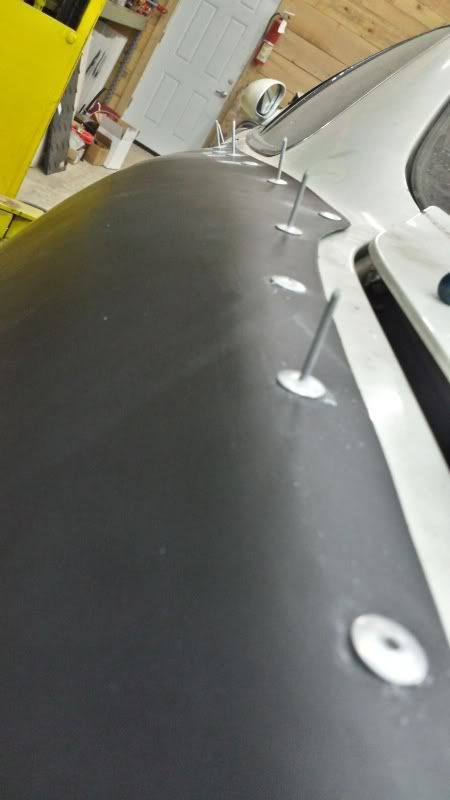
dat ***
i didnt really want to try out the to4e so i gave in and purchased something a little bit more proven on these 1j's
here she is , brand spanking new t4 6262 .68 dual ball bearing with 4" anti surge housing

so i dropped the car off at a shop to have some work done and it just sat around for 2 months and practically nothing got done. so i picked it back up and started working on it again when id come home from work every couple of weeks.


asd motorsports hydraulic handbrake all installed. and flocked dash

Soooooo now heres the goodstufff :
at first i was a bit skeptical about ordering stuff from extreme dimensions but i said screw it and gave in..... test fitting there new front and rear over fenders that they just came out with back in november of 2013. heres the results.
test fit between stock body

to widebody

passenger side +50mm over fender. the fitment was pretty much spot on. the molding wasnt damaged or wavy etc like some stuff ive seen in the past. only thing that i had a little problem with was that theres like a 2mm high spot in the fiber glasss on the under side right where the over fender meets the rear pillar. took all of about 10 seconds to shave down the underside to make it fit more flush. not even enough of an issue to even speak of really.

test fit

so i began making room for the goodness

finished product for the passenger side!

Next up: drivers side rear overfender!

Review: the drivers side fit really well also!
only thing that i noticed really is that the bottom of the backside of the rear wheel well kind of stuck out a bit more then it should but if you heat it and just put something on it to push it towards the car or just bolt it to your rear bumper/lip then it would be perfect.
rivets for dayyyys

dat ***


Thread Starter
Driver School Candidate
Joined: Aug 2012
Posts: 45
Likes: 0
From: nh
Now onto the extreme dimensions +25mm front fenders!
Front left and front right : i just have to review both of them at the same time becasue as of right now there isnt a single issue! they look awesome and the body lines match just as well as oem! all i did was just bore out the holes for the bolts and everything pretty much just fell into place!
http://s166.photobucket.com/user/Pat...tml?sort=3&o=1
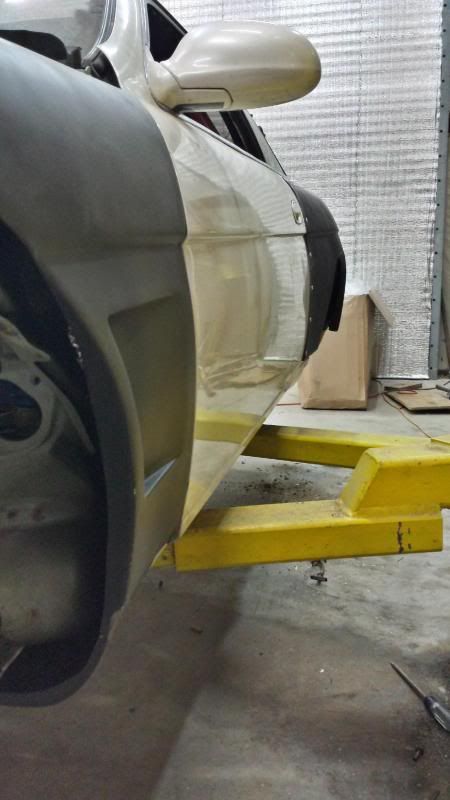
Extreme Dimensions +25mm/+50 mm fenders Overview
rating: 10/10 im pretty damn stoked about them
install time: 2.5 hours start to finish for all 4 corners.
Tools used: cordless drill, disc grinder with cut off wheels, rivets and rivet gun, and an air dremel to bore the holes in the fenders.
after i fnished that i started to do some more wiring. and as of right now i believe im only like an hour or so away from being able to fire her up for the first time in about a year.
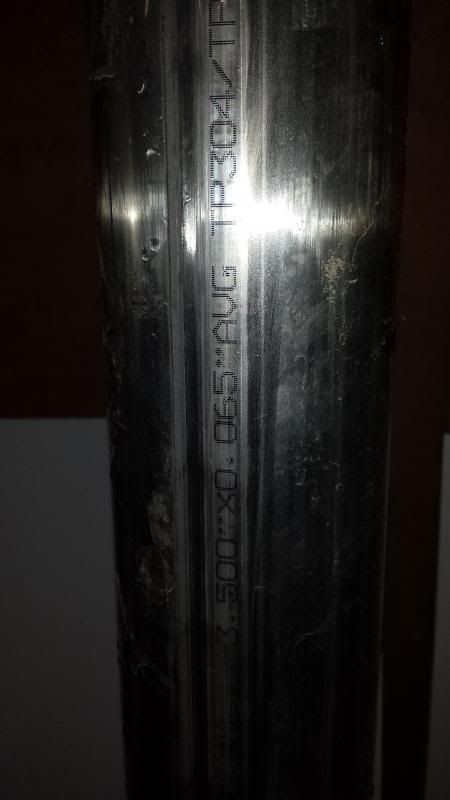
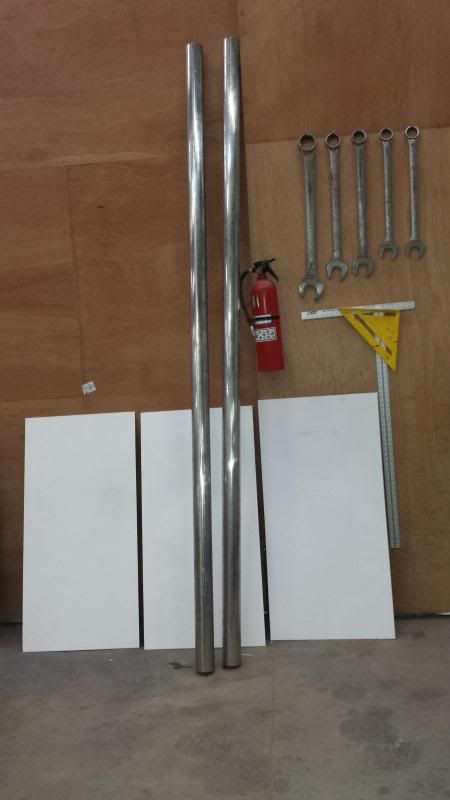
also since my turbo was a 3 5/8 vband hotside i decided on going with 3.5" .065 wall 304L stainless piping to create my new downpipe and full exhaust . im hoping to complete all of that this upcoming weekend.
lots more updates to come soon!
Front left and front right : i just have to review both of them at the same time becasue as of right now there isnt a single issue! they look awesome and the body lines match just as well as oem! all i did was just bore out the holes for the bolts and everything pretty much just fell into place!
http://s166.photobucket.com/user/Pat...tml?sort=3&o=1

Extreme Dimensions +25mm/+50 mm fenders Overview
rating: 10/10 im pretty damn stoked about them
install time: 2.5 hours start to finish for all 4 corners.
Tools used: cordless drill, disc grinder with cut off wheels, rivets and rivet gun, and an air dremel to bore the holes in the fenders.
after i fnished that i started to do some more wiring. and as of right now i believe im only like an hour or so away from being able to fire her up for the first time in about a year.
also since my turbo was a 3 5/8 vband hotside i decided on going with 3.5" .065 wall 304L stainless piping to create my new downpipe and full exhaust . im hoping to complete all of that this upcoming weekend.


lots more updates to come soon!

Thread Starter
Driver School Candidate
Joined: Aug 2012
Posts: 45
Likes: 0
From: nh