SC Tail Lights in the oven
 04-27-13, 03:46 PM
#1
So has anyone, put their 97 tails in the oven yet to get the lens off and modify the tail light.
MDSC let me know that the glass around the key hole tends to break, but I'm wondering if there were any other issues ya'll ran into or stumbling blocks along the way. I've seen guides that say 210 degrees for 20 minutes, is this a reasonable time and temperature? Anything I should know specifically about these lights and the oven?
Is any generic brand of silicon sealant ok, or should I get something specific?
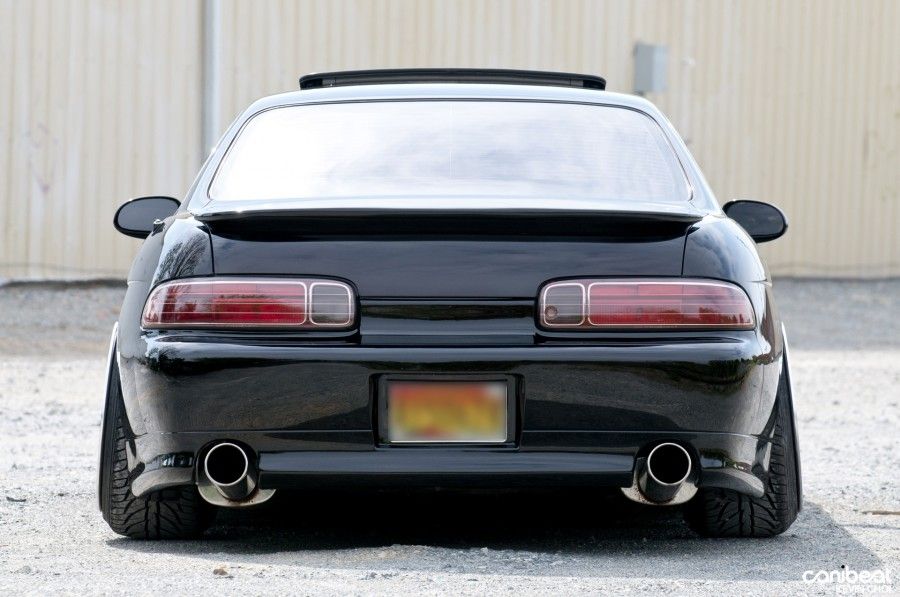
Is the process for painting these under the clear lens the same as painting any other light? i.e. wetsand, light coats, wetsanding between coats, and coats of clear coat on top with wetsanding and buffing? I've painted tails before but never had to remove the lens to do it. I'm hoping to achieve the same look as MDSC's tail lights, he said he used VHT niteshade and VHT redshade.
Anyways, I'm just looking for general advice for removing the lens because it's something I've never done before. Also in case I do break the lens when removing the passenger side around the trunk keyhole, does anyone know where I could find a new tail light lens? Or do I have to buy an entire new tail light and hope I can get the lens off fine?
Pic is MDSC's tail lights, my end goal.
MDSC let me know that the glass around the key hole tends to break, but I'm wondering if there were any other issues ya'll ran into or stumbling blocks along the way. I've seen guides that say 210 degrees for 20 minutes, is this a reasonable time and temperature? Anything I should know specifically about these lights and the oven?
Is any generic brand of silicon sealant ok, or should I get something specific?
Is the process for painting these under the clear lens the same as painting any other light? i.e. wetsand, light coats, wetsanding between coats, and coats of clear coat on top with wetsanding and buffing? I've painted tails before but never had to remove the lens to do it. I'm hoping to achieve the same look as MDSC's tail lights, he said he used VHT niteshade and VHT redshade.
Anyways, I'm just looking for general advice for removing the lens because it's something I've never done before. Also in case I do break the lens when removing the passenger side around the trunk keyhole, does anyone know where I could find a new tail light lens? Or do I have to buy an entire new tail light and hope I can get the lens off fine?
Pic is MDSC's tail lights, my end goal.
 04-27-13, 04:50 PM
#2
If I were you, I would invest in a heat gun. Makes life way easier. I've used the oven method, wasn't quite a fan of it. I use any silicone sealant I can buy from Home Depot. But the OEM is still the best. I try to scoop them up when the lenses are off and return them to the canal for it in the lens housing. And I would advise using wood clamps when putting them back together so you can easily reheat the sealants while something is holding the lenses tight for a better adhesion and seal.


Trending Topics
04-28-13, 08:59 AM
#8
First you want to marinate the taillights for a good 30 minutes before cooking
Second you want to heat the oven up to a toasty 400 Degrees
Bake the taillight for about an hour
It should be well cooked
It can then be served with a side of mash potatoes and green beans.
Hahaha JK
Second you want to heat the oven up to a toasty 400 Degrees
Bake the taillight for about an hour
It should be well cooked
It can then be served with a side of mash potatoes and green beans.
Hahaha JK
05-25-15, 11:48 AM
#10
I got a replacement left '92-94 taillight last year because mine had spider cracks and some water inside. The replacement one filled up with water a few months later, but when I removed it and sloshed water around, I couldn't find anywhere that it leaked. The three drains were unobstructed, but for some reason it held water. Furthermore, it never did fully dry out. Five months later and several attempts at drying it out with heat, and it still has lots of condensation. I'm guessing water got in between layers of the lens and is effectively sealed in. That constant condensation was rusting out the bulbs and sockets.
I have a spare taillight with a cracked/patched lens, from a recent parts pile, with a clean bulb harness. I put that one on the car yesterday so I could try disassembling the leaky one via the heat gun method. Holy hell is it difficult! I suspect this one has been worked on previously... I'm not sure if it's silicon or something stronger, but the stuff is coated an inch deep on both sides of the lens lip. I've carved out literally handfuls of the stuff and have barely made a dent. There's enough tensile strength there to lift the entire car by that bond. It cools and hardens within a few seconds, leaving very little time to loosen its death grip.
After three or four hours, I've managed to partially pull the black housing back, but my fingers are getting heat blisters and need a break. It's very unlikely the housing will be reusable after this, having taken quite a beating already (deformation setting in around the lip), so I'm assuming this one is abnormally bonded, otherwise no one else would have successfully disassembled and reassembled theirs. I'm hoping the one with the cracked lens comes apart [much] easier, leaving me with one good lens and one good housing. Unfortunately, I've found one broken section on the good lens, along the lower lip where the housing covers the little tabs. I may be able to epoxy that, but it also makes me think this project may be a huge waste of time. Cheap eBay tails are sounding good right about now!

 05-02-16, 10:52 AM
#13
If you do try to get the lens off, I'd suggest a heat gun as well. You can start it in the oven to get it warm, and then use the heat gun to finish it off. It will make it much easier to loosen the glue on the lens than trying to do it with just the oven.
05-04-16, 03:48 PM
#14
Back in the days, I used to use a dremmel with a cutting wheel to pull apart lenses. In regards to that keyhole issue, there was one solution I had with a similar lens in which I just slipped in a hacksaw blade and cut though the screw hole (this was after breaking the previous lens trying to forcibly pull it apart cracking it). Would probably work for the SC lens as well. I reassembled everything with clear silicon sealant and rubber bands holding it in place while it solidified.

Thread
Thread Starter
Forum
Replies
Last Post
Blk97SC300
SC- 1st Gen (1992-2000)
93
01-20-12 08:31 AM
MiNi_ViPeR
GS - 2nd Gen (1998-2005)
15
07-15-07 06:41 PM