
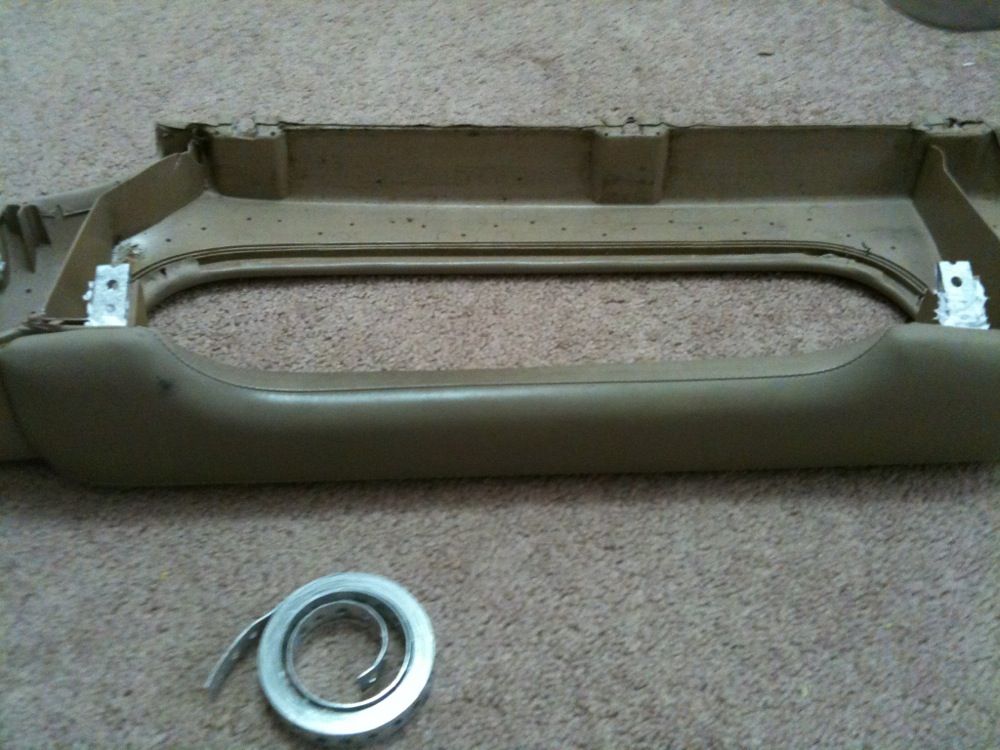
DIY: Door Panel repair

I agree with your point, but I figured I'd point out that "mines" is actually a word. Like coal mines, land mines, yadda yadda...

I had my panels off a few weeks ago and noticed how so many pieces have cracked over time. Little rattles everywhere. What sort of product could be used to sound proof that kind of stuff? Just a liquid nails sort of thing in the gaps?
I had my panels off a few weeks ago and noticed how so many pieces have cracked over time. Little rattles everywhere. What sort of product could be used to sound proof that kind of stuff? Just a liquid nails sort of thing in the gaps?
 I was referring to showing ownership and when "mines" is used to in that sense, it is not a word.
Please for the love of humanity...."mines" is not a word in any shape, form or fashion. To show ownership, you only have to say "mine." No "S" is needed. Drives me up the dang wall. I'm not hating on you as there are TONS of people who do it.
Back on topic...I will do this next weekend!
Back on topic...I will do this next weekend!
Finished doing this and my door feels stronger than before. Thanks for this DIY!

Buy small sheets of tin at Home Depot/Lowes, cut to size/shape with tin snips or heavy duty scissors, bend the tin strips to shape/size and use your epoxy/liquid nails/whatever glue fits your application and go to town on the repair. Works like a charm. In my opinion it's the best way to fix (on the backside of interior parts) broken plastic interior bits.

Thread Starter


Joined: Feb 2003
Posts: 34,122
Likes: 485
From: My little world
Buy small sheets of tin at Home Depot/Lowes, cut to size/shape with tin snips or heavy duty scissors, bend the tin strips to shape/size and use your epoxy/liquid nails/whatever glue fits your application and go to town on the repair. Works like a charm. In my opinion it's the best way to fix (on the backside of interior parts) broken plastic interior bits.

Thread Starter
Joined: Feb 2003
Posts: 34,122
Likes: 485
From: My little world
My only complaint is the same as above, you have to depend on adhesion to one side where the wrap around backstrap grabs two sides with adhesion for double strength (front and back of the hole) as well as the flow through strength.

Hmmm .... While there's no question this will definitely hold the panel on, my concern about this would be the irregular mounting surface that results from the build up of the metal strap and the liquid nails glue gobs. I know it's nit picking, but it seems that a smooth flat mounting surface would have more surface area friction (ie. holding power) than an irregular surface. Plus, it's effectively "shimming" the handle part of the door panel away from the inner panel. A small issue to be sure, but IMHO, it potentially involves the whole annoying ergonomic issue about the door panels in the first place....that awful loose, flexing, 'un-solid' feeling they can have. I just wonder how this will loosen in time and return to that feeling I can't stand 
$.02
OH, BTW....I'd say it's WELL worth it to replace the plastic thread inserts in the door (that receives the mounting screws for this panel) too.
$.02
OH, BTW....I'd say it's WELL worth it to replace the plastic thread inserts in the door (that receives the mounting screws for this panel) too.
Thread Starter
Joined: Feb 2003
Posts: 34,122
Likes: 485
From: My little world
Yeah, non issue. That situation doesn't exist and can't because it is not the inside of the engine, it's a door panel that doesn't operate within those tolerances. Matter of fact the panel is almost sloppy in it's gaps. Inside of an engine, that micrometer approach would be very relevant. You can't shim something that already has a 3mm gap in sag alone. 
You can't shim something that already has a 3mm gap in sag alone.
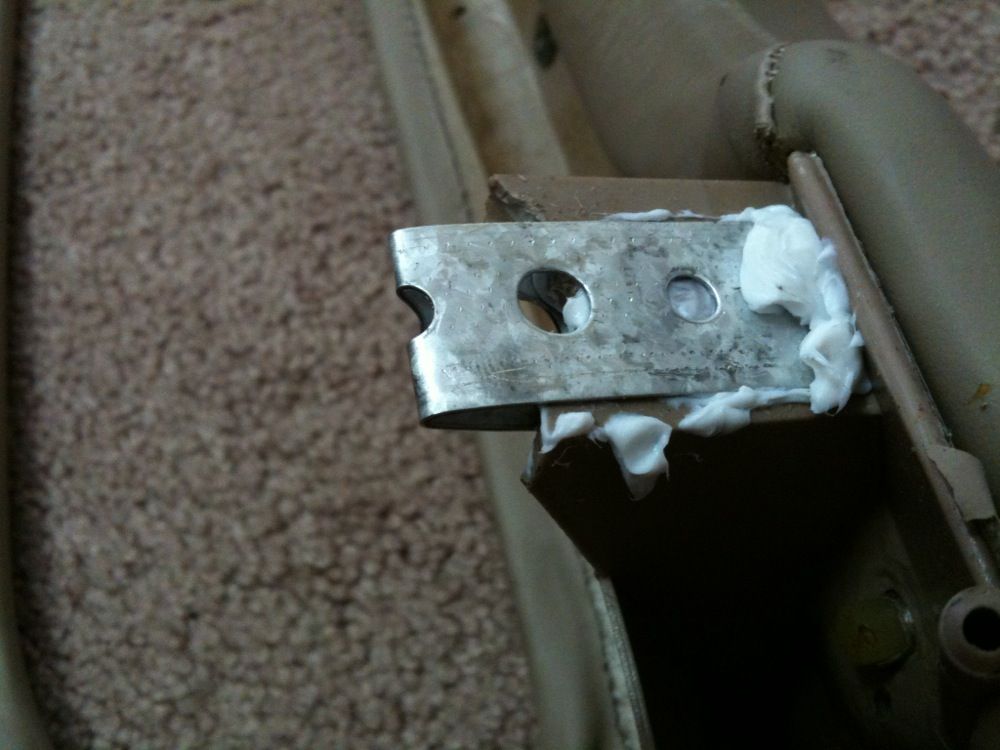
Once that bracket breaks, the whole door falls apart.
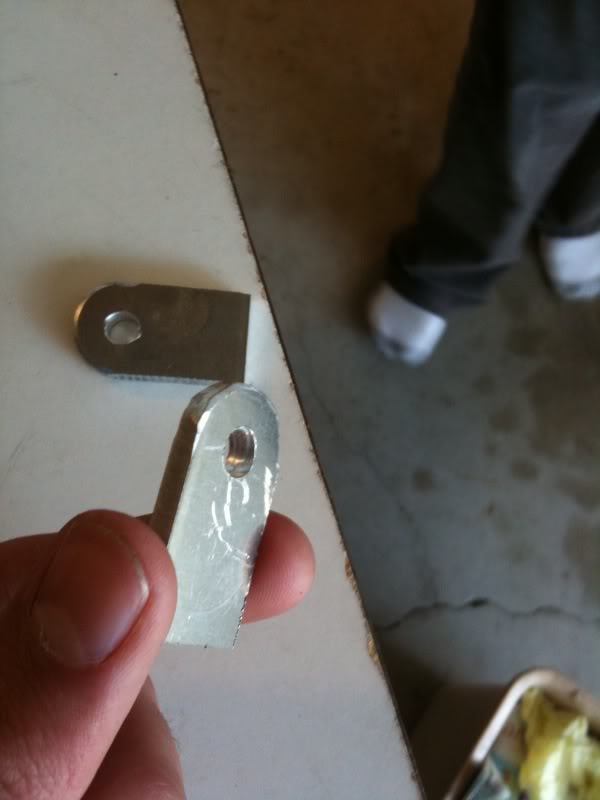
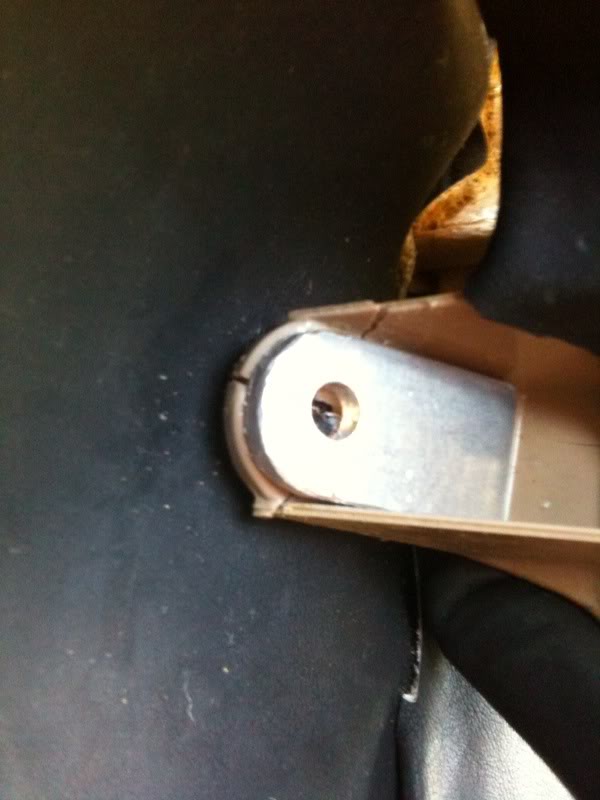
Here was my solution. 1" piece of aluminum bent to connect the screw holding the armest to the door with a hole for the long screw to attach the door panel to the door. Tough as hell and very easy! It uses no glue and has multiple screw attachment points for strength.

Here was my solution. 1" piece of aluminum bent to connect the screw holding the armest to the door with a hole for the long screw to attach the door panel to the door. Tough as hell and very easy! It uses no glue and has multiple screw attachment points for strength.
Last edited by shern; Jun 1, 2010 at 03:33 PM.
Thread Starter
Joined: Feb 2003
Posts: 34,122
Likes: 485
From: My little world

