When you click on links to various merchants on this site and make a purchase, this can result in this site earning a commission. Affiliate programs and affiliations include, but are not limited to, the eBay Partner Network.
The interior and especially the body are mint for what most cars are like in Canada, my 2014 RX is a rust bucket compared to this.
Twilight years? I ain�t letting it die, I�ll put in a new engine and trans if I have to. Getting old and soggy isn�t an option for this car lol, it was going on the route though before I picked it up.
More big progress today. I tackled the rear struts, lowering springs, backing plates and put in the 2016+ RX350 wheel studs. Each strut got new OEM bump stops, new isolators, a mount and a piston nut. I reused the OEM mount bolts as they were perfect. Every single bolt and the knuckles were wire-wheeled and some anti-seize was applied. Everything went back together like butter after that.
The parking brakes were in very bad shape, I have new pads coming
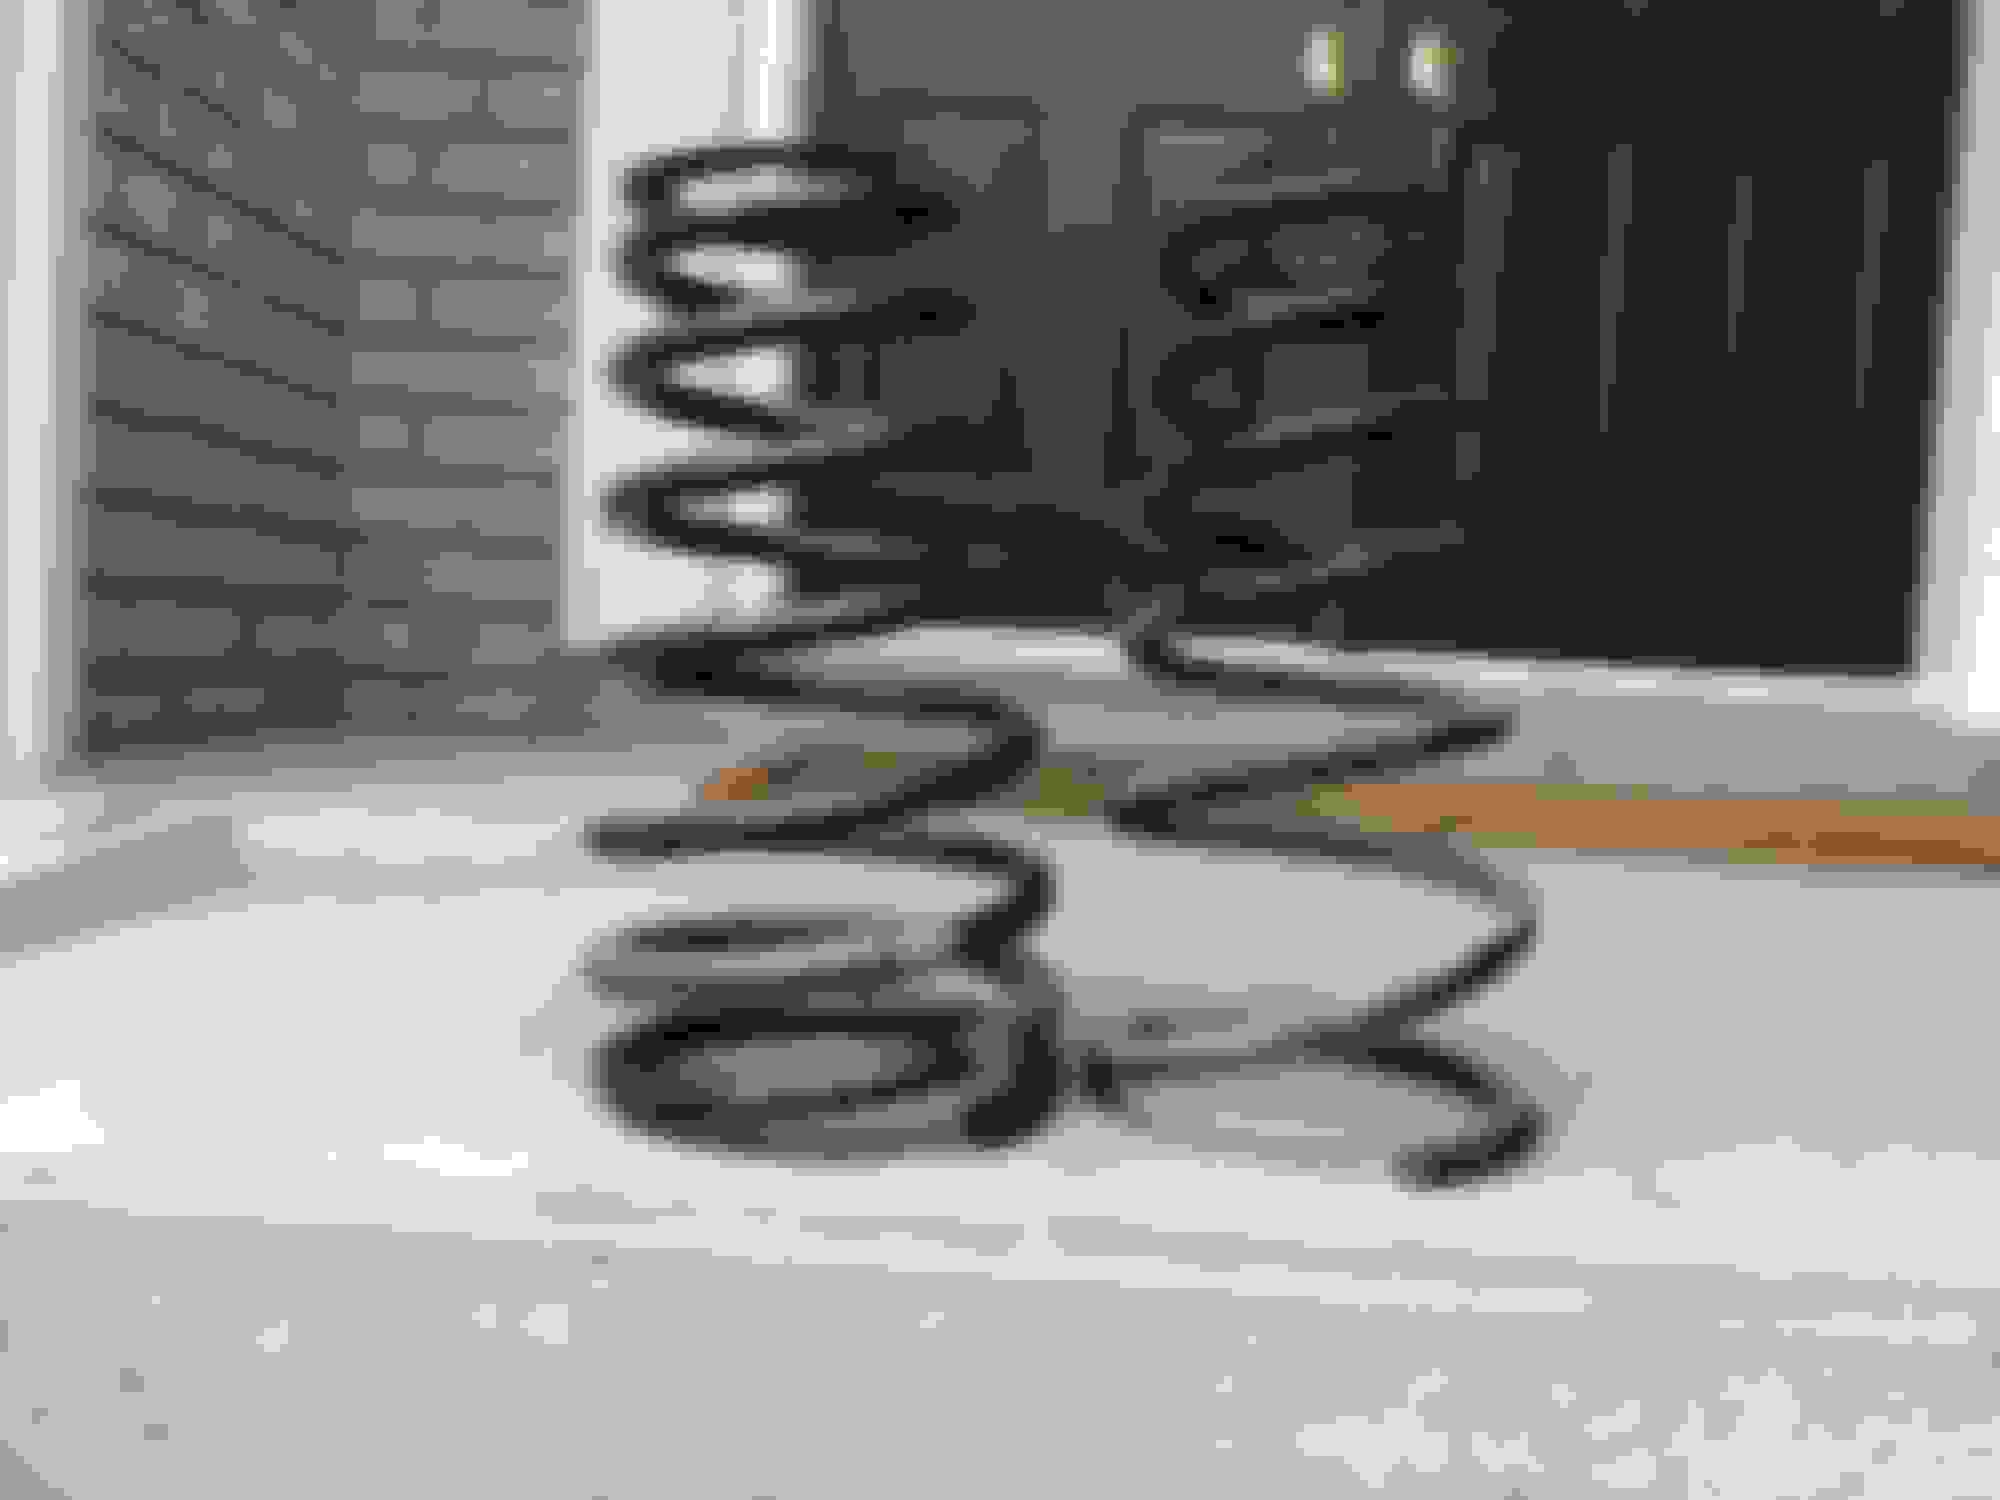
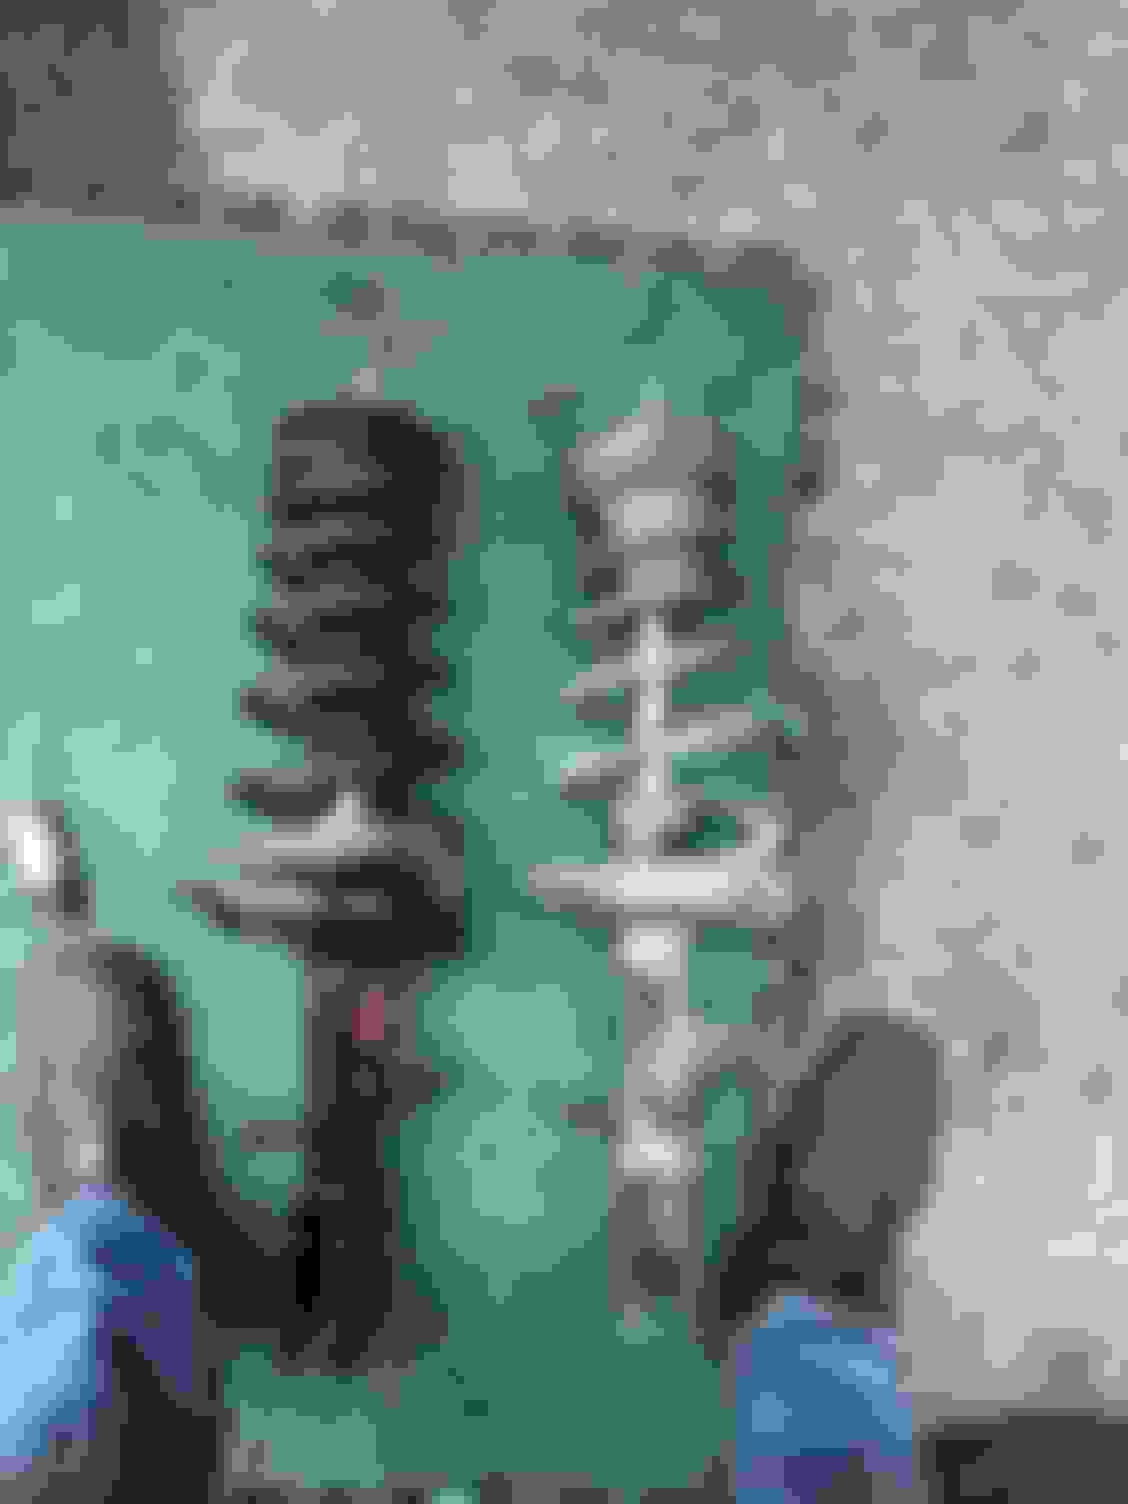
Eibach spring on the left, OEM rear spring on the right
New TRW strut with Eibach lowering spring
The job was straightforward and easy for me as it is identical to my 2002 Highlander. One thing for sure is that these Eibach springs appear to be a lot less stiff than the Highlander�s H&Rs, but are supposed to be equally or more competent around corners, which is the general consensus on other cars as well. I�m excited to see how they drive once I do the fronts. I would love to test them, but I�ve got some bad news!
Not long after I replaced my front ignition coils, one of the rears decided to quit recently. This time the car is really running badly and I�m not driving it, I have to change them ASAP. I have new valve cover gaskets, spark plugs and some other goodies coming from Rockauto. I got some new VVT-i filters and oil line gaskets from Toyota and also ordered my brakes.
The front brakes are the 3rd gen RX ones, and the rears are going to be the 2006-2014 IS350 rear rotors and Euro-spec 3rd gen RX rear calipers. To prepare my car for the big rears, I installed some Venza backing plates to accommodate them without trimming. The passenger side was replaced before so it easily came off, though the same can�t be said about the driver�s side. I had to use the living heck out of my air chisel and a torch with lots of whacks with a BFH to get it out. Unfortunately, the original Koyo wheel bearing didn�t like this and it failed after the whacks. It�s on the car now just as a placeholder while I wait for my NSK replacement to arrive. The other side that was replaced had an NSK, and I have them on my Highlander on the F&R. I�ve had good luck with them so far.
What a pain!
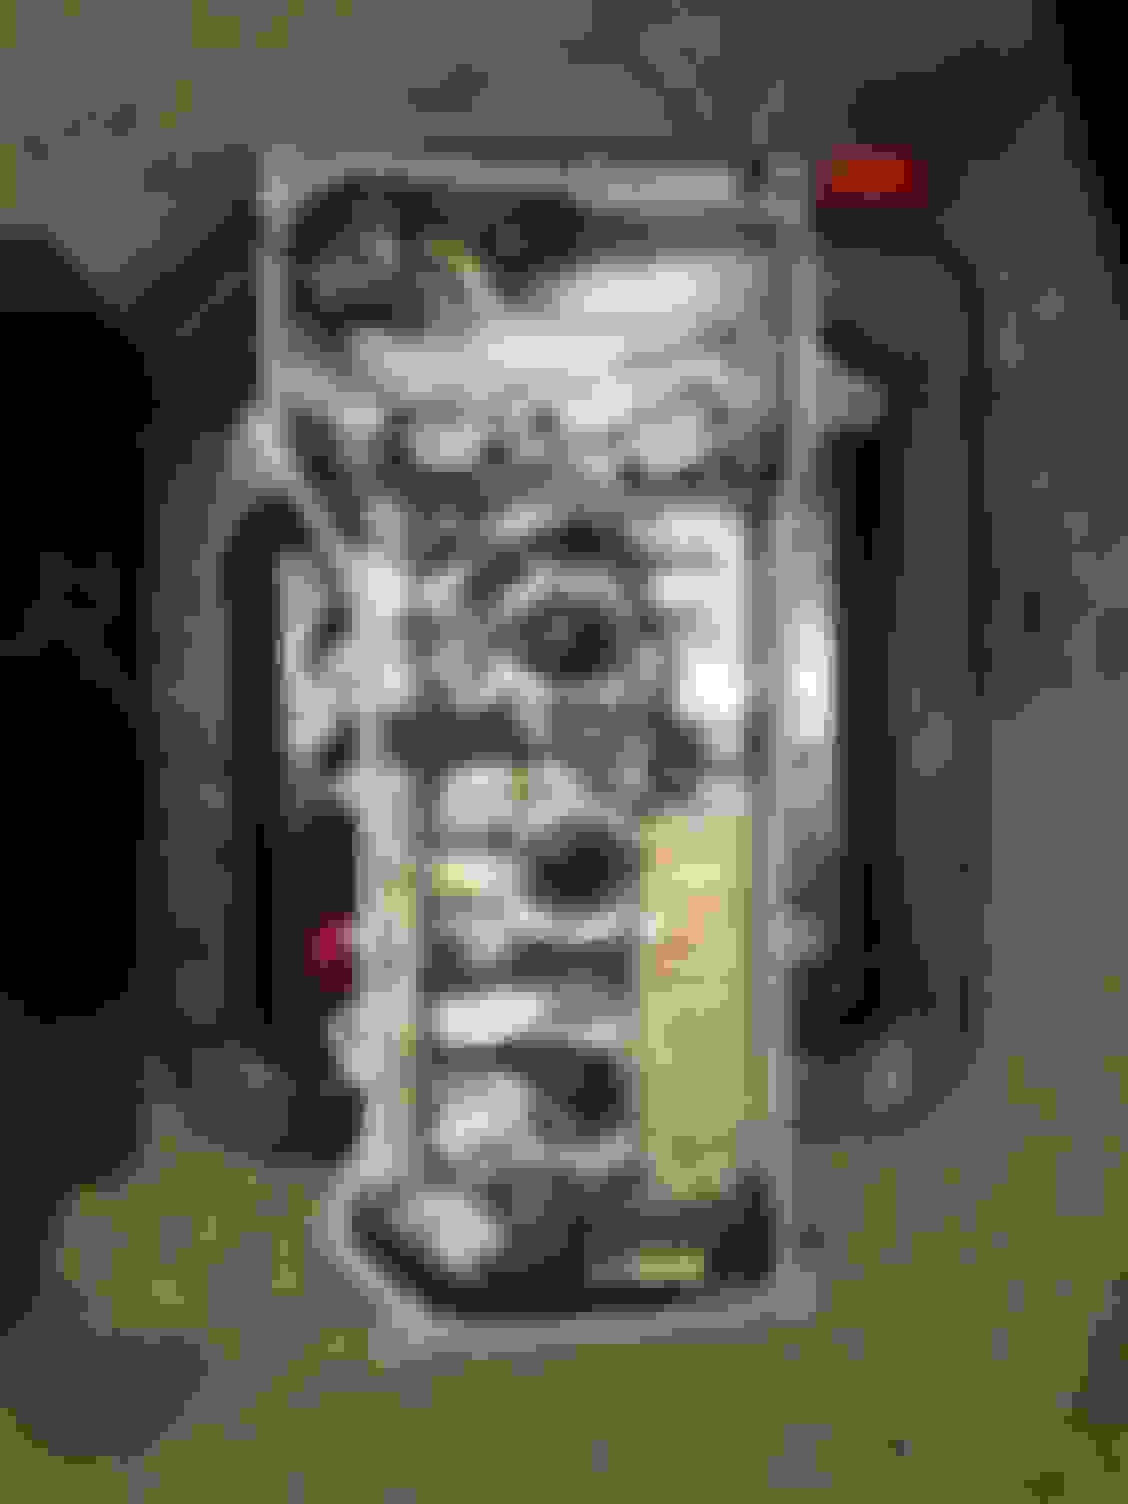
New strut, spring, axle nut, used backing plate and hub. I wire-wheeled the hub while it was off the car, and the Venza backing plates were sanded down and painted by me as they were a little rusty
To offset some of the bad news of the RX not running, I have finally completed version 2.0 of my heavy duty sway bar brackets. My Highlander and RX will be getting these, they�ll fit any AWD 2001-2013 Highlander and 1999-2009 Lexus RX.
Test fitting of my completed passenger side sway bar bracket, getting this one made was the hardest as I had to make it contour with the frame perfectly. I tied into a suspension member for more rigidity over the 2-bolt OE bracket (bottom piece not included as it is just a mock-up)
Driver�s side mock-up piece. These brackets will replace the overly complex and flimsy OEM design. They are designed to handle a 22mm sway bar or larger without breaking. The OEMs lasted 1 month, my previous set lasted two years, and this much improved and precise design should last a lifetime
Thanks, and for sure! I did a very brief test ride with the TRWs and Eibach springs. I don't have the full story because the fronts are still stock, but MAN what a difference! The Eibach springs ride buttery smooth like stock and the floatyness in the back is gone, can't wait to try the fronts! I also like that these TRW struts have some wider slots to allow for camber adjustment, I was able to get a little bit more negative camber over stock in the rear, hoping the fronts are like this as well! I'm impressed! TRW + Eibach is a very comfy combo vs. KYB + H&R springs!
I enjoyed myself with some easy little cosmetic improvements before I decided to dig in to the big job ahead of me. Knowing that there is likely sludge in the car, I have chosen to replace both the valve cover gaskets, VVTI filters and all other associated gaskets + the intake/throttle body, etc.
Finished up the sport pedals with a dead pedal, unfortunately it is kind of flimsy compared to the OEM F-Sport brake and accelerator pedals I took the time to polish both headlights and fog lights, it turned out nice! Some new Phillips bulbs replaced the dim, mismatching bulbs
Pulling the camshaft sensor revealed this! Needless to say, I was worried to see what was under the cover after this! It�s going to be a pain, but I want to do this to try to get rid of the �Rattle of Death� on startup and make sure this car lasts. If I can do it on the Highlander, I can do it again on the RX
Nasty sludge on the cover! I had to do multiple runs of fuel and degreaser with hard scrubbing to get it off. The old gaskets were so hard that I had to use a pick to get them out, and they just crumbled in my hands
Inside the front cover, it�s not the worst, but it ain�t pretty. If I hadn�t acted sooner, who knows how this poor 2GR-FE would have fared. My Highlander had 0 sludge with the infamous 1MZ, which goes to show maintenance is everything - and I know by now that this car is no saint in that regard
After the cleaning, the pictures don�t do it justice, but there was lots of solid sludge 5+ mm high in some areas that is all gone now. I still need to get the spark plug tube seals out, which are a royal pain. Old brake fluid works great to soften them up
Front cover is just laying there, while I progress further to get to the rear cover. I�m not going to put the covers back on fully until I get a spare cheap shop vac to suck up all the sludge. The intake and throttle body look like they�re full of mud, it blows my mind how this car is still running after the crap that it has seen and is literally swimming in
Of course the previous hack-job also stripped the intake bolts and overtightened them as well. I was able to get 3 out of the 4 out by hammering in the allen socket, but the final one was so bad I had to whip out the extractor kit. It blows my mind how rigged this car was! It makes me determined more than ever to save it
Front stock spring vs Eibach, WOW - what a height difference! Especially considering the rears were the same
Decided to take a break from that mess and do some suspension work, I only had time to remove both sway bar brackets/bushings and do the passenger side front strut, but it was worth it
Oh man! The RX has been fighting me the whole way! It does NOT want to be worked on. One of the cowl bolts broke right off, one of the bolts for the splash shield literally bent when it was finished coming out, the transmission mount nut seized and pulled the whole stud out with it (I could not get them to separate despite using a vise and MAP gas) and now worst of all - the driver�s side control arm bolt has seized to the bushing!
I thought the seized bushing problem was exclusive to the rear trailing arms, as that�s the only one that I experienced on my Highlander - but NOPE! It�s a problem on my RX, AND the front control arms too! Jeez Louise, man! This is going to be REEEAAAL fun! But, like usual that only makes me want to finish the job even more.
At least my SAFEBRAKE stainless steel brake lines arrived! These are real nice, and I�ll be putting them on the car once I do my 3RX front brakes and IS350 rear rotors with Euro-spec 3RX rear calipers. I can tell you right now, that these look and feel superior to my Highlander�s Goodridge lines, the finish is unreal! Super heavy-duty stainless fasteners, hardware and they even have the caliper mounting tabs like the originals!
I'm assuming you have a shop vac but don't want to ruin it, and that's why you want to get a cheap shop vac that you can destroy?
May I suggest a Cyclone Dust Collector or Dustopper?
I thought these things were gimmicks or just worked well for sawdust. But I was wrong. I bought the Dustopper dust separator from Home Depot and it's amazing how it protects the filter from getting hit directly with whatever you're vacuuming, and yet the filter still does its job filtering the fine dust and protecting the motor. 95% of the dirt ends up in the bucket and the filter still looks clean.
With the Lexus in the air and me waiting on some parts for the valve covers, I decided to tackle the transmission filter. Like on my '02 Highlander, these cars share the same trans pan and subframe so 4 of the bolts on the driver's side are completely blocked! Loosen the transmission mount and dogbone mount (in my case, all of them as I'm changing all of them except the front mount), and get the pan high enough to get at those other bolts. After crossing my fingers and being super careful with every bolt, the pan popped loose. Upon pulling the pan, there was a bit more metal than I would have liked to see, but it wasn't crazy out of the ordinary and it was what I expected from a car of this mileage and AHEM - neglect. The filter wasn't clogged either, but there were some shiny metal dust that came out when I poured it into the pan, again, nothing too crazy.
April 20th, 2022
This Lexus is kicking my Lexazz! Today, I unfortunately found some more problems digging into it. Upon removing the torn steering rack boots, I found that it was too late and the damage had been done. Quite a bit of PS fluid dripped out of the boots and gave me a surprise coating of nasty, burnt power steering fluid that the previous owner probably never changed. That along with the torn boots means this rack is going out and getting swapped! I loosened the rack bolts and sway bar, and I figure since the 3RX sway bar requires rack removal, I'll just change the darn thing while I'm already in there. After that disheartening discovery, I found something even worse. Upon pulling back the ripped rubber boot, the transmission mount literally disintegrated in my hands - sketchy!!! Thankfully I have a spare one from a Lexus ES350 that I got in - just trim the top tab on the mount for it to fit the trans.
Since the mount had to come off, I'd figure I'd do the control arm as well. This turned out to be a FRIGGEN' nightmare. The bolt was completely seized in the bushing and I had to load it up with enough penetrating oil to power a small generator, and then torch the ever-living heck out of that bushing until the bolt finally cooperated and came out, it took a while for the oil to seep in, probably a few hours. After that, I changed out the final original strut for my TRW and Eibach spring combo and found another discovery that made me SUPER glad I'm going in with all new parts!
A broken coil! Yup! This car has it all!
The driver's side is completely done, now to tackle the engine mount and control arm on the passenger side and get that sway bar out! Man! The sway bar and steering rack really make me contemplate my life choices, but they're worth it at the end of the day.
I showed the RX who’s boss today and made some good progress. Driver’s side control arm, rear motor mount, passenger side engine mount, and dogbone mount all have been changed out. The passenger side and rear mount were still in good shape, but I had the parts so I just swapped them out. The passenger side mount was a used one from a 2015 RX350 and fit perfectly, slightly beefier construction but practically the same like the trans mount.
The rear (appears to be newer design) and dogbone mount were Anchor brand ones from Rockauto. Those two were super cheap and easy to change out so if they turn out to be garbo, I can just grab some OE ones.
Last edited by MattRX; 01-22-23 at 11:08 PM.
Reason: Incorrectly listed passenger engine mount as "Driver side"
Awesome job, Matt.....Great that there is two magnets in the trans pan.....Great the 2gr mounts all interchange, but then why wouldn't they. Matt, I'd throw both cam covers in the parts washer. You'll find that the Eibach pro & sportline springs to ride really smooth vs the H&R springs....
The car is still out of commission!!! Between all the things going on, it�s hard to find time to work on it, but progress is moving again so I feel like an update is appropriate. I haven�t been tracking the parts I�ve been buying as well, but I have all the receipts so I�ll make a big list for you guys once the car is operational again.
The front valve cover is back on, got the new(ish) OEM coils on, new NGK plugs, new VC gasket, cleaned VVT-I solenoids, camshaft position sensors, spark plug tube seals, VVT-I gaskets and some Toyota FIPG sealant for the VC�s creases and I had to re-pin all ignition coil connectors up front as well as the VVT-I solenoid connectors which crumbled in my hands. I used some rear sidemarker plugs from a RX330 at the junkyard and they worked fine, the only difference is the colour.
Ready to go in! Don�t forget to clean the VVT-I solenoids, filters and camshaft sensors. I also replaced the solenoid�s O-rings PN: 90068-14030 x4 Axle nut socket for our car was a perfect fit The old tube seals were badly cracked, which soaked the plug in oil
RX330/350 rear side marker plug, I already knew it would fit because I had to re-wire my rear sidemarker on one side
So the front is 100% done, I vacuumed all the sludge out and it�s back together & torqued. I recently got the rear cover off which was an ordeal in itself compared to my Highlander. I was under the car holding the socket/ratchet while a friend was at the top breaking the bolts loose. The clearance & engine packaging is atrocious on this car, it would be an easier job on my friend�s V6 RAV, which brings me to the new part.
The rear cover was very clean compared to the front, no sludge. Probably because the PCV is at the front. My Highlander had more sludge at the back because the PCV is at the back instead (bad design) and the valve cover had a faulty design, which made me update to the newer one.
Due to the recent success, I decided to treat my RX to some goodies. This is a glovebox light from an 01-07 Highlander. It has a replaceable bulb and a switch so it doesn�t stay on 24/7 like our RX one. I prefer this over the dumb factory one, which also confines me to a yellow, dim LED. The �downgraded� switch. Much brighter and cleaner with a white LED installed. I also prefer having the switch so the light doesn�t stay on unnecessarily. It fit right in place and plugged in without modification My climate vent was smashed so I grabbed this (55650-48040) from a RHD Euro RX350 on eBay. Unlike the NA model vent, this one has a cupholder so the passenger can store drinks too! Neat!
I also had to re-pin my rear ignition coil connectors, which was a pain in the gut (literally) as I was sprawled over the bumper trying to swap the pins. Thankfully, they were not too bad to do. Unlike the front, my VVT-I solenoid connectors survived so that saved me the trouble of having to buy those as well.Taking off the plastic shroud near the timing cover also revealed this and confirmed my suspicions.
Up top is my grungy RX350�s cover, and below is from my friend�s V6 RAV4. Mine is clearly soaked in oil and the timing cover is weeping. I will attempt to clean the area and seal it from the outside. Either it works or I live with it.
Before I put the rear valve cover back, I will also replace the bank no.1 rubber line with the superseded one, and I�ll be swapping out all of the associated gaskets. After that�s all back together, I only need to tackle the steering rack, 3rd gen front sway bar and my new brake setup before the car is ready to roll. Hopefully I can soon finally enjoy this car the way it�s supposed to be - like my Highlander!
The RX is chugging along nicely! Both the valve covers are back on and the upgraded VVT-i bank 1 / rear line is back on! I removed the two 14mm power steering bolts for more clearance, long one goes on the top, shorter one on the bottom. Getting these back in was a PAIN in the butt!
Parts -
Hose: 15772-31030
Gasket No. 1 (Top - at valve cover): 90430-16012
Gasket No. 2 (Bottom): 90430-16016
I still need to put the serpentine belt back on, the old one was probably original from 2008 and 222k miles on it, it was the most stretched and worn out belt I have seen on a car that didn't just outright fail.
After not wanting to deal with the belt / pump at the moment, along with receiving the wrong intake plenum gaskets from "Fel-poop" - I decided to do some instant gratification mods today and got started with the brakes. Today, I aimed for the fronts to go on.
2010-2015 RX350 front calipers, pads and rotors (All OEM, calipers & rotors mfr by Advics, pads by Akebono)
2010-2015 RX350 Euro-spec rear brake calipers (MFR by Advics, uses regular RX pads but allows an 18mm vented rotor)
2010-2015 RX350 OEM rear brake pads (MFR by Akebono)
2006-2013 IS350 rear rotors (Aftermarket MFR by Advics, appear identical to OEM)
Stainless steel brake lines (MFR by Safebrake in Australia)
GREAT, GREAT NEWS!! Got the engine started and all four calipers, rotors, pads and stainless steel brake lines mounted. The VVT-i rattle is gone, no codes were scanned, and she purrs like a kitten! I hope she stays that way! Now all I need to do is bleed these calipers, reinstall the cowl and replace the rack and she�s gonna be driving!
IS350 rear rotor with Euro 3RX caliper! Fits like a charm Pad fitment is on point! The Safebrake lines fit into the caliper perfectly, proving even these RX rear brakes share the same brake line fitment, like the fronts! MUCH bigger than stock! These should have came on the car from the first place. To put it into perspective, this is a tiny bit bigger than the Infiniti FX45�s rear (and front) brakes at the time. A big, HEAVY V8 luxury SUV! Gotta love overkill
These calipers have much better, bigger bleeder screws and caps compared to OEM. The sliding pins share the superior design to the front, and the aluminum construction should keep the rust at bay. You�ll need a 17mm flat wrench and a 10mm flare/line wrench to R&R the brake line to the car. The rest of the caliper�s fasteners incl the sliding pins are 14mm.
Size comparison. I can now get the far more common 2010-2015 RX350 brake pads for the front and rear. These IS rotors are also barely more expensive than the dinky ones our cars came with, and we get to keep the parking brake intact!

 04-06-22, 07:26 AM


")