When you click on links to various merchants on this site and make a purchase, this can result in this site earning a commission. Affiliate programs and affiliations include, but are not limited to, the eBay Partner Network.
If your battery isnt charging as well as it should or the starter wont spin as fast as it used to, there is a good chance your battery ground wire is not as conductive as it was when it was new. You can buy a new wire from Lexus on your gold card or upgrade it yourself for about $10 in parts. Here is what my wire looked like.
Battery acid leaks from the battery and migrates down the steel terminal and onto the copper wire. Over time, the acid continues down the wire under the plastic sheath until performance begins suffer. What most people dont understand is that electrons travel on the surface of the copper wire, not in the copper wire. When the ground wire is less conductive, it forces the alternator and battery to work harder. In many cases of electrical gremlins in our vehicles its a case of bad grounding.
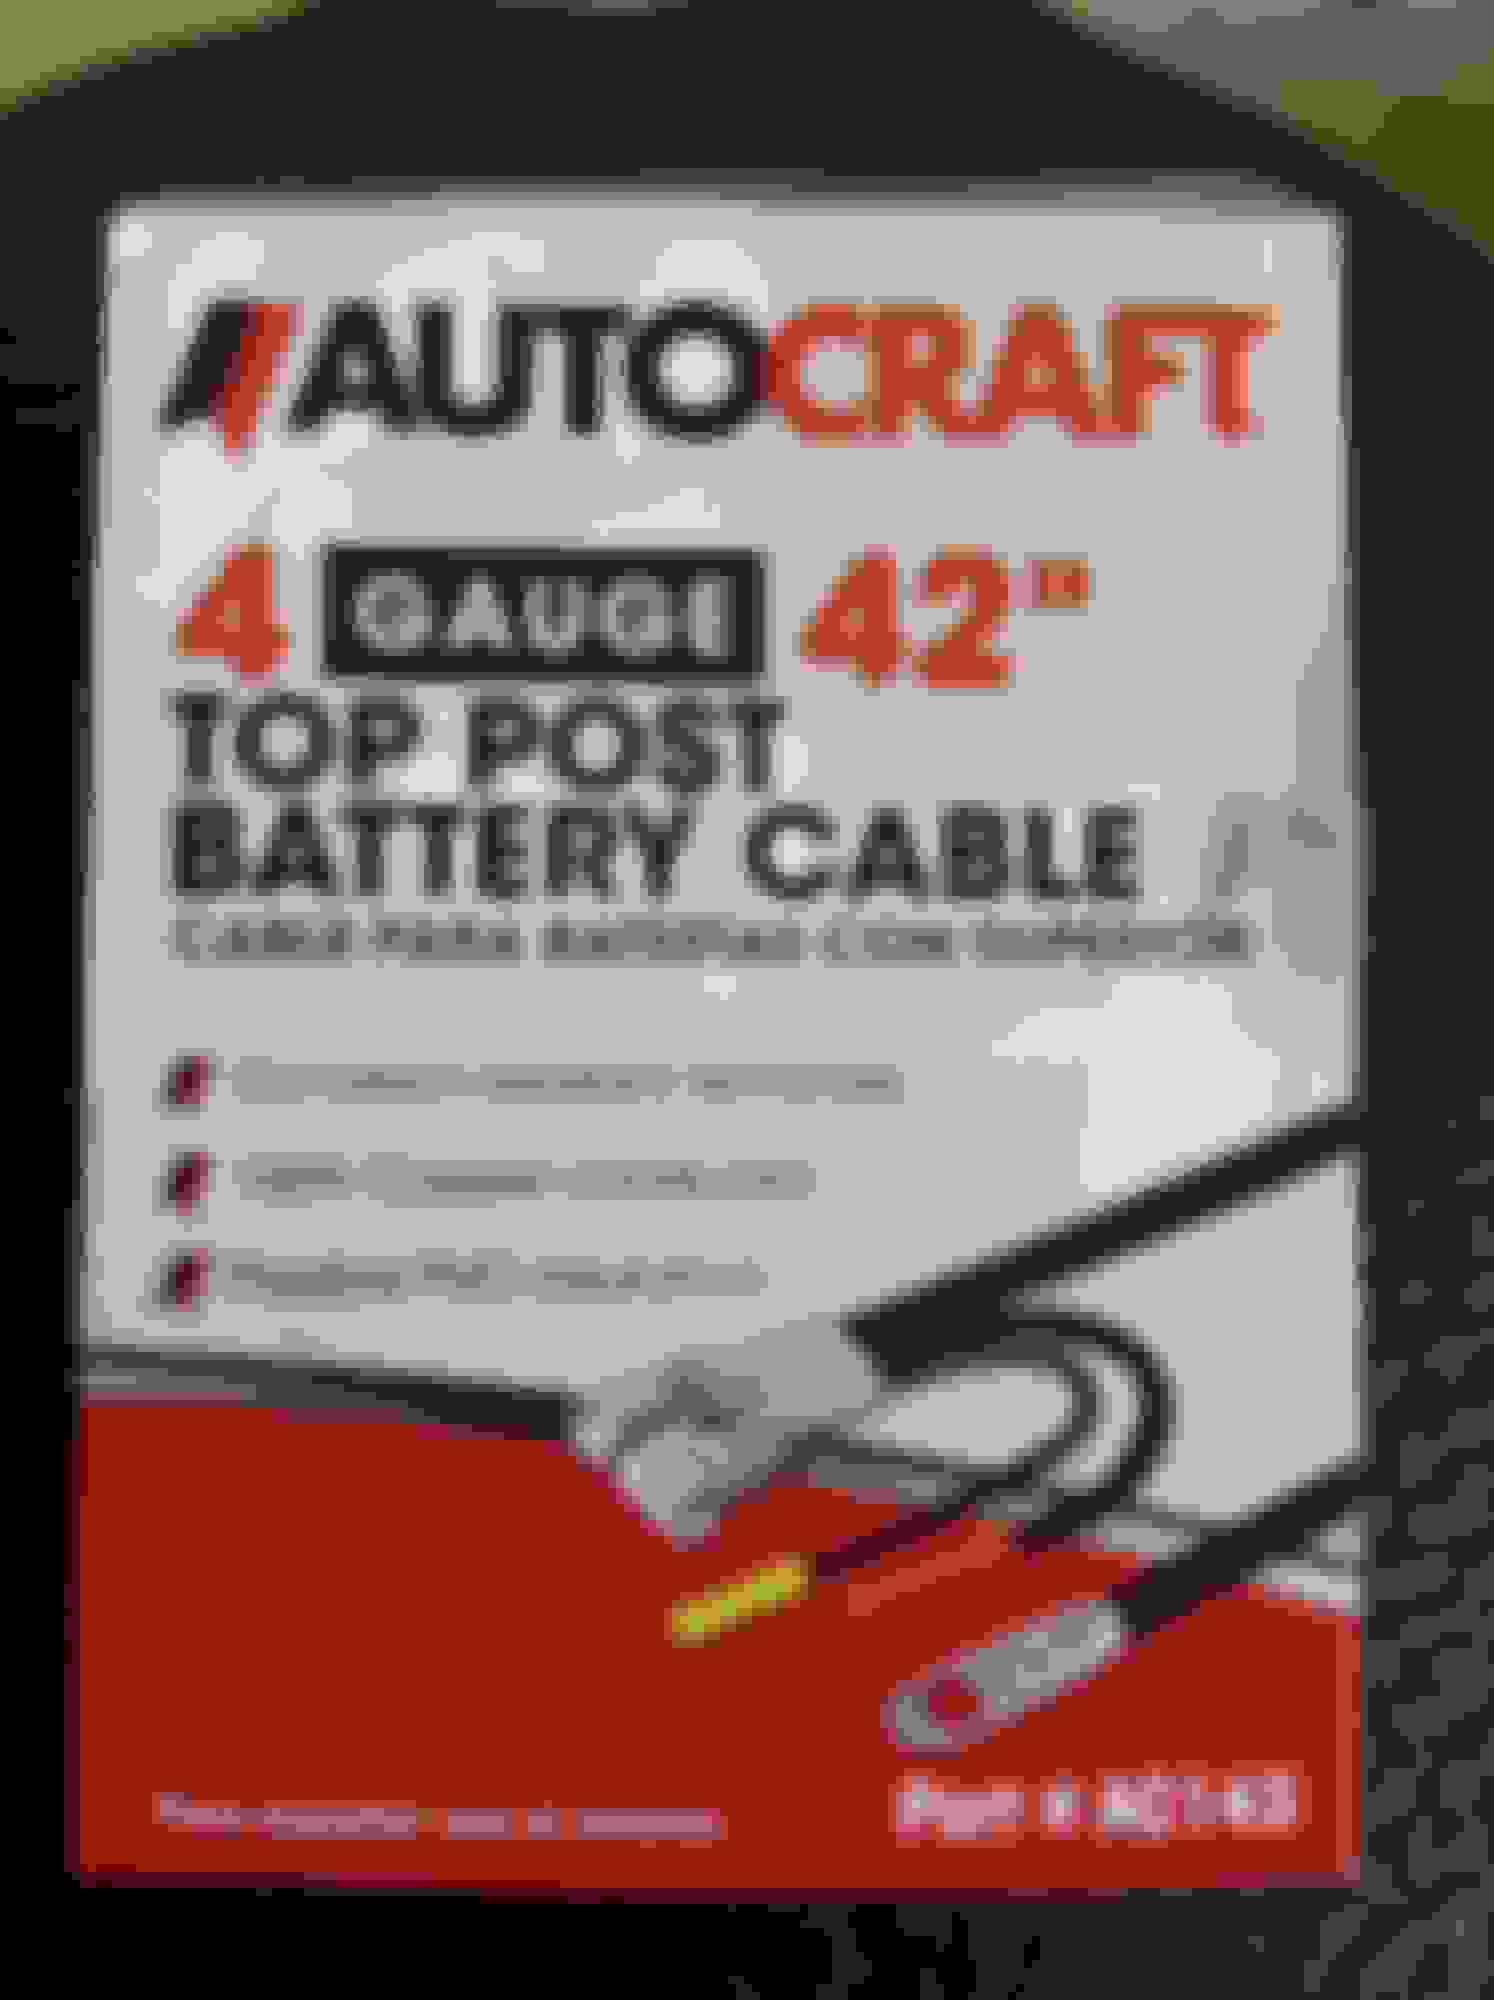
Since you are going to the effort of building a new ground cable, you might as well up size the cable for better performance. I believe the oem wire is 6 gauge wire. I am stepping up to size 4 gauge cable. I prefer the swaged terminal end because battery acid is less likely to gain access to the copper wire and corrode the cable again.
To begin the project you will need some supplies.
New generic black battery cable 42" long. (Advance auto parts $7.50)
1/4" copper end lugs (walmart $3.50)
Electrical solder
Electrical tape
Common tools i.e. pliers, propane plumbing torch, wire cutters, 10mm and 12mm ratchet wrench
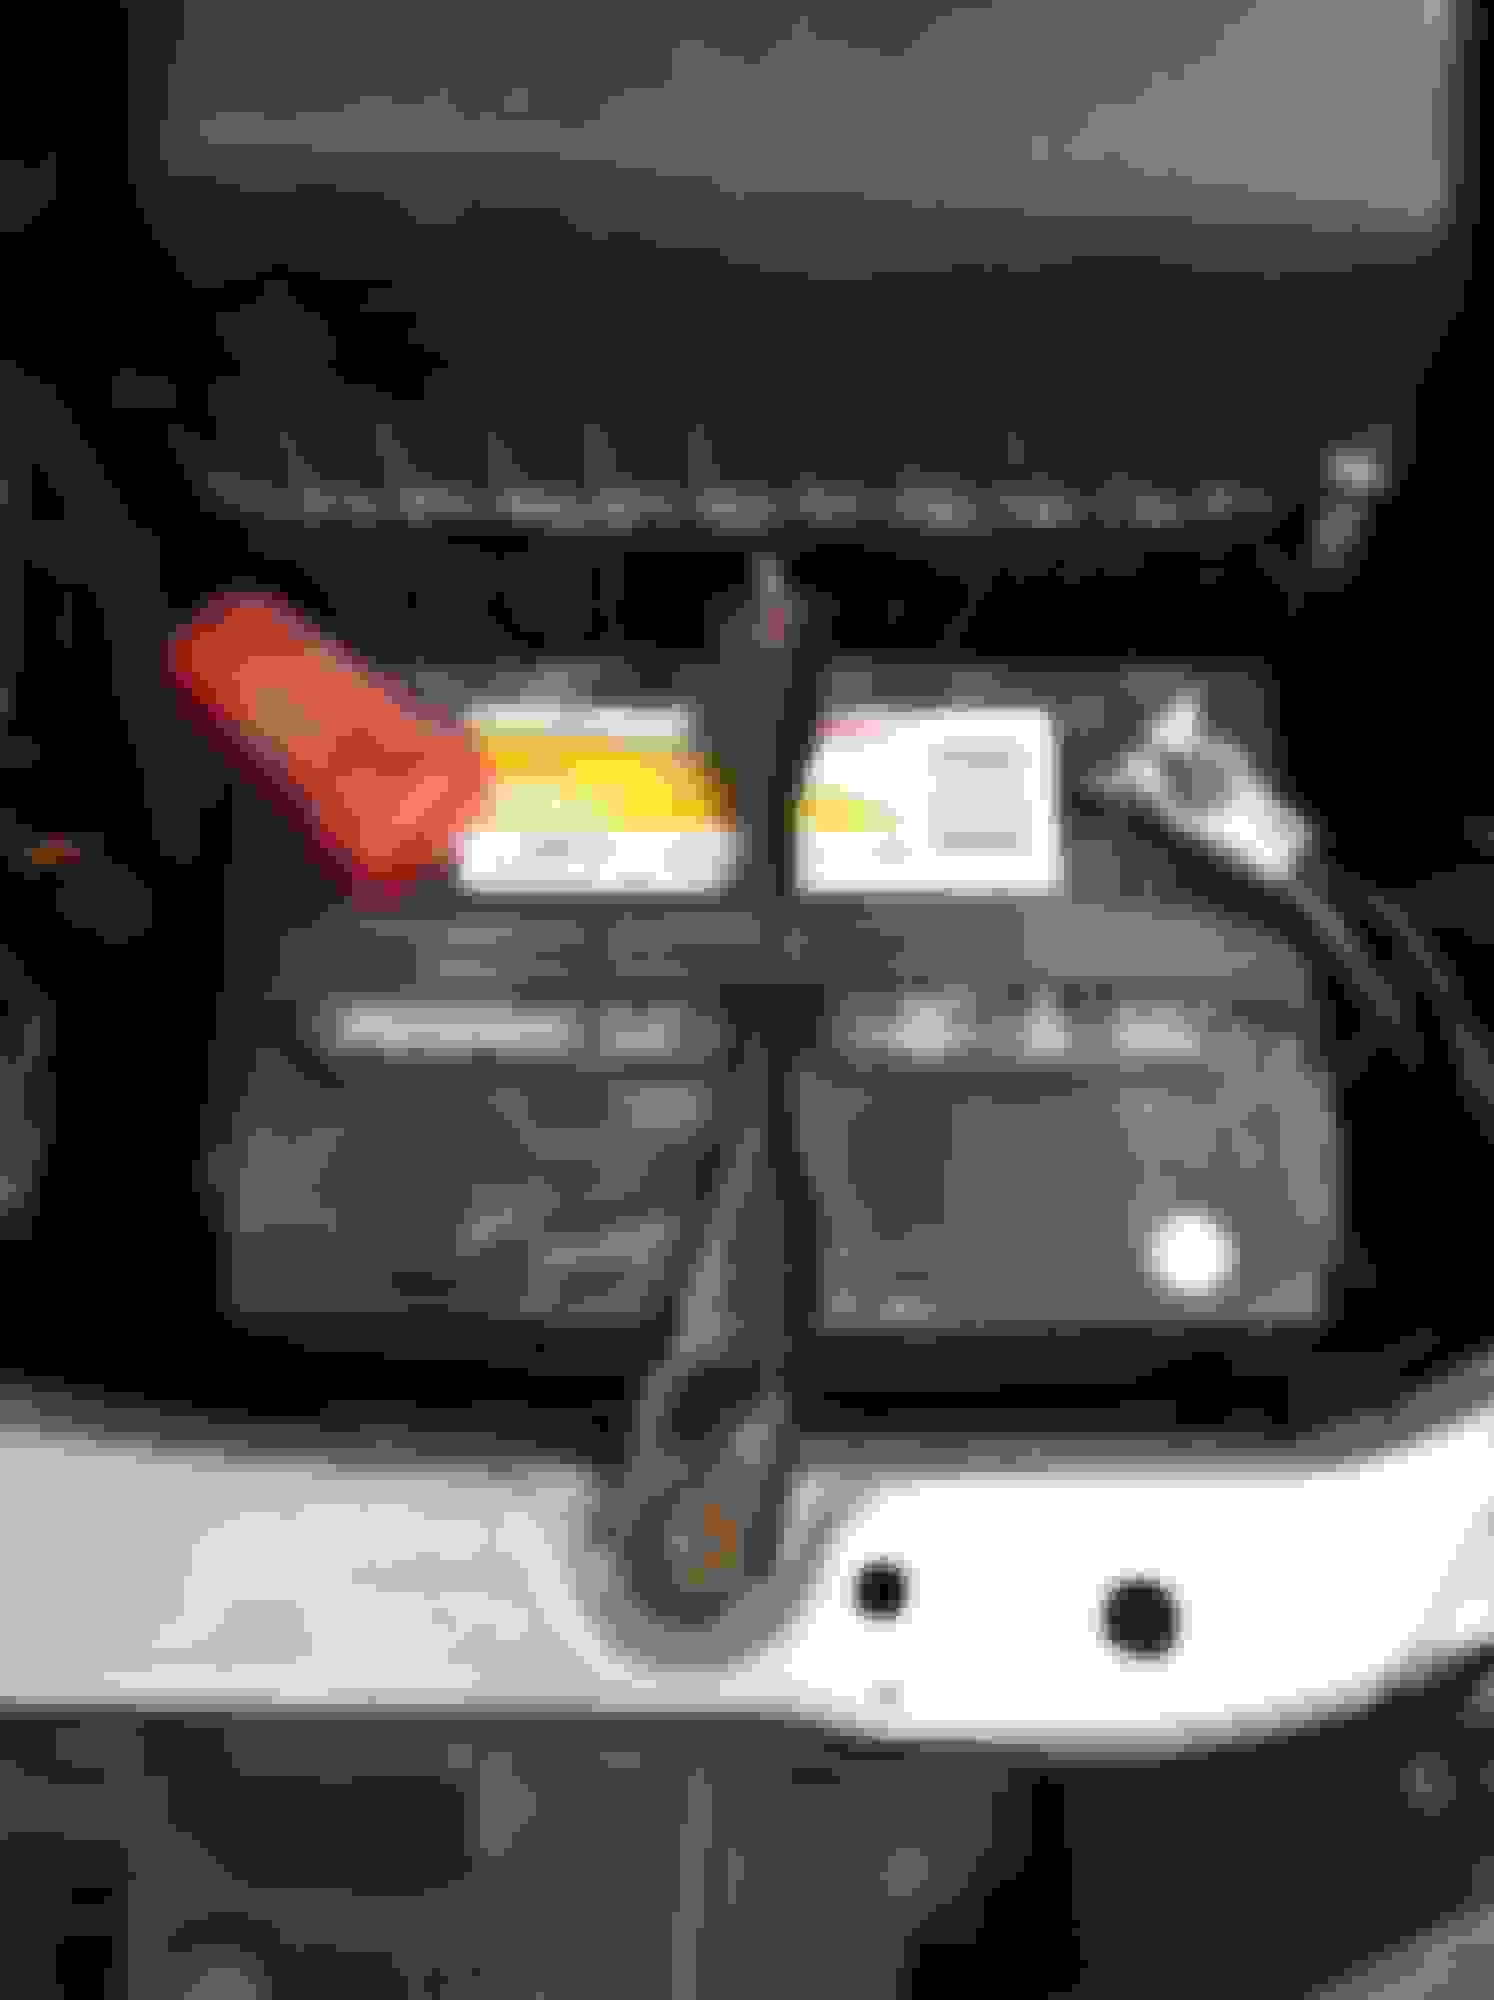
You will need to disconnect the battery cables and remove the battery, battery tray and air box to gain access to the ground points. There are 3- 10mm bolts in the bottom of the air box. 2- 10mm nuts holding the battery in place, 2- 10mm nuts on the battery terminals. The intake runners have 10mm bolts. Use pliers to disconnect the vacuum hoses on the air box. There is a clip that holds small ground wires on the back side of the airbox. Unplug the MAF sensor and remove the plastic intake runner, airbox lid. Remove the airbox base and you will see the entire black battery wire. The ground wire has 2 ground wires. One connects to the transmission and the other below the battery tray. It wont be entirely obvious at first. You will need to carefully cut the old electrical tape to release the wire from the protective wire cover. There are small wires in with it so cut shallow and slowly.
The original wire is 34" long. I always purchase a longer cable because you have room to make mistakes. In this case, I am going to cut the new cable to the same length as to the oem wire. The cut piece will then be used for the secondary ground wire under the battery tray as you can see in the above picture. The cut piece already has a lug on the end so it saved me an extra step. You will need to solder the wires together securely to the same length as the factory wire. A little solder iron wont get it hot enough, so thats where the plumbers torch comes in. Once you are happy with your solder, wrap it in electrical tape. In my project I used a new silcone wrap tape found in most plumbing departments that is heat resistant and sticks to itself to self seal. It wont harden with heat like tape does. Keep in mind you dont want acid or water to get inside the cable again. I used the electrical tape to secure the silcone wrap.
We still have to add a copper lug to the main ground to the transmission. Strip off about 1.5" of plastic sheathing and slip the 1/4" copper lug on the bare end. You can use pliers here but you need a lot of force to securely crimp the end onto the cable. So I use a bench vice to crimp the end on. This crimp is not going to securely retain the wire permanently. You will need to solder it together.
What I do is hang it downward and heat the lug with the torch until it smokes and then flow the solder Into the lug until its filled. Then let it cool and harden.
There are two ground points. The screwdriver is pointing to the transmission bolt
The screwdriver is pointing to the battery tray bolt
Once you bolt the new cable in place it will no longer fit under the wire cover with the rest of the factory wires. Tape up the wire loom cover together to keep the factory wires in place and simply zip tie the new battery ground to the loom in 4 or 5 places. Reinstalled the airbox and battery and you are done.
There was a notable increase in the speed of the starter when when I was finished. The next step is to replace the red battery cable. But the ground is most important.
Tell us if it is an upgrade after 17yrs of identical use. Soft wire brush and light grease every year would have preserved the life of the original (or even revived it).
I dont understand your question. Its not possible to brush the copper strands beneath the plastic sheath to clean out the acid.
I cut back the plastic wire sheath to expose the corrosion that extends most of the way down the copper stranding. Its obvious at the first Two inches, but there is a film of oxidation on the rest of the wire. You can't clean this and its progressive.
Lets have a discussion on this issue after 17 yrs, if the replacement is an upgrade.
On the serious note, having a sealed (not just low maintenance) battery helps keep the engine bay protected from acid fumes. Next is exposed metal will decay as things will tend to go back to their natural state.
Drcoffee: Excellent DIY. I've been having the same problem and never really thought about replacing the ground cable. Thank you! Please post a DIY for the positive cable.
@ Salim: this would be the difference between people who live in wet/cold environments and those who don't. To actually keep it as clean as you can would be an everyday affair. I'm not spending every day cleaning every nook and cranny on my car, especially in winter. And as Drcoffee posted, you can't clean inside the sheath.
I don't care if the $10 fix doesn't last 17 years. I don't think anyone is planning on still having this car in 17 years. I suspect it will last at least 5 years, even on salt roads; that's pretty good in my book. At the age of these cars that cable will probably outlast the engines.
Lets have a discussion on this issue after 17 yrs, if the replacement is an upgrade.
On the serious note, having a sealed (not just low maintenance) battery helps keep the engine bay protected from acid fumes. Next is exposed metal will decay as things will tend to go back to their natural state.
Clean it and cover it.
Salim
Oh I see where you are coming from now. You think "upgrade" means lasting for 17 years. LOL. When I say upgrade, I mean "performance." Better handling capaicty, less stress on the electrical system, capable of handling more accessories on at the same time like extra driving lights, better stereo system, a mini fridge if you like. For most of the members it mean less electrical gremlins and better cold starts.
You're not very punny. But Thanks for your two cents....as always.
Drcoffee: Excellent DIY. I've been having the same problem and never really thought about replacing the ground cable. Thank you! Please post a DIY for the positive cable.
@ Salim: this would be the difference between people who live in wet/cold environments and those who don't. To actually keep it as clean as you can would be an everyday affair. I'm not spending every day cleaning every nook and cranny on my car, especially in winter. And as Drcoffee posted, you can't clean inside the sheath.
I don't care if the $10 fix doesn't last 17 years. I don't think anyone is planning on still having this car in 17 years. I suspect it will last at least 5 years, even on salt roads; that's pretty good in my book. At the age of these cars that cable will probably outlast the engines.
The first time I experienced a bad battery ground I had just replaced the battery and the next morning our van would struggle to start. A bad battery ground can and will mimic a failing battery. Unless you buy a sealed battery like an Optima red top, you will have acid leaking out of the battery posts. You can clean them with a baking soda mixture but once it gets in the cable, its a matter of time before you have problems.
You are so right on dealerships diagnosing electrical problems. It gets expensive fast.
Acetone works well to remove the oxidation on the copper if the terminals themselves are worth salvaging. It used to be the old trick back in the day with high end audio before gold plated terminals came on the market.
Good grounds always help all the electricals with cars. Before resorting to a full upgrade on wires and terminals, I try some basics by wire brushing contact points and terminals, a rotary sanding drum on a dremel works great for the battery terminal clamp end. You can fashion a "circle earth" grounding kit really cheap to supplement the OE wiring.
What do you do, pour the acetone on the exposed wires and let it trickle up the sleeve? If so, do you leave it in there for a certain amount of time? Or do you cut back until you find good wire and then cover it again with some shrink wrap or tape?
What do you do, pour the acetone on the exposed wires and let it trickle up the sleeve? If so, do you leave it in there for a certain amount of time? Or do you cut back until you find good wire and then cover it again with some shrink wrap or tape?
Acetone pretty much disolves plastic. I dont think the wire cover will fare very well in an acetone bath. But if $10 for a new and improved cable is too much to swallow...
LOL
Have you ever thought that using acetone near a spark may not be the best plan?
What do you do, pour the acetone on the exposed wires and let it trickle up the sleeve? If so, do you leave it in there for a certain amount of time? Or do you cut back until you find good wire and then cover it again with some shrink wrap or tape?
I haven't used it in a car application but you could just let it wick up the sleeve. Give it time to evaporate.
Acetone pretty much disolves plastic. I dont think the wire cover will fare very well in an acetone bath. But if $10 for a new and improved cable is too much to swallow...
LOL
Have you ever thought that using acetone near a spark may not be the best plan?
Oh, hell no, $10 is perfect and way better than going through all the effort of pulling the cable and soaking it. I was just asking out of curiosity. I thought he was talking about cleaning the corrosion under the sheath and was wondering how that got done.
Acetone is a solvent with pH of 7. It will remove loose dirt and is a degreaser. But it is not going to remove any oxides bonded to copper or any other metal.
 06-07-16, 03:51 PM