
Retrofitted headlights


Thread Starter
Driver School Candidate
Joined: Oct 2010
Posts: 46
Likes: 1
From: TX
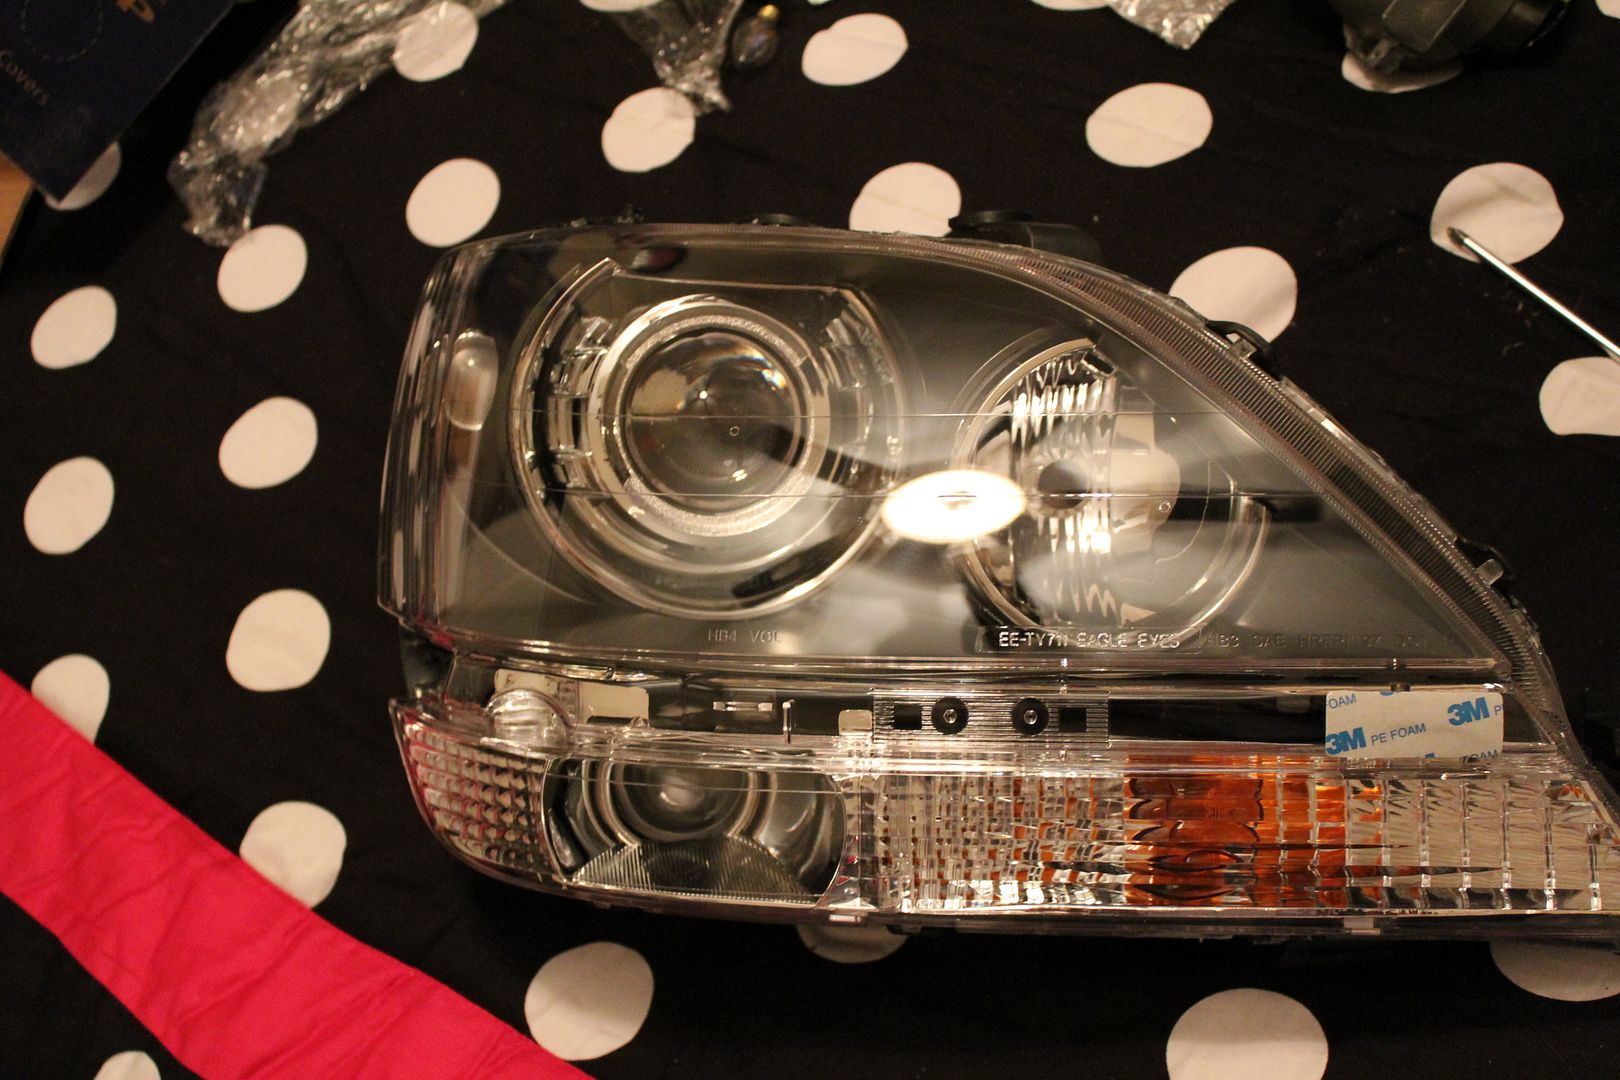
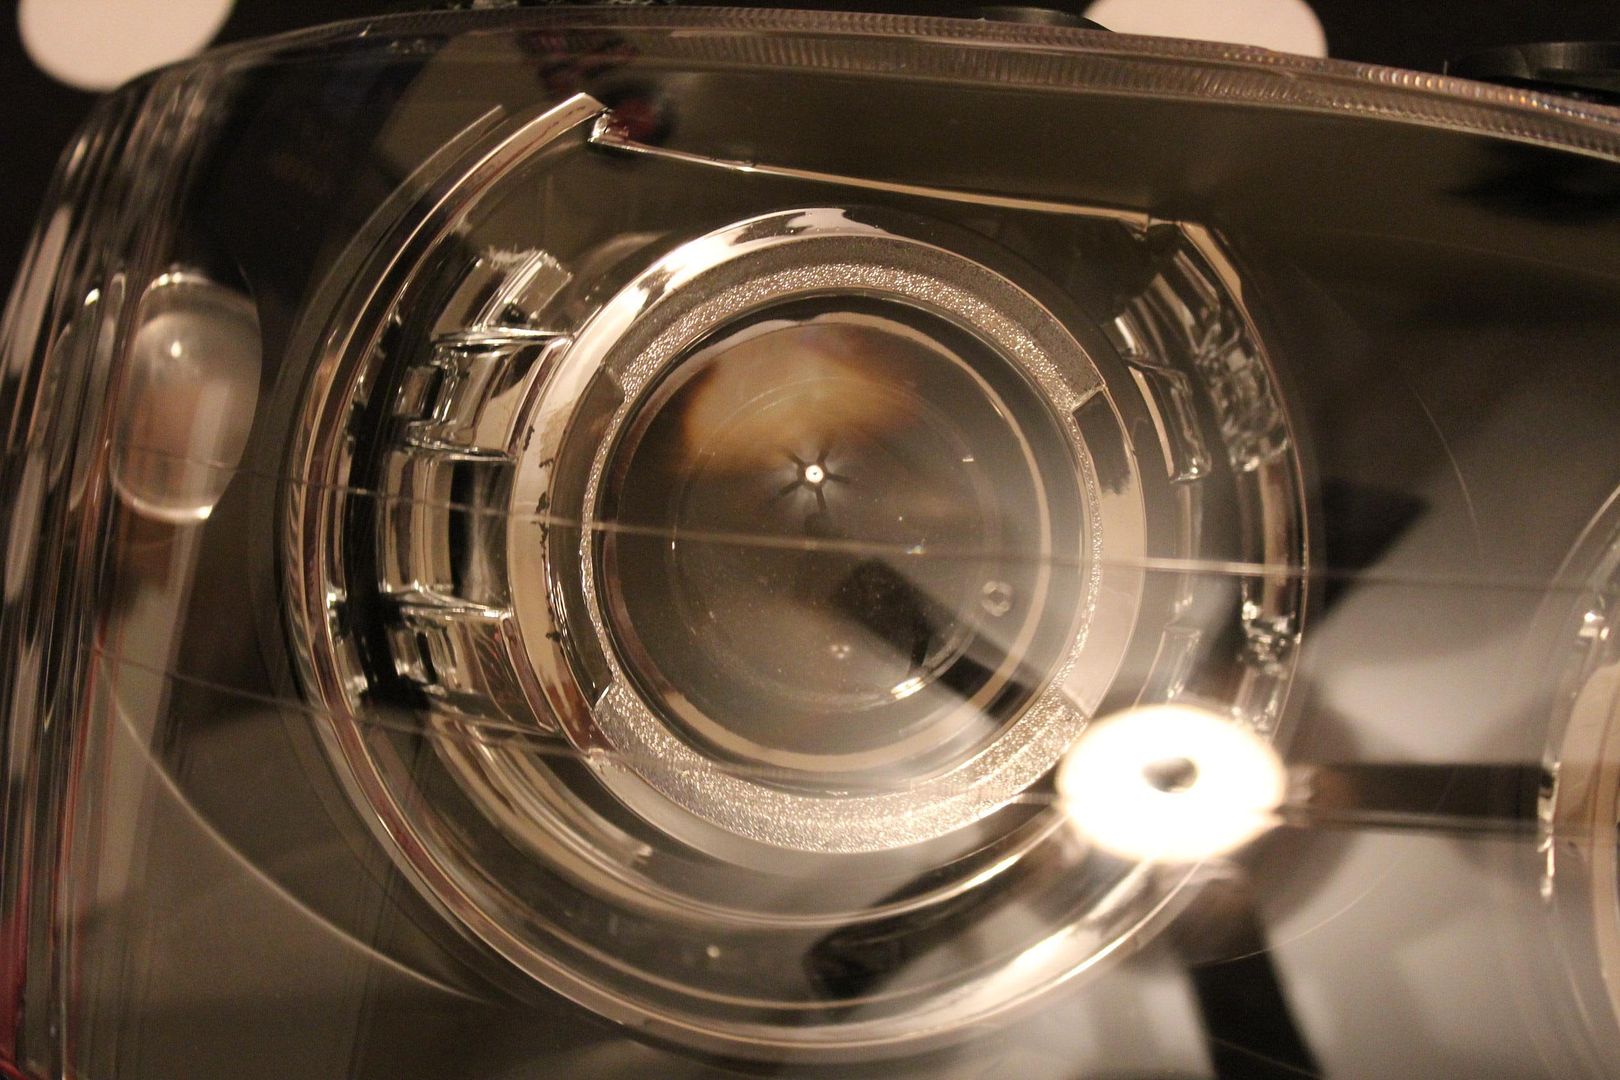
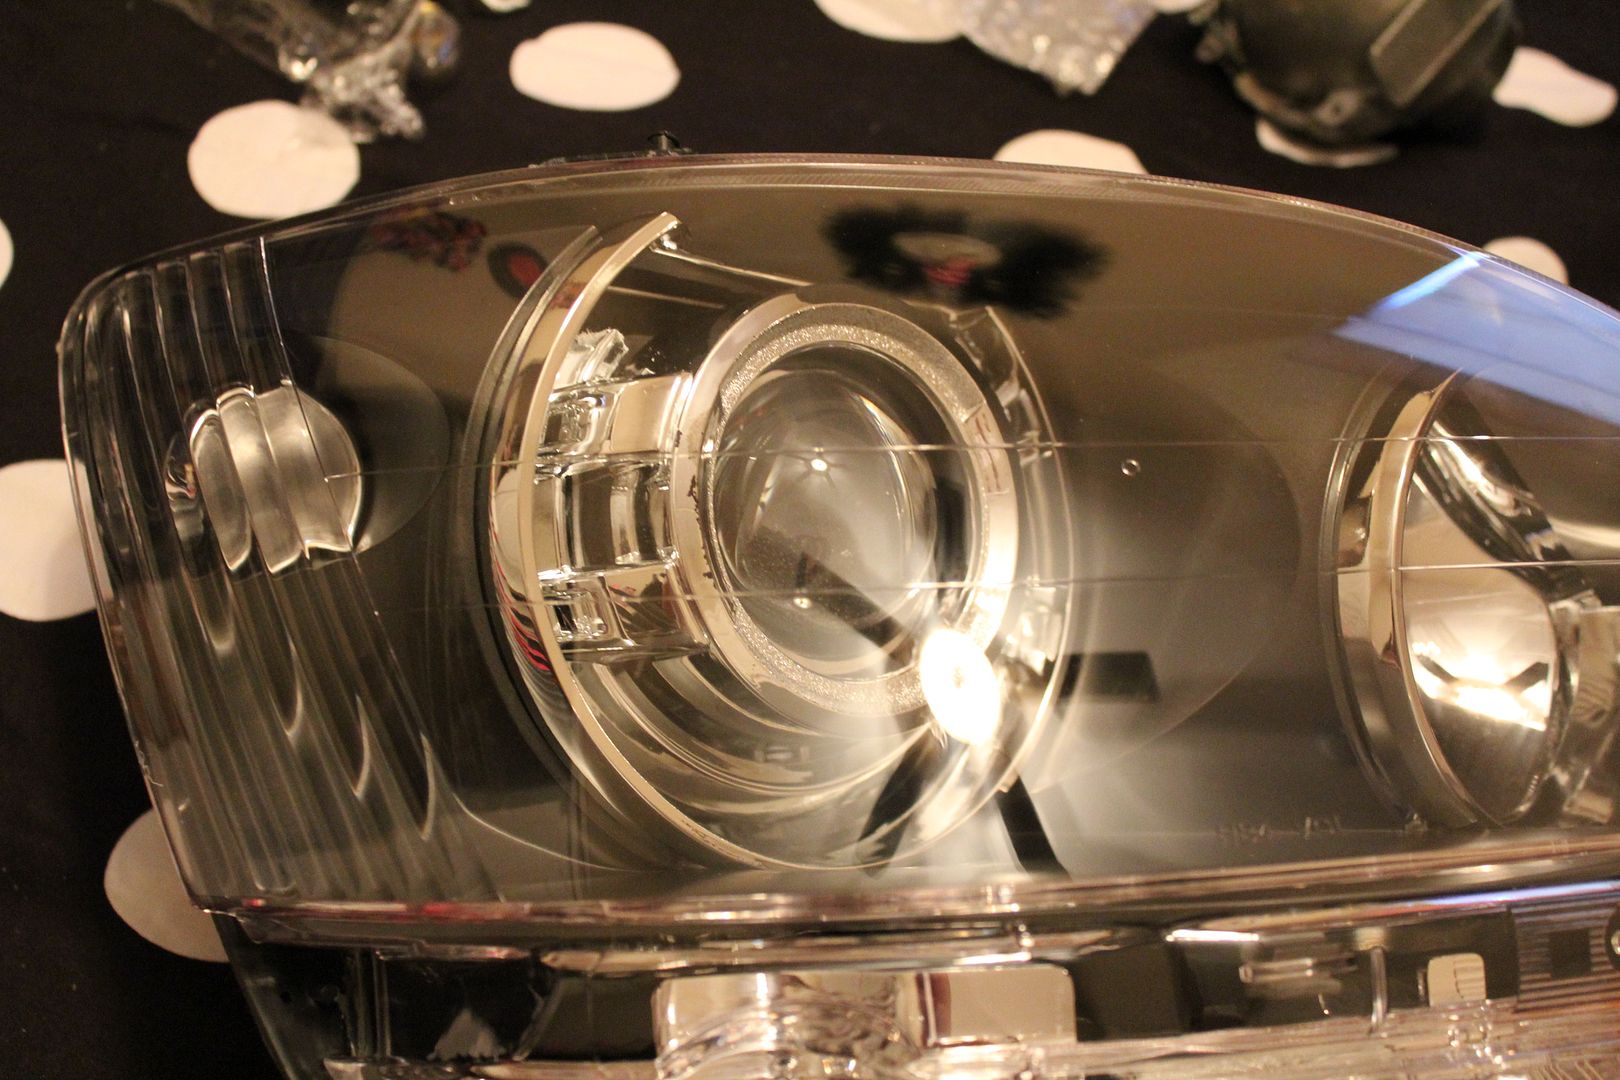
So I finally got this completed about 6 months ago and just haven't posted. My wife's lights were all UV baked and visibility at night was REALLY affected. I decided to go ahead and buy new lights and crack them open and retro fit them. The output is amazing for a fairly low cost. I used the FX-R 1.1's Bixenon and mounted them with bolts to the reflector. Now I can feel safe with my wife driving at night.


Driver School Candidate
Joined: Jul 2013
Posts: 47
Likes: 1
From: GA
Nice job.
I've been thinking of replacing my headlights. The lenses are clear---with each carwash, I make a point to rub some plastic polisher on them---but still look dated. Plus, they're never quite bright enough for me when I'm driving at night.
Question: How did you take apart the lenses, and put them back together? What techniques or tools did you use?
Thread Starter
Driver School Candidate
Joined: Oct 2010
Posts: 46
Likes: 1
From: TX
Thanks. To open them was rather easy. Baked them in an oven at 250 for 8 minutes. Used a flat head to crack the seal and then used my hands to pull the rest for better control. Make sure to remove all bulbs and screws first. To reseal make sure to get new sealant to apply to the channel and then put them back in the oven and reheat. Use clamps to apply pressure. The hardest part of the whole job is removing and installing the lights on the car. Huge PITA.


")

Thread
Thread Starter
Forum
Replies
Last Post