
sc300jz's 5spd swap


Well since its memorial weekend and i thought i would get started on my 5spd swap  . Was hoping to only do pedals this weekend and finally completed it. It took around 4-5 hours with breaks.
I'll TRY to do a DIY for this, but its very annoying to work and take pictures at the same time. I'll do my best, but for sure i'll be taking lots of pictures.
5spd swap stuffs
5spd drive shaft
w58
Clutch kit (pilot bearing + throwout bearing)
Pedals
ARP flywheel bolts
Master cylinder
Slave cylinder
Clutch hard lines
Redline mt90 fluid
Brake fluid
Various tools you'll need
Basic tool set
Extensions
Universal Joints
Holesaw / step bit
10mm/14mm 12 star socket
Jack
Stands
Air gun
Breaker bar
Tranny jack
Electric saw
Solder / jumper wire
Few parts i've gathered


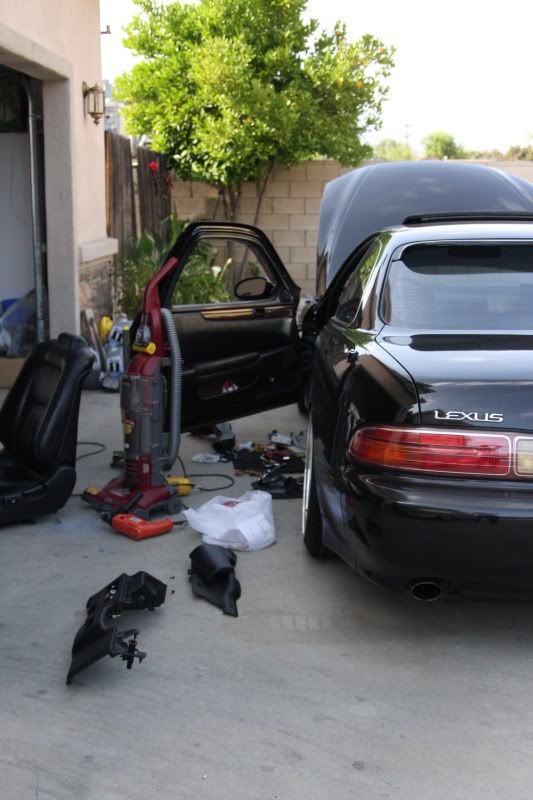
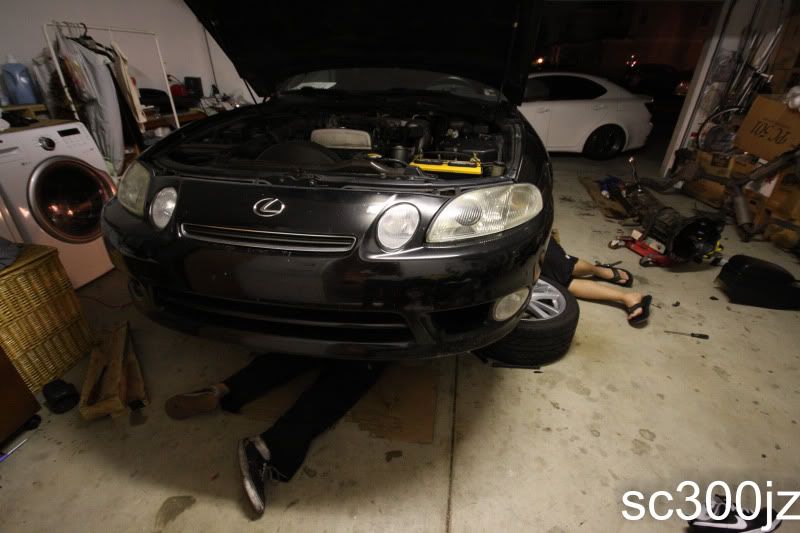
Car its going into
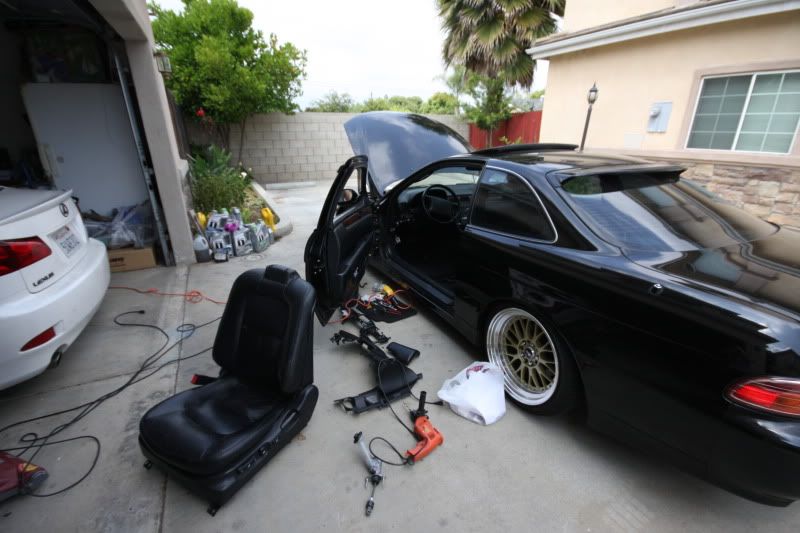
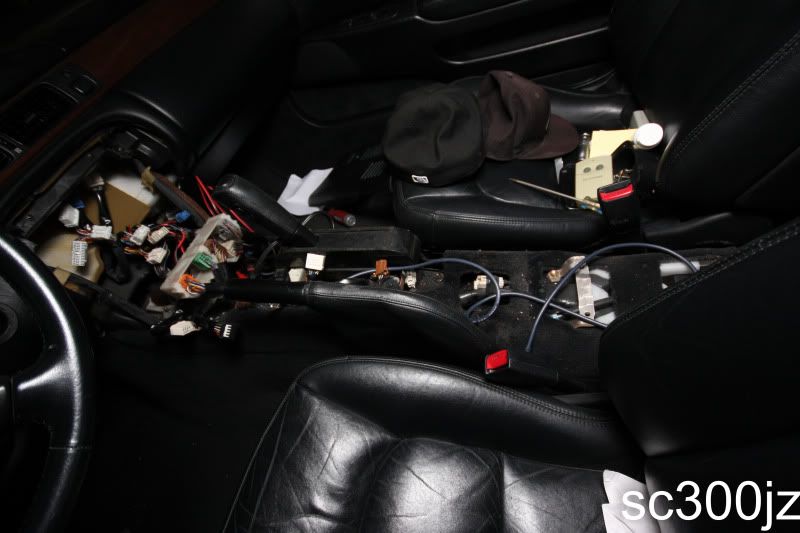
Remove driver seat for more clearance
Cut some foam stuffs to get more clearance
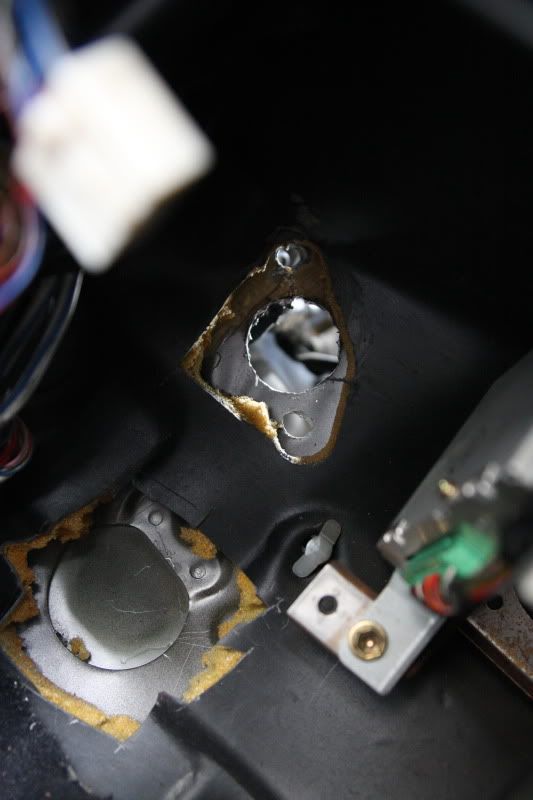
Harbor freight holesaw crapped out on me so i had to improvise. Use a 1 1/4. I used a 1 1/2 and the hole was too big
Clutch hole is finally cut out
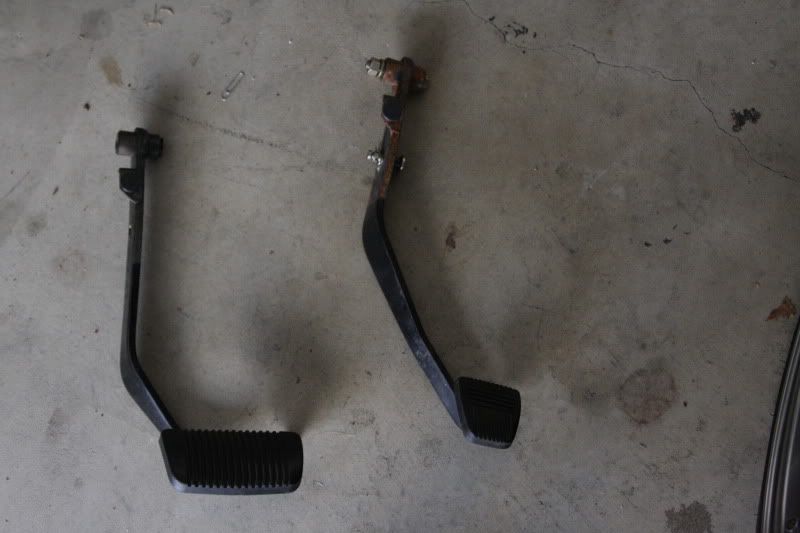
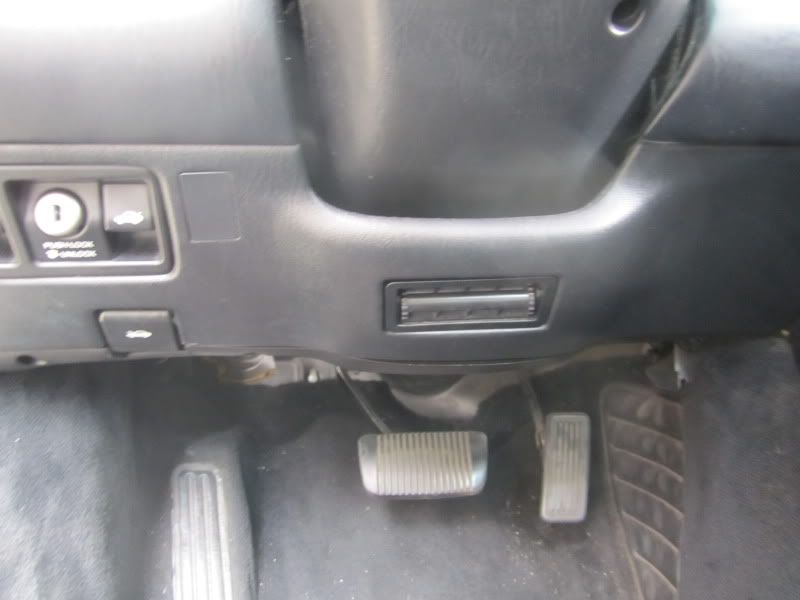
Brake comparison
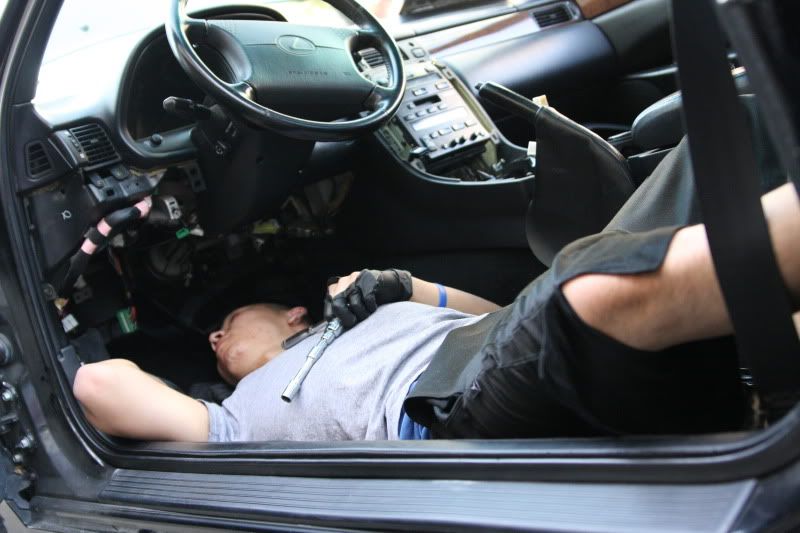
Your going to be spending loads of time on your back so get a pillow so you can rest your head on
5 Bolts total + lightbulb
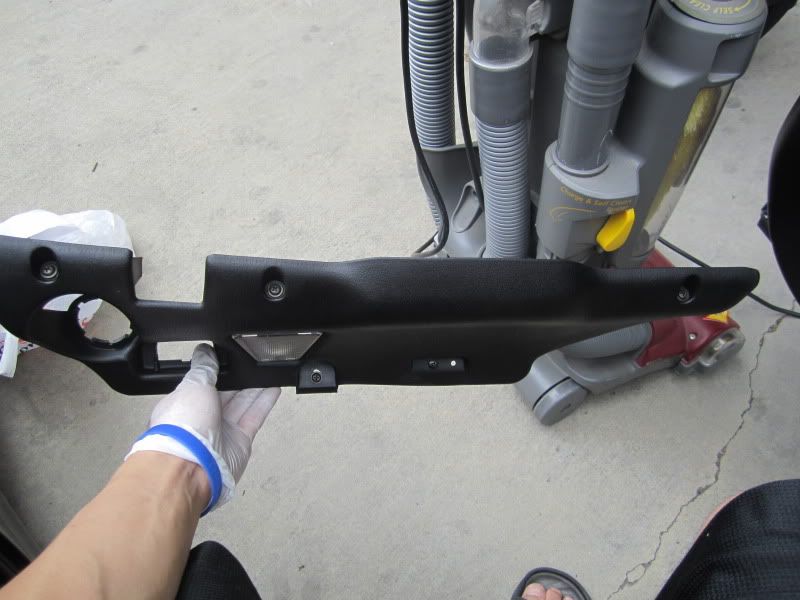
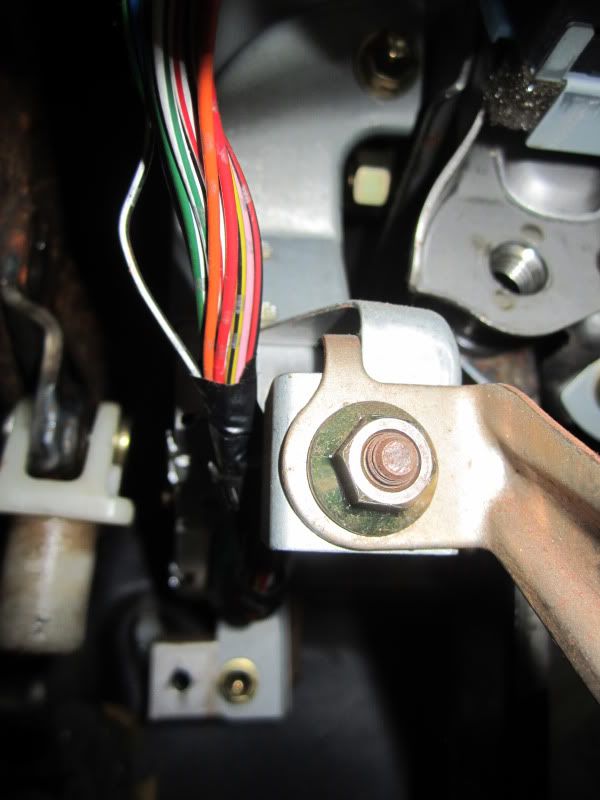
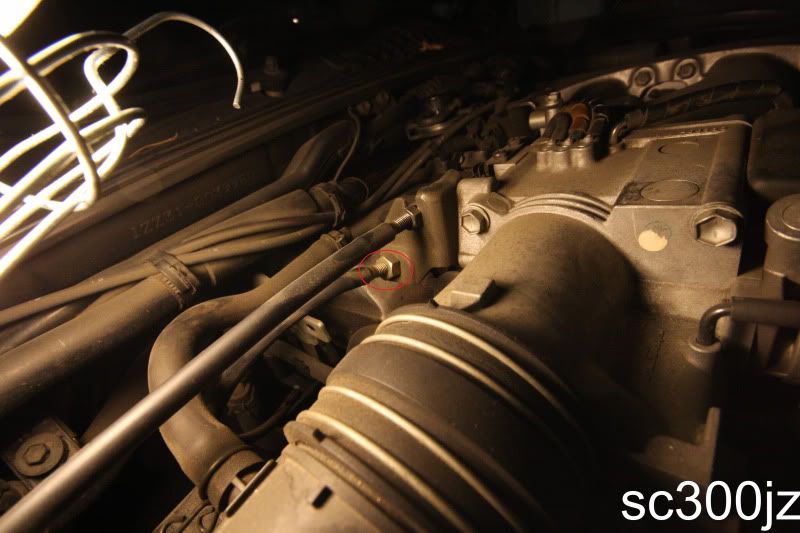
Tilt steering wheel unit, 2 bolts (gold bolts)
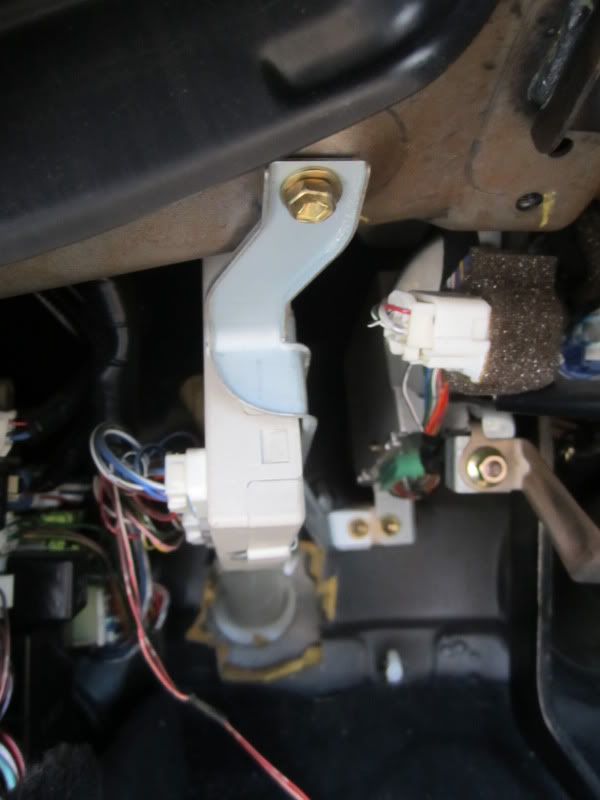
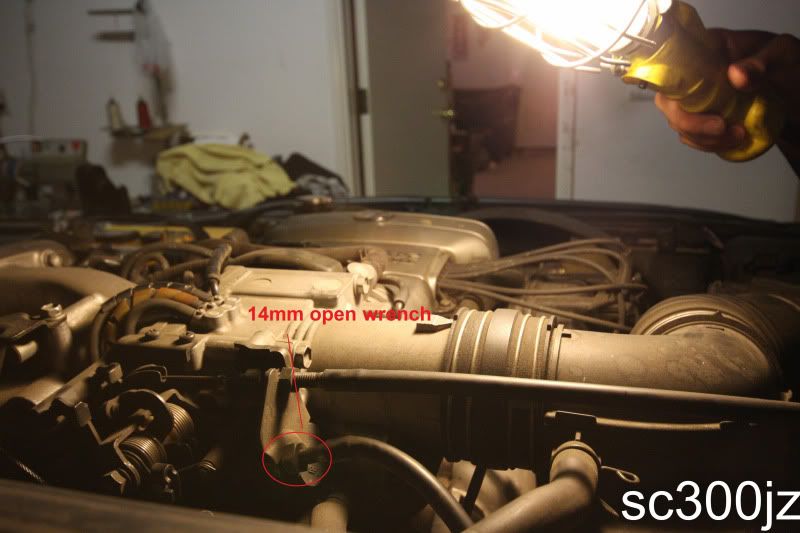
Brake sensor unplug, there is a 14mm bolt that is holding it on crack it loose and remove the sensor
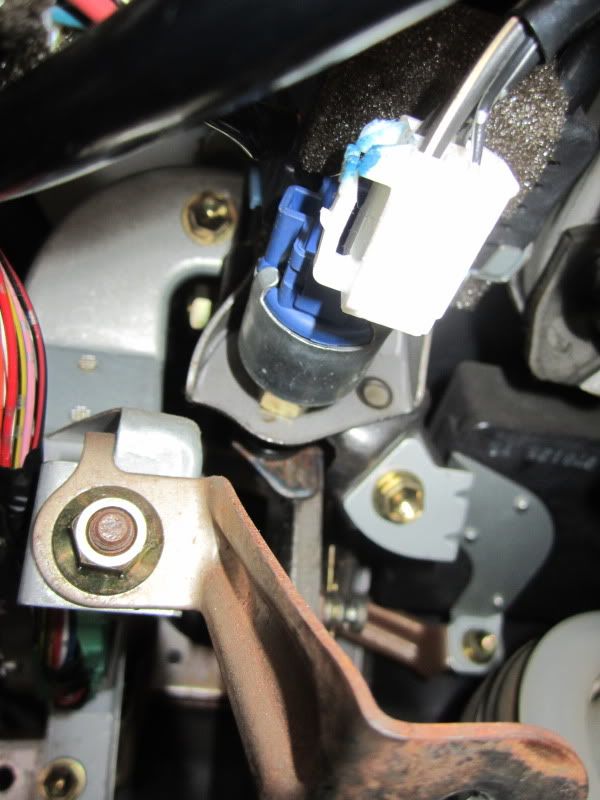
Cruise control unit 2 bolts (gold bolts)
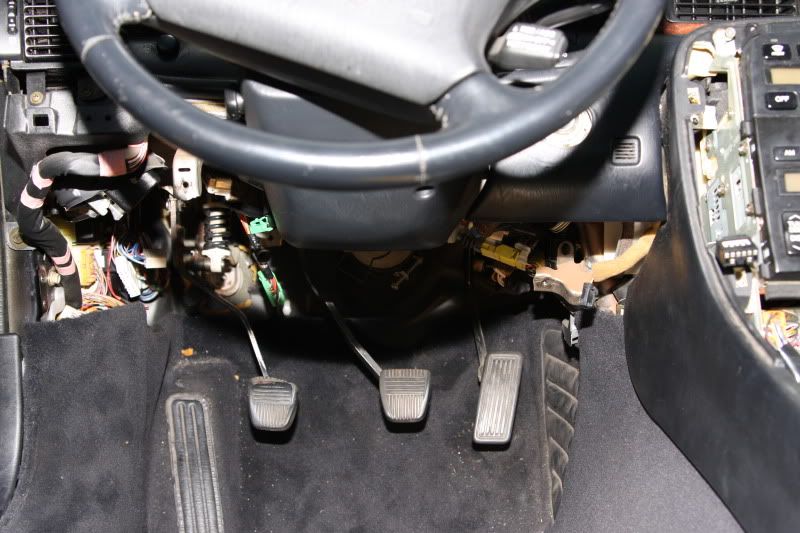
This is how i mounted my Steering wheel unit. There isn't enough room for the unit to sit at its stock location cause of the clutch so i cut off the metal hangers and zipped tie it to the top part of my clutch.
Before
After
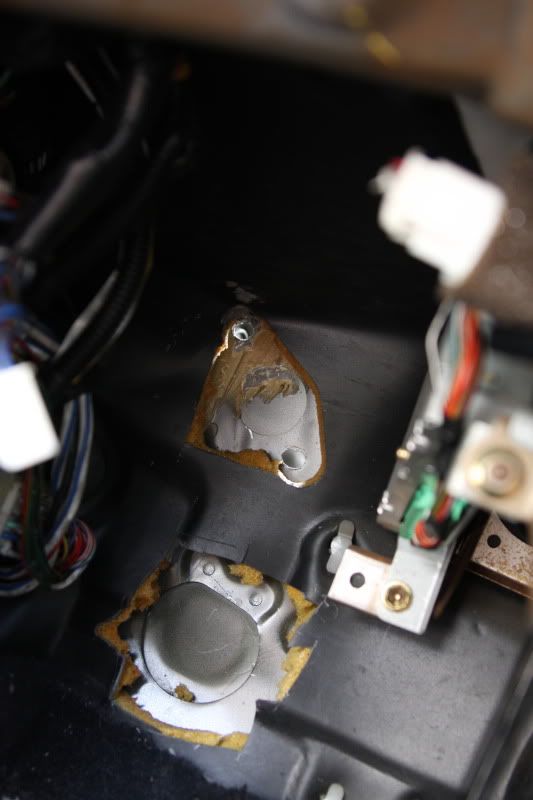
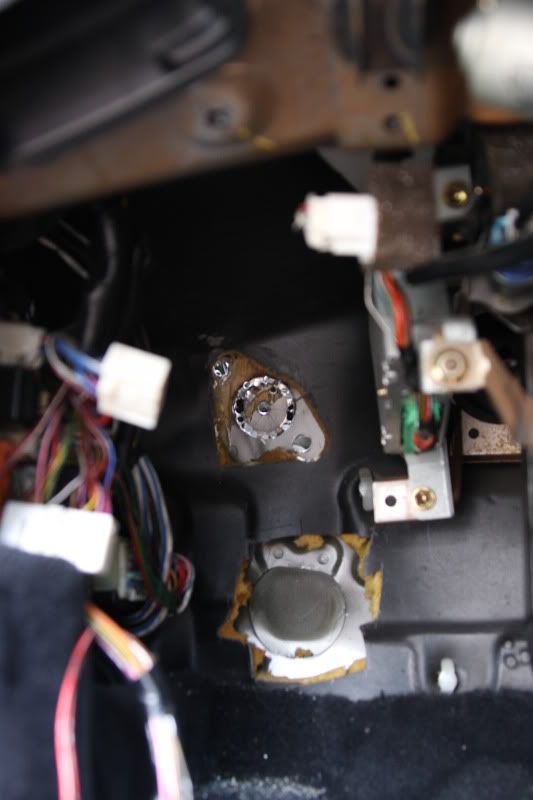
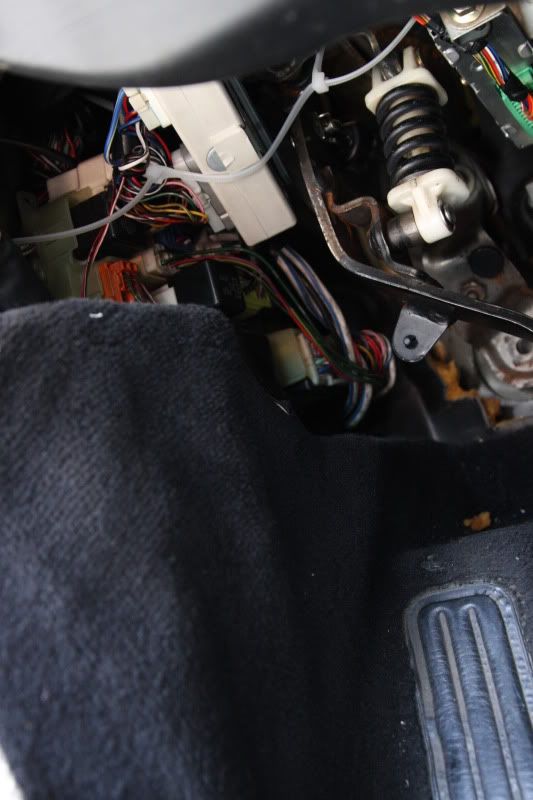
PS: This is what i found under my driver seat.

. Was hoping to only do pedals this weekend and finally completed it. It took around 4-5 hours with breaks.I'll TRY to do a DIY for this, but its very annoying to work and take pictures at the same time. I'll do my best, but for sure i'll be taking lots of pictures.
5spd swap stuffs
5spd drive shaft
w58
Clutch kit (pilot bearing + throwout bearing)
Pedals
ARP flywheel bolts
Master cylinder
Slave cylinder
Clutch hard lines
Redline mt90 fluid
Brake fluid
Various tools you'll need
Basic tool set
Extensions
Universal Joints
Holesaw / step bit
10mm/14mm 12 star socket
Jack
Stands
Air gun
Breaker bar
Tranny jack
Electric saw
Solder / jumper wire
Few parts i've gathered
Car its going into
Remove driver seat for more clearance
Cut some foam stuffs to get more clearance
Harbor freight holesaw crapped out on me so i had to improvise. Use a 1 1/4. I used a 1 1/2 and the hole was too big
Clutch hole is finally cut out
Brake comparison
Your going to be spending loads of time on your back so get a pillow so you can rest your head on
5 Bolts total + lightbulb
Tilt steering wheel unit, 2 bolts (gold bolts)
Brake sensor unplug, there is a 14mm bolt that is holding it on crack it loose and remove the sensor
Cruise control unit 2 bolts (gold bolts)
This is how i mounted my Steering wheel unit. There isn't enough room for the unit to sit at its stock location cause of the clutch so i cut off the metal hangers and zipped tie it to the top part of my clutch.
Before
After
PS: This is what i found under my driver seat.
Last edited by abounly; Jun 20, 2011 at 01:51 AM.
Worked on the car today, got a lot done  I got to the point where i wanted to and just called it a day. Anyways i'll let some pictures do the talking.
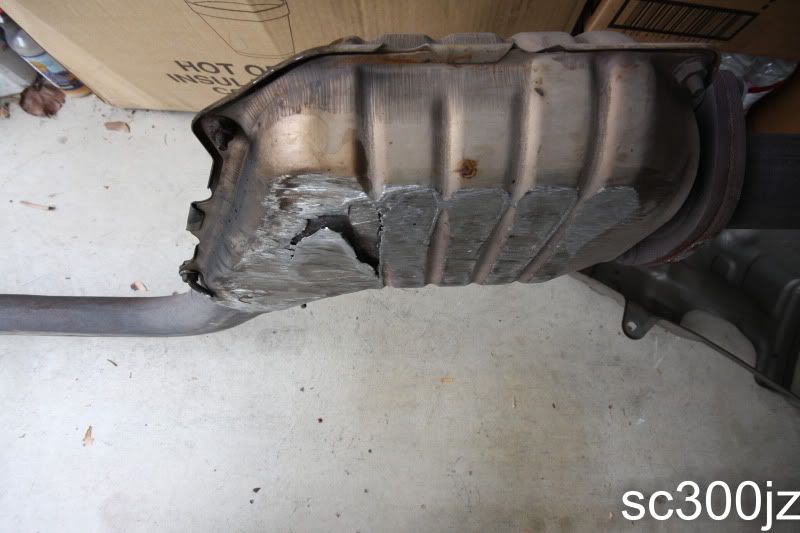
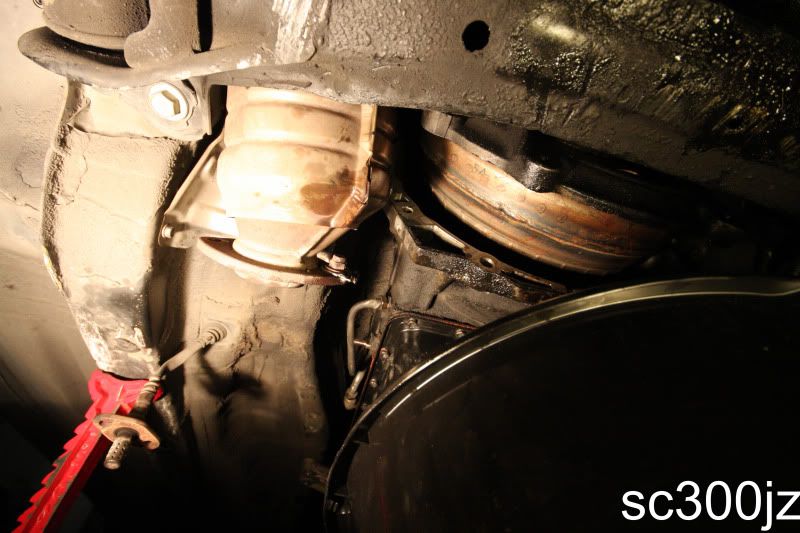
Remove your exhaust pretty straight forward.
Then remove your driveshaft, make sure you mark how they line up before you remove it.
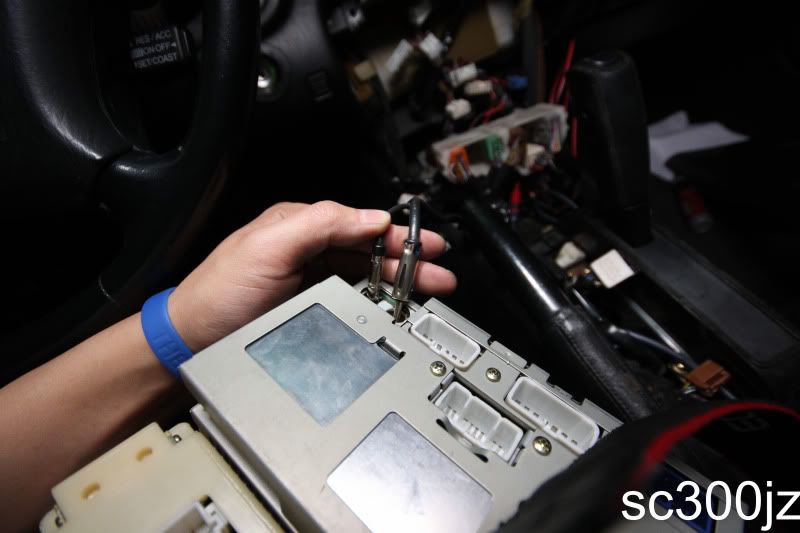
Just a little something for me, making sure that i know exactly where every clip/plug goes.
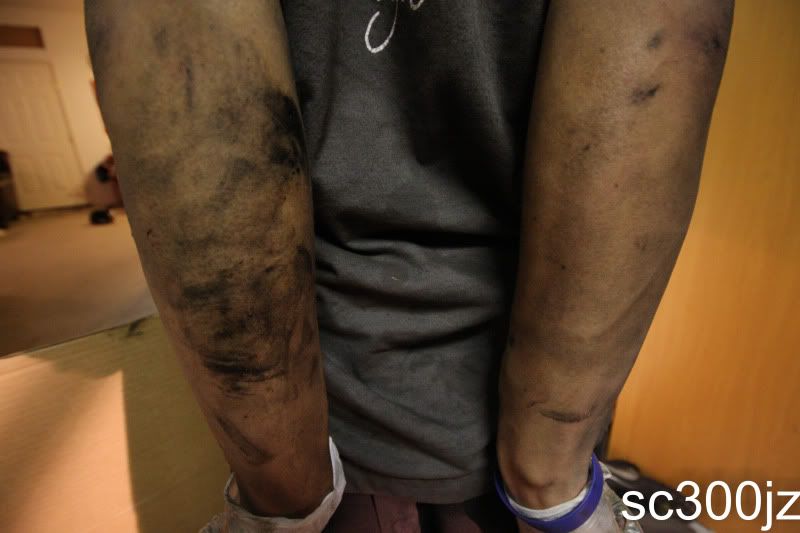
thats what you get for being slammed.
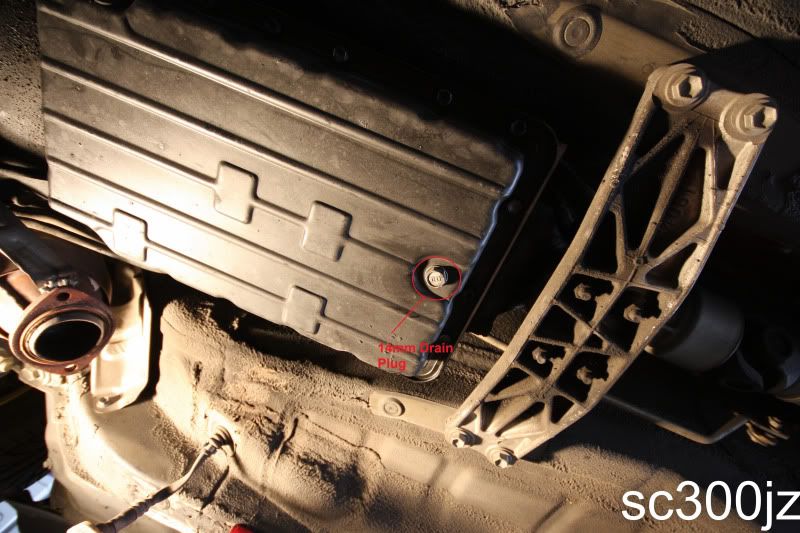
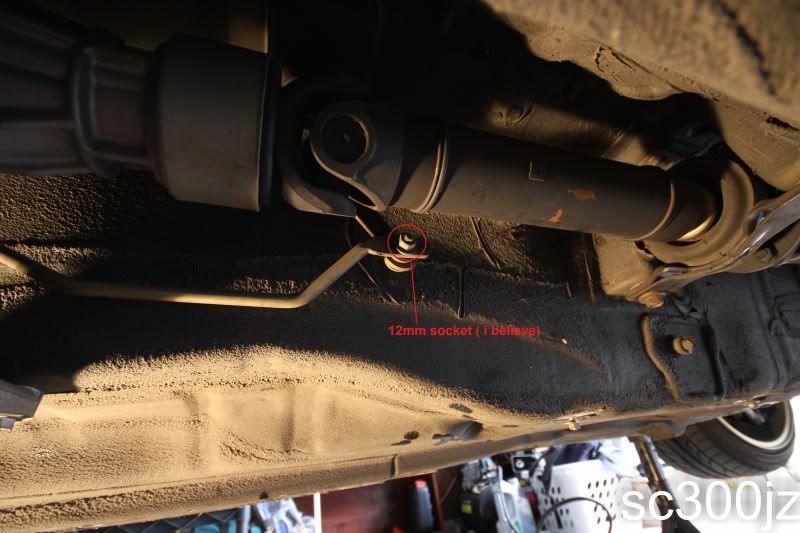
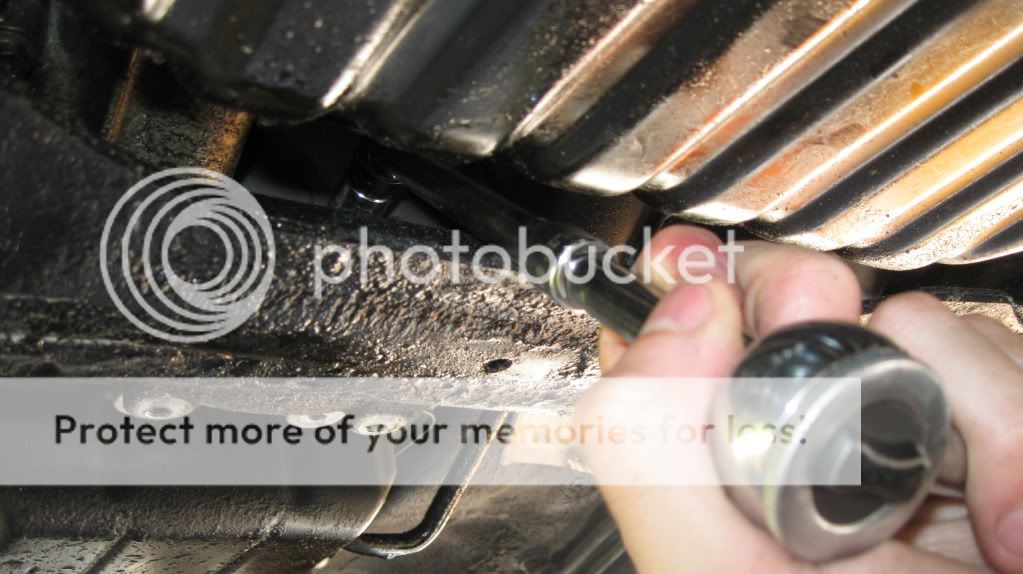
Transmission drain bolt
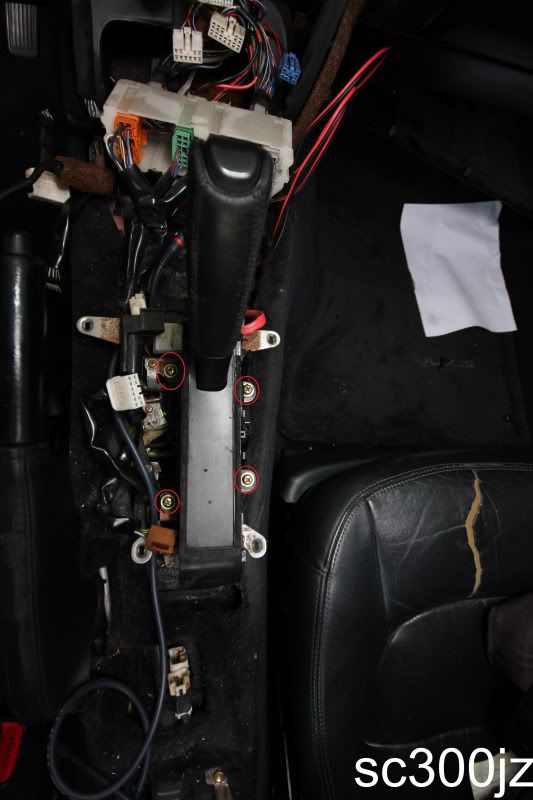
A few more bolts under the carpet
I believe this is the shift link, either way take the bolt off and you'll be able to take the shifter off.
Part of the shift link, remove that bolt and you should be able to yank it out.
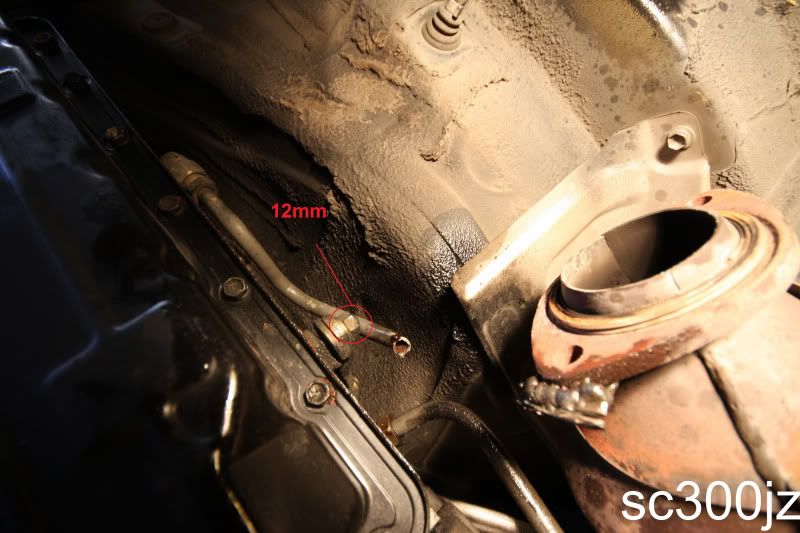

Transmission fill pipe, remove the bolt to break it free and then just pull the tube and it should come off.
This rubber piece comes off (next picture)
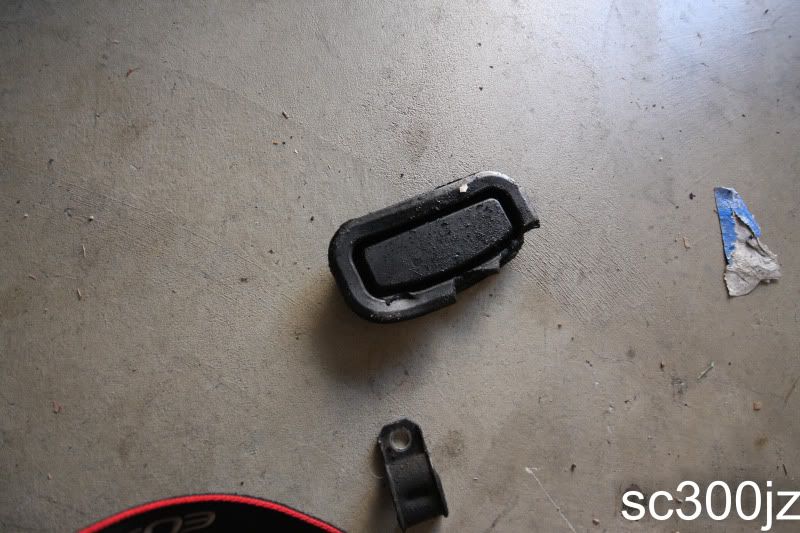
Where the rectangle is at
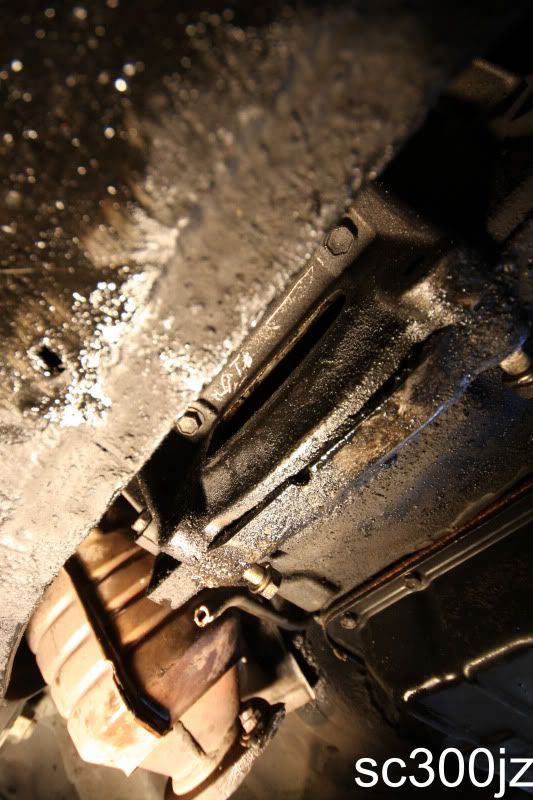
That rubber piece covers the flexplate bolts. There is a total of 6 14mm bolts. To reach the other bolts you need to turn the crankshaft which is a 22mm.
Credit to BartleDoo i hope you don't mind
Almost there
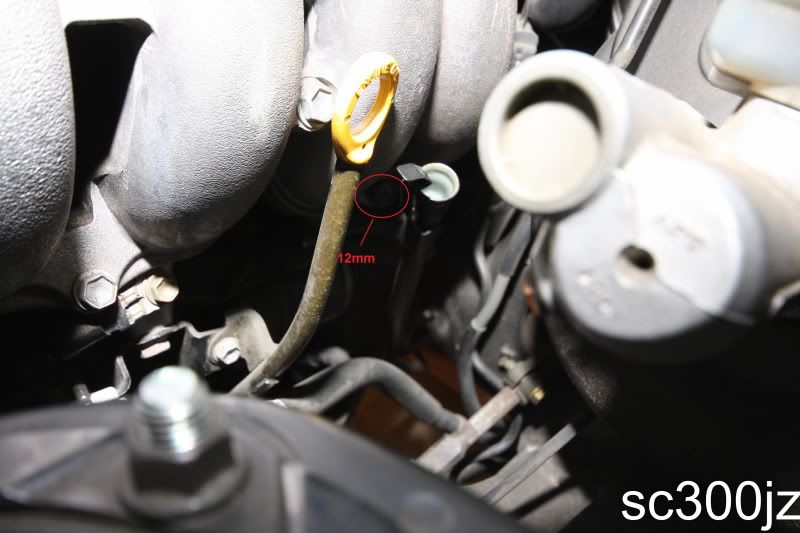
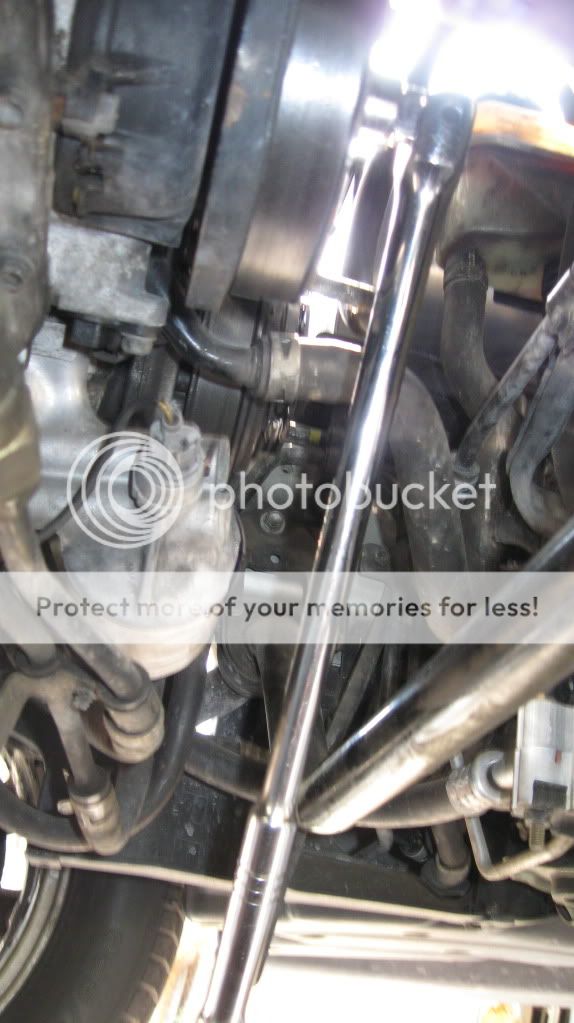
Throttle cable line that you have to take off as it is connected to the auto transmission
Different angle
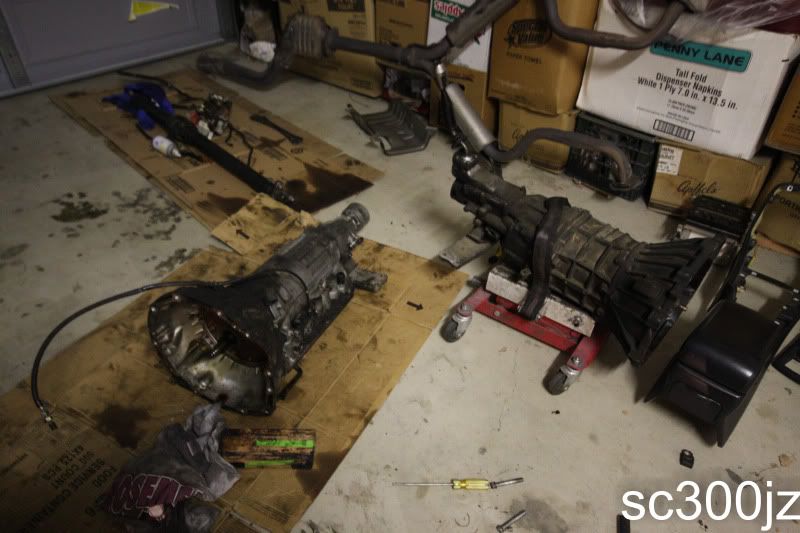
Didn't take pictures of yanking the transmission, fluid was just everywhere
I got to the point where i wanted to and just called it a day. Anyways i'll let some pictures do the talking.Remove your exhaust pretty straight forward.
Then remove your driveshaft, make sure you mark how they line up before you remove it.
Just a little something for me, making sure that i know exactly where every clip/plug goes.
thats what you get for being slammed.
Transmission drain bolt
A few more bolts under the carpet
I believe this is the shift link, either way take the bolt off and you'll be able to take the shifter off.
Part of the shift link, remove that bolt and you should be able to yank it out.
Transmission fill pipe, remove the bolt to break it free and then just pull the tube and it should come off.
This rubber piece comes off (next picture)
Where the rectangle is at
That rubber piece covers the flexplate bolts. There is a total of 6 14mm bolts. To reach the other bolts you need to turn the crankshaft which is a 22mm.
Credit to BartleDoo i hope you don't mind
Almost there
Throttle cable line that you have to take off as it is connected to the auto transmission
Different angle
Didn't take pictures of yanking the transmission, fluid was just everywhere
Last edited by abounly; Jun 20, 2011 at 01:42 AM.
To bypass the neutral safety switch.
Jump these two pins, I used a paper clip and just put a bag over it and let it rest ontop of the transmission
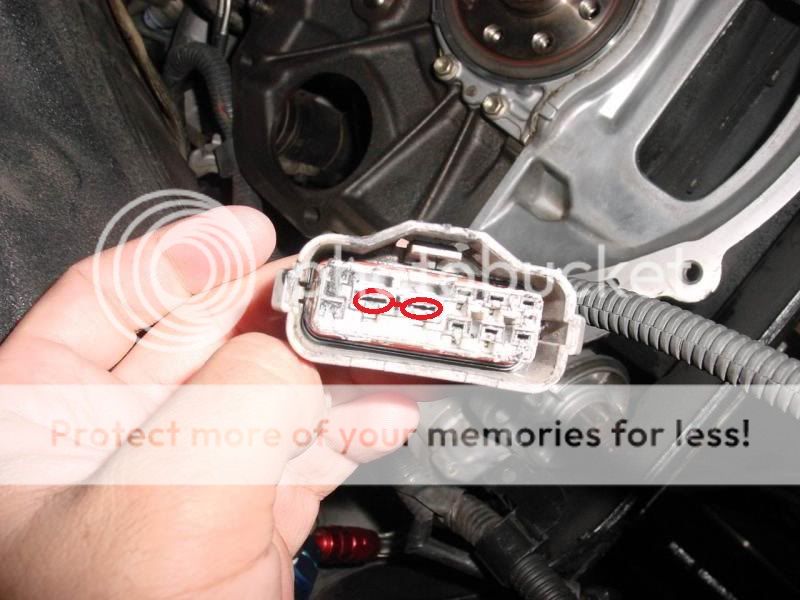
Jump these two pins, I used a paper clip and just put a bag over it and let it rest ontop of the transmission
Last edited by abounly; Feb 18, 2012 at 01:48 PM.
Questions and answer
Q: Who are your best friends
A: 12mm and 14mm
Q: Cutout hole size for master cylinder
A: I used a 1 1/4 hole saw
Q: Stock flywheel bolt size
A: 14mm 12 point star
Q: ARP flywheel bolt size
A: 10mm 12 point star
Q: 1jz ARP flywheel bolts the same as 2jz
A: Yes
Q: What tranny fluid
A: Red Line MT-90 (3 quarts)
Q: Clutch fluid
A: Toyota Brake fluid DOT 3
Q: Flywheel torque spec
A: 36 ft lb + 90 degree
Q: Clutch PP torque
A: 14 ft�lbf
Sources
Automatic transmission remove / removal
http://www.mkiv.com/techarticles/aut...uto/index.html
http://www.cygnusx1.net/Supra/Librar...aspx?S=AT&P=43
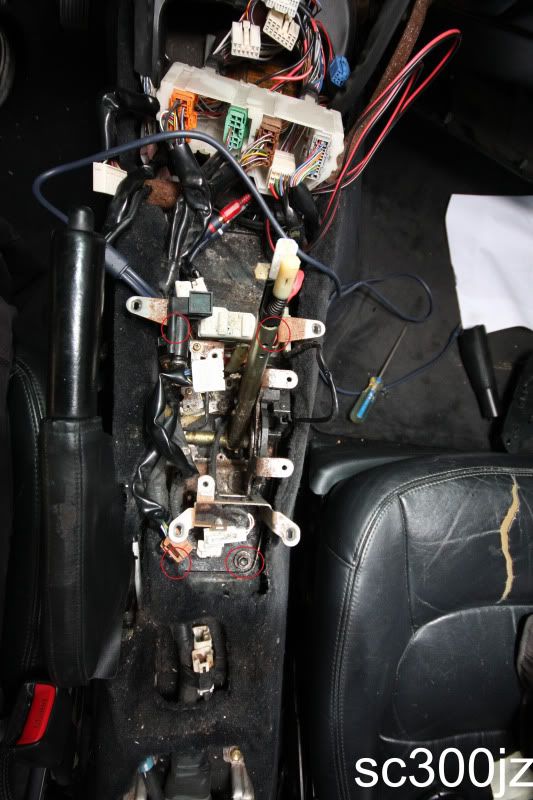
Remove center console
Use this link to learn how to take off your center console and etc.
https://www.clublexus.com/forums/sc-...-56k-nono.html
Q: Who are your best friends
A: 12mm and 14mm
Q: Cutout hole size for master cylinder
A: I used a 1 1/4 hole saw
Q: Stock flywheel bolt size
A: 14mm 12 point star
Q: ARP flywheel bolt size
A: 10mm 12 point star
Q: 1jz ARP flywheel bolts the same as 2jz
A: Yes
Q: What tranny fluid
A: Red Line MT-90 (3 quarts)
Q: Clutch fluid
A: Toyota Brake fluid DOT 3
Q: Flywheel torque spec
A: 36 ft lb + 90 degree
Q: Clutch PP torque
A: 14 ft�lbf
Sources
Automatic transmission remove / removal
http://www.mkiv.com/techarticles/aut...uto/index.html
http://www.cygnusx1.net/Supra/Librar...aspx?S=AT&P=43
Remove center console
Use this link to learn how to take off your center console and etc.
https://www.clublexus.com/forums/sc-...-56k-nono.html
Last edited by abounly; Jun 20, 2011 at 01:47 AM.


Trending Topics
Thanks guys and for now thats all i'll be doing for this week until school is over.
