

97 SC400 Getrag V160 6-speed swap thread
It seems like the other way around to me. I think you are progressing not regressing. It can't be too much longer until you get the darn thing mounted on your pearl white beauty now that you have a complete understanding of the dynamics of that ornary throwout bearing.
Jelousy is definitely at an all time high.
Jelousy is definitely at an all time high.
Thread Starter
Lexus Test Driver
iTrader: (33)
Joined: Jul 2004
Posts: 5,827
Likes: 4
From: Sideways on the Yellow Brick Road! < Thats KS!
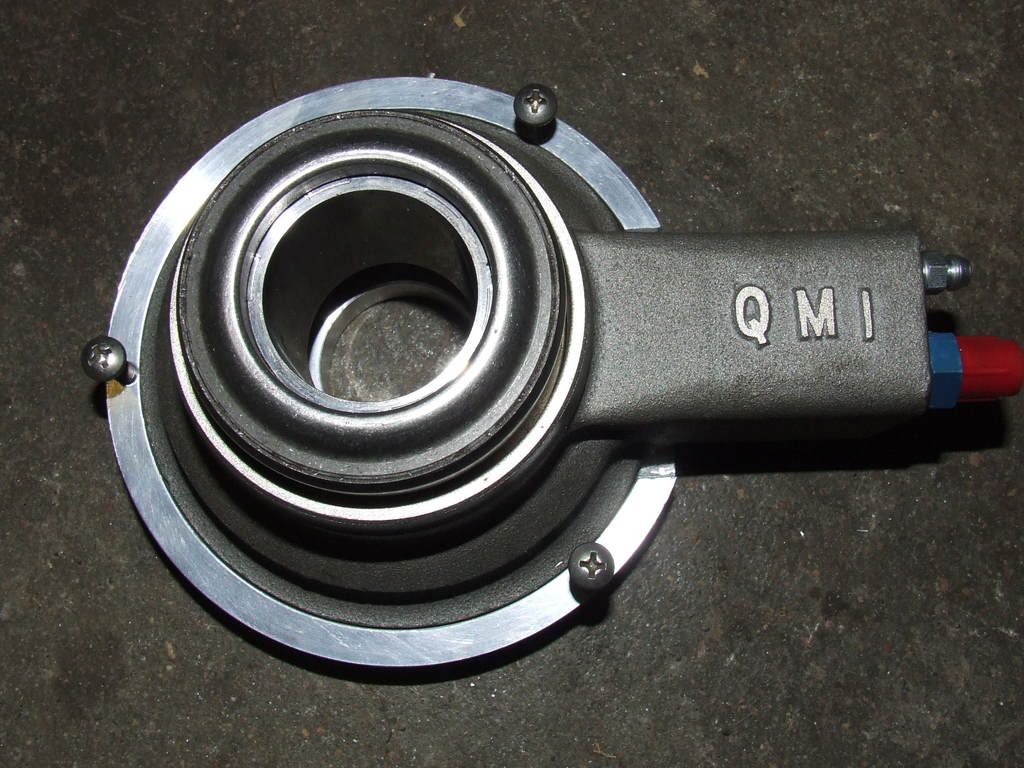
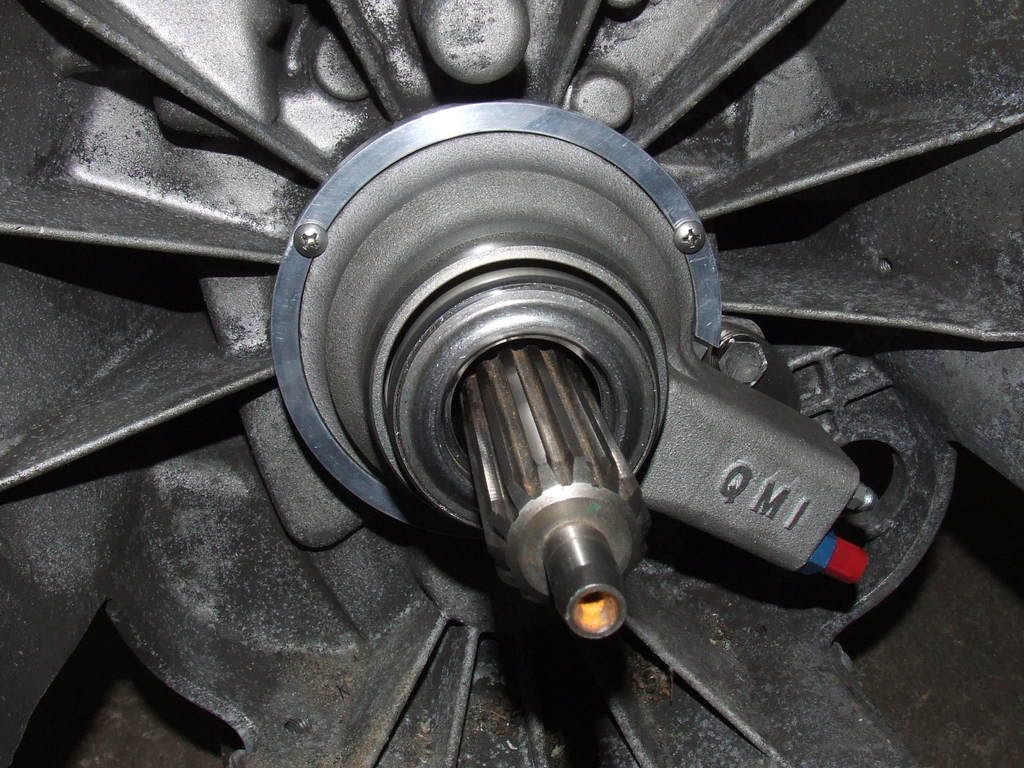
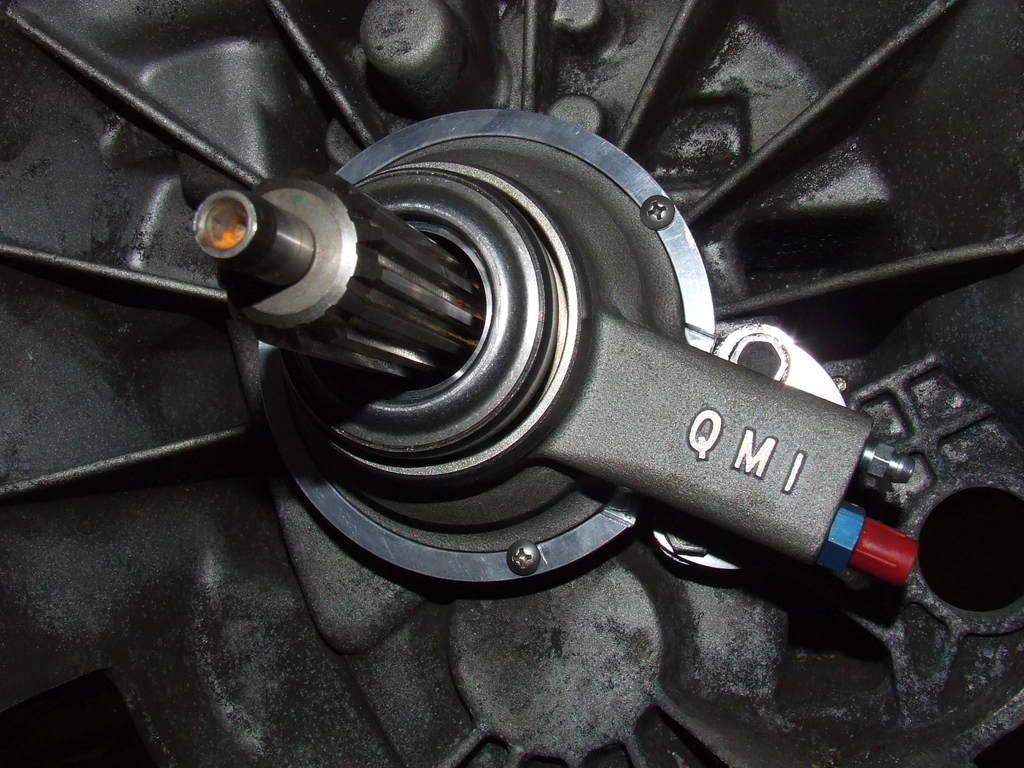
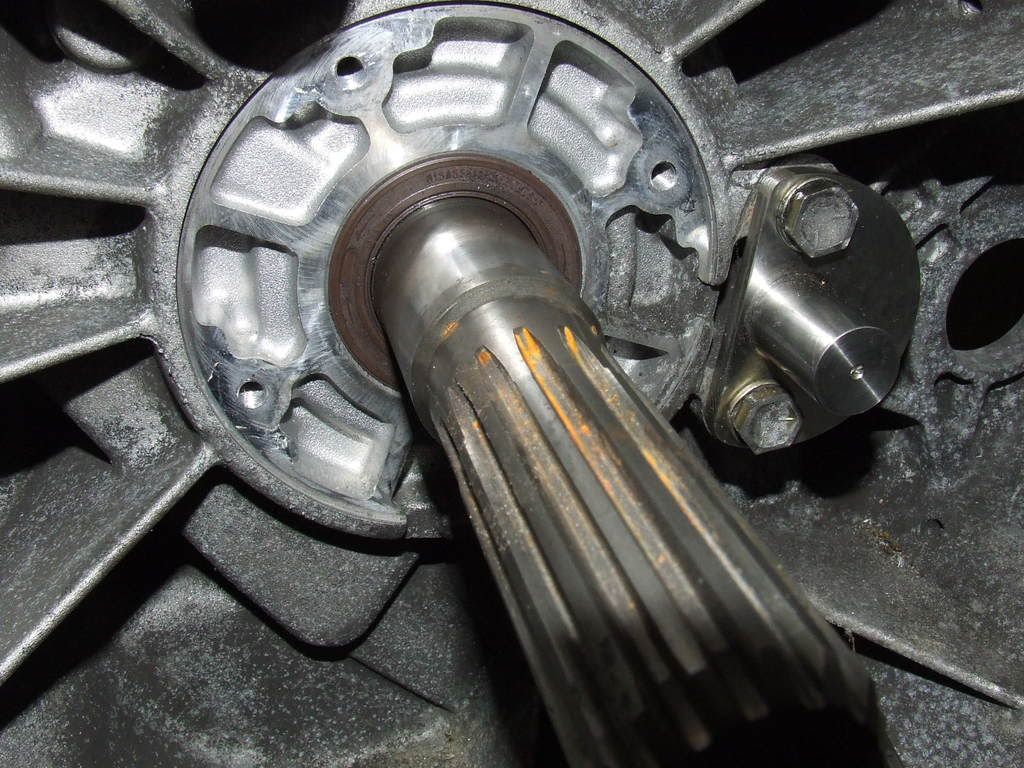
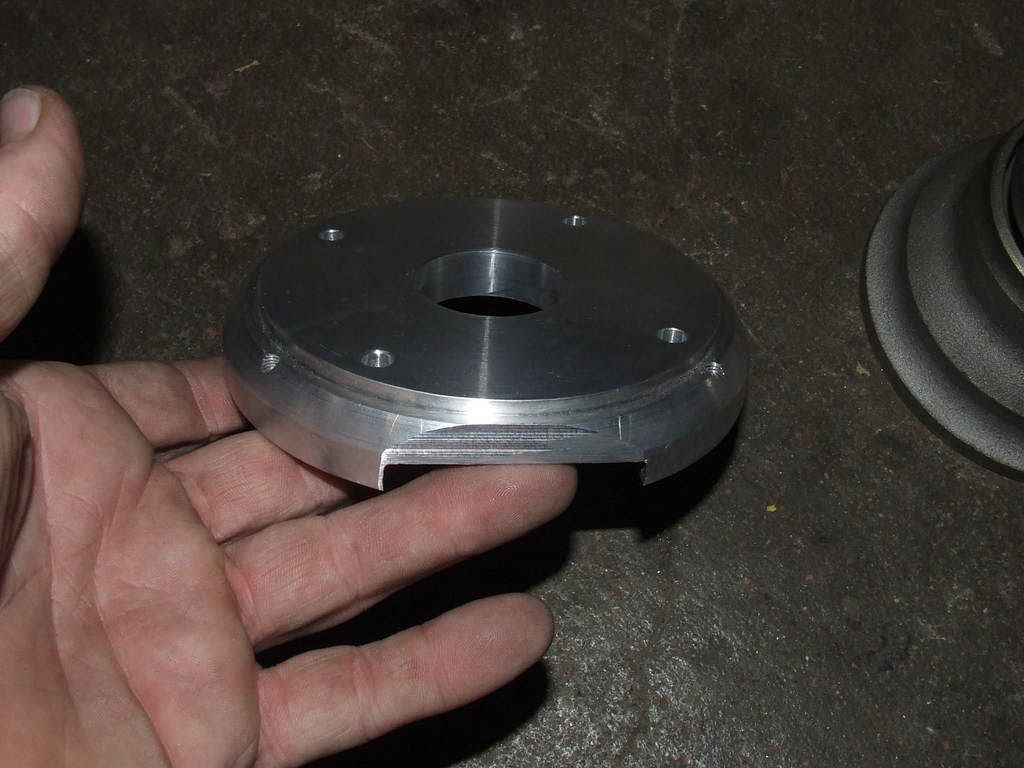
OK, I have a new throw out bearing centering device. I feel really good about this one. I cant stress how important I feel it is that the throw out bearing stay centered. If it gets off center at all the input shaft will rub on a stationary in hub. Noise, heat, wear, and failure, did I mention its really important? The other one no doubt was fine but this is improved.
I wanted to come up with a way to hold it centered and retain it so it always pulls back off the clutch fingers.
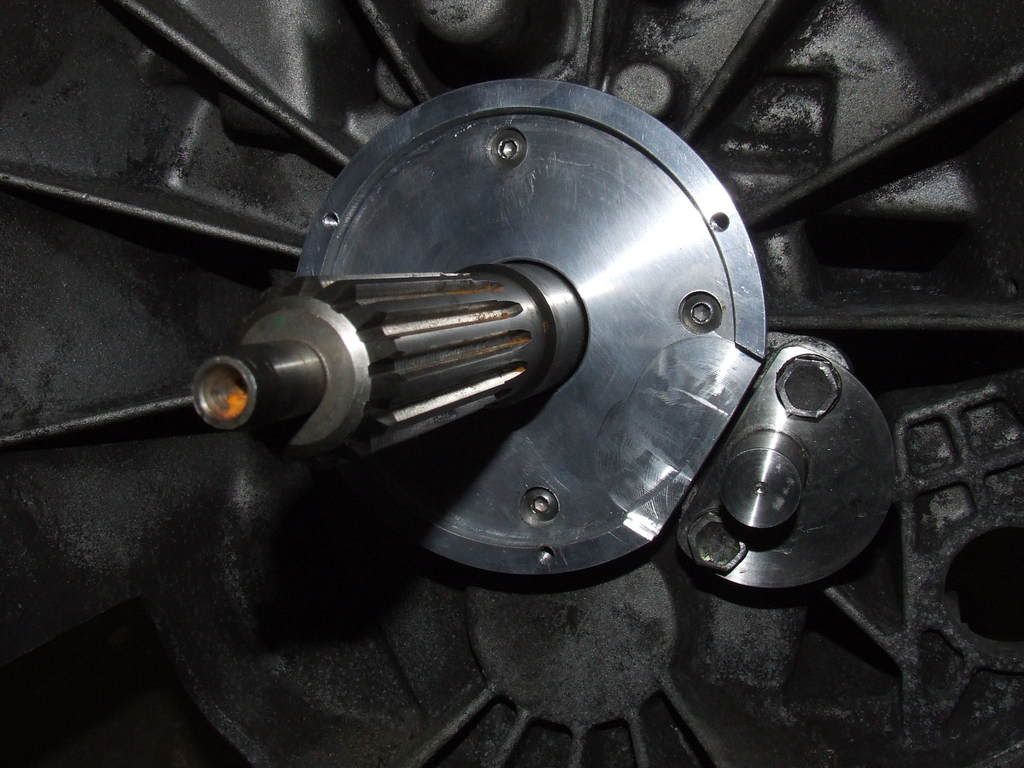
Here is what machined.
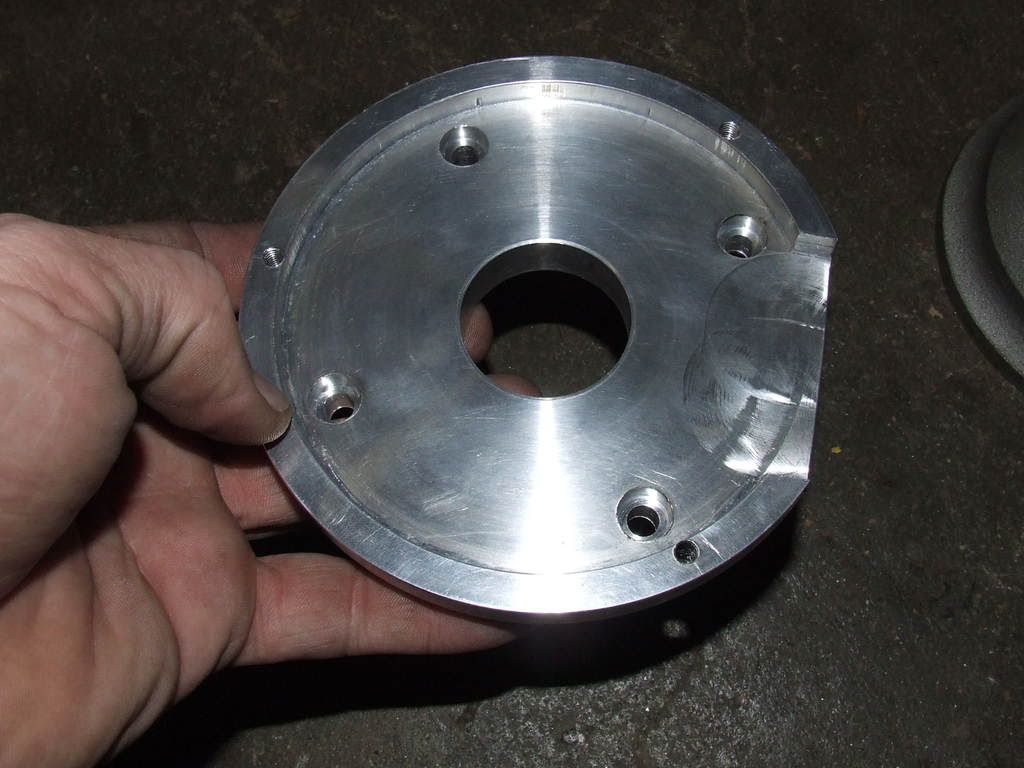
The back centers in the transmissions recess, I chamfered it to clear the trans gussets.
I wanted to come up with a way to hold it centered and retain it so it always pulls back off the clutch fingers.
Here is what machined.
The back centers in the transmissions recess, I chamfered it to clear the trans gussets.
Last edited by ScottURnot; Dec 18, 2008 at 07:23 AM.
Thread Starter
Lexus Test Driver
iTrader: (33)
Joined: Jul 2004
Posts: 5,827
Likes: 4
From: Sideways on the Yellow Brick Road! < Thats KS!
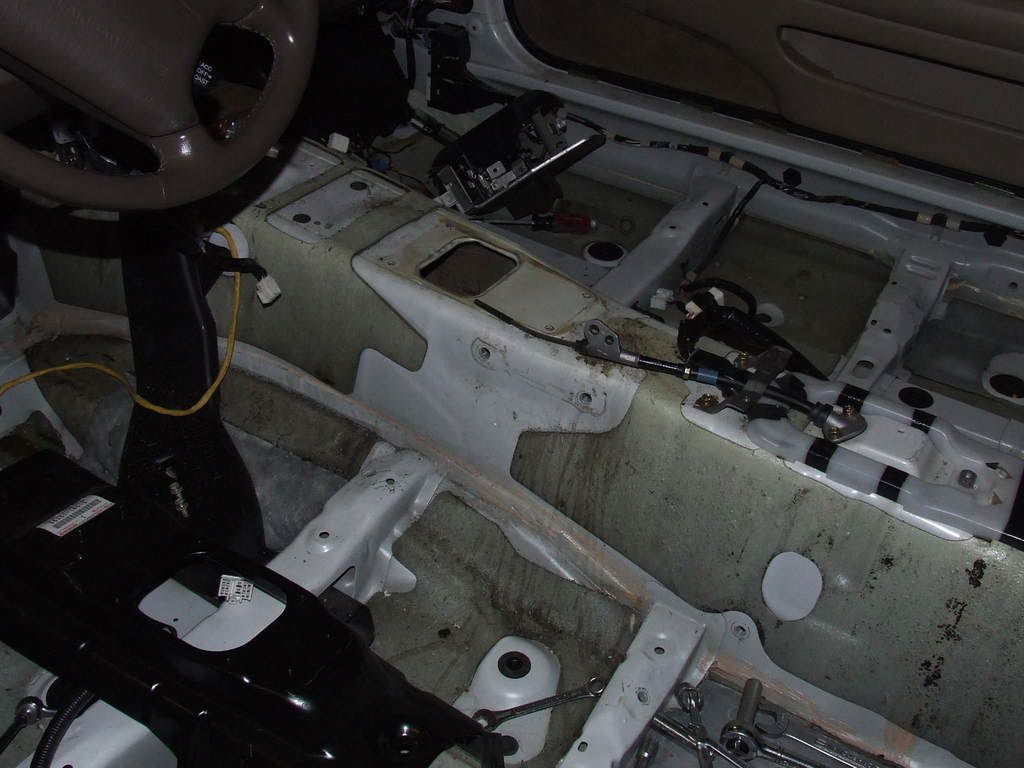
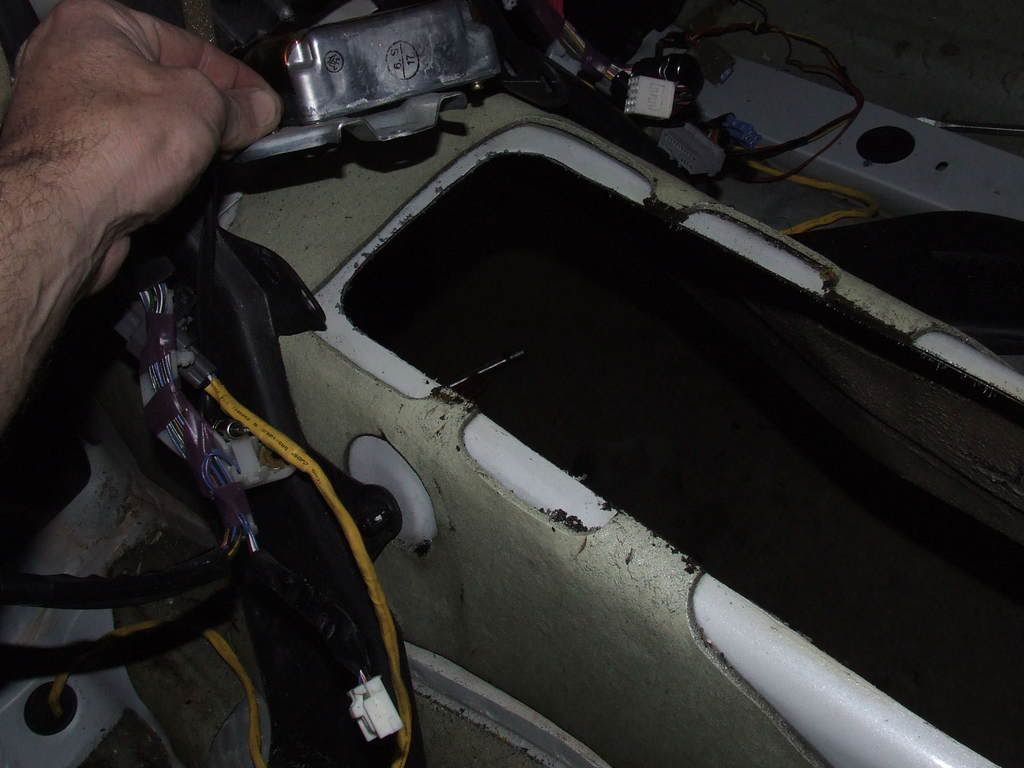
Well I tore out my interior today and have started looking at the tunel modification, Actually it is looking very promising. I will post some pics later.
Thread Starter
Lexus Test Driver
iTrader: (33)
Joined: Jul 2004
Posts: 5,827
Likes: 4
From: Sideways on the Yellow Brick Road! < Thats KS!
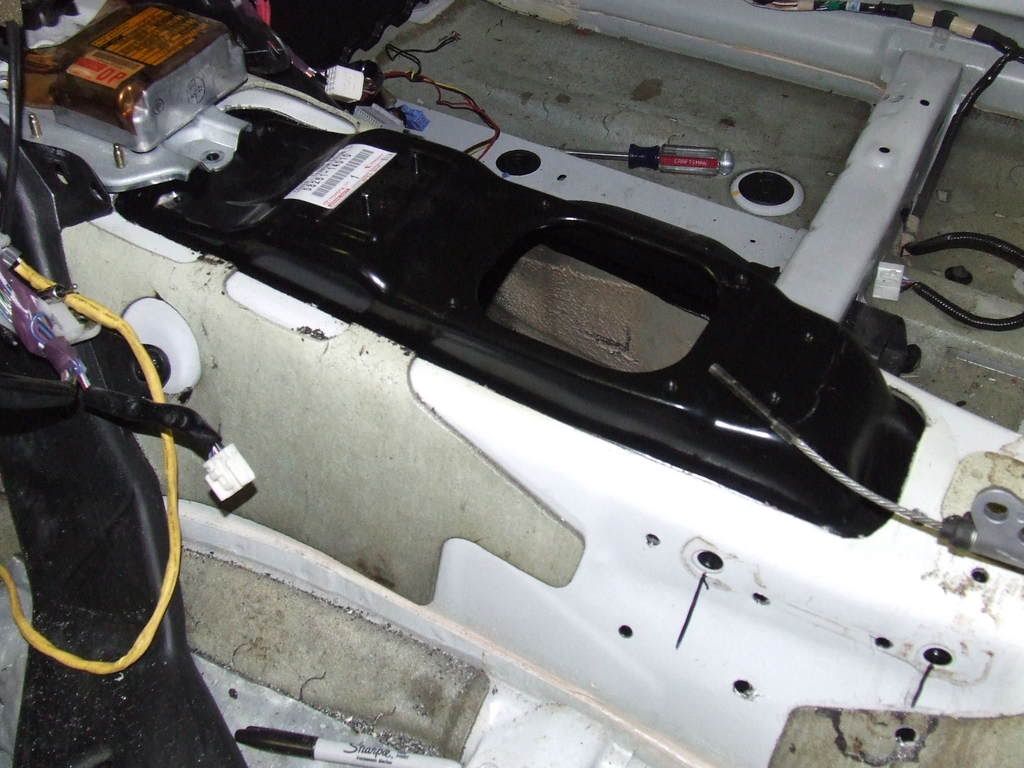
OK, Today I made some big progress.
First I gutted the interior, I'm upgrading it anyway so it had to come out.
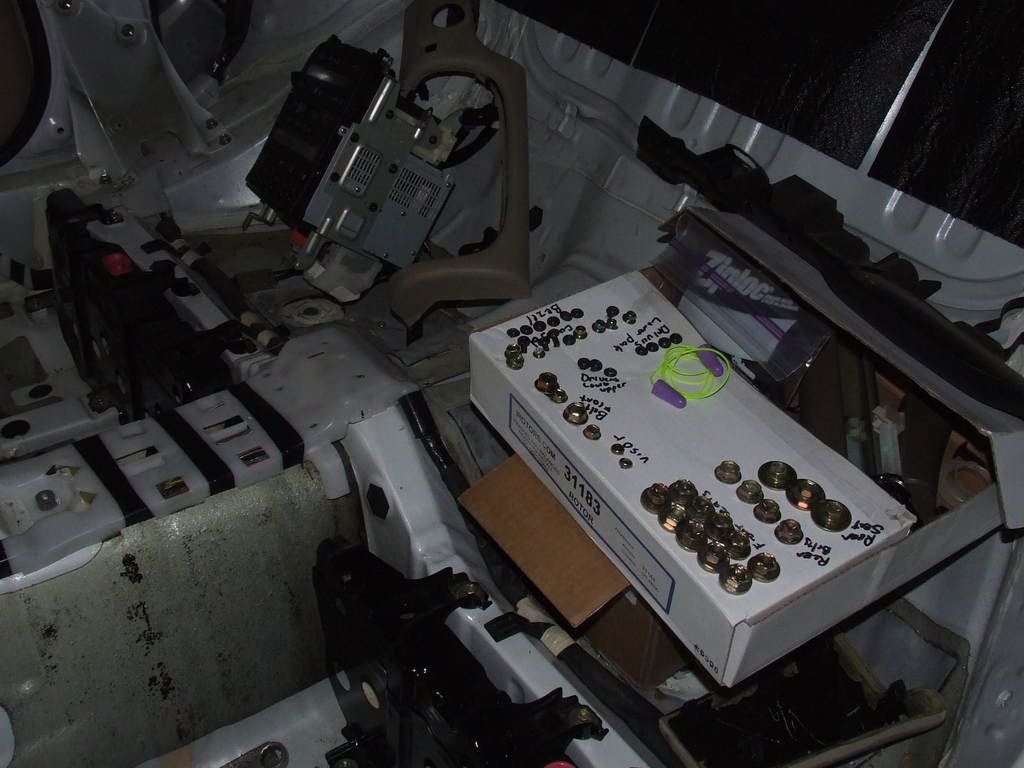
How to keep all the bolts straight!
First I gutted the interior, I'm upgrading it anyway so it had to come out.
How to keep all the bolts straight!
ClubLexus Stories
Celebrating Lexus & Toyota from Around the Globe

8 Tips for Improving Your Hybrid or Plug-in Hybrid's Efficiency!
Michael S. Palmer
10 Best Lexus Models No One Remembers
Joe Kucinski
TRD Off-Road Premium: Best 2026 4Runner, Except This One Thing
Michael S. Palmer
Top 10 Lexus & Toyotas to Drive Before You Die!
Joe Kucinski
Top 10 Lexus/Toyotas With The LEAST 5-Year Depreciation
Joe Kucinski
Lexus LC500 Convertible Auction: A Preview of Rising Values?
Brett Foote
GX 550 vs TX 550: Best 3-Row Luxury Lexus Family Hauler
Michael S. Palmer
9 Best Lexus Models You Can Buy for Half Price (And 1 You Shouldn't!)
Joe Kucinski
2026 Lexus NX Buyer's Guide: Models, Features, Prices & More!
Brett Foote
Thread Starter
Lexus Test Driver
iTrader: (33)
Joined: Jul 2004
Posts: 5,827
Likes: 4
From: Sideways on the Yellow Brick Road! < Thats KS!
Now the great part! I did a lot of measuring and it apears the shifter will come up in the right spot!
Not for the cutting of the tunnel. This is a plesant surprise
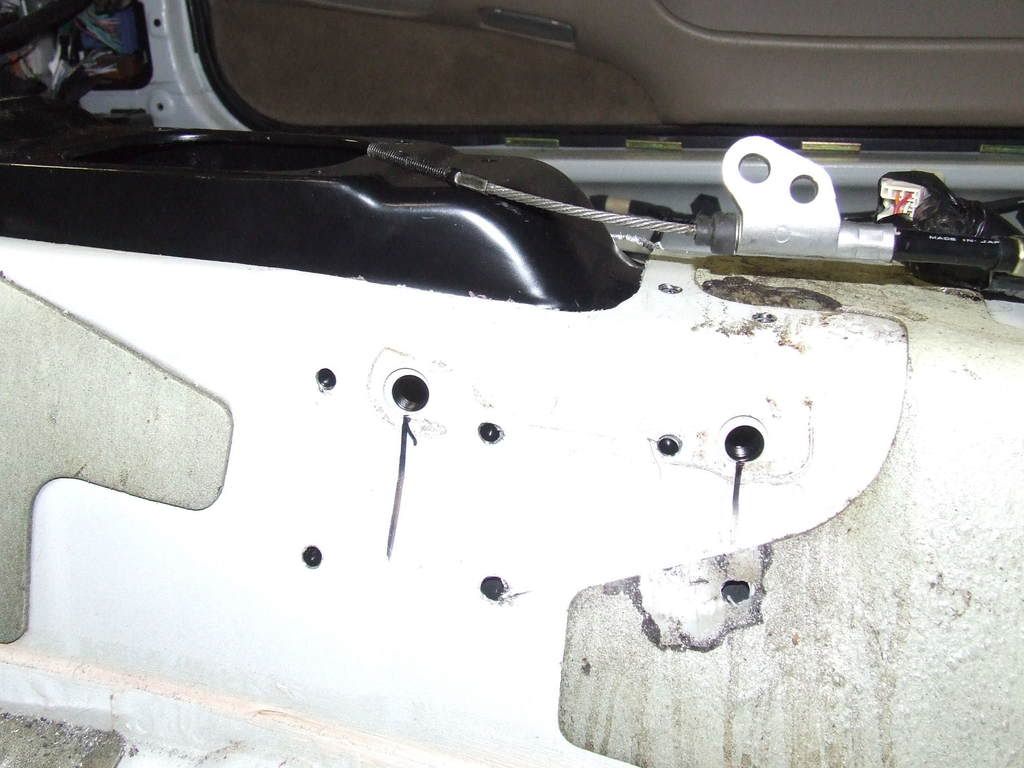
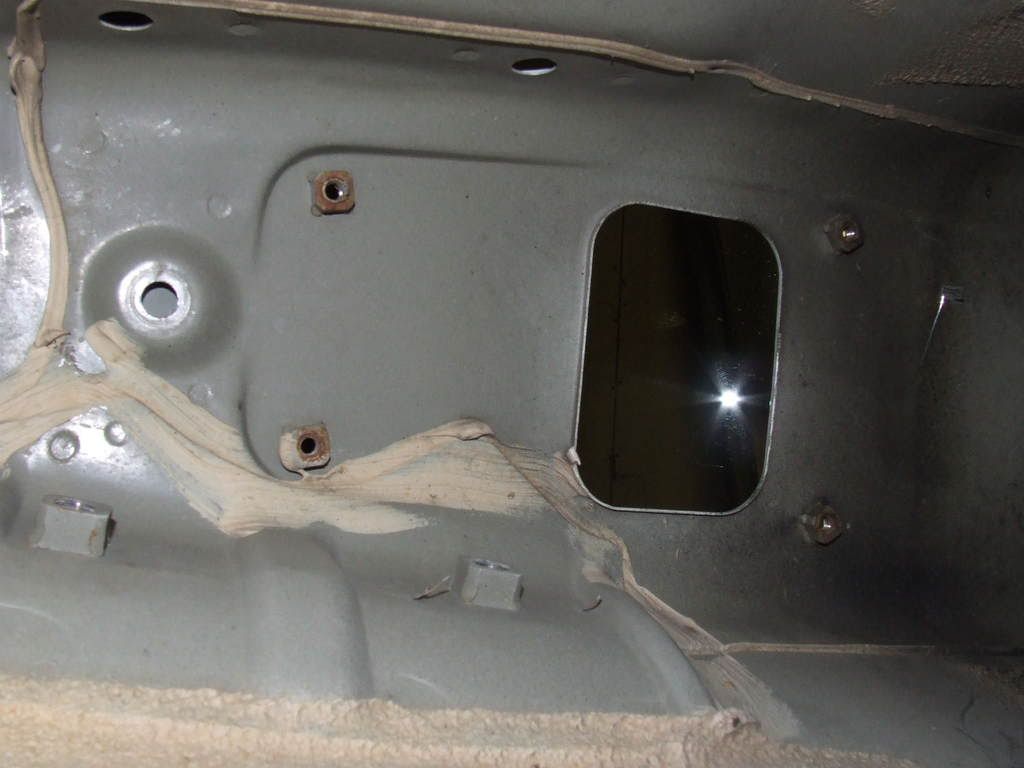
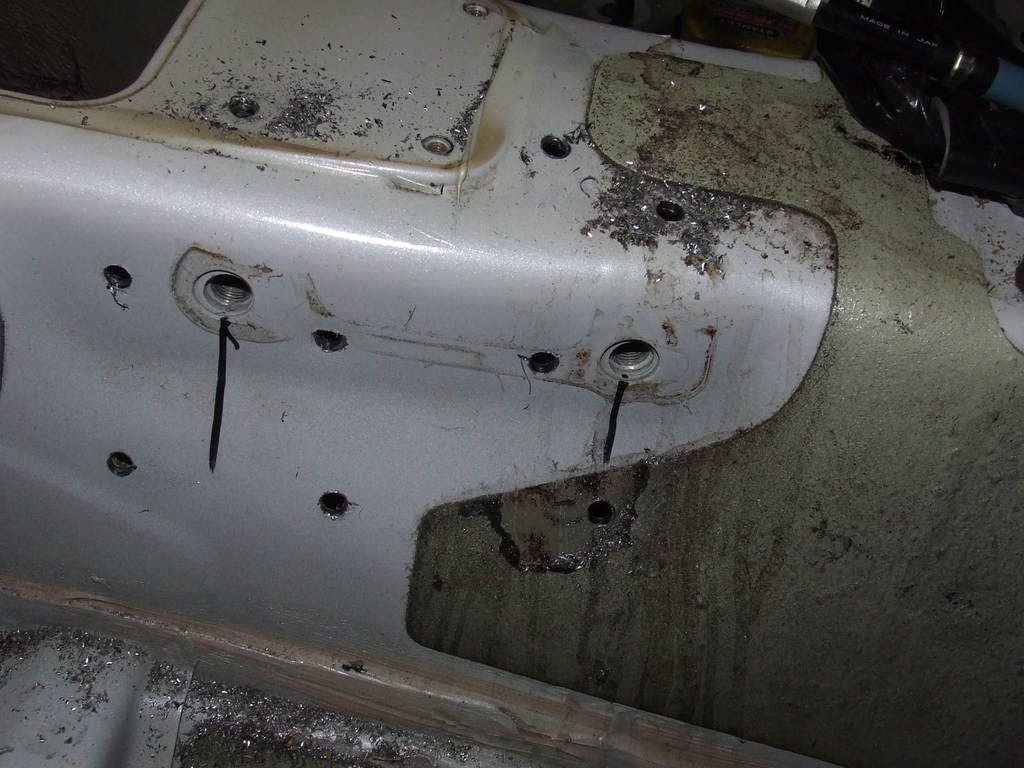
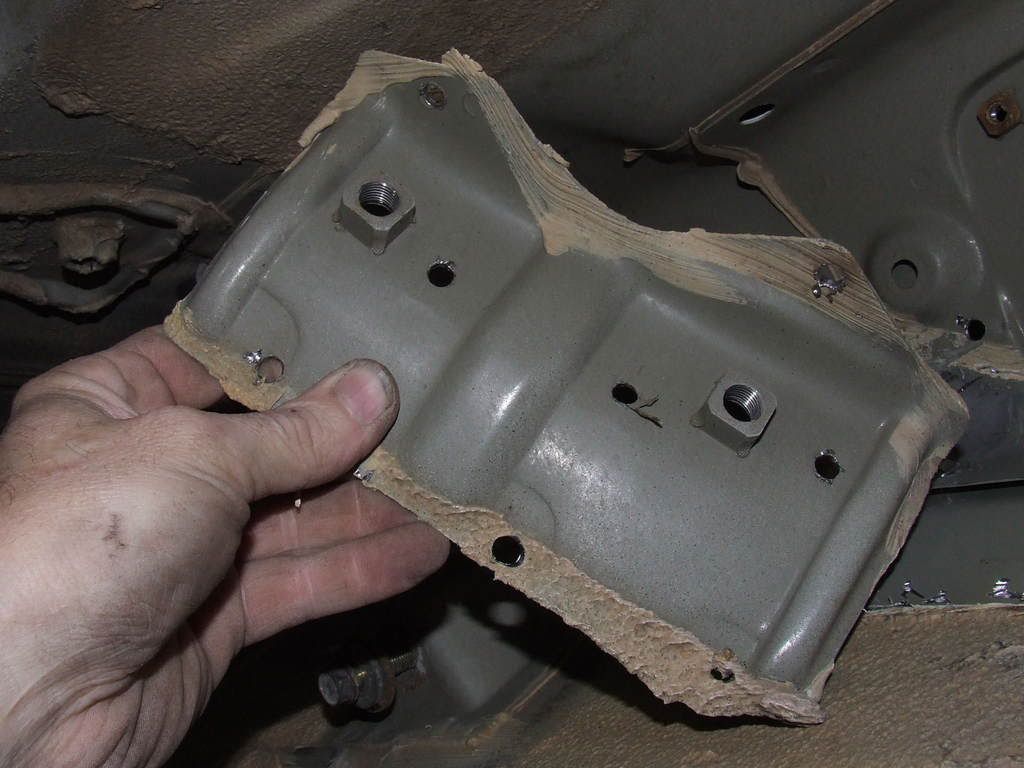
The first thing that has to go is the E-brake bracket, No problem, the tunnel will replace it. Here is the said bracket, the one with the two large nuts on it.
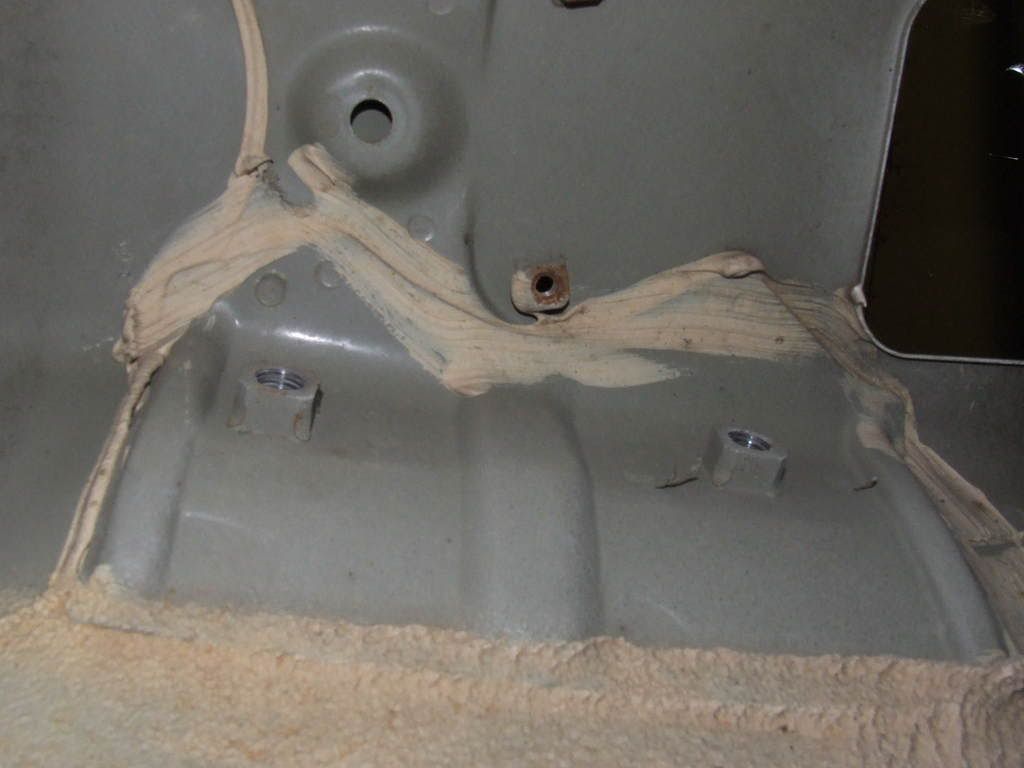
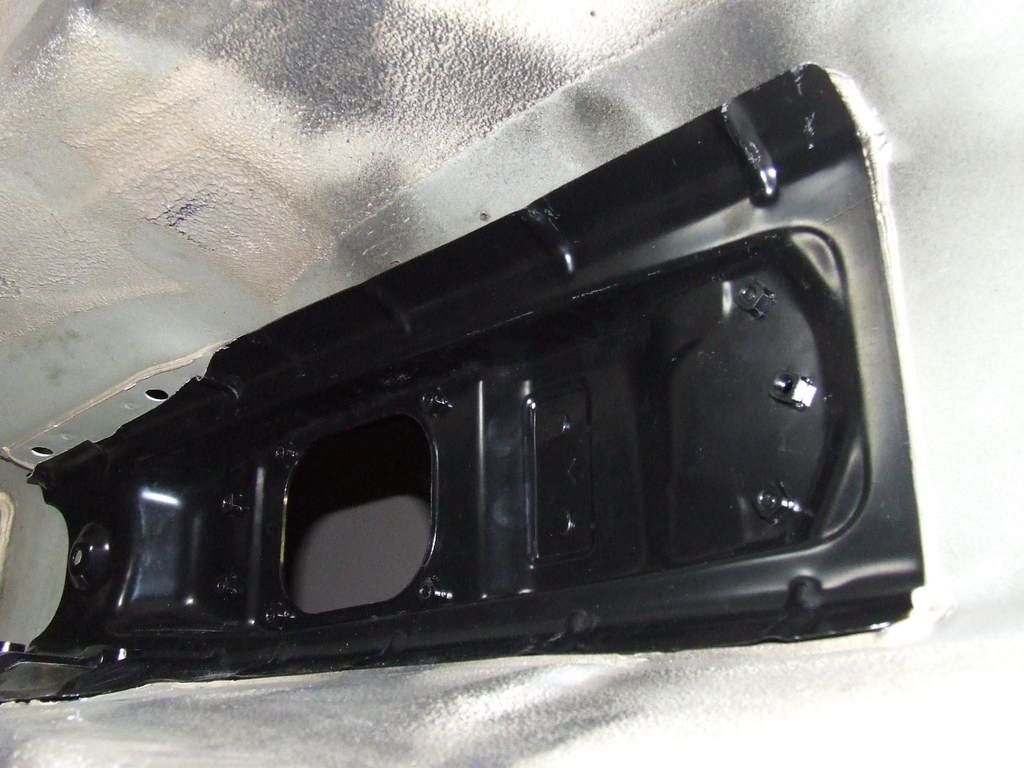
Here is the replacment part on the new tunnel.
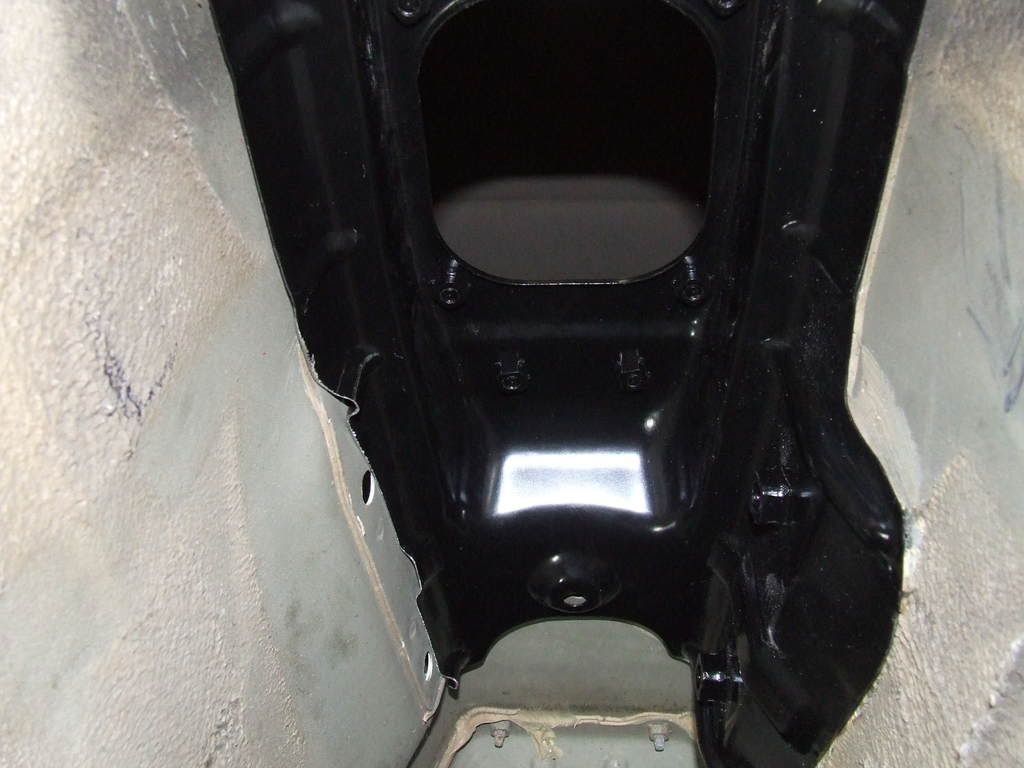
Here it is on the inside, Note all the spot welds!
Not for the cutting of the tunnel. This is a plesant surprise
The first thing that has to go is the E-brake bracket, No problem, the tunnel will replace it. Here is the said bracket, the one with the two large nuts on it.
Here is the replacment part on the new tunnel.
Here it is on the inside, Note all the spot welds!
Thread Starter
Lexus Test Driver
iTrader: (33)
Joined: Jul 2004
Posts: 5,827
Likes: 4
From: Sideways on the Yellow Brick Road! < Thats KS!
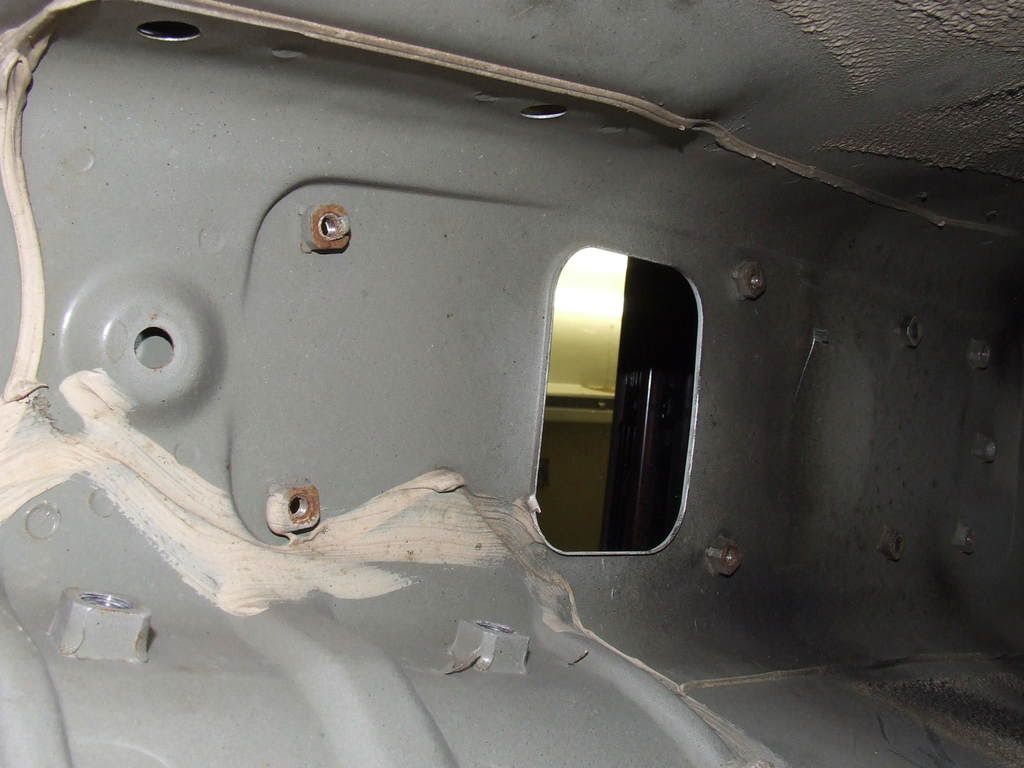
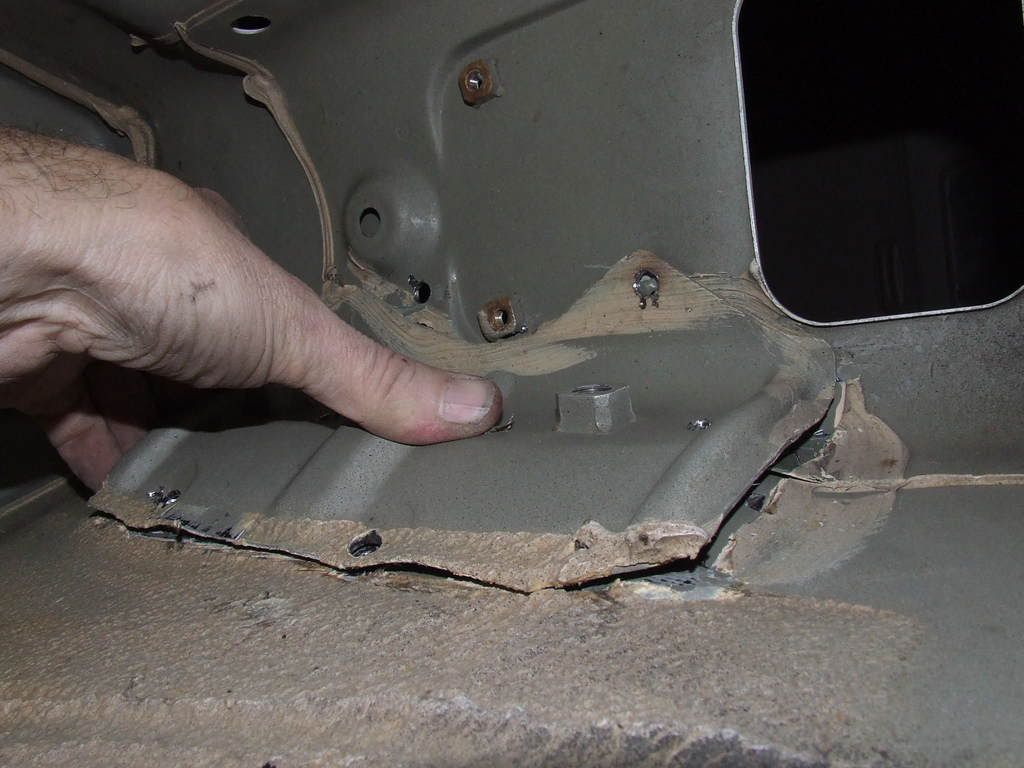
Get a drill with a 5/16" bit and drill all the spot welds out as shown here. Once they are all drilled get under the car with a hammer and chisel or a air chisel and knock the bracket out.

Thread Starter
Lexus Test Driver
iTrader: (33)
Joined: Jul 2004
Posts: 5,827
Likes: 4
From: Sideways on the Yellow Brick Road! < Thats KS!
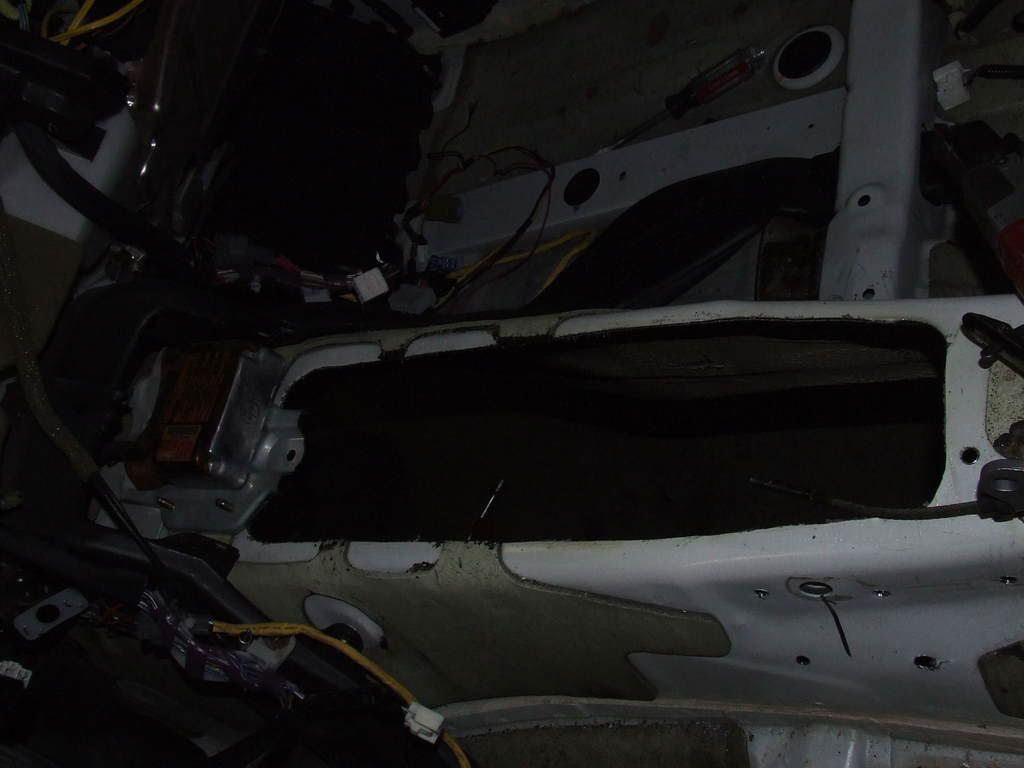
Next you need to cut the hole. There is already a line stamped in the tunnel, just cut on that line and it will look like this.
Thread Starter
Lexus Test Driver
iTrader: (33)
Joined: Jul 2004
Posts: 5,827
Likes: 4
From: Sideways on the Yellow Brick Road! < Thats KS!
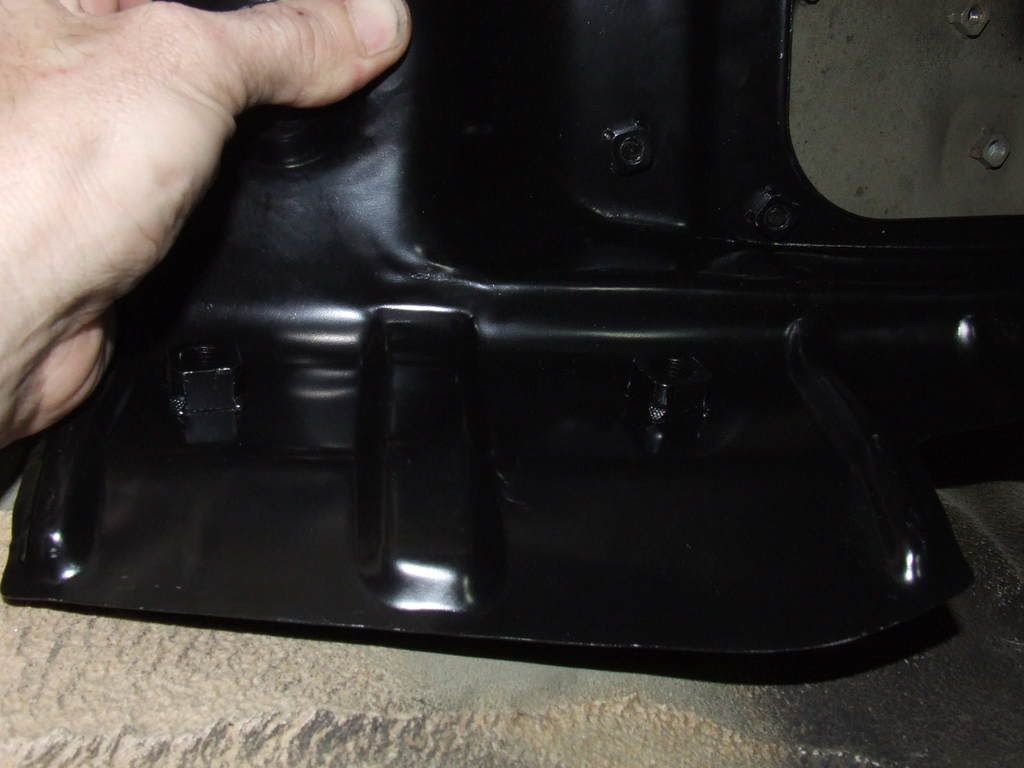
Next the Supra tunnel come up from the bottom. I just sat it in for pictures, I will be riviting/welding/sealing it in soon but for now here it is. Its like its made for it.
Thread Starter
Lexus Test Driver
iTrader: (33)
Joined: Jul 2004
Posts: 5,827
Likes: 4
From: Sideways on the Yellow Brick Road! < Thats KS!
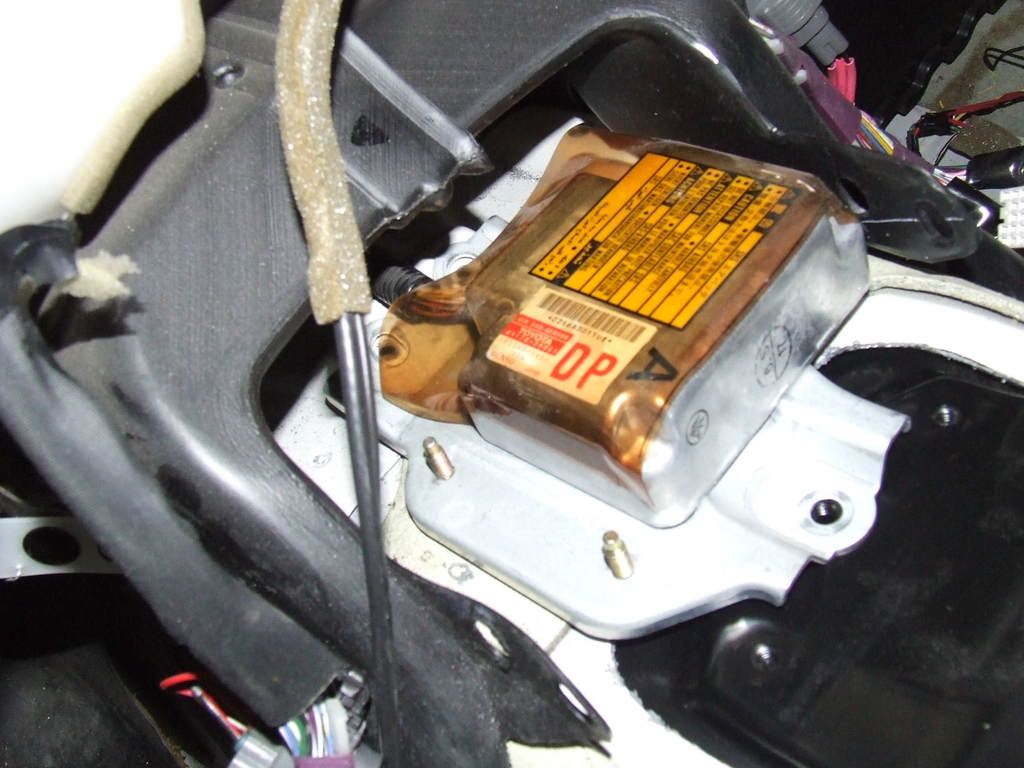
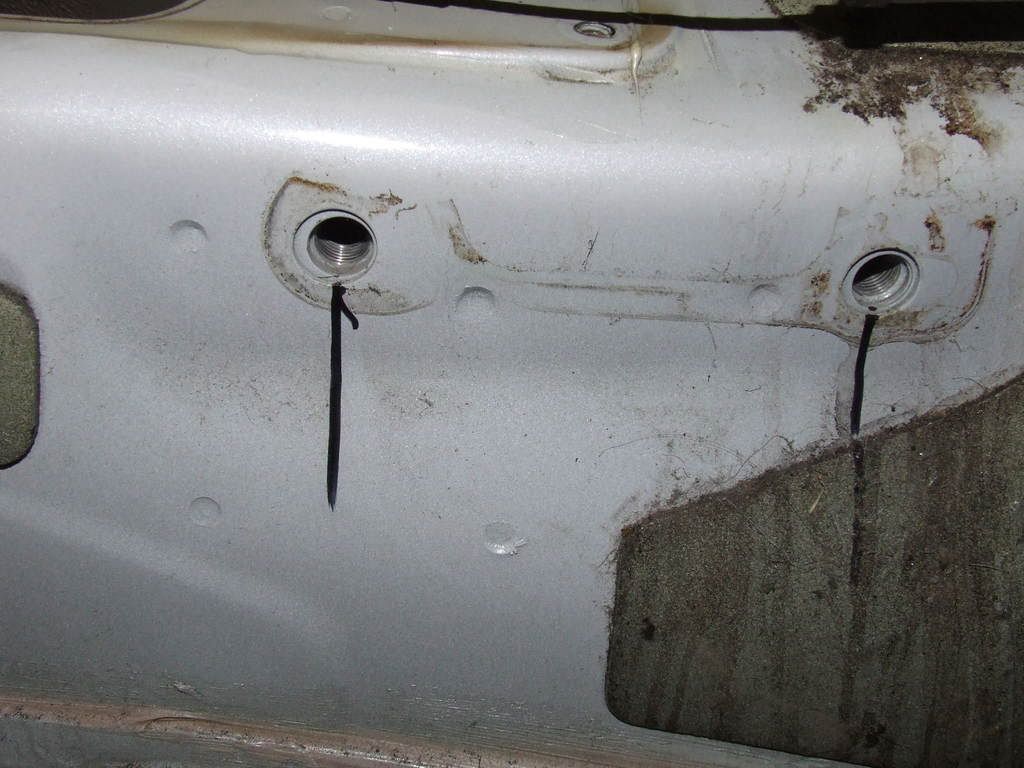
Look how it replaces the bolt holes up fron for the airbag modual mount and harness mount holes right to the stock location, and those ebrake holes I removed? Right back where they started. Sweet!