When you click on links to various merchants on this site and make a purchase, this can result in this site earning a commission. Affiliate programs and affiliations include, but are not limited to, the eBay Partner Network.
How I replaced the rear struts on my 04 base model LS430
Here's a quick write-up on how I replaced the rear struts on my 04 base model LS430.
Step 1: The rear strut top mounts are located under the rear deck. To access them, you will need to remove the 3 nuts that hold the top of the seat-back in place - one each behind the two head rests, and one behind the arm rest (see circled in RED in drawing below). Pull the seat-back forward to create enough space to reach down and remove the 2 black plastic fasteners that hold the rear deck panel down.
Last edited by rkw77080; Nov 15, 2016 at 05:09 PM.
Reason: Added drawing to show the 3 nuts and 2 plastic fasteners
Step 2 - Put car on jack stands and remove rear wheels
Step 3 - Loosen rear upper control arm ball joint nut (do not remove completely). Use ball joint separator to separate ball joint from rear axle carrier and then remove ball joint nut
Update: Another forum member, Viper6, suggested a shortcut to skip this step (that is, no need to separate the ball joint). Instead, ask someone to step on the wheel to allow for the removal of the strut. See Post #14 on the link below... https://www.clublexus.com/forums/ls-...placement.html
Last edited by rkw77080; Apr 12, 2018 at 07:12 PM.
Step 8 - Remove strut top lock nut and disassemble strut/spring assembly, and replace with new strut. If you�re reusing the strut top mount, all you need to do is to make sure the lower end of the spring rests on the proper location on the new strut.
Last edited by rkw77080; Nov 15, 2016 at 05:18 PM.
Step 10 - Install strut top mount, large washer, and temporarily install a new lock nut, and release spring compressors to restore compression on strut.
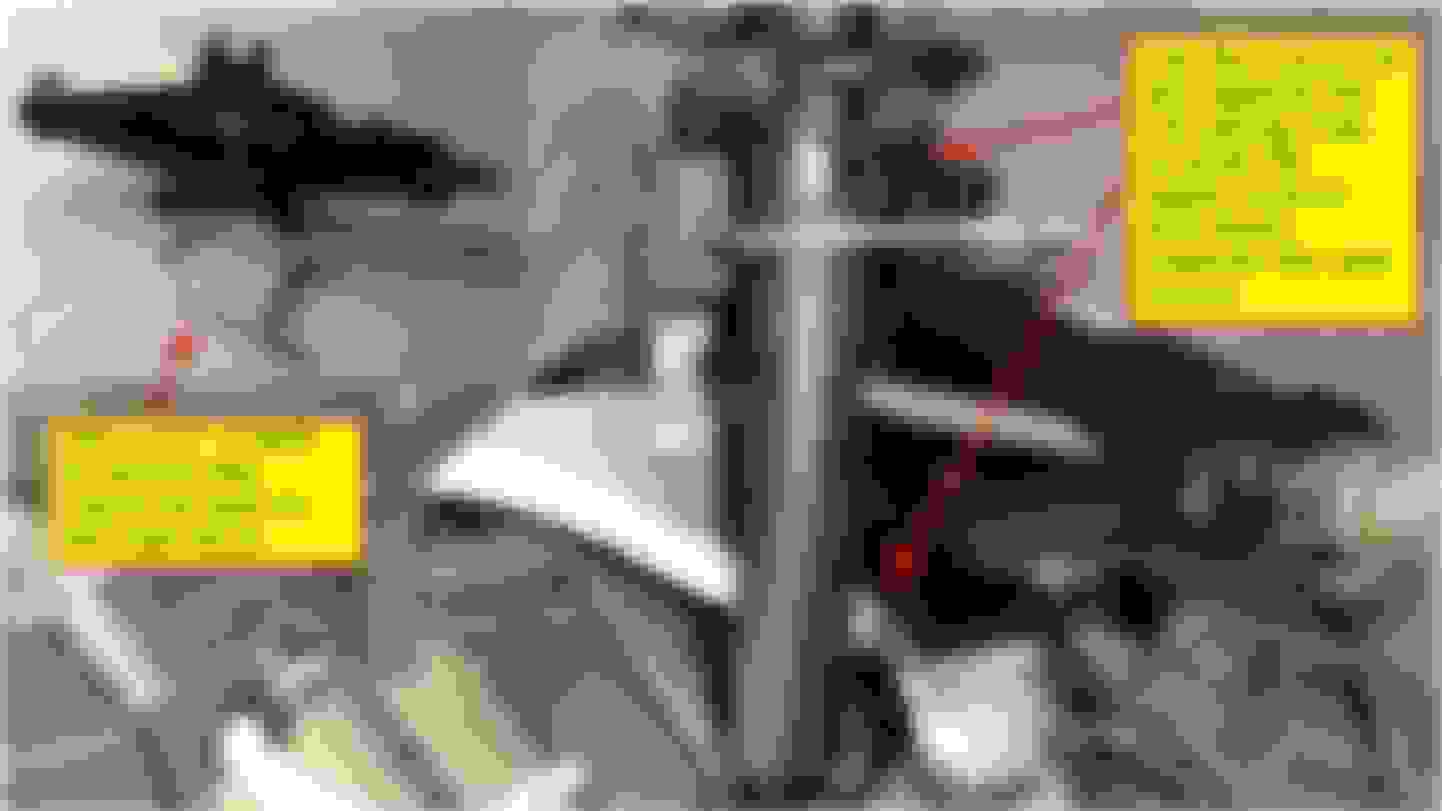
Step 11 - Return the strut/spring assembly to the vehicle. Note that the strut lower mounting bolt has a larger diameter base and a smaller threaded end. Be sure you rotate the strut/spring assembly such that the larger side of the bottom strut bushing will go in first. With the bottom strut bushing facing the right way, line up the strut top mount first and then the bottom bolt. The way I did it was to stand outside of the car - with one hand holding the strut/spring assembly, and the other hand reaching inside the car to guide the 3 top mount bolts into position. Temporarily install the 3 nuts on the strut top mount.
Last edited by rkw77080; Nov 15, 2016 at 05:20 PM.
Step 12 - Attach the bottom strut mount and temporarily tighten the lower strut nut
Step 13 - Torque strut top lock nut to 20 ft-lbf
Step 14 - Torque 3 nuts on strut top mount to 47 ft-lbf
Step 15 - Install strut top mount cap and torque to 18 ft-lbf
Step 16 - Re-install upper control arm ball joint into rear axle carrier. You will need to use a jack to raise the axle carrier, and another to push the upper control arm down. For the axle carrier, put your jack under the brake caliper; for the upper control arm, I put the Lexus car jack between the coil spring stop and the upper control arm. I used a 2-1/2" U-bolt to secure the jack to the rear strut (see photo). Adjust the 2 car jacks to line up the ball joint bolt.
Torque the ball joint nut to 52 ft-lbf.
Update: Another forum member, Viper6, suggested a shortcut to skip this step (that is, no need to separate the ball joint). Instead, ask someone to step on the wheel to allow for the removal of the strut. See Post #14 on the link below... https://www.clublexus.com/forums/ls-...placement.html
Step 17 - Torque strut lower nut to 52 ft-lbf
Step 18 - Re-install rear wheel and torque lug nuts to 76 ft-lbf
Last edited by rkw77080; Apr 12, 2018 at 07:13 PM.
Very good write-up, thanks. Is it absolutely necessary to separate the ball joint to get the strut out?
Very good question… The quick answer is No, you don’t have to, but the job will be easier if you do. I did it both ways!
I initially spent over 4 hours to get my first spring/strut assembly out of the car. I started with removing the upper and lower mounting nuts, and tried to push/hammer the bottom mount off. It has too much compression against the mounting stud and would not budge. Then I had to use a pair of spring compressors to shorten the spring/strut assembly for removal. To fit the spring compressors up into the wheel well, I had to cut away portion of the wheel well liner. It was very dangerous to operate the spring compressors in such tight quarter. Re-installing the spring/strut assembly afterwards was also very challenging.
By separating the ball joint, I was able to swing the axle carrier down and away to remove the second spring/strut assembly from the car in less than 30 minutes.
Last edited by rkw77080; Jul 22, 2014 at 04:10 PM.
Removing the upper control arm ball joint may damage that ball joint. Is there another way? Is that what is done according to typical procedures used by dealers and certified mechanics?