When you click on links to various merchants on this site and make a purchase, this can result in this site earning a commission. Affiliate programs and affiliations include, but are not limited to, the eBay Partner Network.
Painting the Trim Above the Navigation Unit DIY with Pics.
After researching this common issue of the paint deteriorating I decided to paint it. The options I considered were A) Using a wrap B) Replacement or C) Painting it. I opted for the paint because I had never used any type of wrap before and most of the online instructions showed the actual part being wrapped was REMOVED so the wrap could also be secured to the back part of the component. With heat coming out of the vents during the winter, I was also concerned about how well the wrap would adhere if it was only secured on the face of the part. Replacement was hundreds of dollars for the part and even more importantly I did not want to go through the process of removing the wood trim piece at the base of the shifter, ashtray, and the navigation screen (lots of things to move, unplug, unscrew = lots of things that could break).
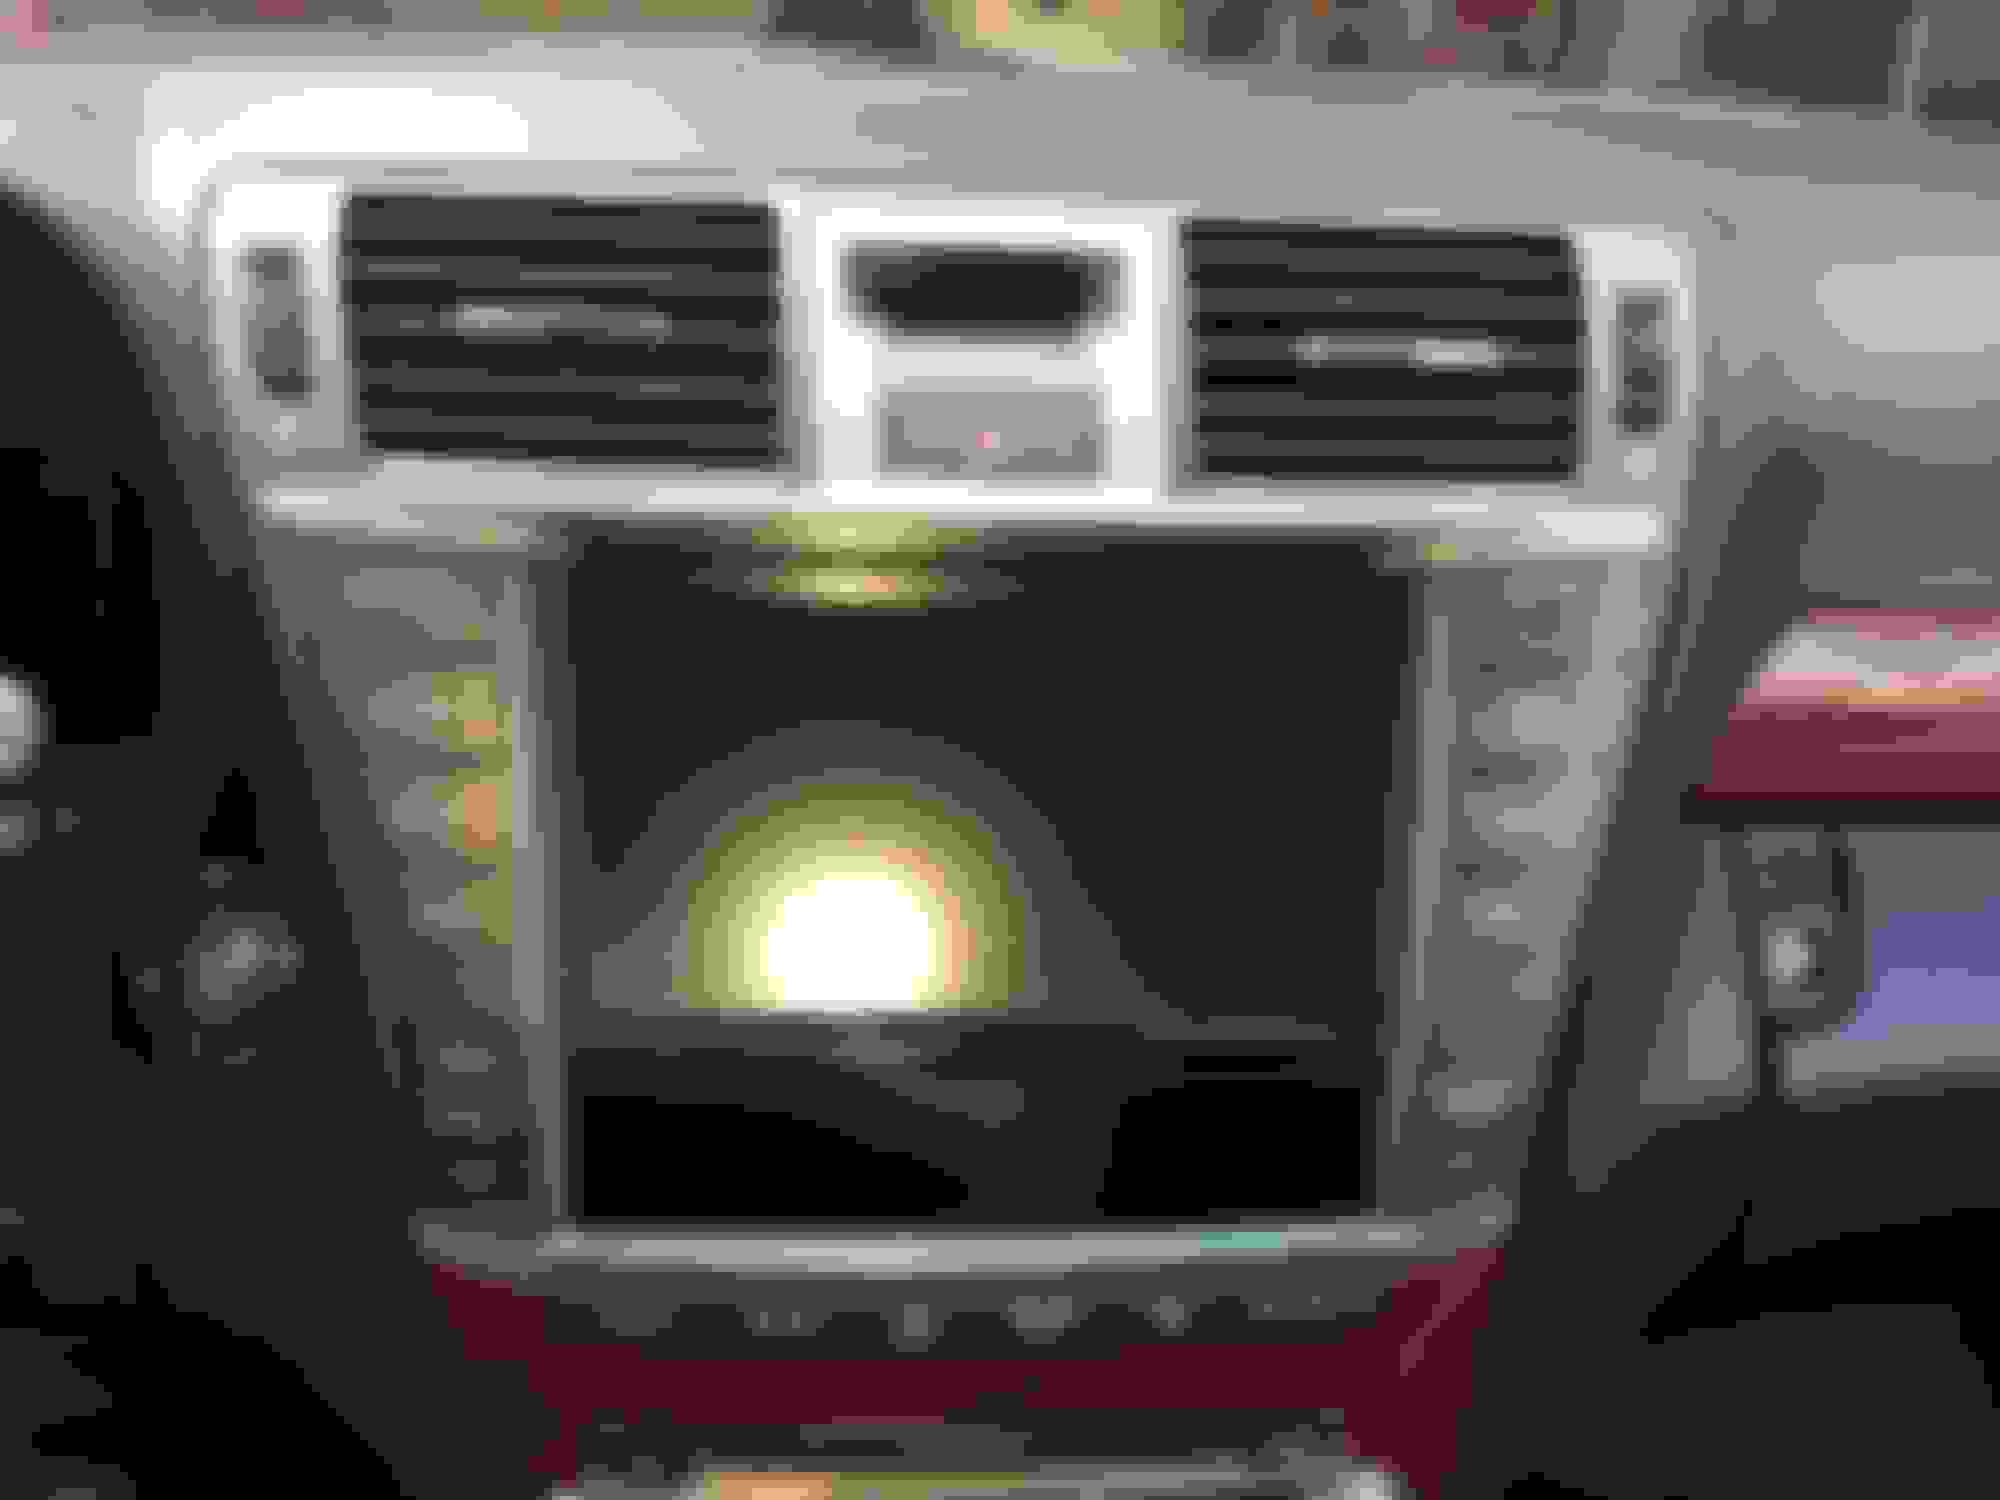
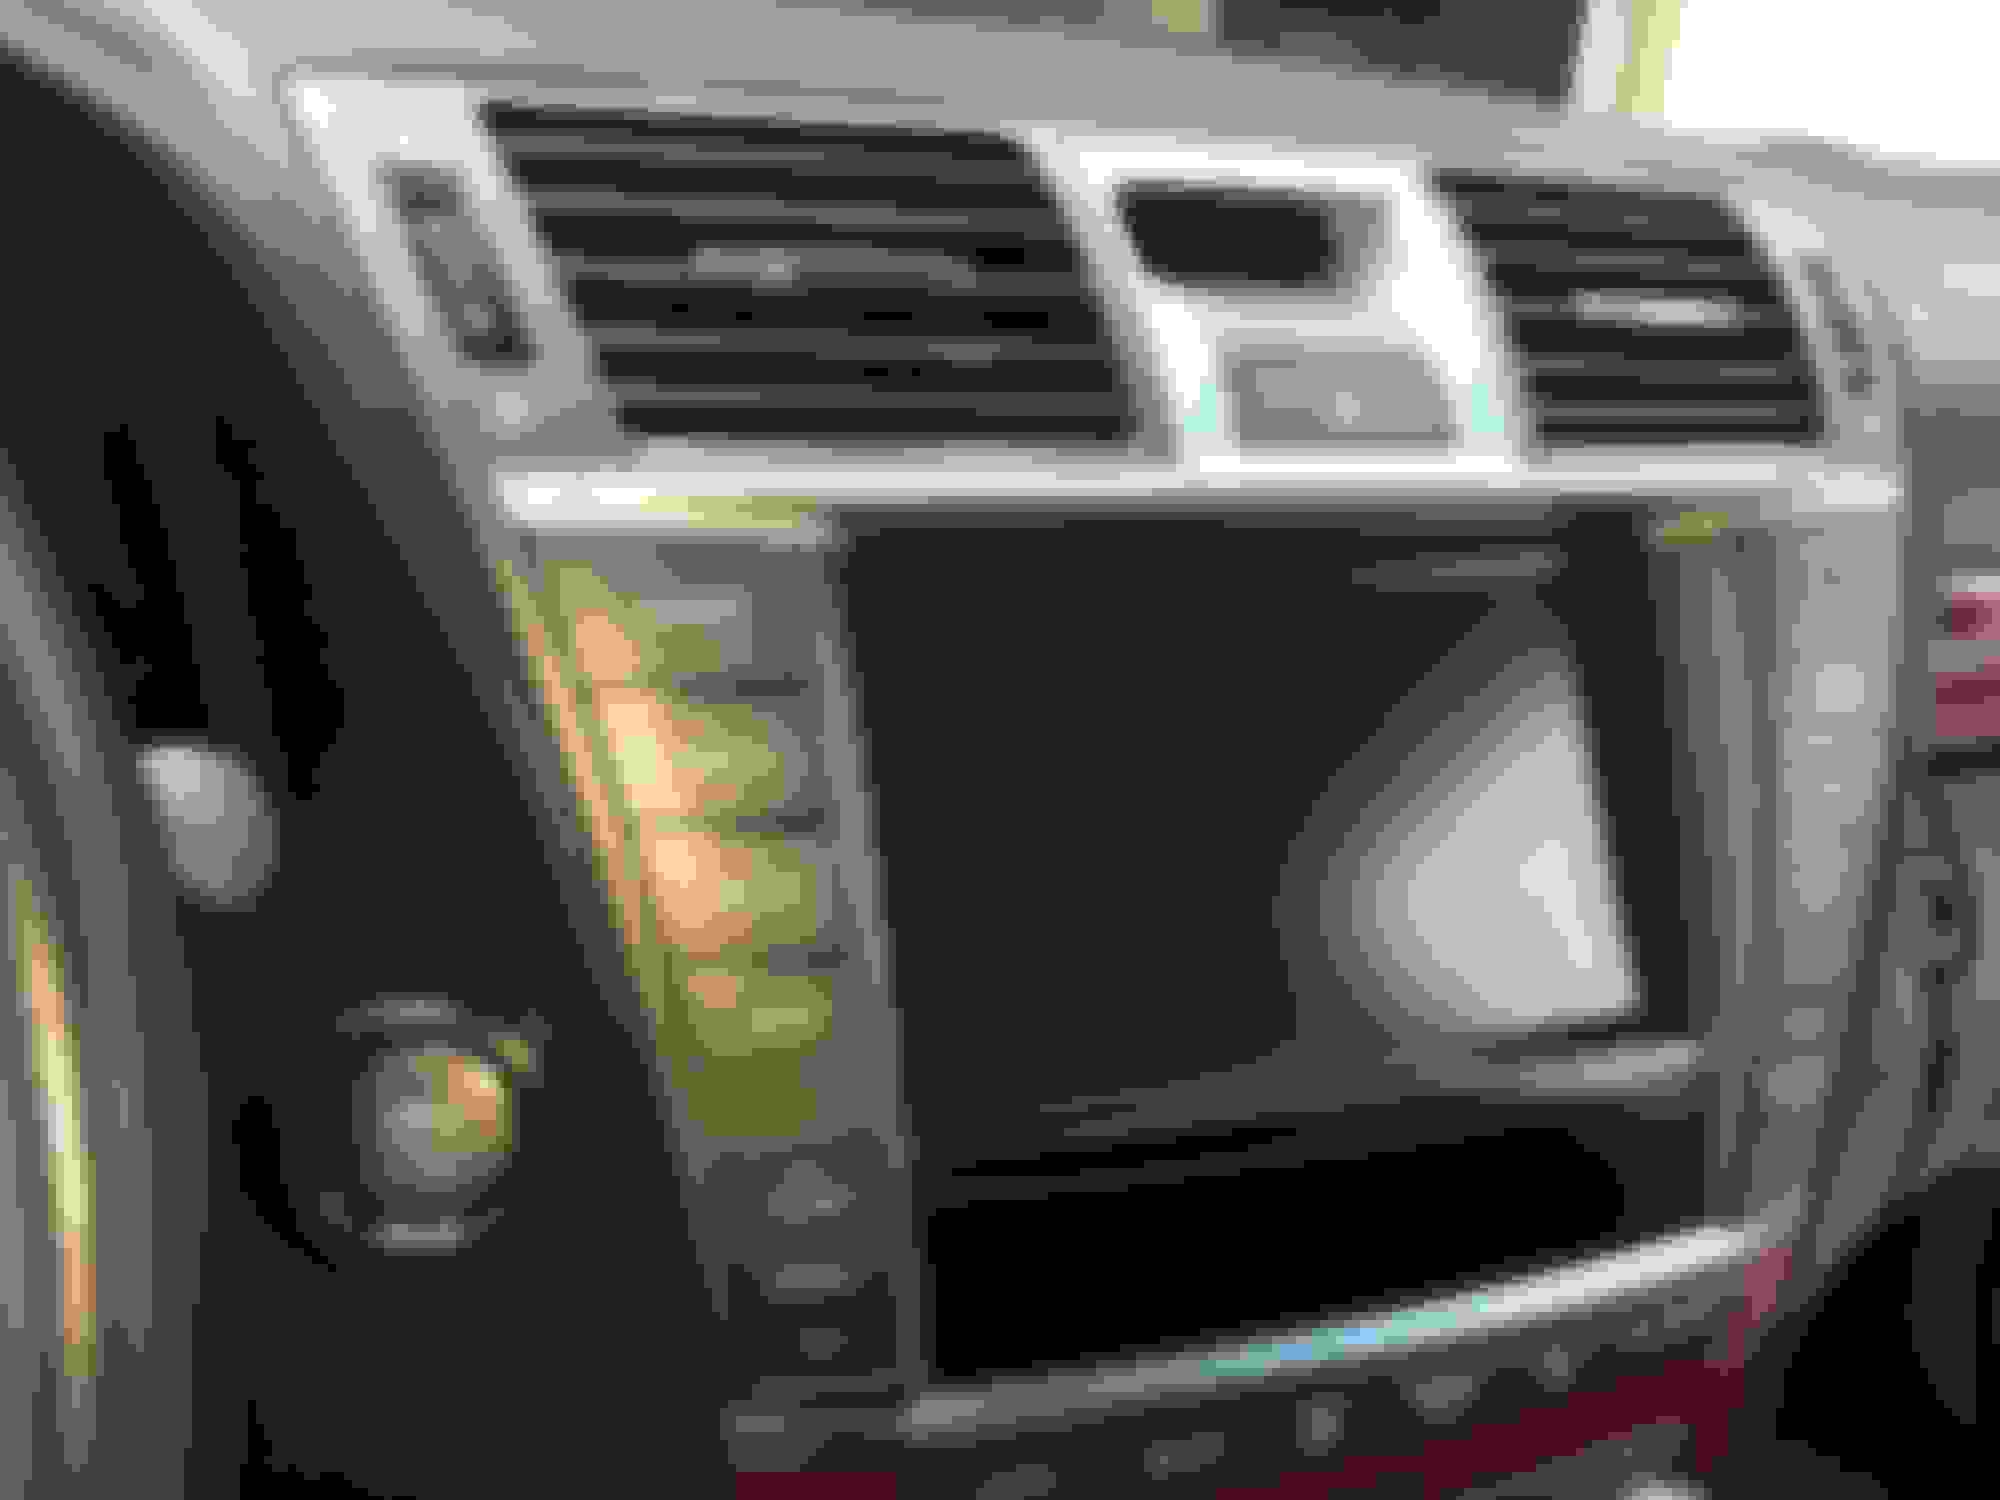
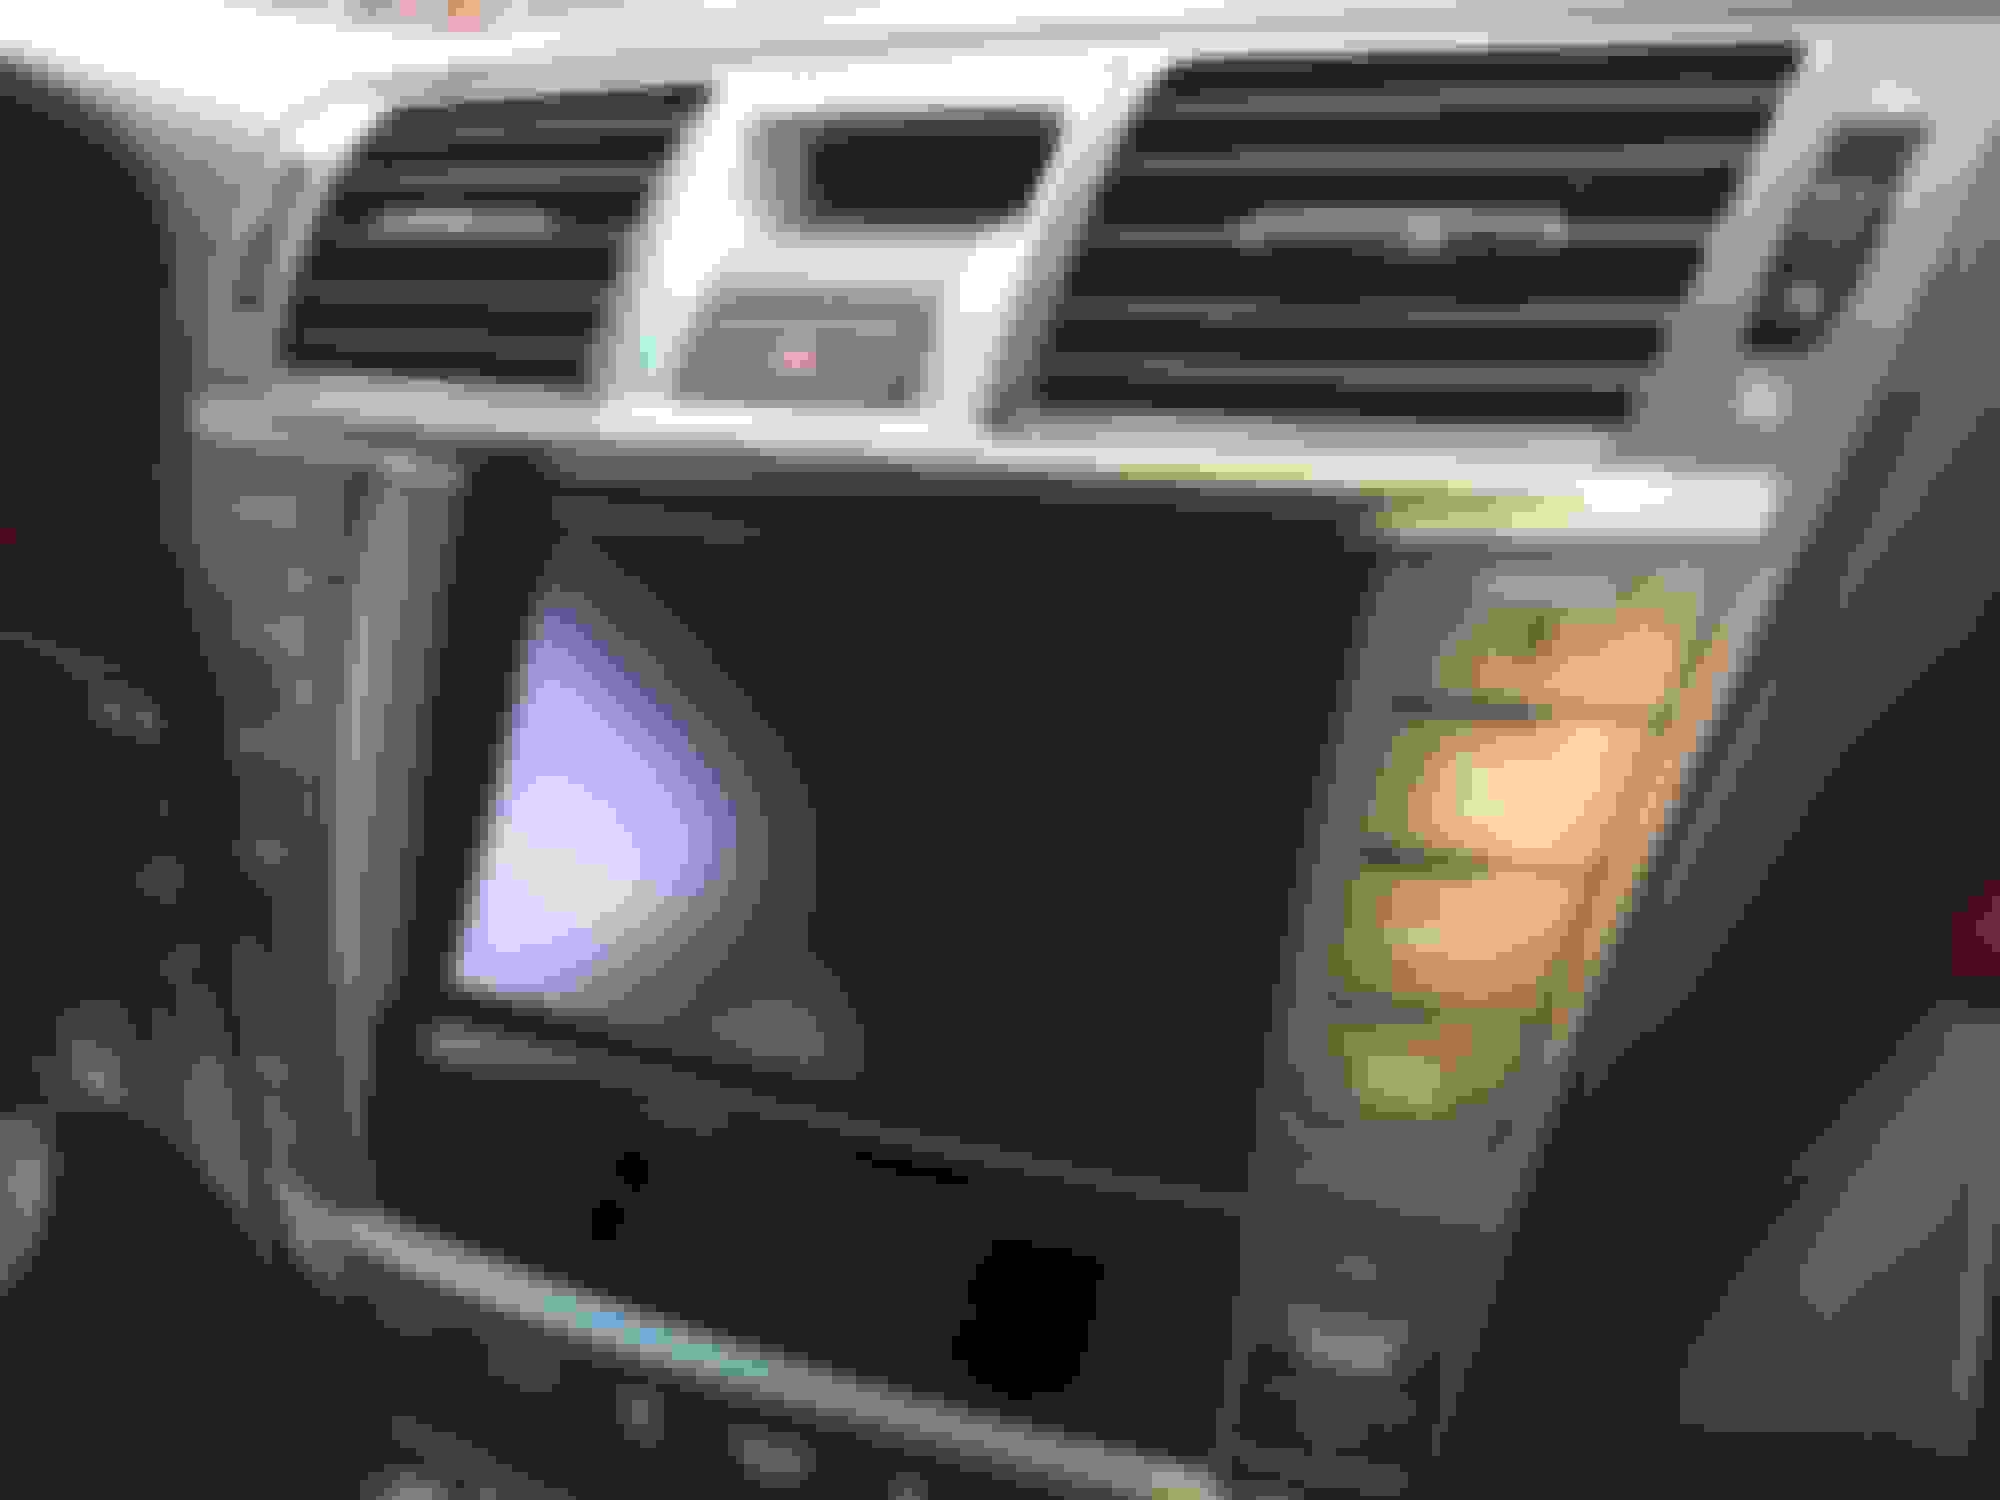
Here is what it looked like before:
Notice the worn paint near the bottom of the vent.
Here is another before shot.
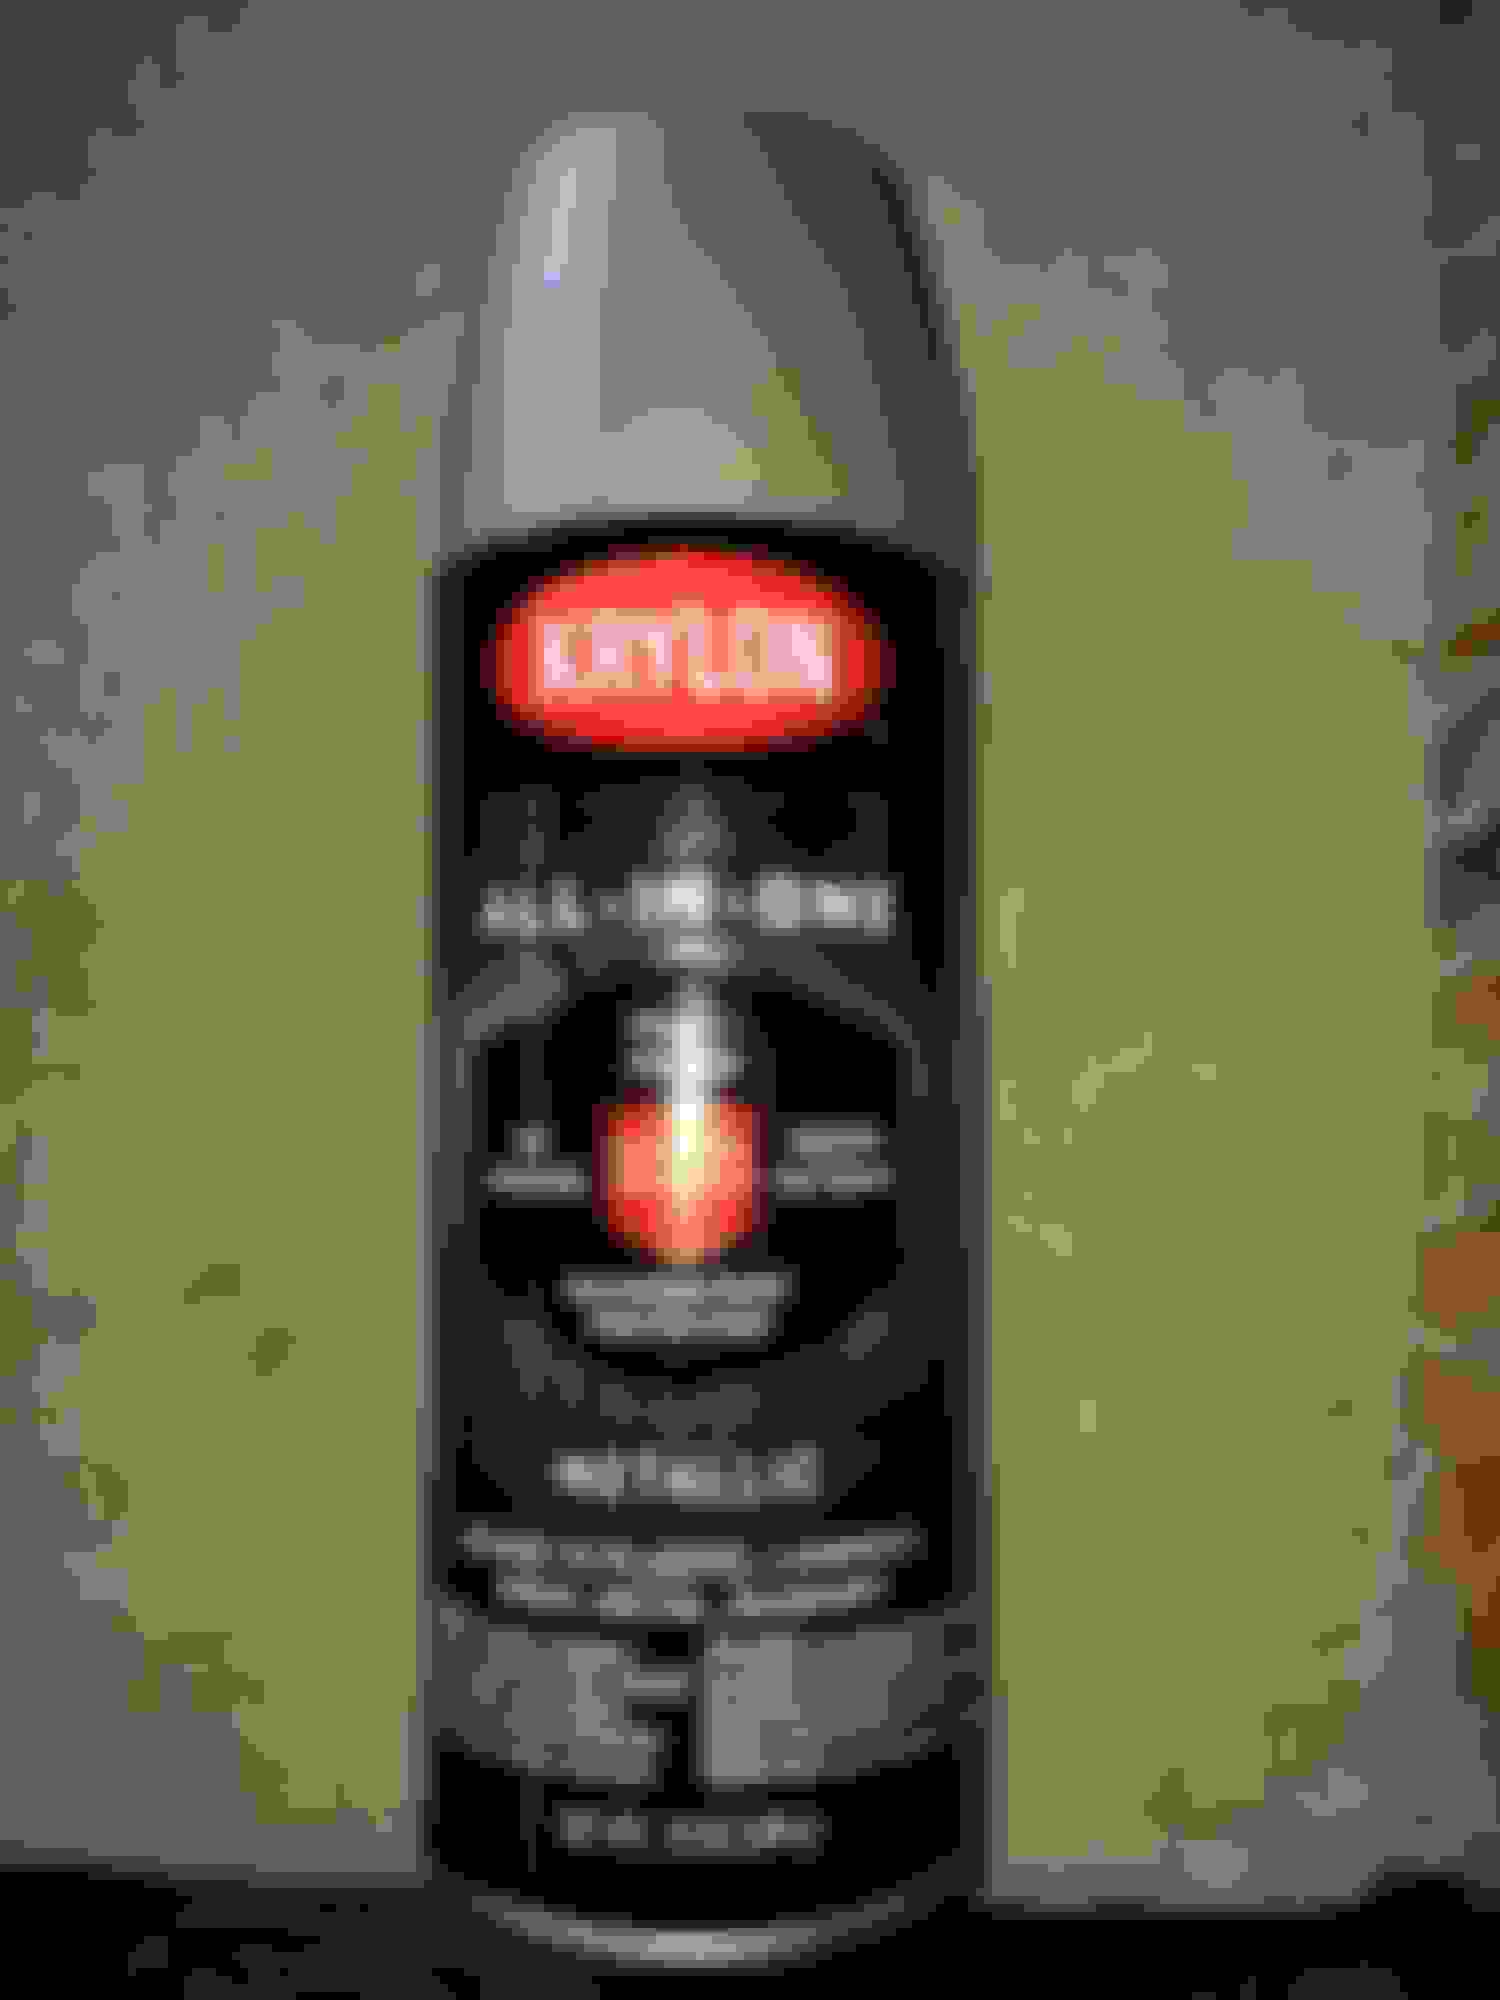
This is what I used for the project.
Although not indicated on the can, the color is Nickel Matte.
1/4 inch masking tape from 3M
1 inch masking tape and a comparison to the 1/4 inch tape.
Next, I lightly sanded the part with 1000 grit sandpaper and wiped it and the surrounding area with an all purpose cleaner. The cleaning is important because the tape has a hard time sticking to these surfaces.
I used the 1/4 tape and then used the wider tape to cover everything up. NOTE: You can push in the tape between the plastic parts and the clock display to make things ALOT easier.
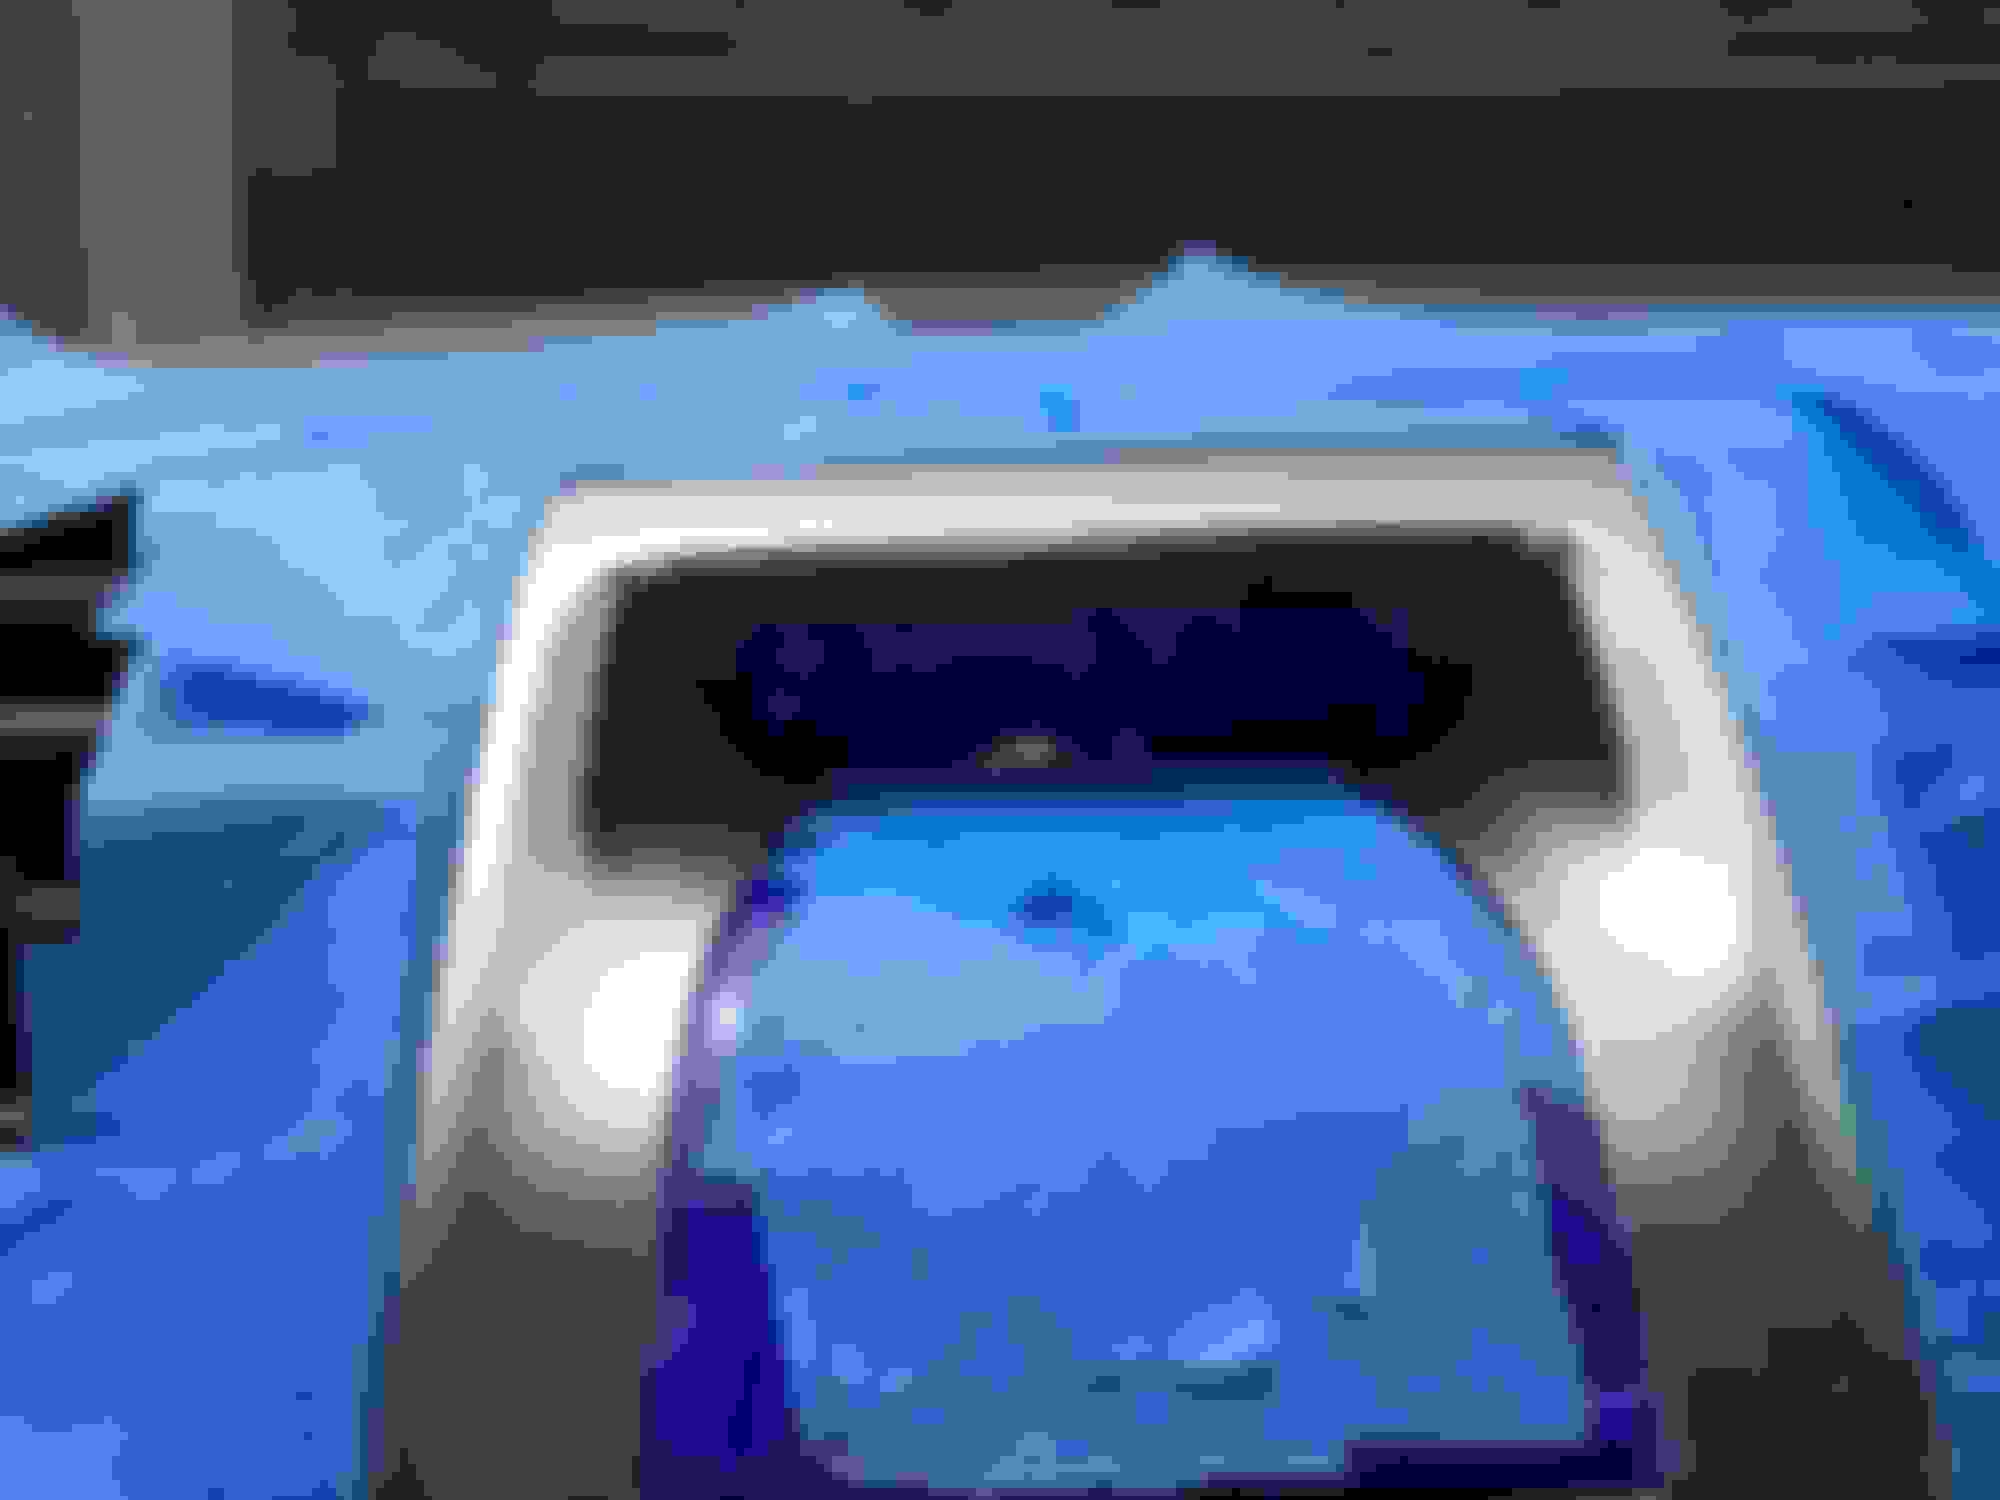
I created a funnel or mini paint booth to prevent the paint from floating away and getting on the other interior parts.
View from the passengers side.
I sprayed two VERY light coats of paint, waiting two hours between coats. About 10 minutes after the second coat, I pulled off all of the tape and plastic covering.
I was very happy with the results!!
Although the Nickel Matte color is a shade lighter then the trim piece on the bottom of Navigation screen, it may be that there is less light there and it is not really that noticeable. This may darken with time too. Maybe there is another color that may match better.
The few areas where the paint managed to get past the tape (due to not being able to stick) was easily cleaned up with paint thinner and Q-Tips.
I hope this post helps anyone who may want to tackle a project like this themselves.
Nice. Pretty sad this is happening so soon on such a expensive car. I had asked about this because a used LS I was looking at had the flaking silver trim and it looked terrible, almost a deal breaker and there seemed not to be much of a solution other then trying to get a new one. Once I saw some closer pics of the interior the dash was all gouged up with holes and scrapes from something and I quickly decided not to buy it.
I'm gonna bump this old thread, hoping OP can help. Any idea if this is the correct paint? I can't find any Krylon "Nickel matte" - the closest is called "Satin Nickel" ... I don't think Satin = Matte but it's the best I can locate.
Well done. That looks very nice and I was in the process of trying to brush on some paint or mixtures thereof to try and match the original wrap on these plastic trim parts but the Krylon color you selected looks awesome. How long did it take you to mask everything off and create that "hood" to catch any overspray? Thanks.
I'm gonna bump this old thread, hoping OP can help. Any idea if this is the correct paint? I can't find any Krylon "Nickel matte" - the closest is called "Satin Nickel" ... I don't think Satin = Matte but it's the best I can locate.
I used "Nickel Matte" but it looks like they have changed the names up so it may be the same. Order it and spray some on a piece of paper or something. Once it's dry see if it matches up with the rest of the trim. I think it will work! Hard to believe I posted that almost two years ago. It has held up 100% and it's totally unnoticeable.
Well done. That looks very nice and I was in the process of trying to brush on some paint or mixtures thereof to try and match the original wrap on these plastic trim parts but the Krylon color you selected looks awesome. How long did it take you to mask everything off and create that "hood" to catch any overspray? Thanks.
About an hour and a half. Take your time and don't rush this. You don't want paint transfer anywhere. If you still want to go with a brush application, get the spray paint and put some aluminum foil in a small paper plate. Spray into the plate and apply several thin coats with a really small brush. You need to do thin coats to prevent the paint from running. It won't look as good as the spray method IMO.
After researching this common issue of the paint deteriorating I decided to paint it. The options I considered were A) Using a wrap B) Replacement or C) Painting it. I opted for the paint because I had never used any type of wrap before and most of the online instructions showed the actual part being wrapped was REMOVED so the wrap could also be secured to the back part of the component. With heat coming out of the vents during the winter, I was also concerned about how well the wrap would adhere if it was only secured on the face of the part. Replacement was hundreds of dollars for the part and even more importantly I did not want to go through the process of removing the wood trim piece at the base of the shifter, ashtray, and the navigation screen (lots of things to move, unplug, unscrew = lots of things that could break).
Here is what it looked like before:
Notice the worn paint near the bottom of the vent.
Here is another before shot.
This is what I used for the project.
Although not indicated on the can, the color is Nickel Matte.
1/4 inch masking tape from 3M
1 inch masking tape and a comparison to the 1/4 inch tape.
Next, I lightly sanded the part with 1000 grit sandpaper and wiped it and the surrounding area with an all purpose cleaner. The cleaning is important because the tape has a hard time sticking to these surfaces.
I used the 1/4 tape and then used the wider tape to cover everything up. NOTE: You can push in the tape between the plastic parts and the clock display to make things ALOT easier.
I created a funnel or mini paint booth to prevent the paint from floating away and getting on the other interior parts.
View from the passengers side.
I sprayed two VERY light coats of paint, waiting two hours between coats. About 10 minutes after the second coat, I pulled off all of the tape and plastic covering.
I was very happy with the results!!
Although the Nickel Matte color is a shade lighter then the trim piece on the bottom of Navigation screen, it may be that there is less light there and it is not really that noticeable. This may darken with time too. Maybe there is another color that may match better.
The few areas where the paint managed to get past the tape (due to not being able to stick) was easily cleaned up with paint thinner and Q-Tips.
I hope this post helps anyone who may want to tackle a project like this themselves.
Russ
2011 LS460
Hey!
did you sand ALL the area or just area where painted was peeling? Thanks!
The area that is peeling needs to be really smooth and the adjacent area needs to be leveled as much as possible or you'll get high and low spots. The preparation work is the key to the best results.
The area that is peeling needs to be really smooth and the adjacent area needs to be leveled as much as possible or you'll get high and low spots. The preparation work is the key to the best results.
Sorry I don't want to beat a dead horse here with obvious questions, but I assume you sanded the entire silver/plastic area 'flat', yes?
Sorry I don't want to beat a dead horse here with obvious questions, but I assume you sanded the entire silver/plastic area 'flat', yes?
No,there is no need to. Just do the damaged paint area and a little bit next to it. You want a fairly level area before you paint to avoid high and low spots.
Couldn't you just take that trim off the car and paint it ? (of course with the right tools so you don't damage it). I would think this would be the better way instead of spay painting in the car.
 05-21-18, 10:45 AM