Creaking console/side panels FIXED
#1
Lexus Fanatic
Thread Starter
As we have discussed, a common issue with the LS460 is the console creaks, especially the side panels when you rest a leg against them or have a drink in the cupholder, etc. Very annoying and cheap sounding on such a nice quiet car.
So, I ordered a roll of felt tape:
And this evening I completely disassembled the console and went to town. This tape works very well, its thick but not too thick, and the adhesive is very good. I bought a 15' roll, and no joke I used every inch of it. So 15 feet of tape went into that console.
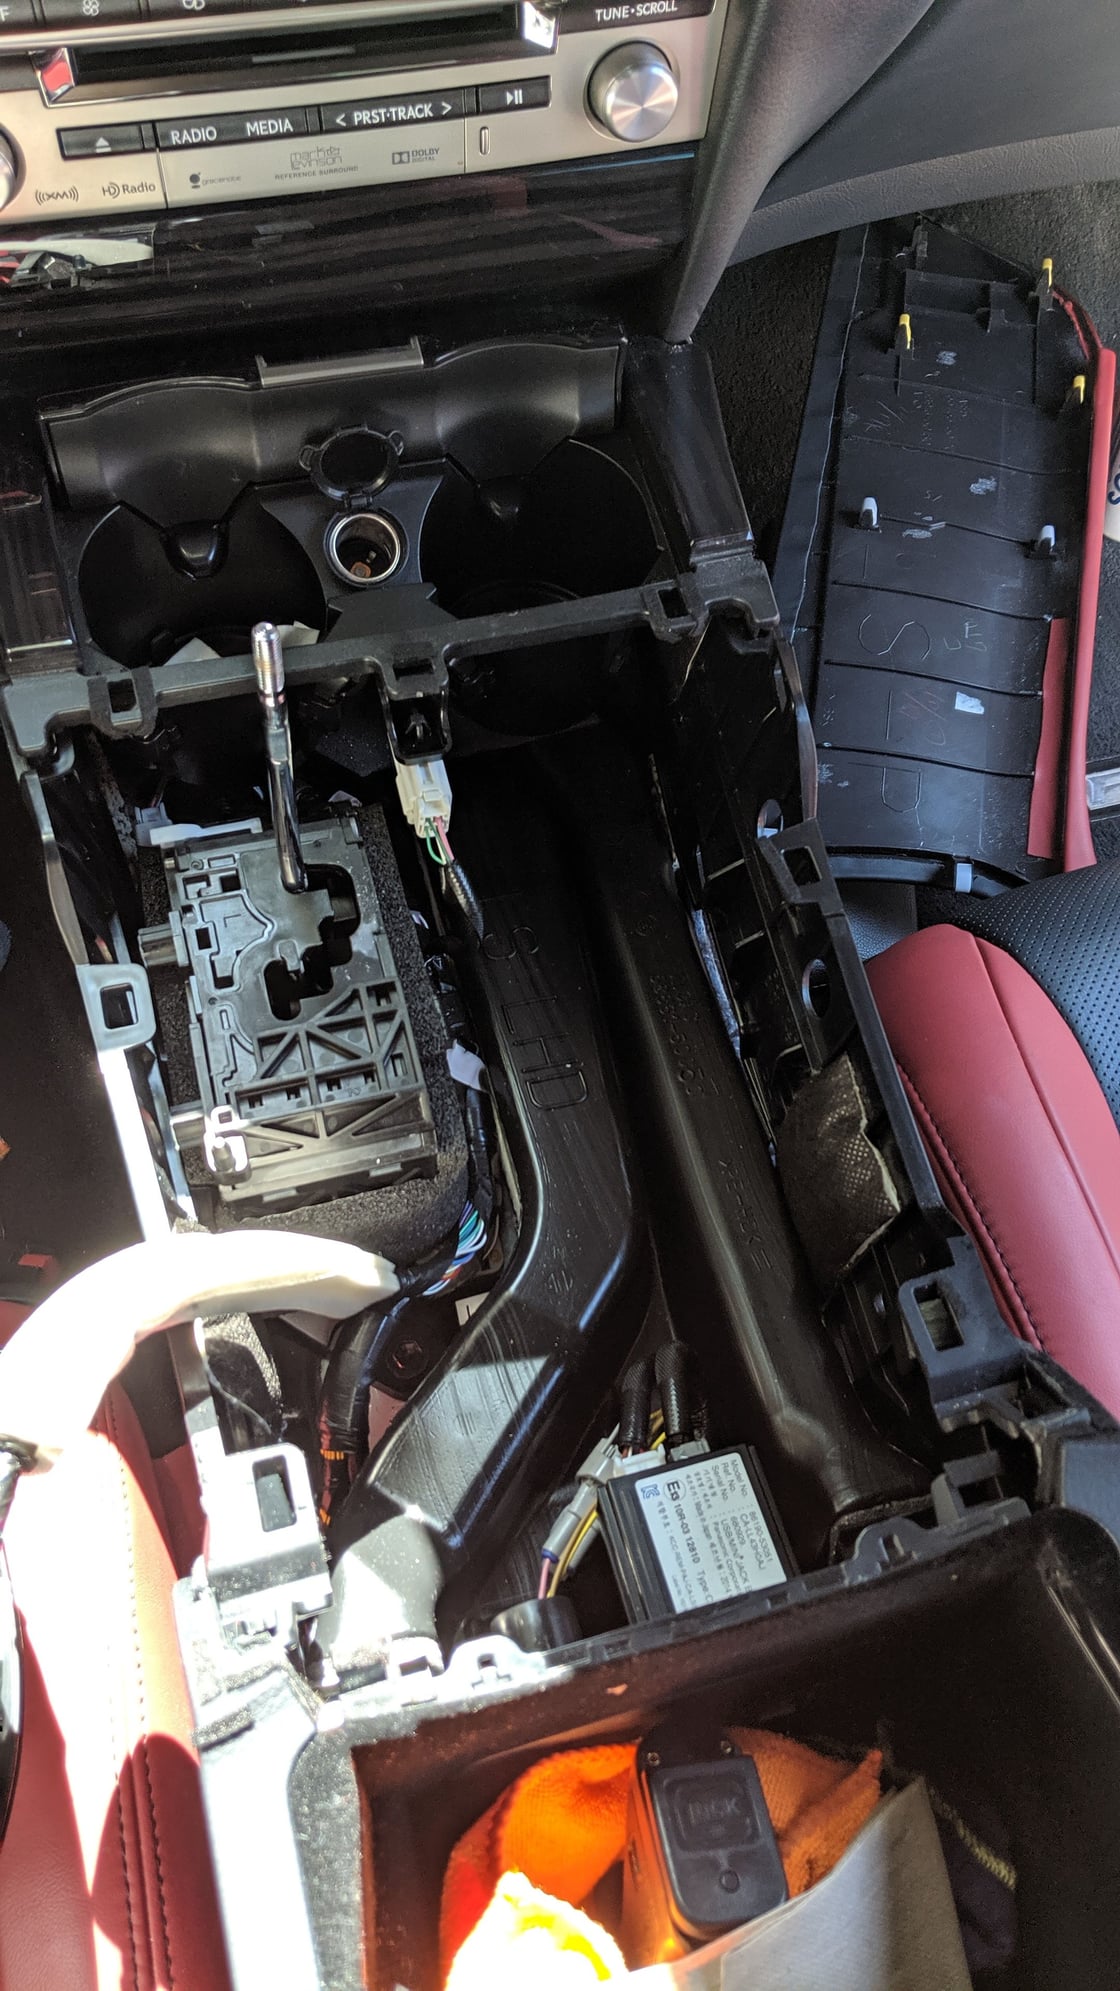
Disassembling the console is very easy. To release the side panels pump out on the ends forward all the way at the dashboard, and then slide the panels forward, the back of them locks into the center console where the armrest is. You then remove the small trim piece at the front edge of the console by prying it up with a plastic interior tool. Put the gearshift in neutral and unscrew the shift ****. There are two bolts on the side of the console beside the shifter, unscrew those and the whole wood trim piece lifts up back first, then front out of the car. I watched some youtube videos and it essentially works the same on the 13-17 car as it does on the 07-12.
You will find, a whole lot of stupid went into designing the console. Lots of places where plastic trim rubs with no felt protection, its plainly obvious why the console creaks. So, you do as you would guess, cover EVERYWHERE plastic touches plastic or the console fits together with the felt tape. I cut a 1 inch piece and put a slit in it where each clip locks in, I also covered where the bolts screw in to the shifter and cut holes through them so the bolts would go through. You will see the creaking stops pretty quick.
On those side panels, I again put a piece around every place where the clips lock in, and I covered much of the backs of the pieces with the felt tape, and put the tape all along the top where it touches the edges of the console. I also used small pieces of tape to insulate the small piece of trim over the edge of the console storage box. When it doubt, tape it. Reinstalled the side panels, which slide in VERY tightly now because of the felt tape, and everything is nice and quiet, leg rested against the console, etc. Went for a drive, potholes, speed bumps, driveway aprons, all feels good and tight now.
As for the cupholders, they're going to make noise, they're just a very crappy design. The little tension doohickies clip into the sides of the cupholder, and they're just going to make noise. I insulated them on the outside with the felt tape just to tighten them all up as best I could which helped a lot.
All in all, took about an hour because I've had the console apart a few times and am comfortable with it, allow an extra 30 mins or so for pensive pulling.
Shame on Lexus though, this creaking is 100% because of the quality of the plastics in there.
#2
Lexus Fanatic
Thread Starter
Driving around this morning, the difference is really significant. The car feels much tighter. I still have a little snap/creak behind the wood trim on the passenger side dash that I'm sure taping in the same way will solve, I have some creaking coming from the overhead console which will also be the same way I'm sure. Ordered two more rolls of tape today.
#4
Lexus Fanatic
Thread Starter
Originally Posted by DavidinCT
I never really noticed any creaking in my car, I'll take a deeper listening on the way home tonight to see if I notice anything...
The following 4 users liked this post by SW17LS:
#6
Lexus Fanatic
Thread Starter
Well worth it, easy too. I feel like I'm driving a new car. Got two more rolls in the mail today, I'm going to finish up the driver and passenger side window switch panels.
Next one is going to be figuring out how to remove the big wood trim panel that goes across the dashboard to pad that, then it should be 100%.
Next one is going to be figuring out how to remove the big wood trim panel that goes across the dashboard to pad that, then it should be 100%.
Trending Topics
#8
Lexus Fanatic
Thread Starter
Originally Posted by johnnyg66
Is this more common on newer models?
My 07 i do not hear anything that would warrant this fix.
My 07 i do not hear anything that would warrant this fix.
#9
As we have discussed, a common issue with the LS460 is the console creaks, especially the side panels when you rest a leg against them or have a drink in the cupholder, etc. Very annoying and cheap sounding on such a nice quiet car.
.
.
.
Shame on Lexus though, this creaking is 100% because of the quality of the plastics in there.
.
.
.
Shame on Lexus though, this creaking is 100% because of the quality of the plastics in there.
#10
Thank you. Okay, I'm doing this. Instead of using the moleskin felt I have, I went ahead and ordered the same stuff listed above in the first post. Hopefully it's cool enough one of these mornings I can get out there and get this done! The creaking around the cupholder area has been driving me nuts!
#11
Lexus Fanatic
Thread Starter
Its very easy.
#12
Hi. I finally got around to doing this. You're right; it was pretty easy except for getting the hand rest / controller gizmo apart. (That's where a lot of my squeaking was coming from). I haven't driven it yet to see how well I did, but I'll report back. In the meantime I have a ton of pictures.
Mine had quite a bit of factory felt and other noise reducing stuff already in there. On the drivers side there were pieces of plastic taped around where the fasteners are, but they were all ripped.
To reiterate the steps to remove:
Remove side panels on the console by pulling the front out. Once it's only connected at the rear pull the whole panel forward.
Remove small trim piece just behind the seat heater/cooler controls by pulling straight up
Remove two 10mm hex head screws on driver's side
On shifter, press the vinyl bag down and it will detach from shift ****. Unscrew ****
Now the entire center console lifts up and out
As for the hand rest and mouselike controller, the actual pleather pad part just pops up. The rest of it is is quite difficult to remove. Do not remove the six black screws from the back. Also do not remove the four small silver screws from the top. Instead, from the back, concentrate on the white compression clip in the rear. The entire unit pops out from the back.
#13
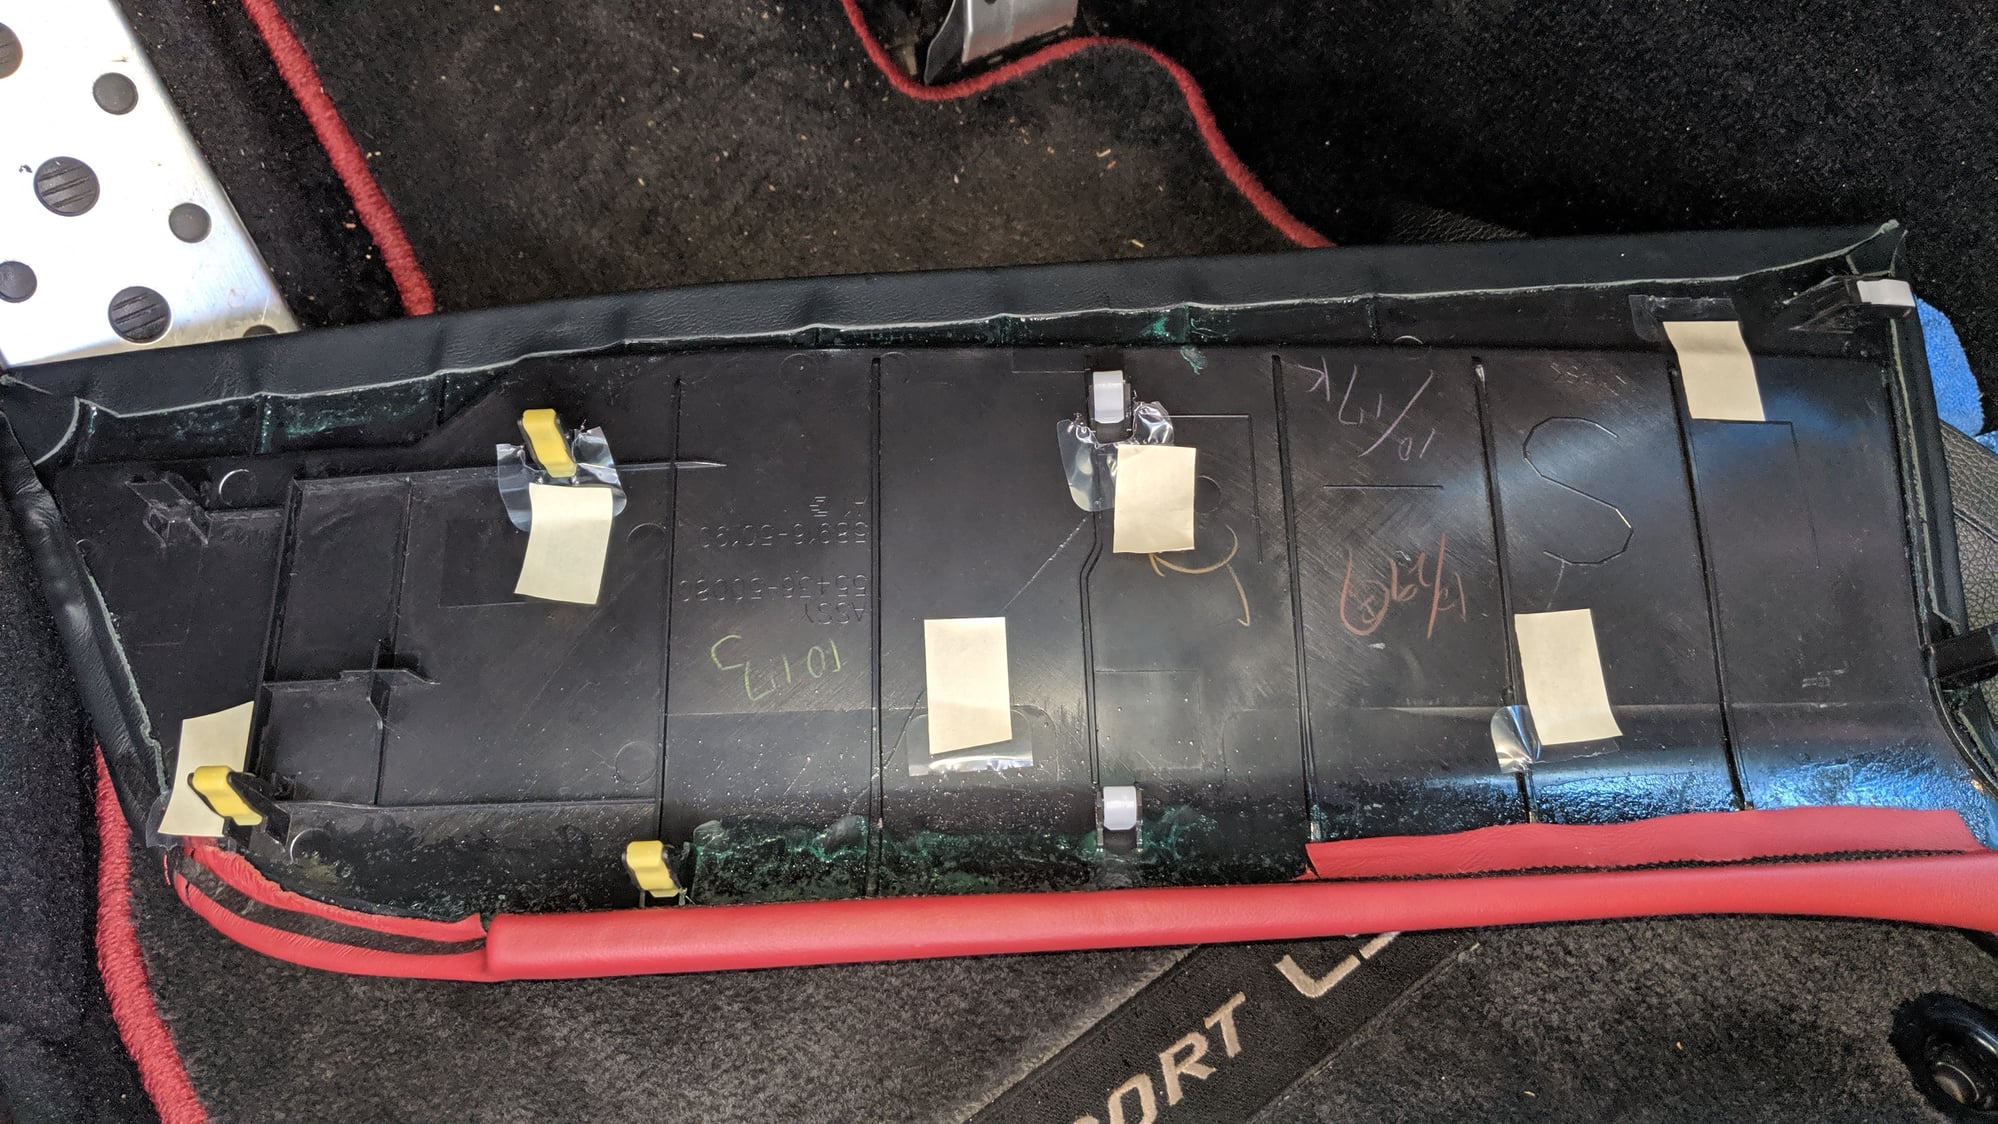
The tape is holding what's left of clear plastic that looks like it was intended to prevent squeaks, but most of it is gone. Oddly, only on the driver's side.
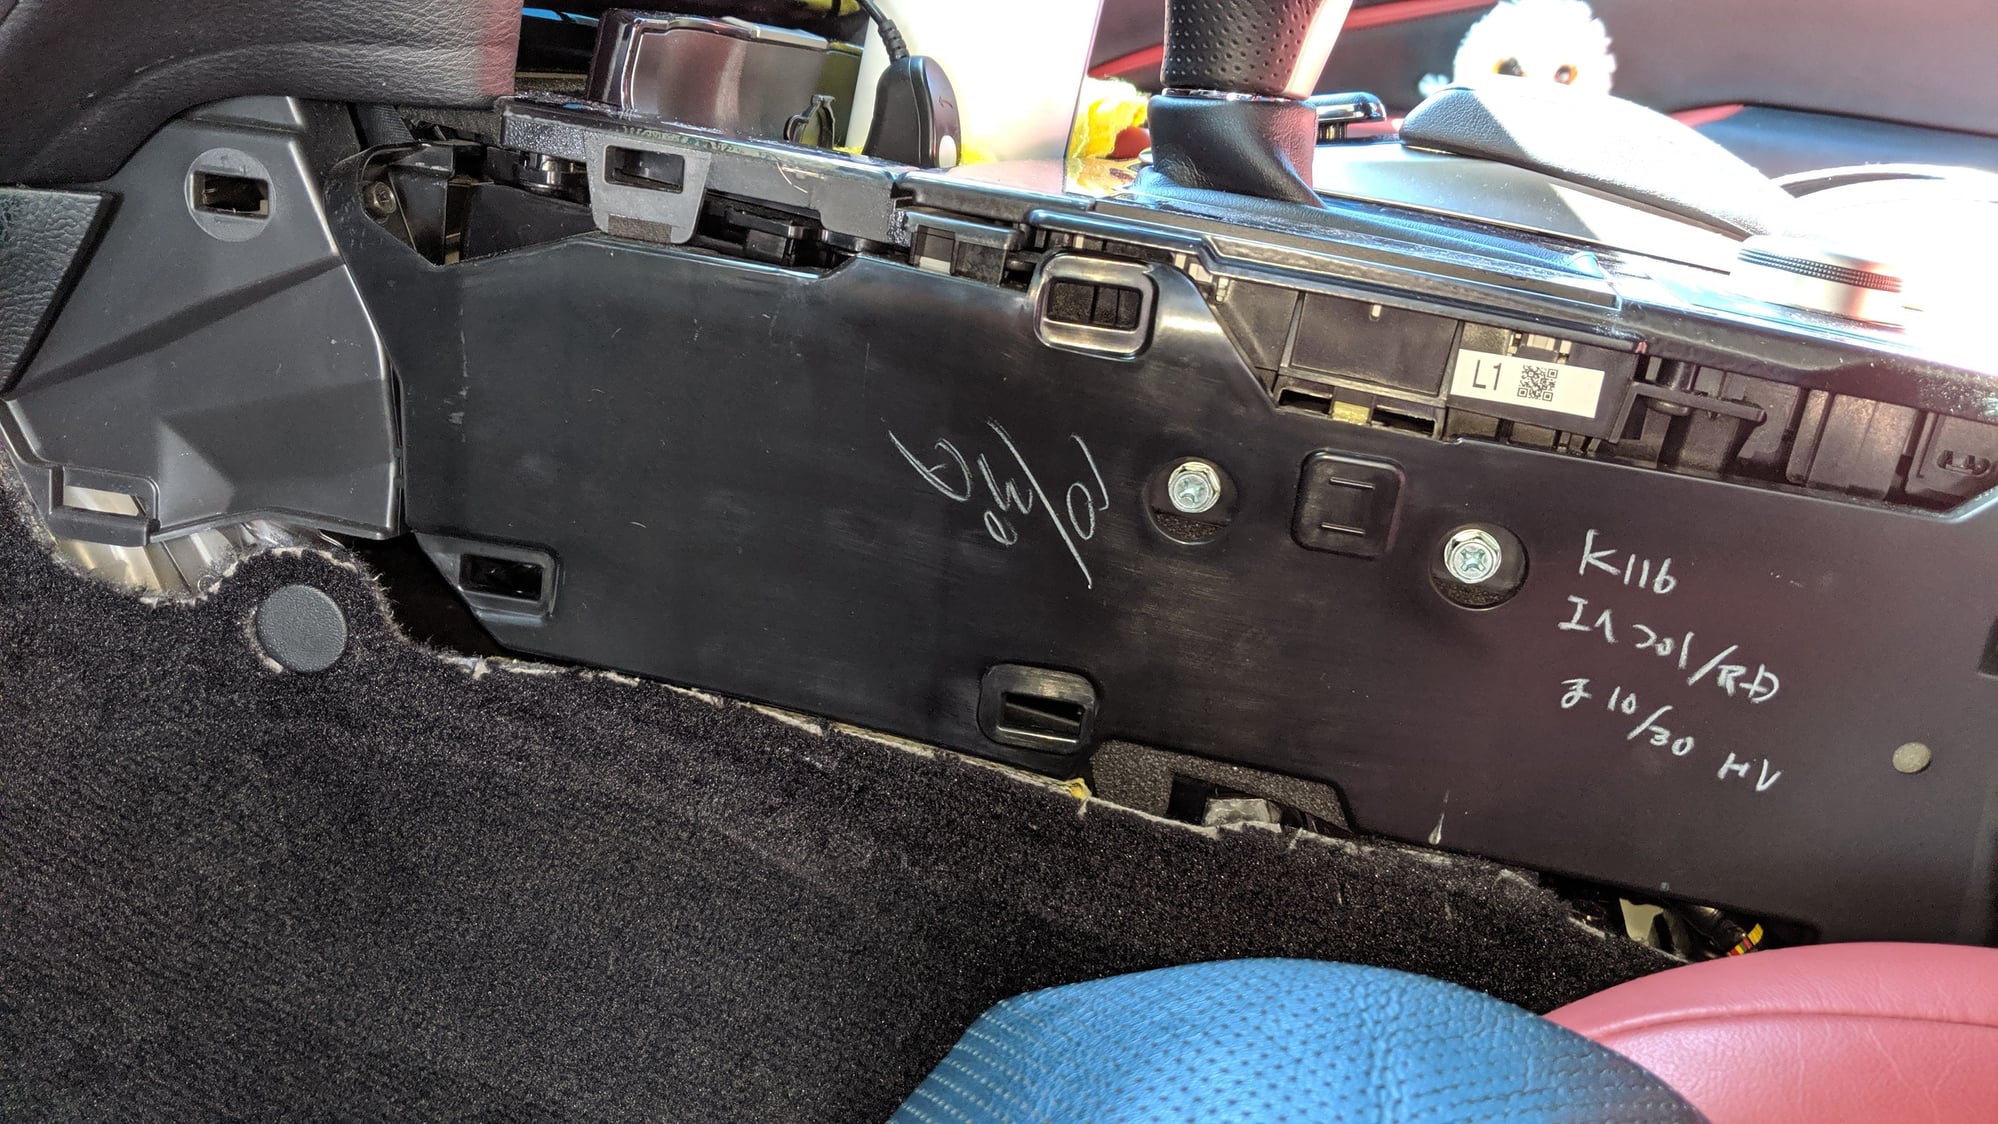
Behind the side cover on driver's side. Note two hex screws.
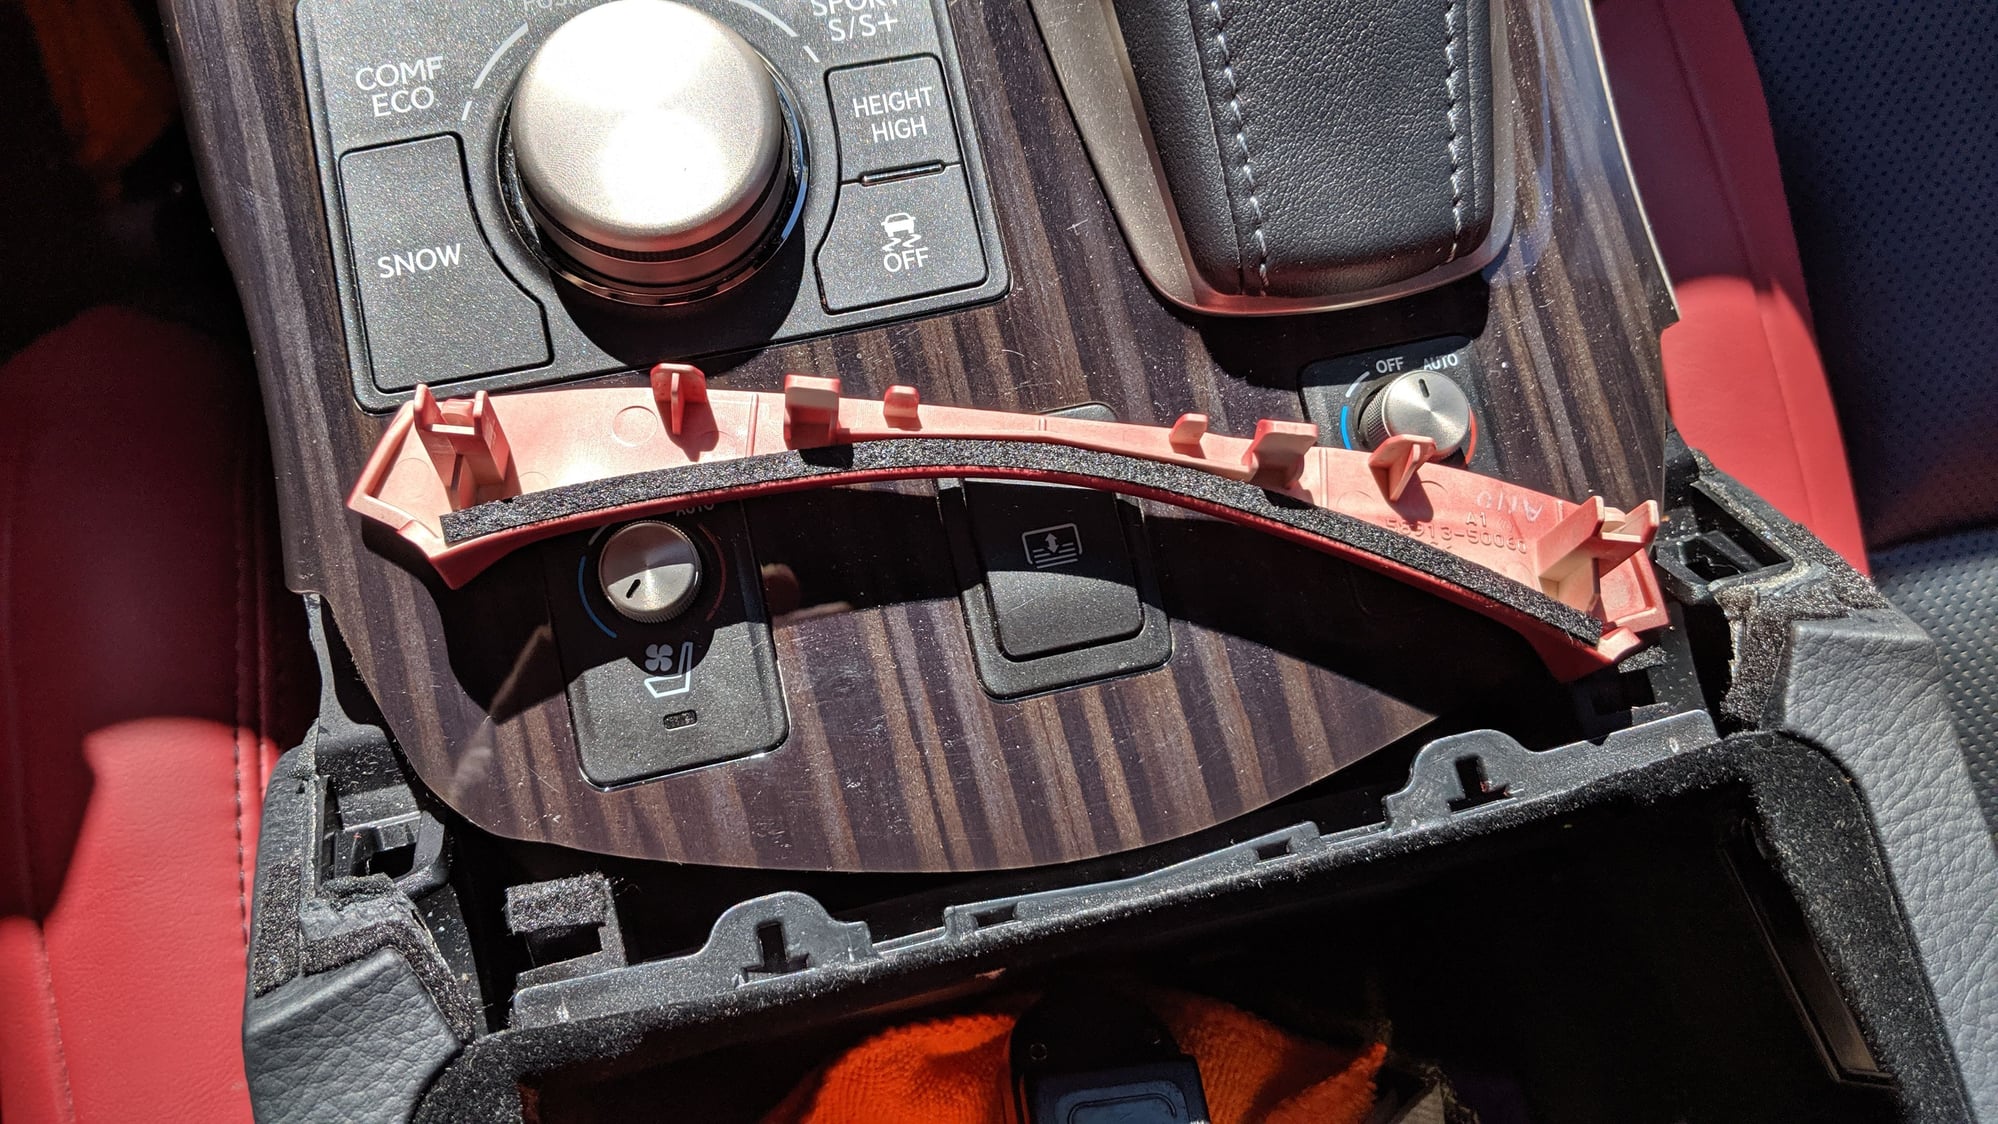
Plastic trim piece pries up. Already has some felt on it.
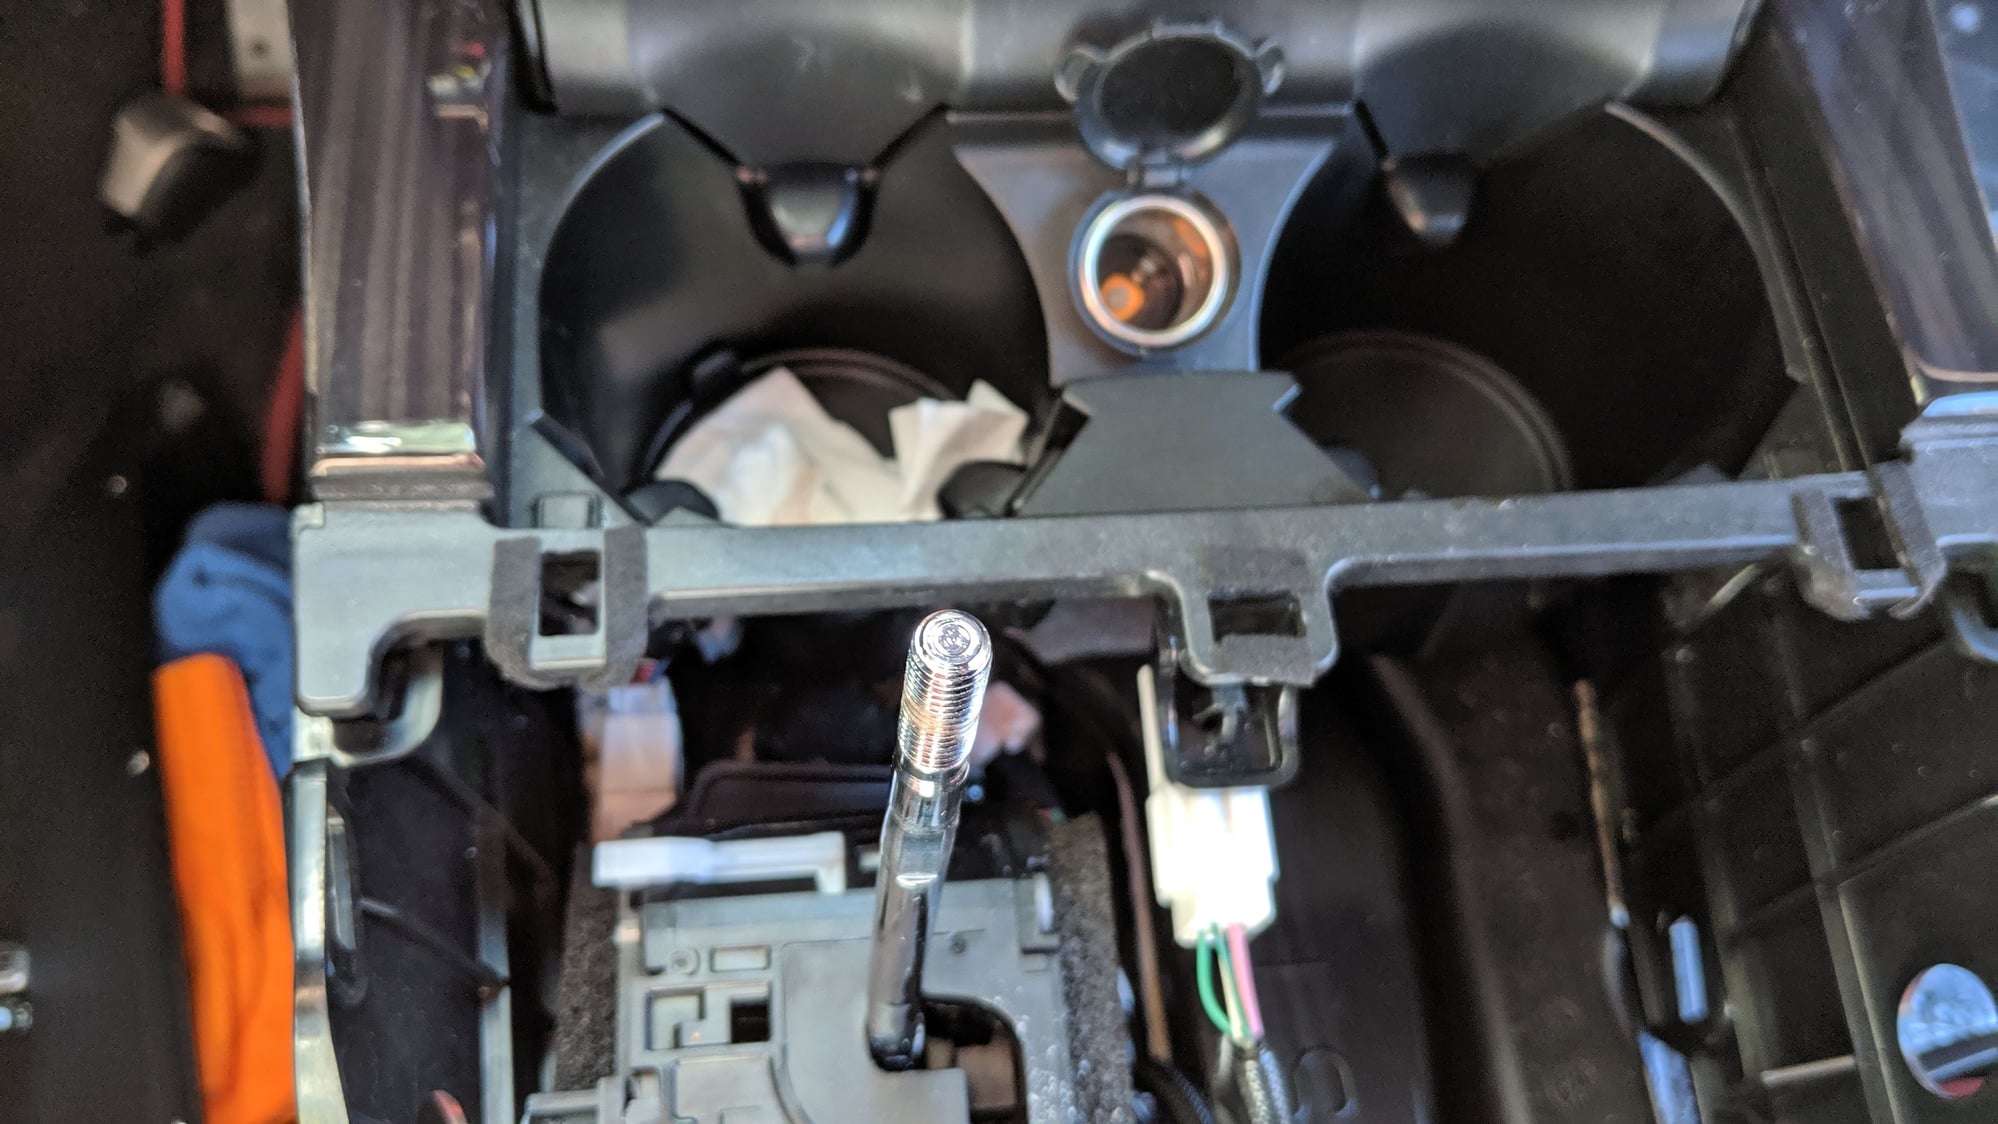
The rectangular holes are where the compression clips fit in. Note the felt that I added.
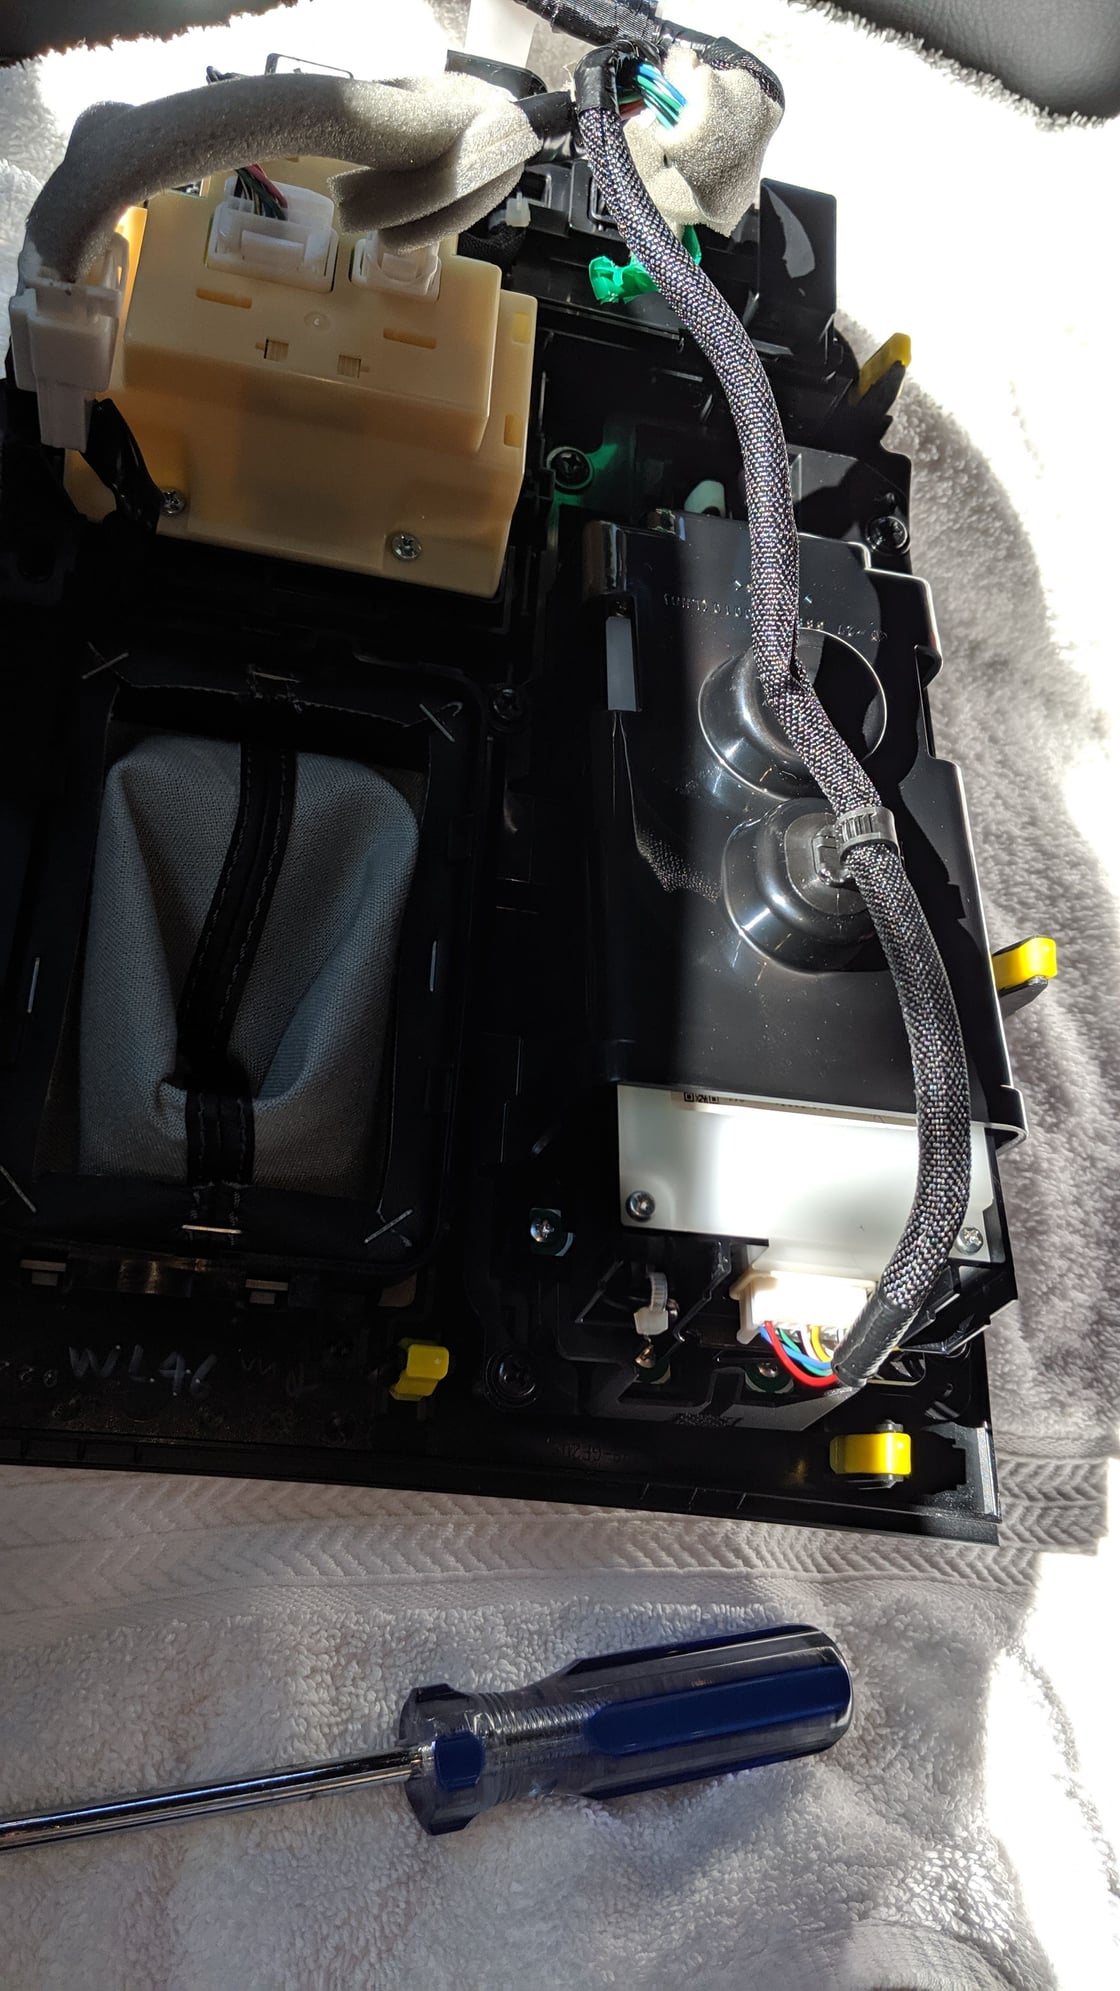
Back of the main console assembly.
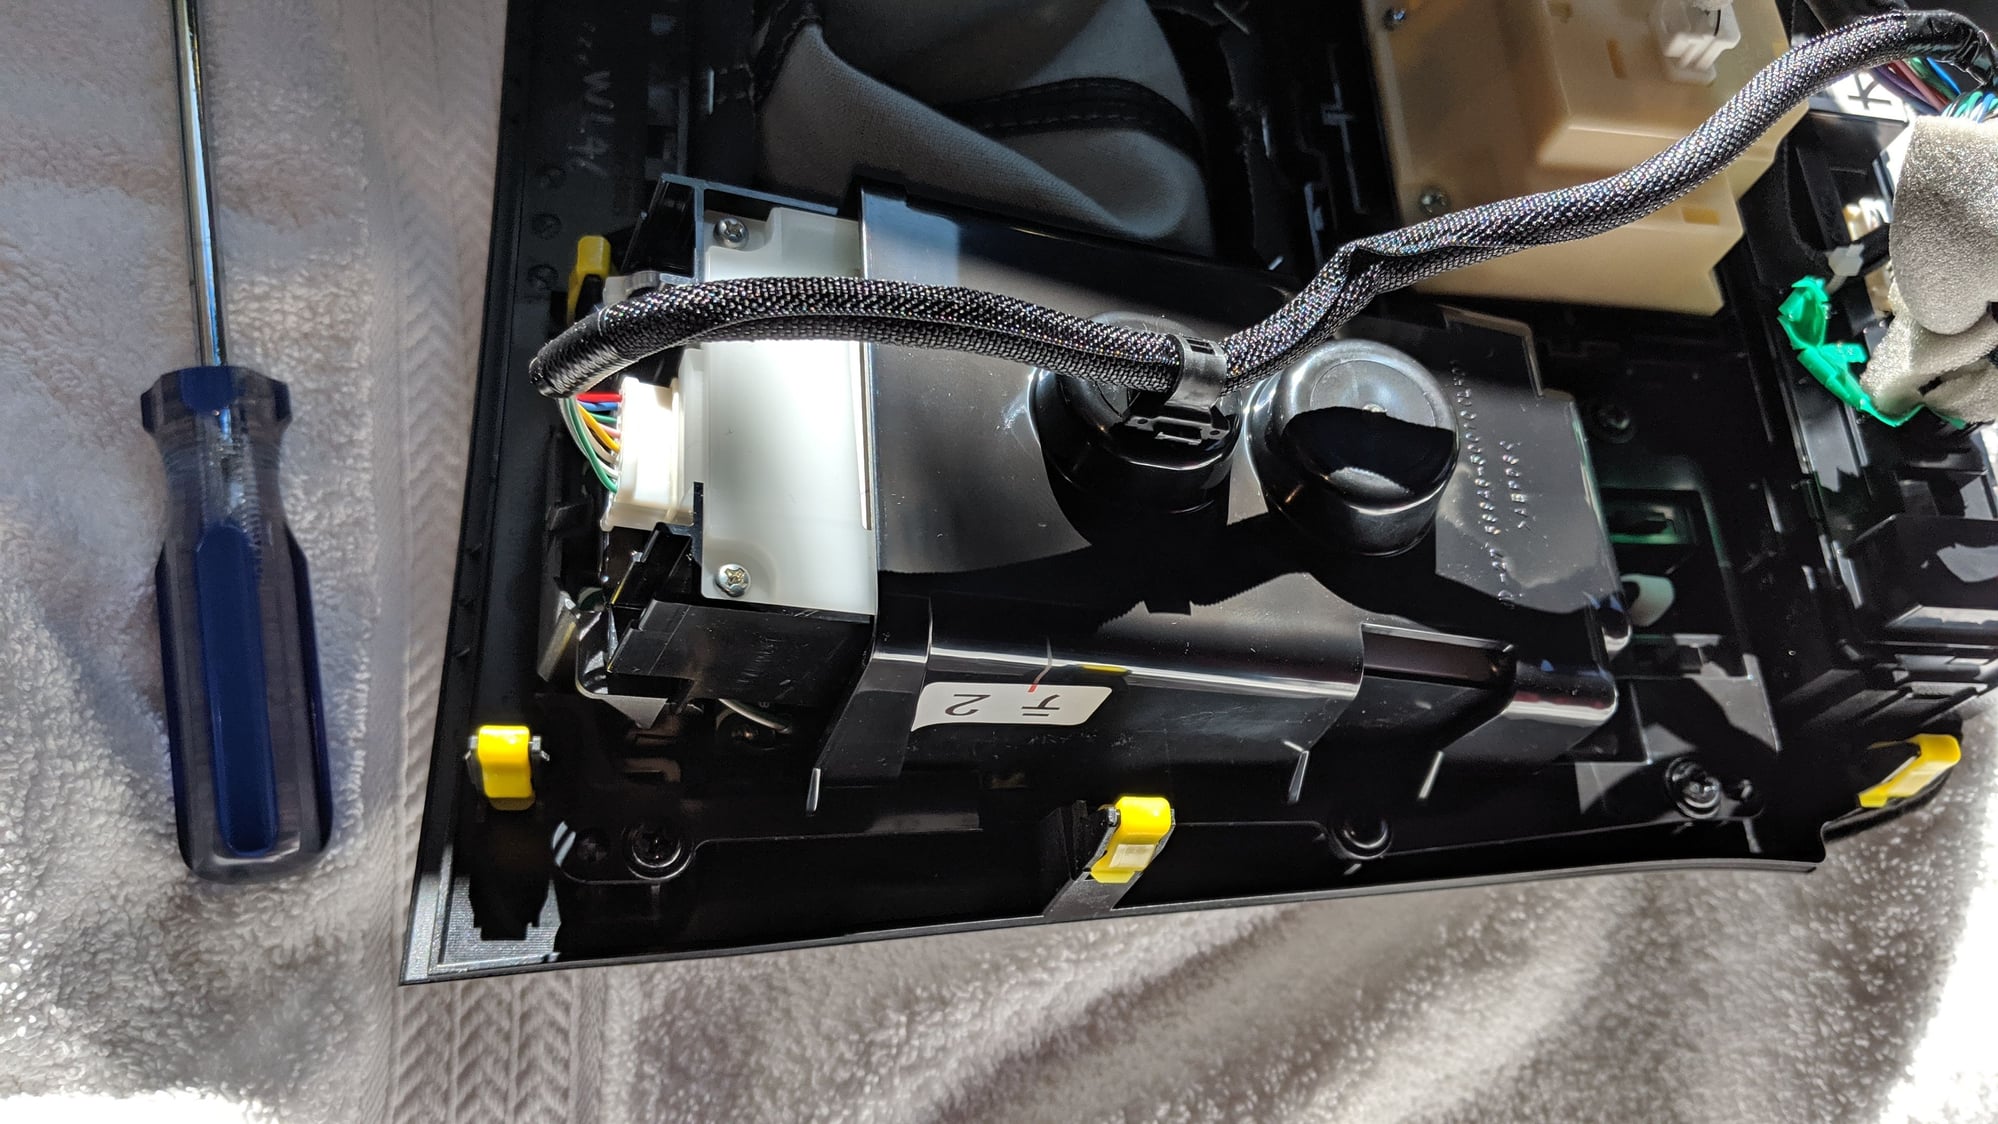
Don't remove the six black screws.
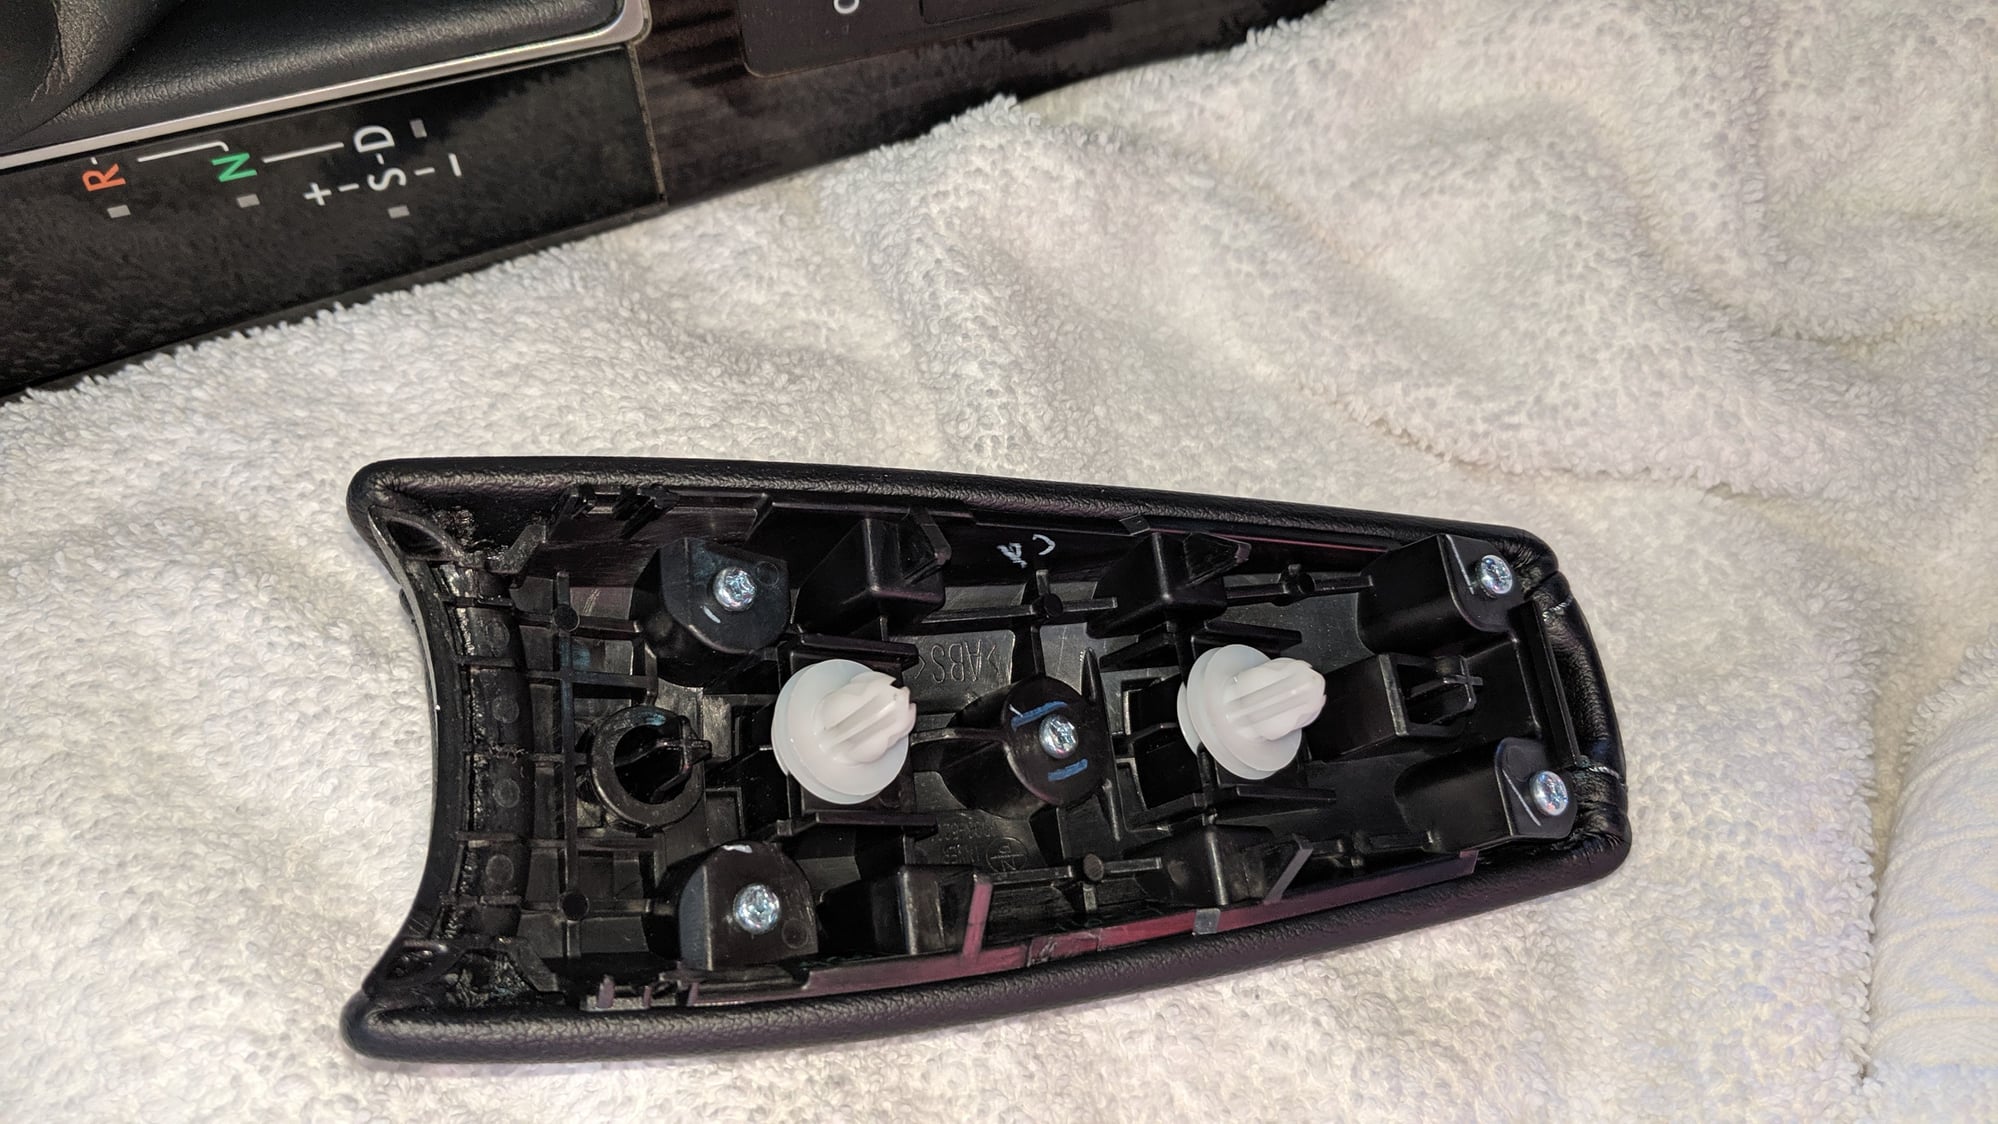
This piece just pops up, but I hurt my fingers doing it.
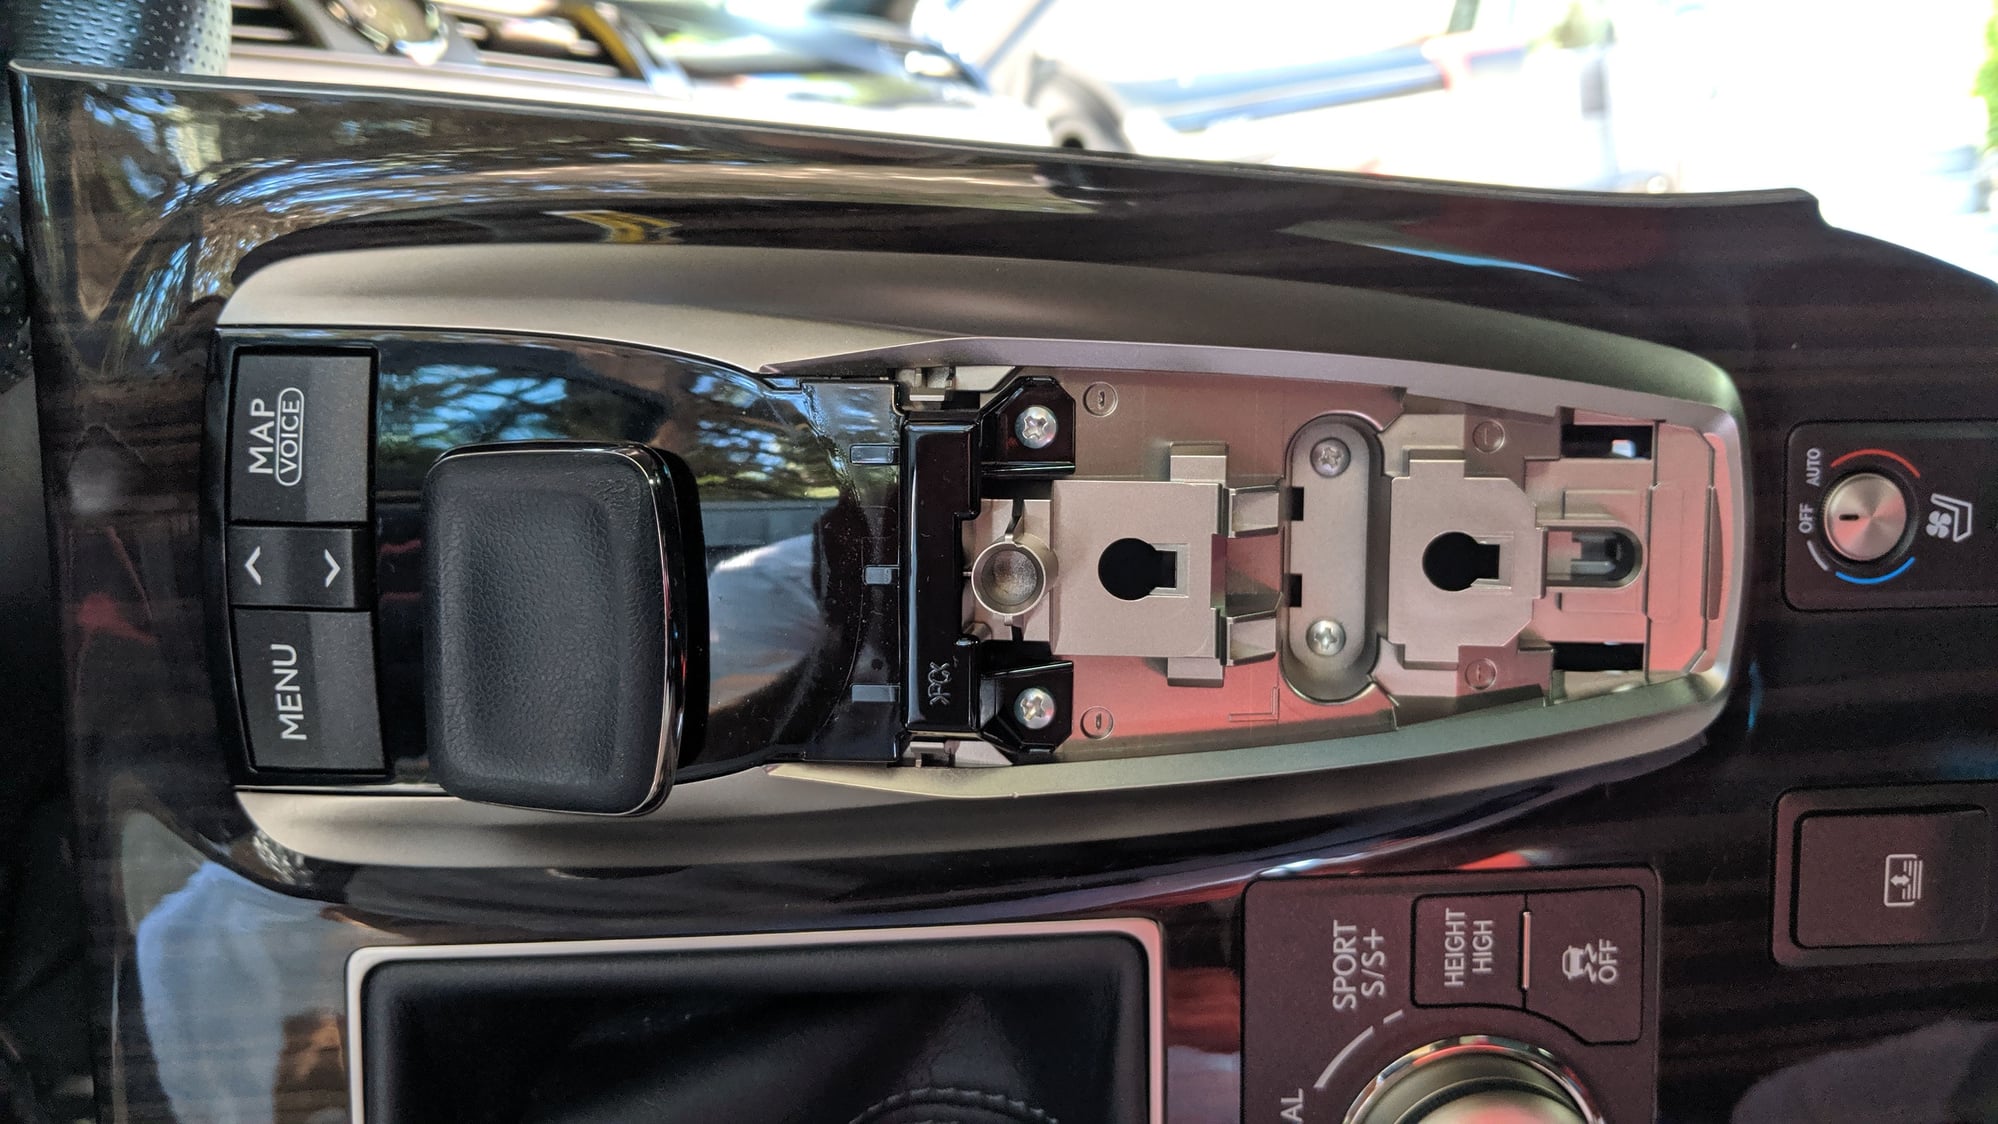
Don't remove the four silver screws.
#14
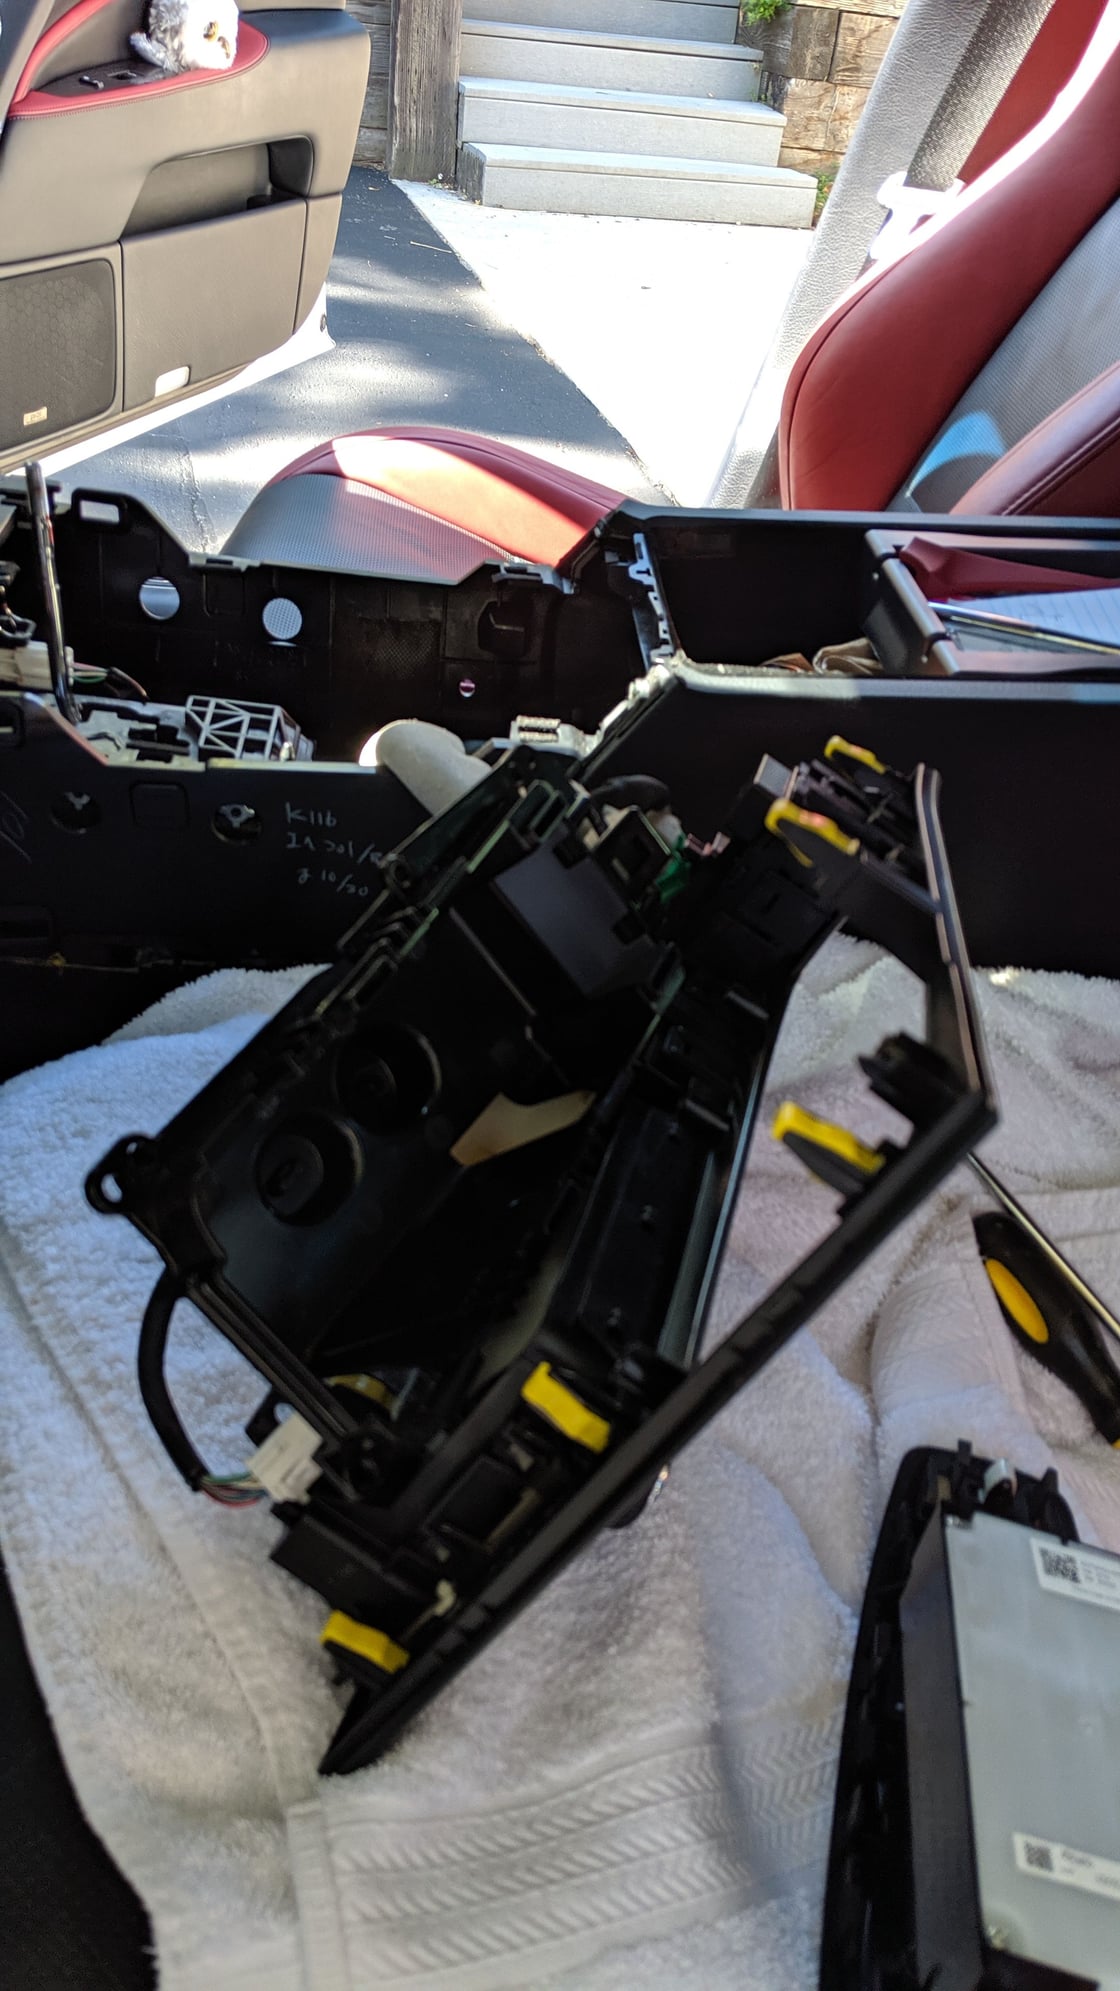
I removed the six black screws which turned out to be unnecessary.
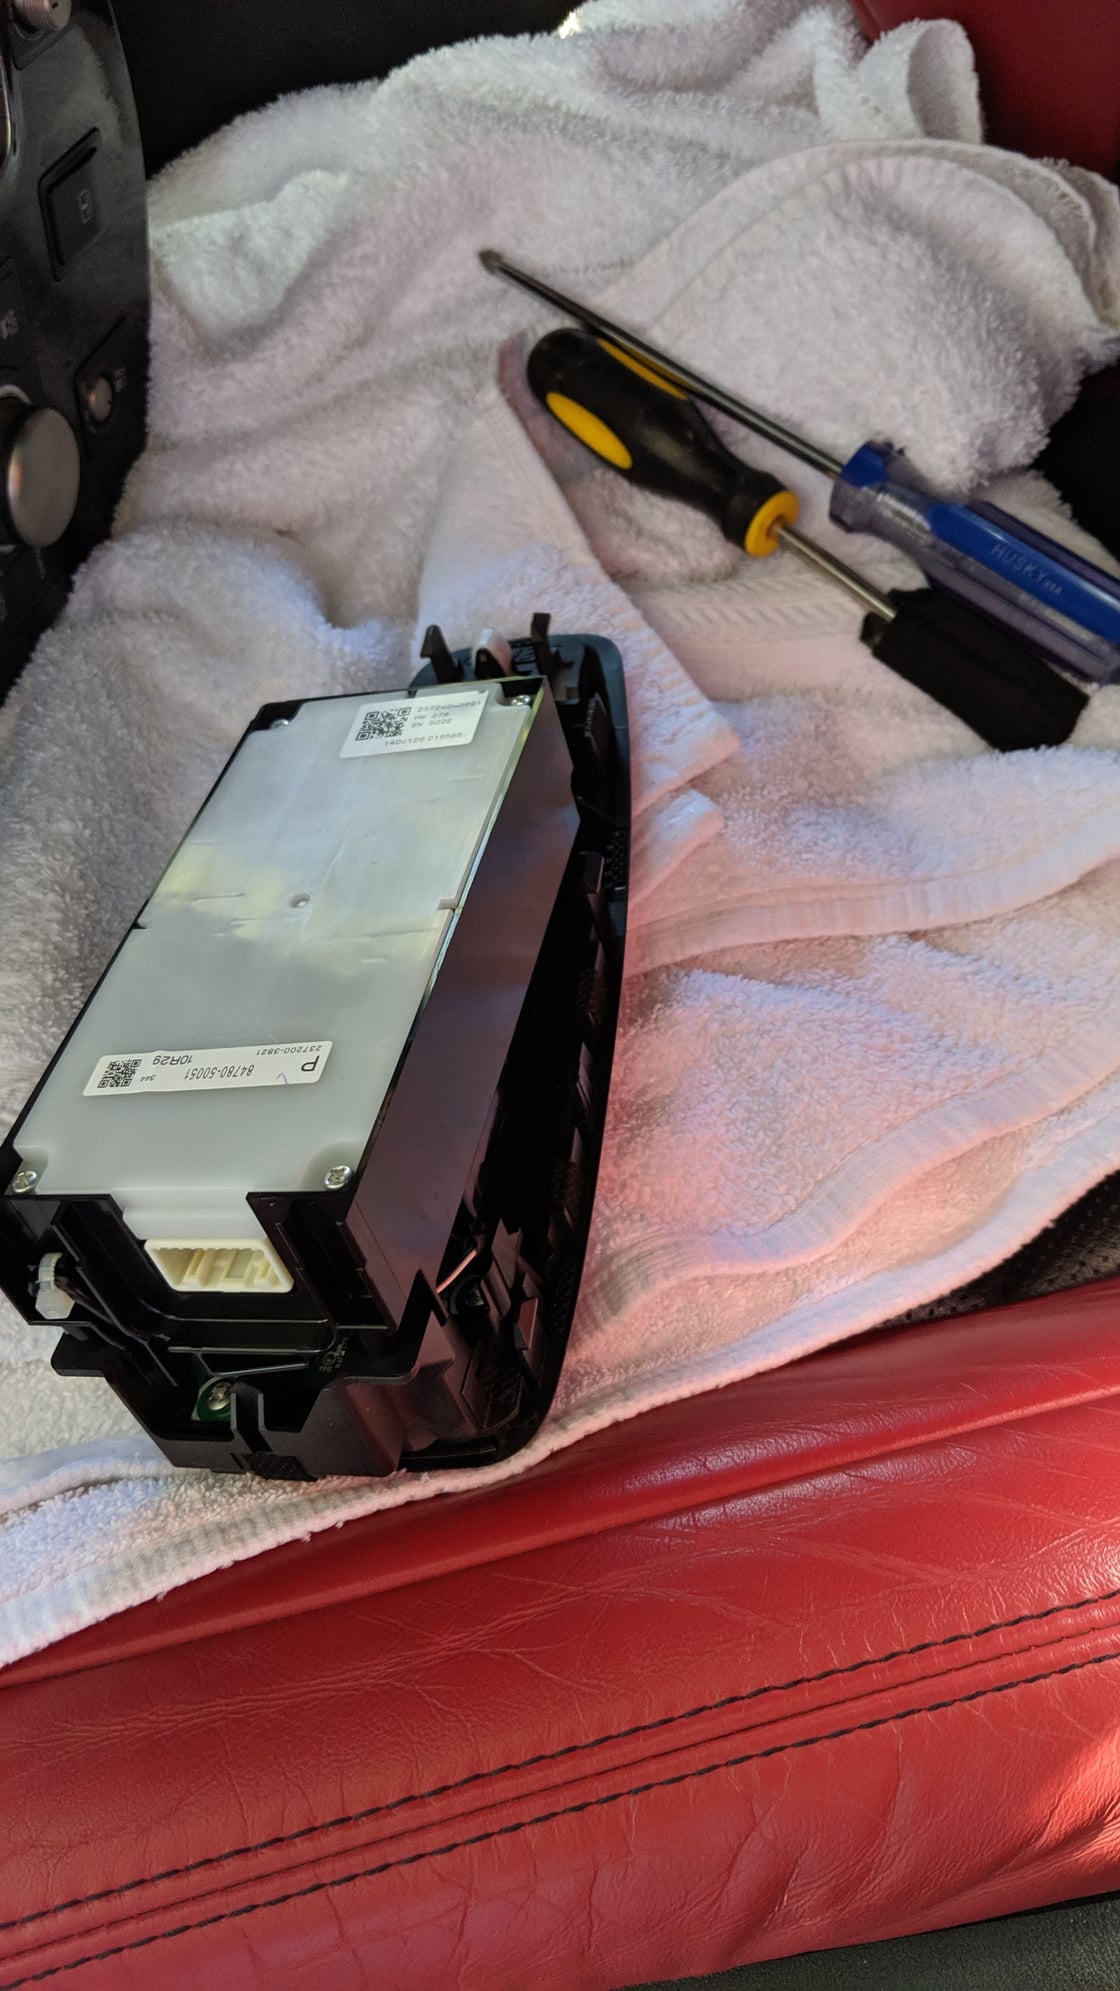
Controller assembly removed.
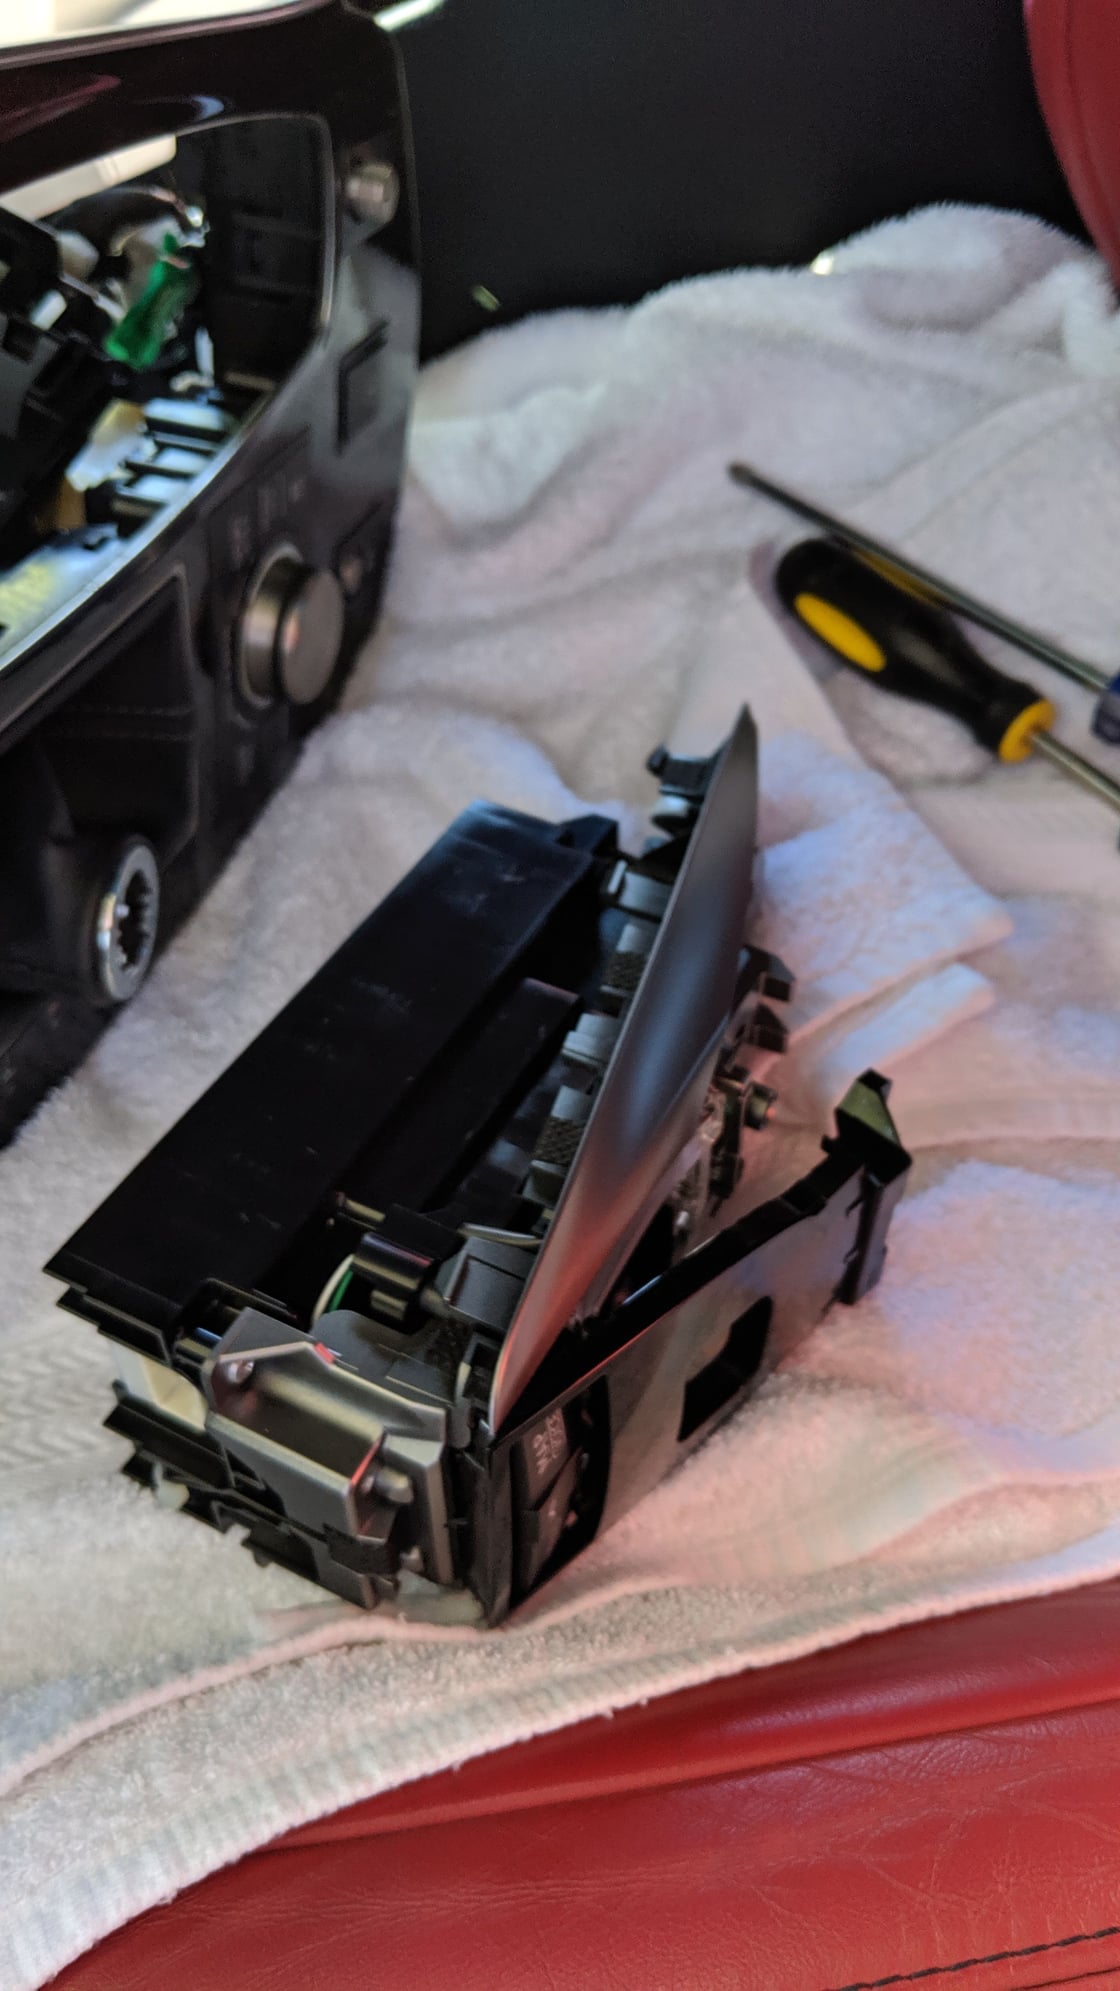
Top is loose because I removed the four silver screws, which was not needed.
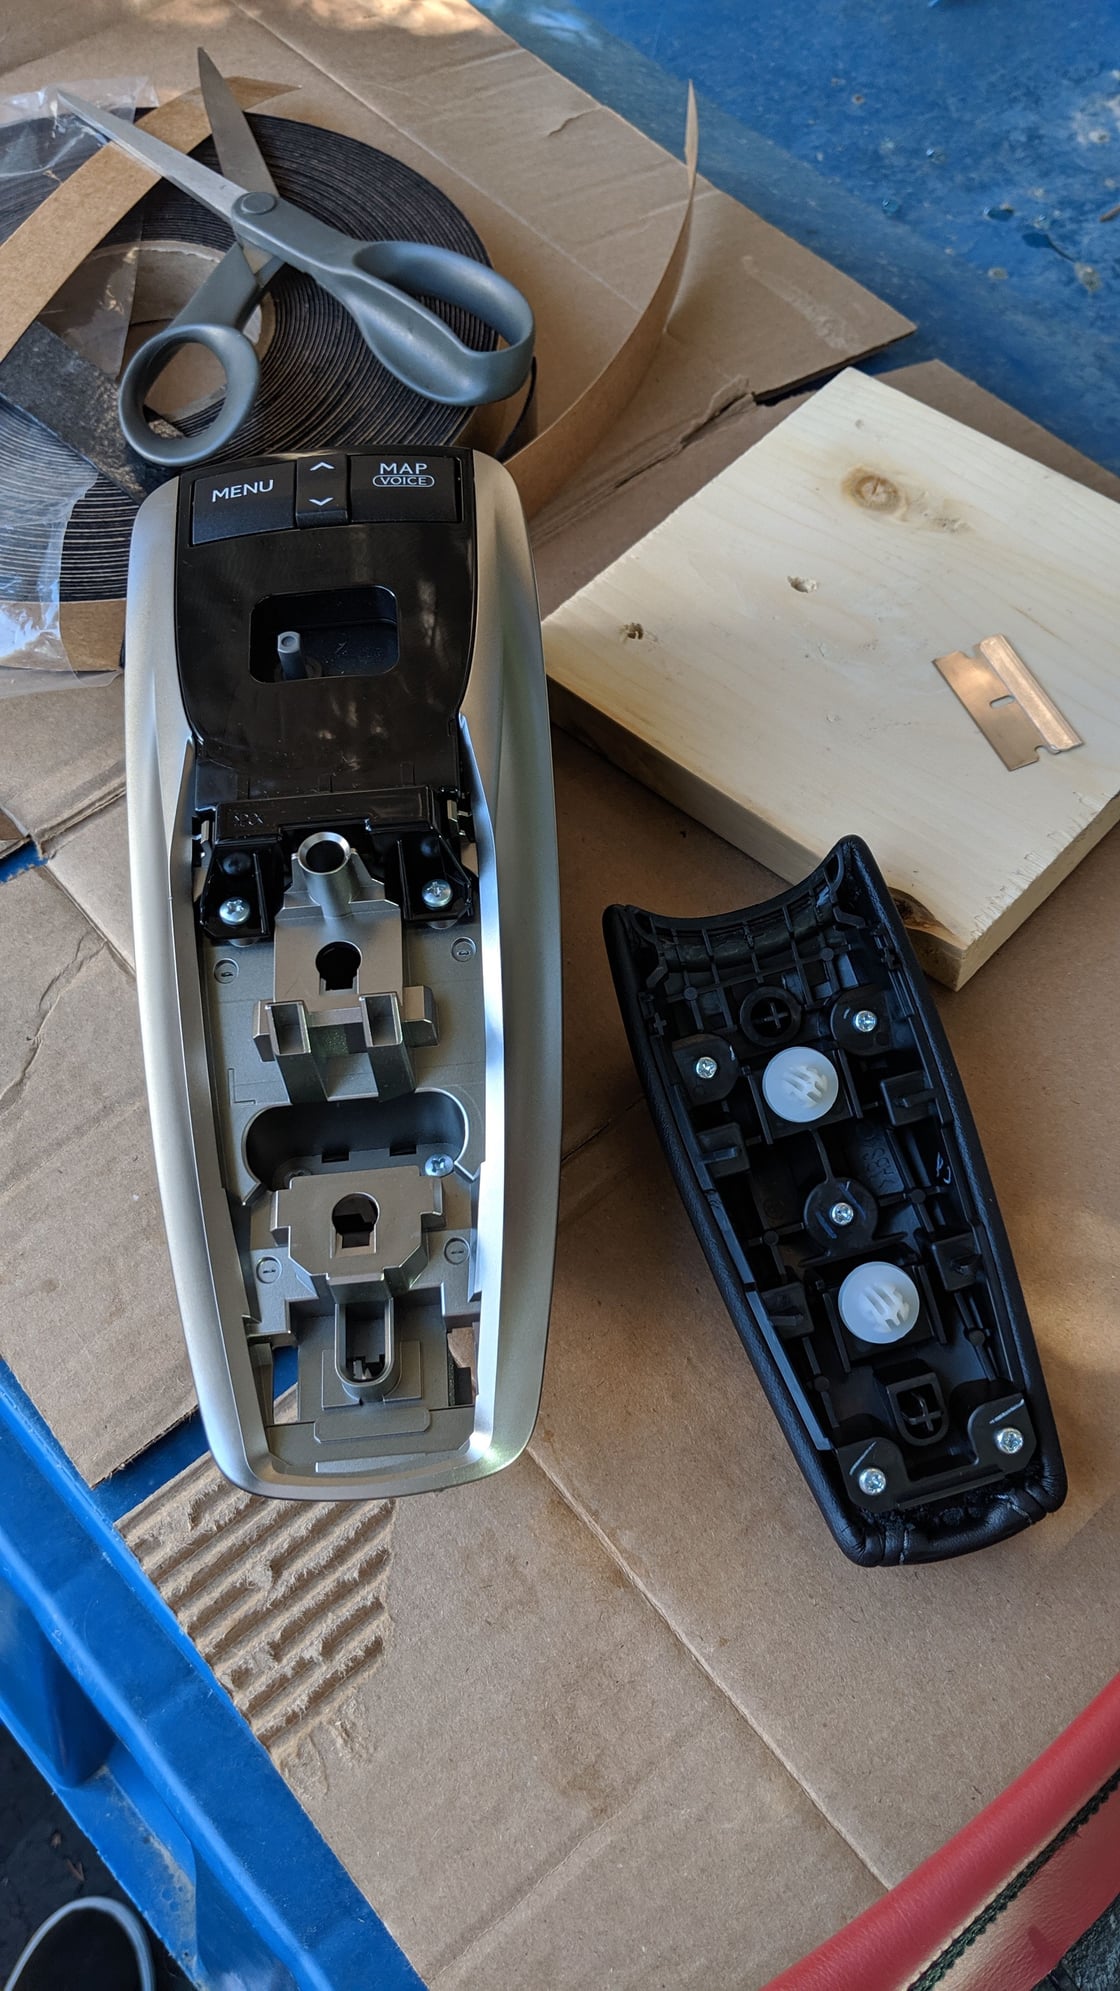
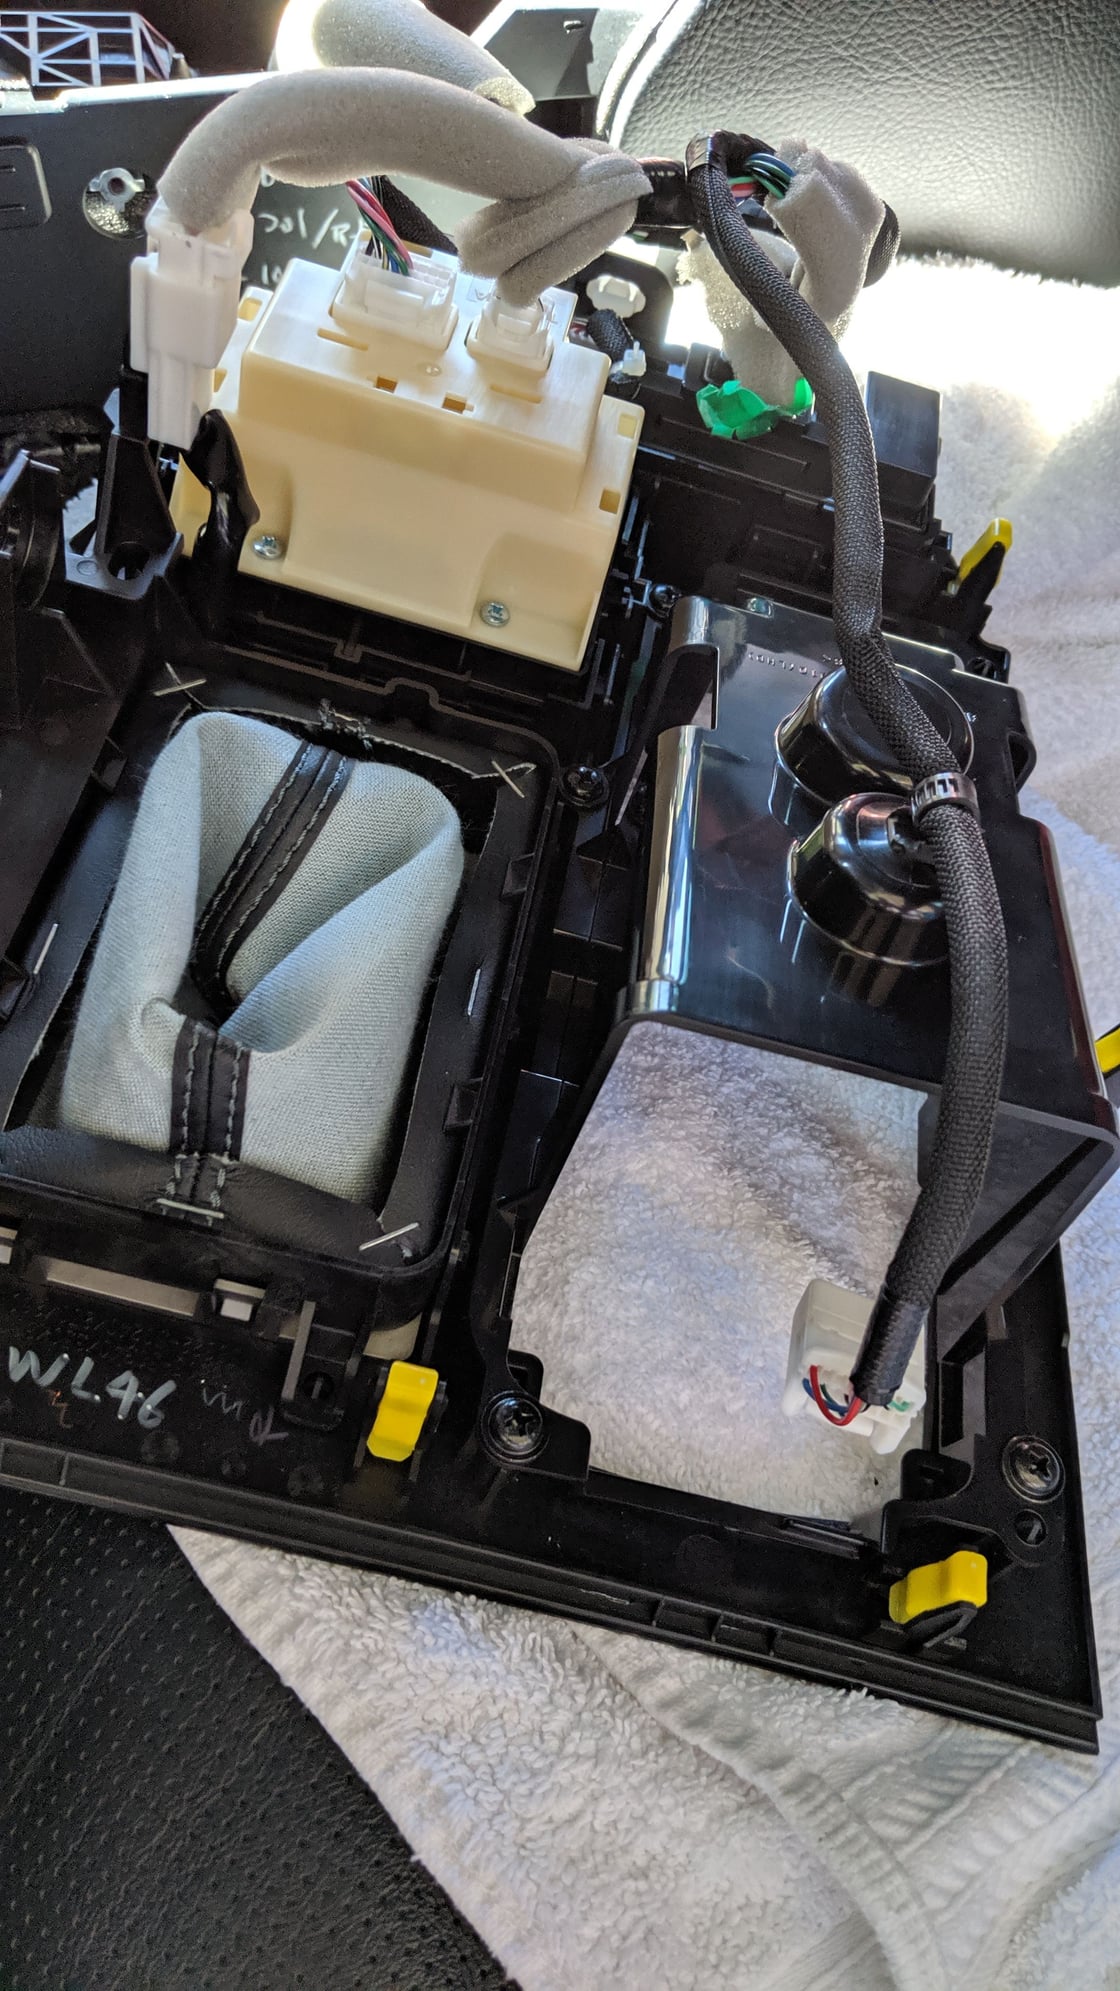
#15
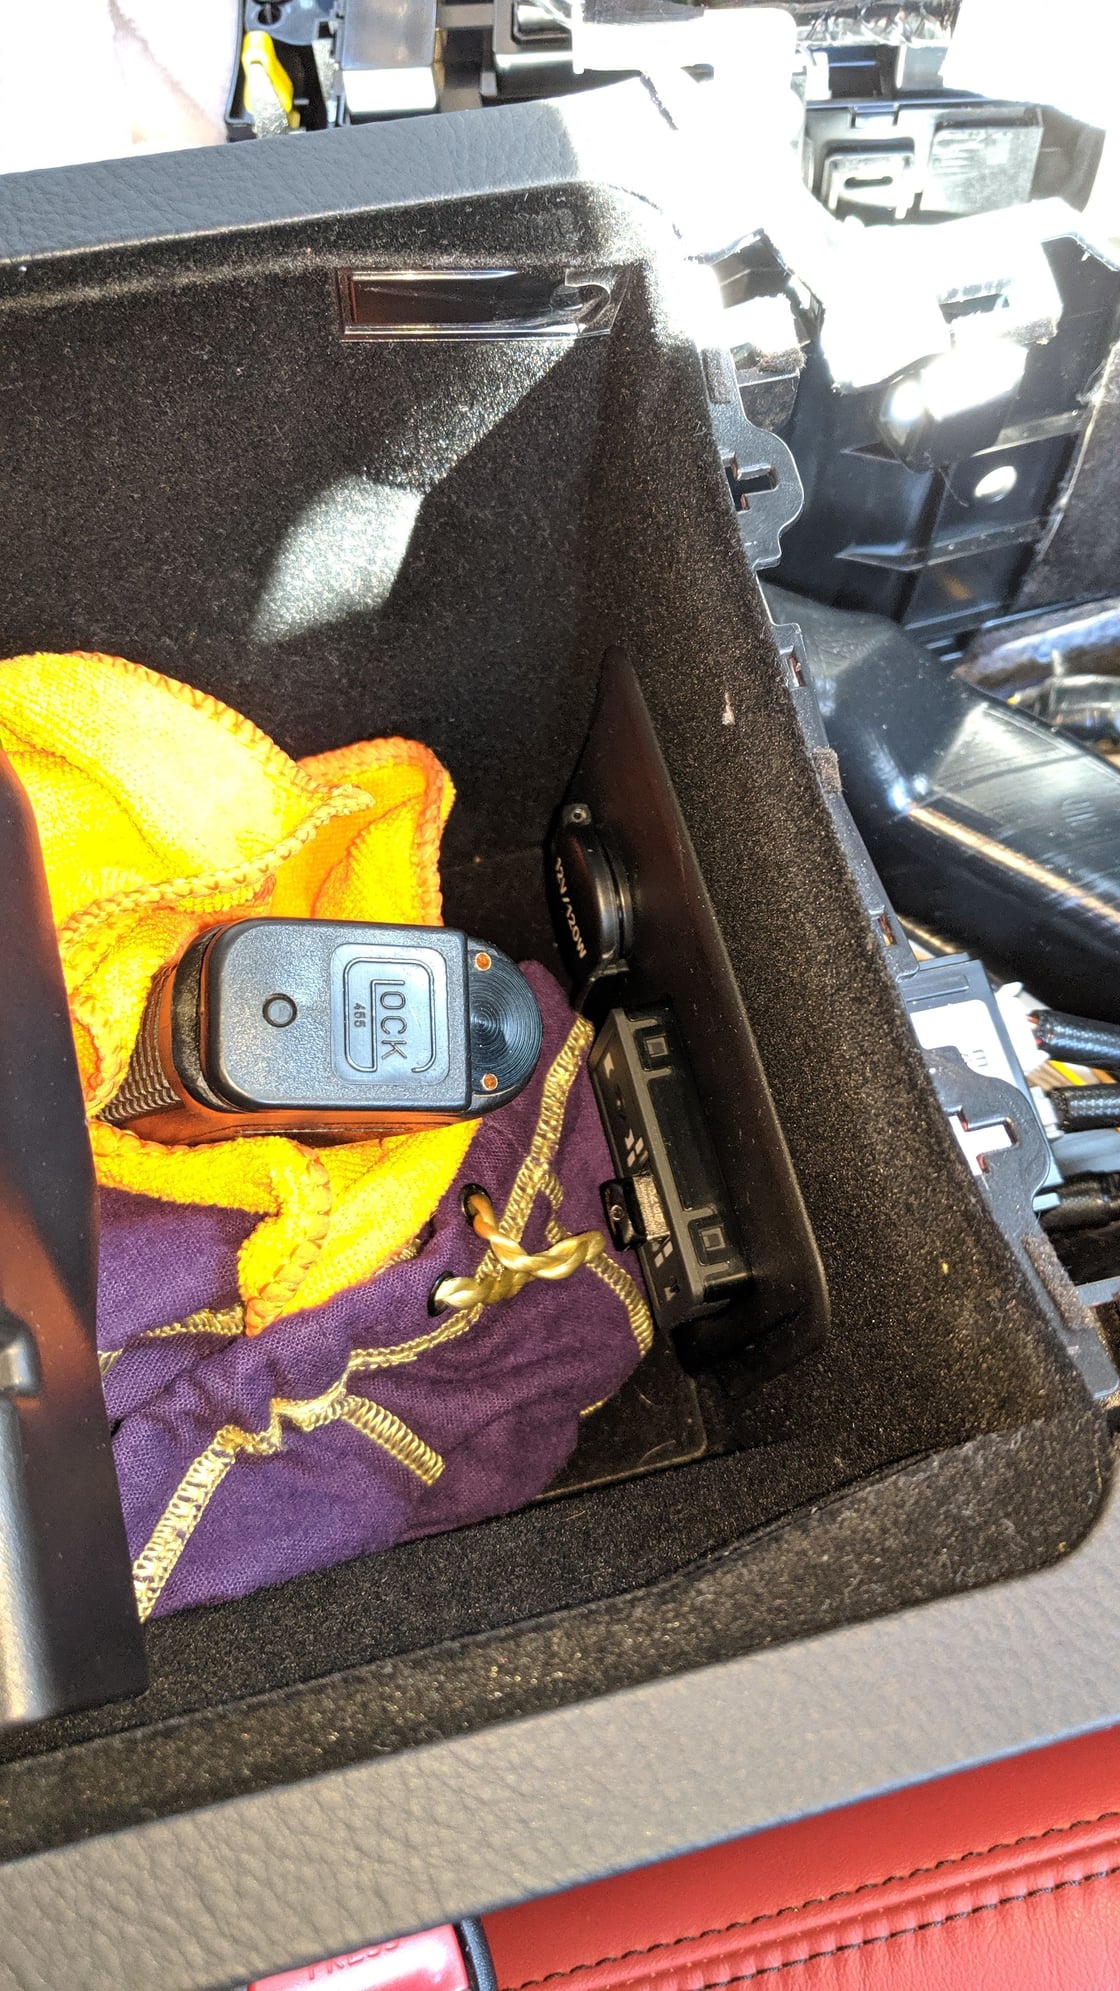
USB assembly popped out. First gen Glock 19.
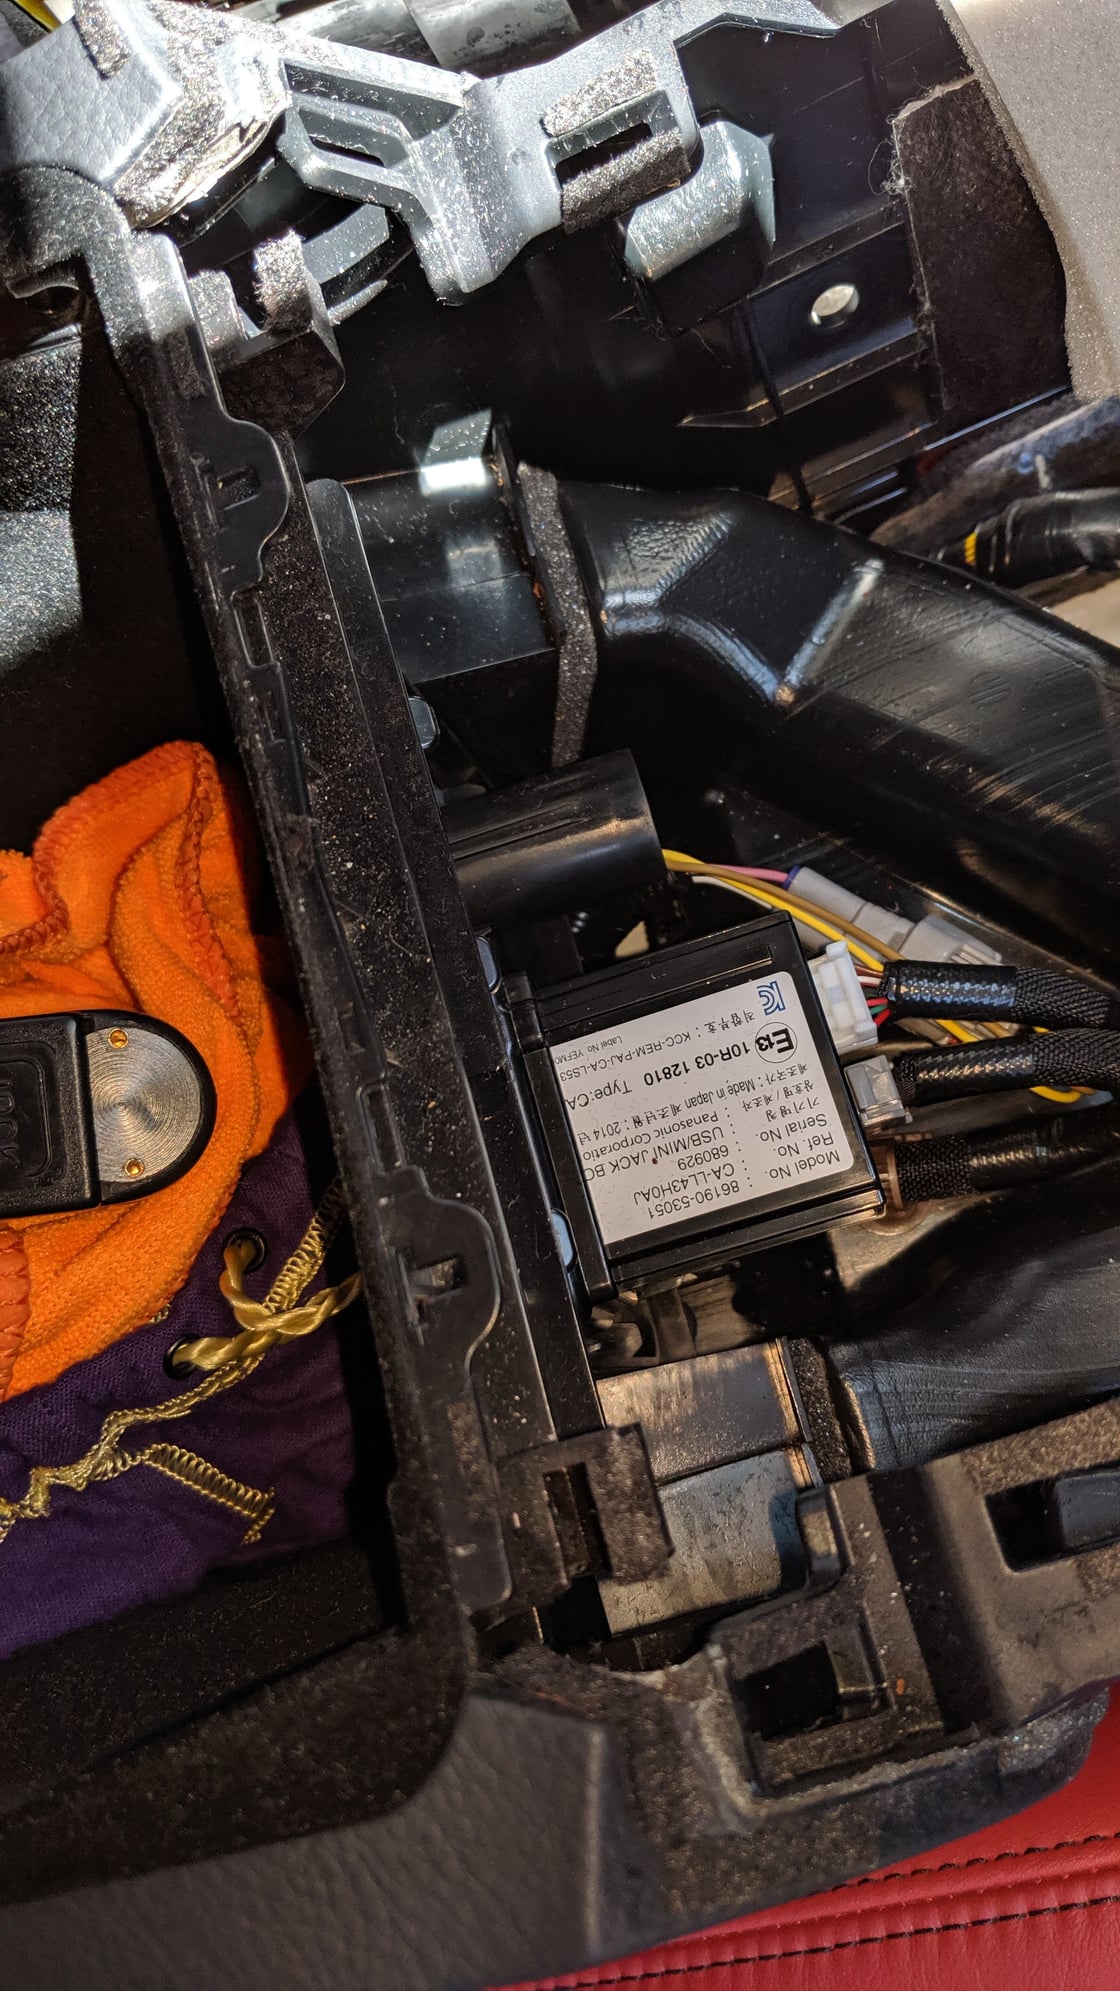
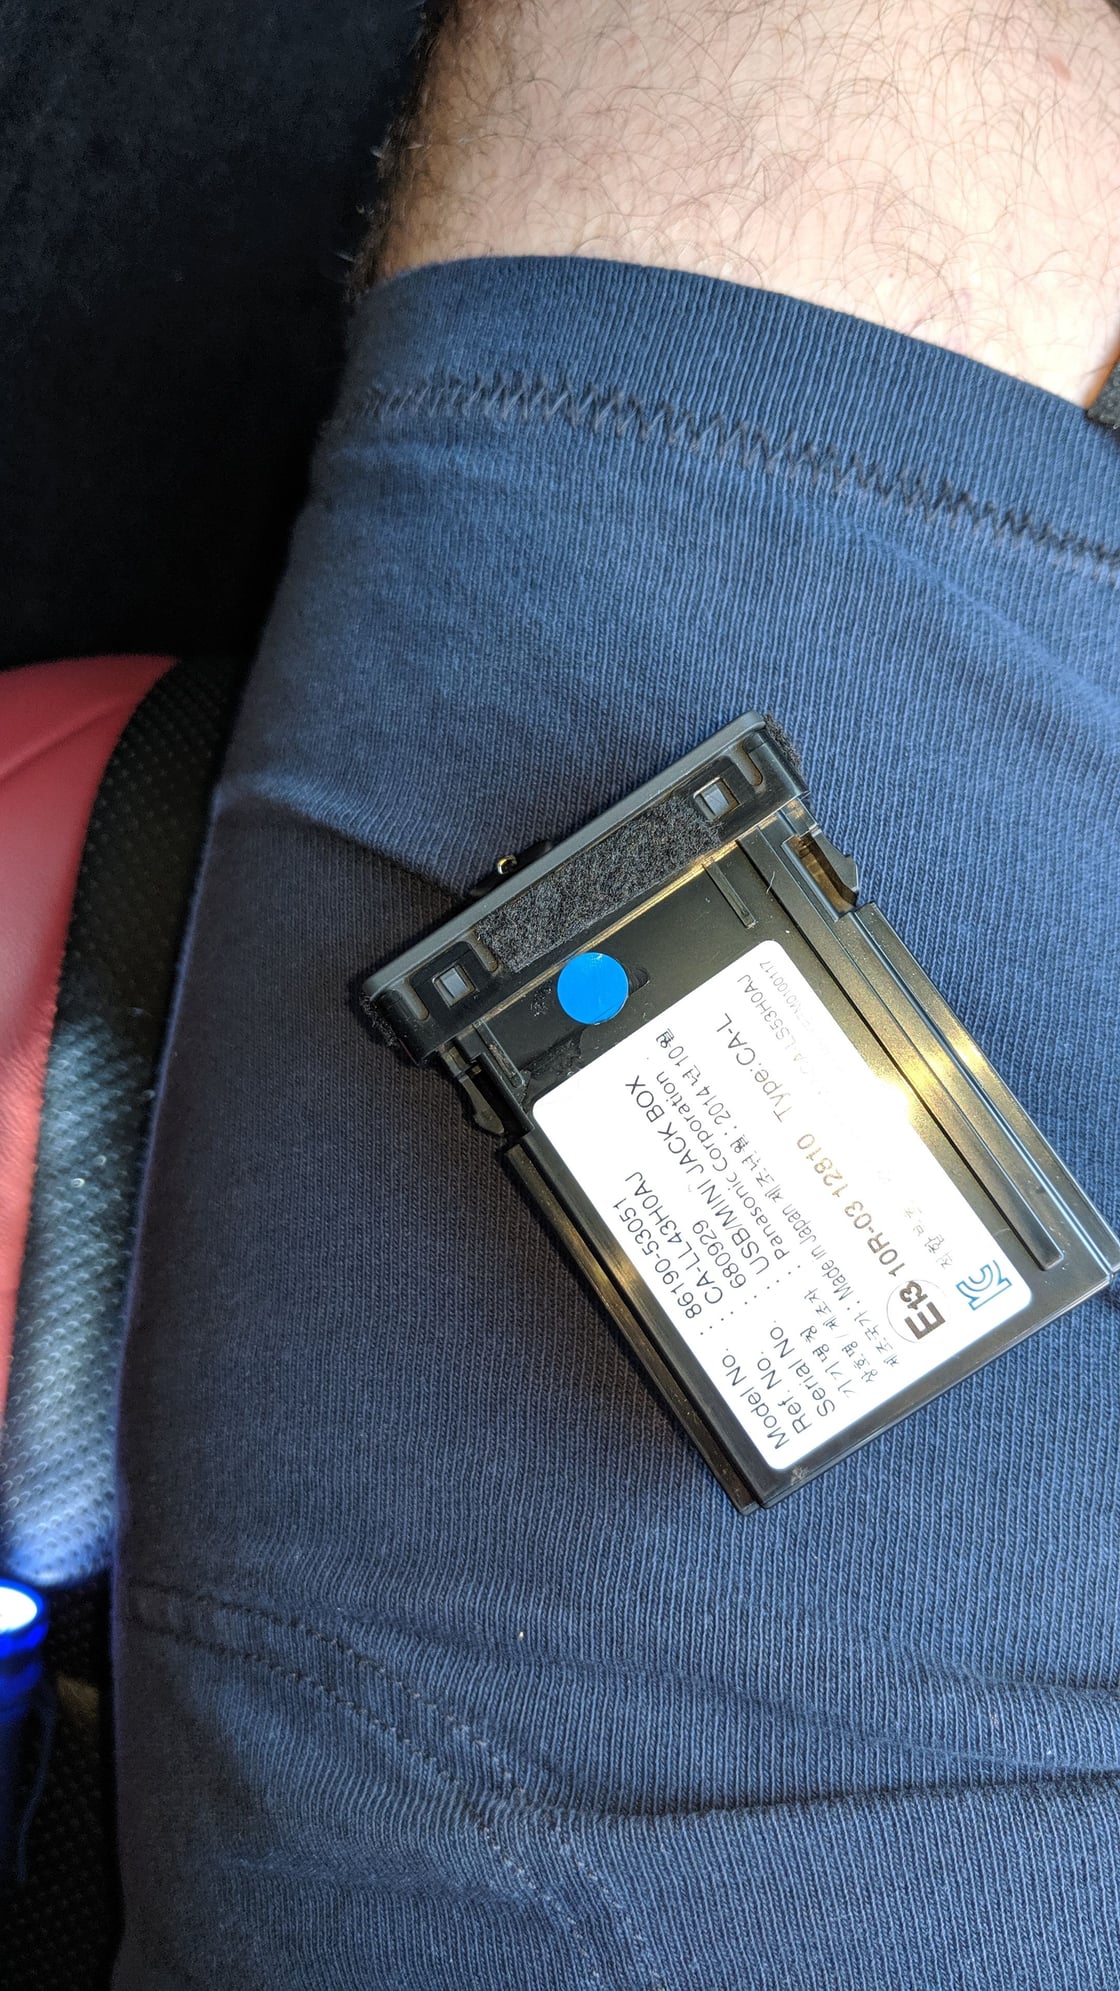
USB assembly removed for felt
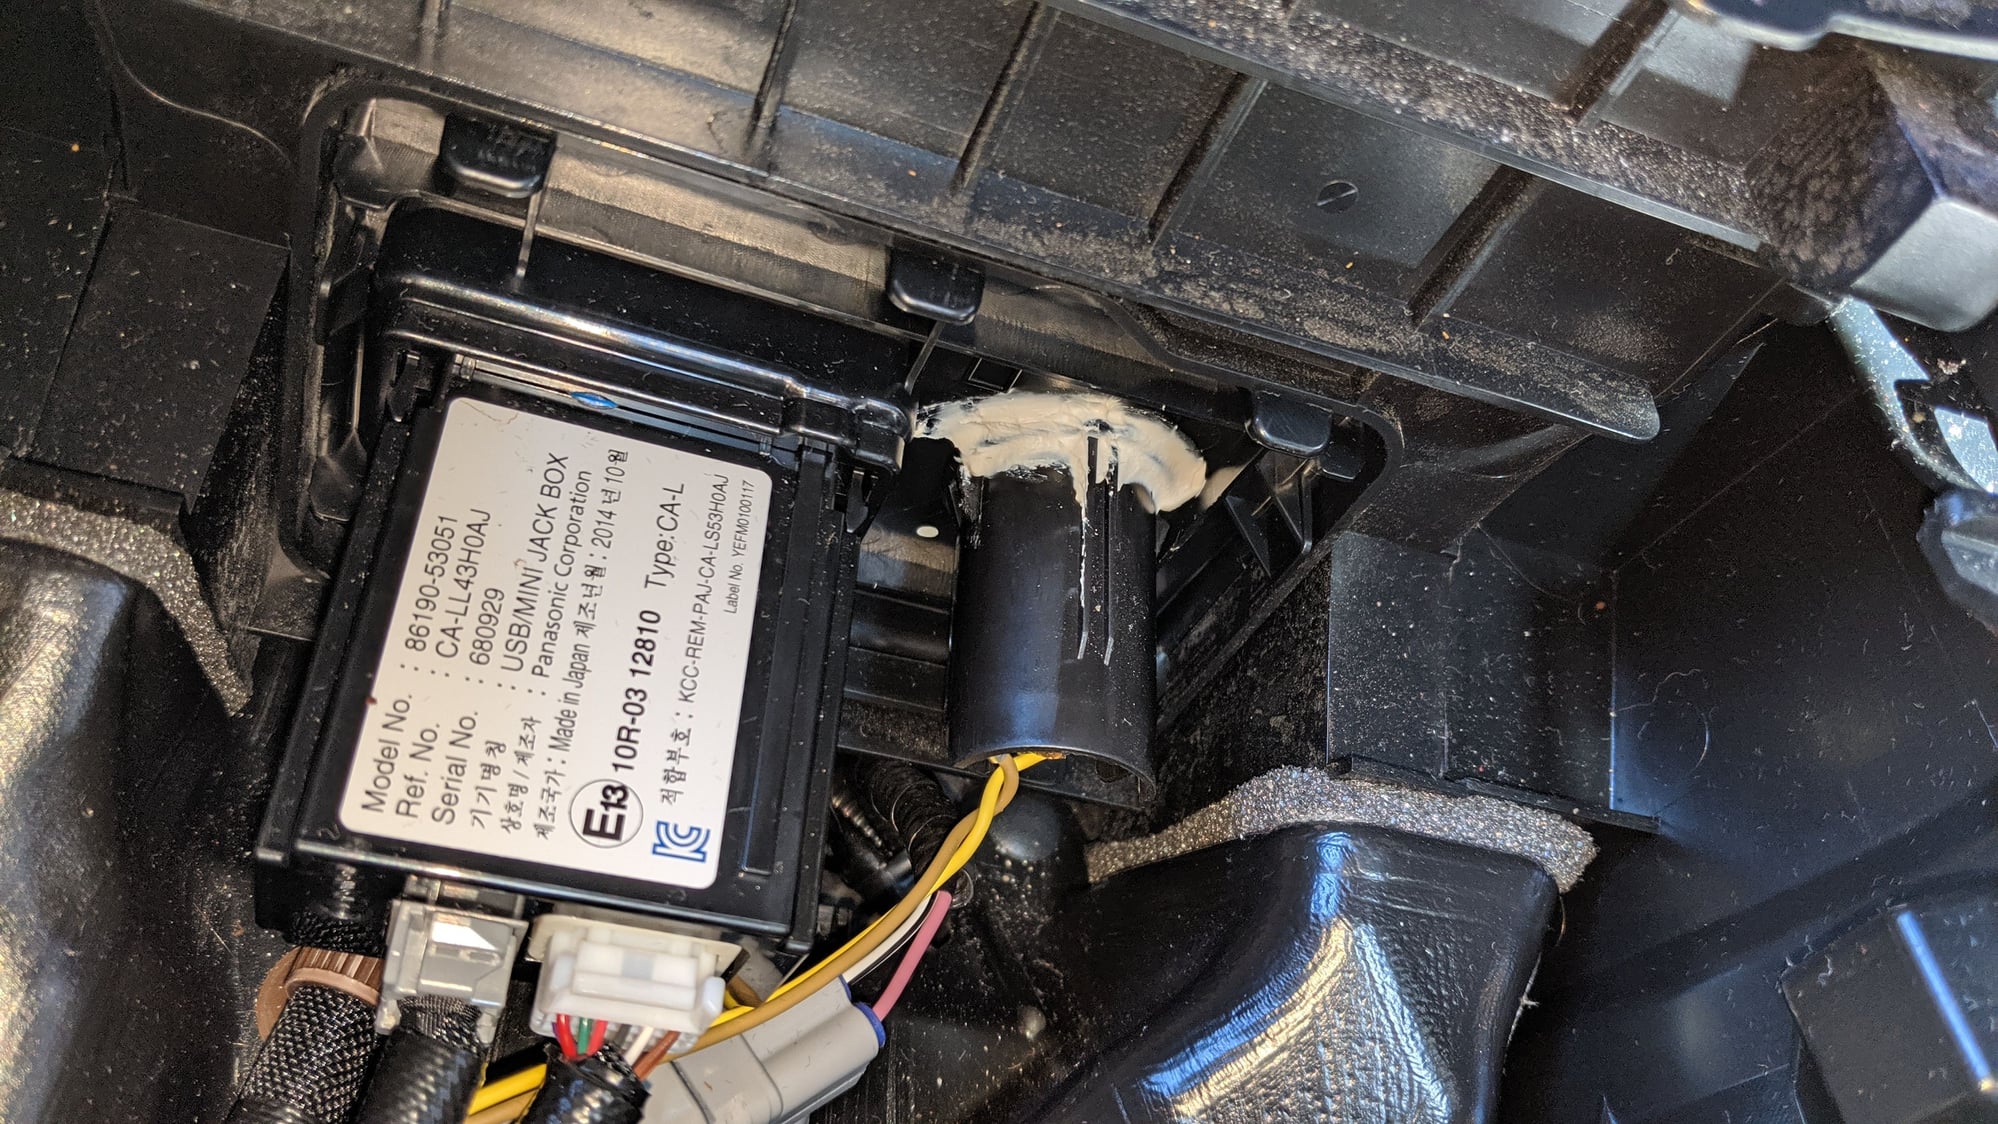
Resorted to caulk on power adapter.
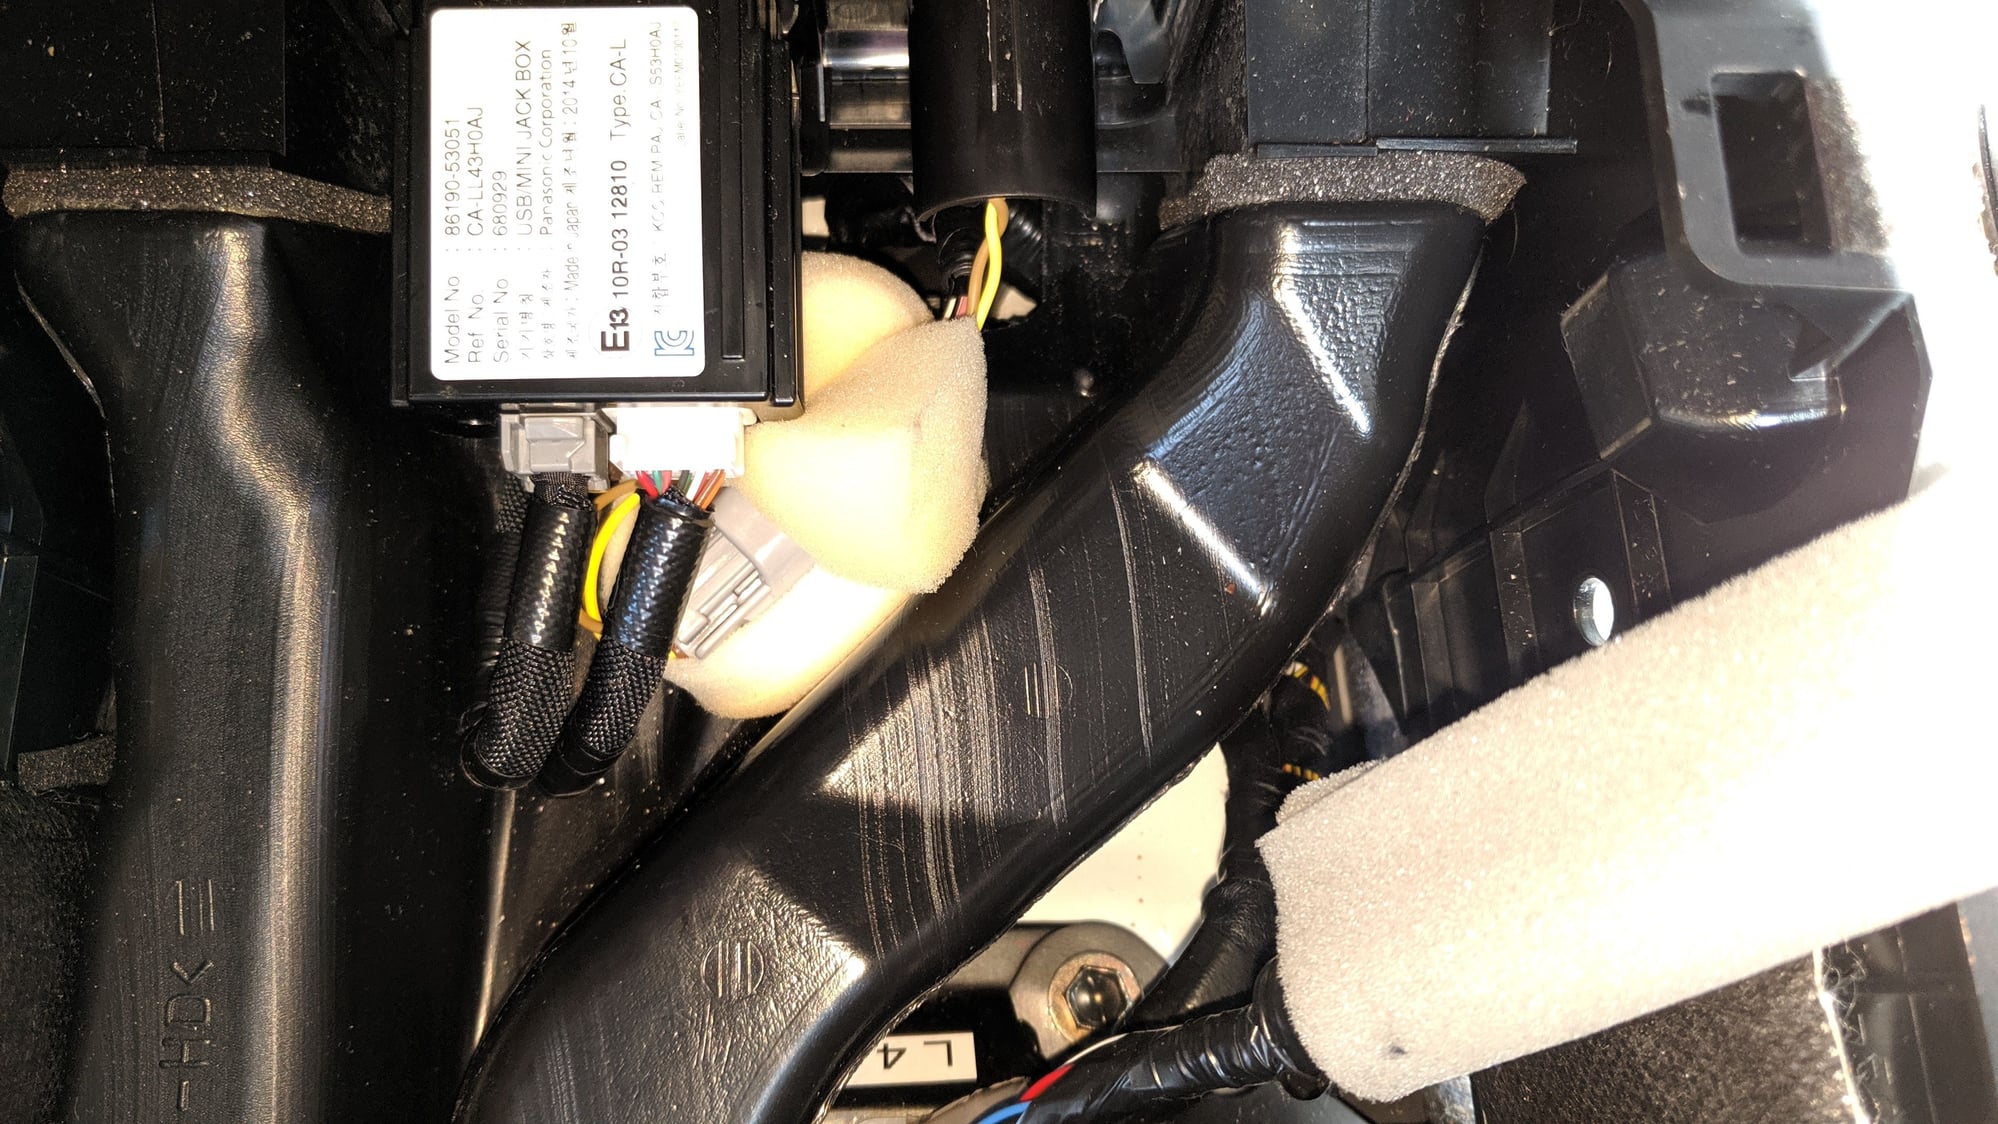
Added foam around the power fastener under the USB assembly as it seemed to rattle.
