When you click on links to various merchants on this site and make a purchase, this can result in this site earning a commission. Affiliate programs and affiliations include, but are not limited to, the eBay Partner Network.
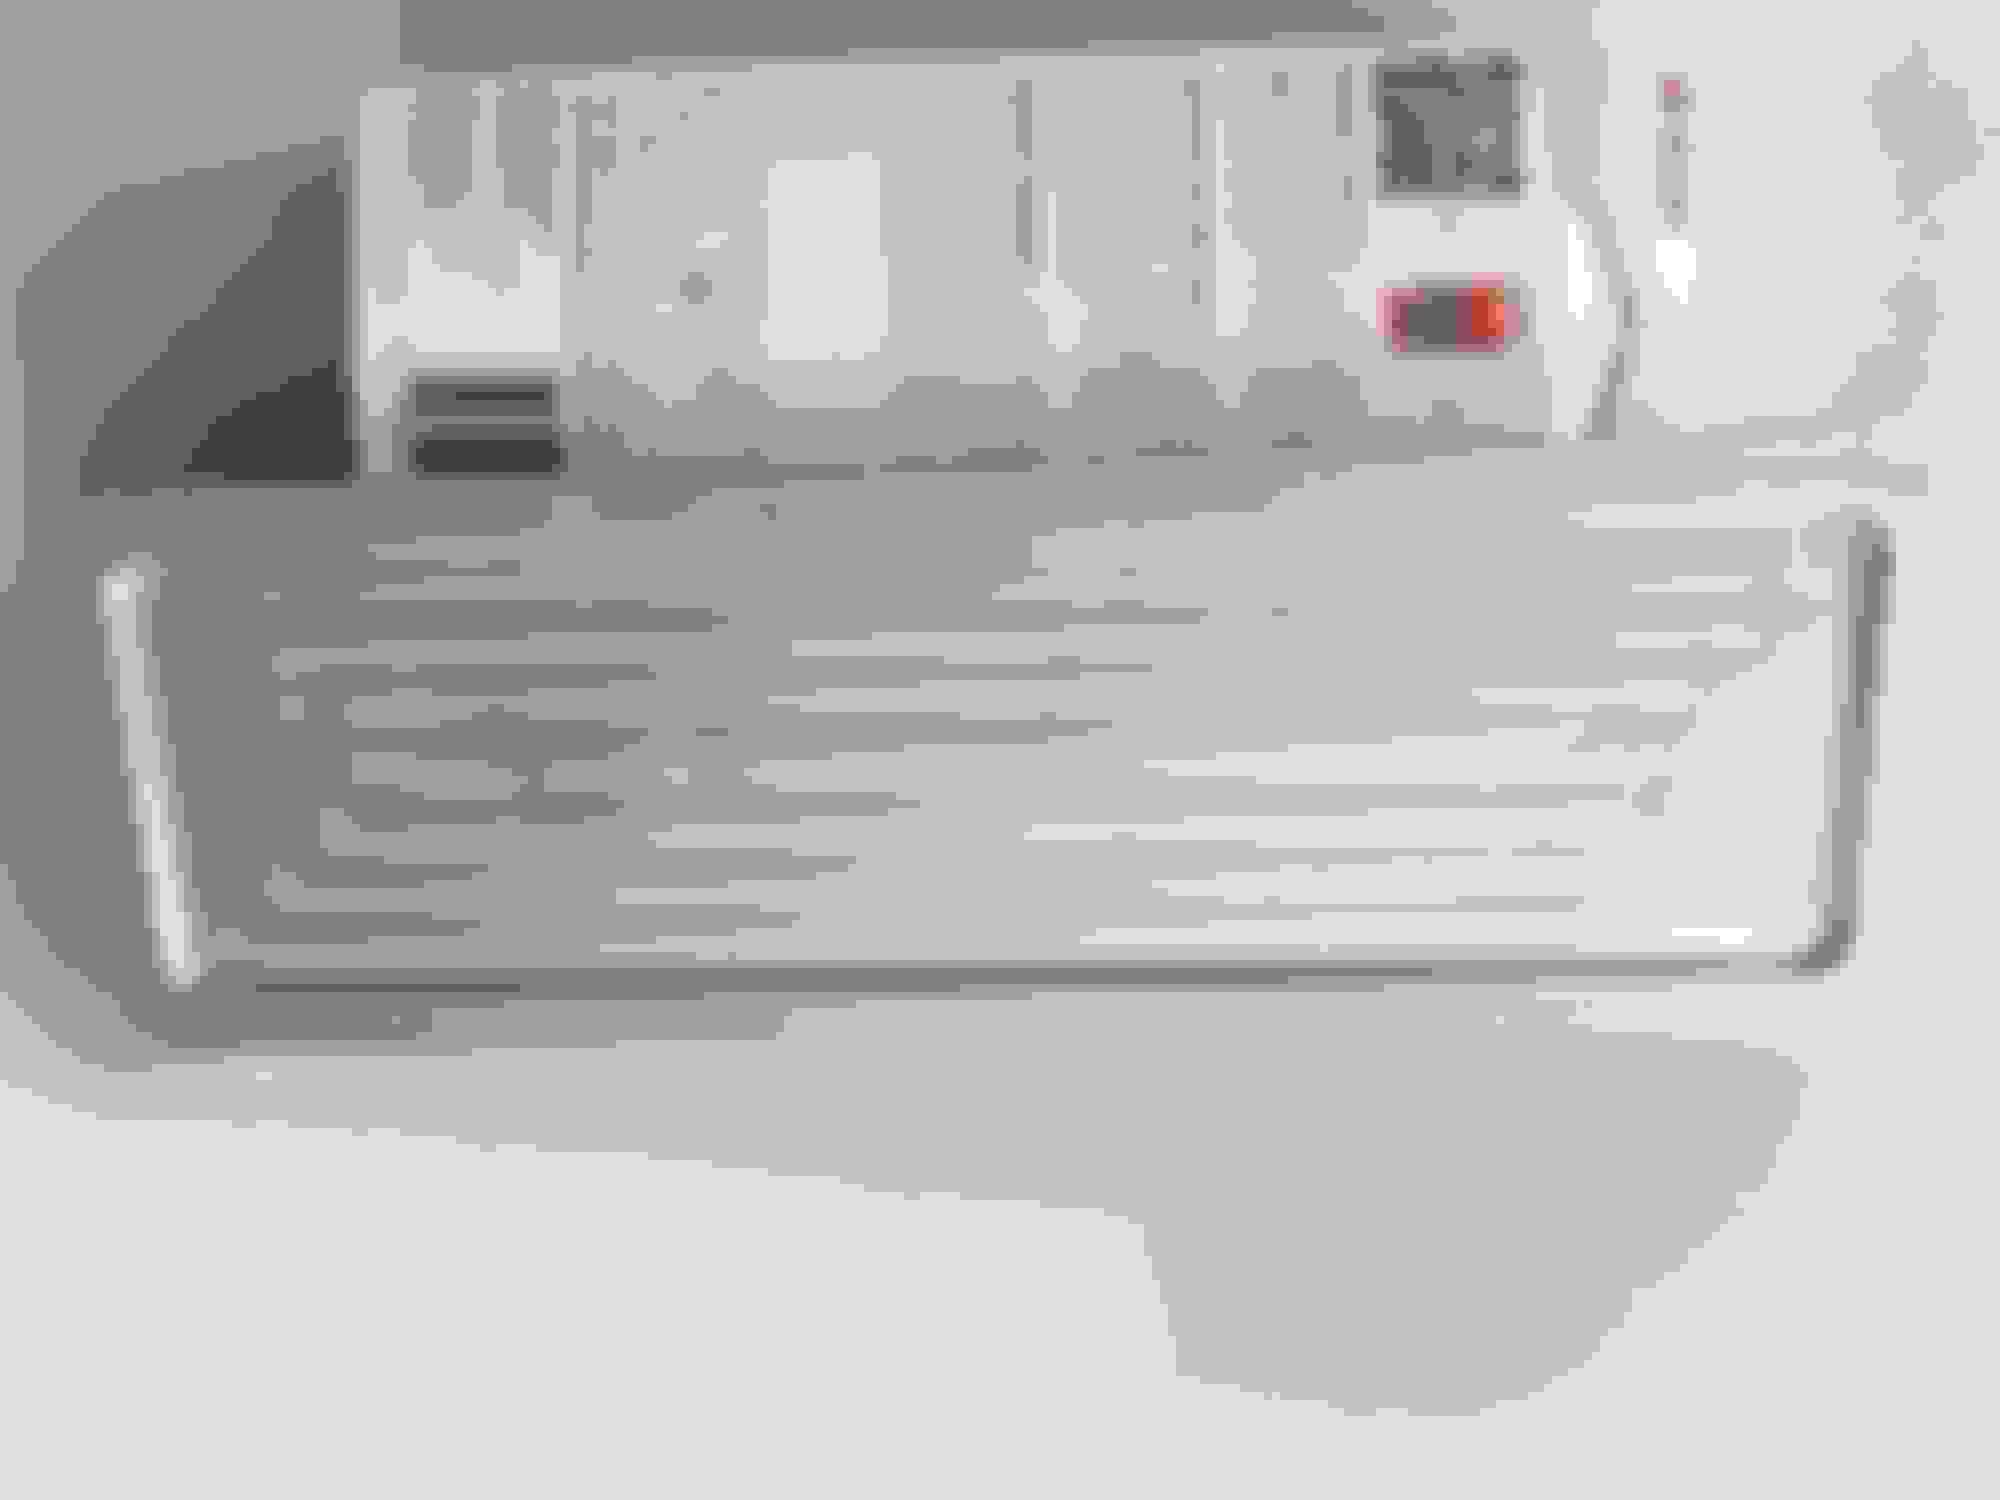
I finally assembled and installed the dead pedal for my 2014 LS today. As discussed on another thread (https://www.clublexus.com/forums/ls-...rotection.html), I decided to attempt this job in order to have a nicely coordinated set of pedals after swapping in the 2016 GS-F sport brake and gas pedals for the plain old black LS pedals. Please refer other thread for details of the F-sport pedals.
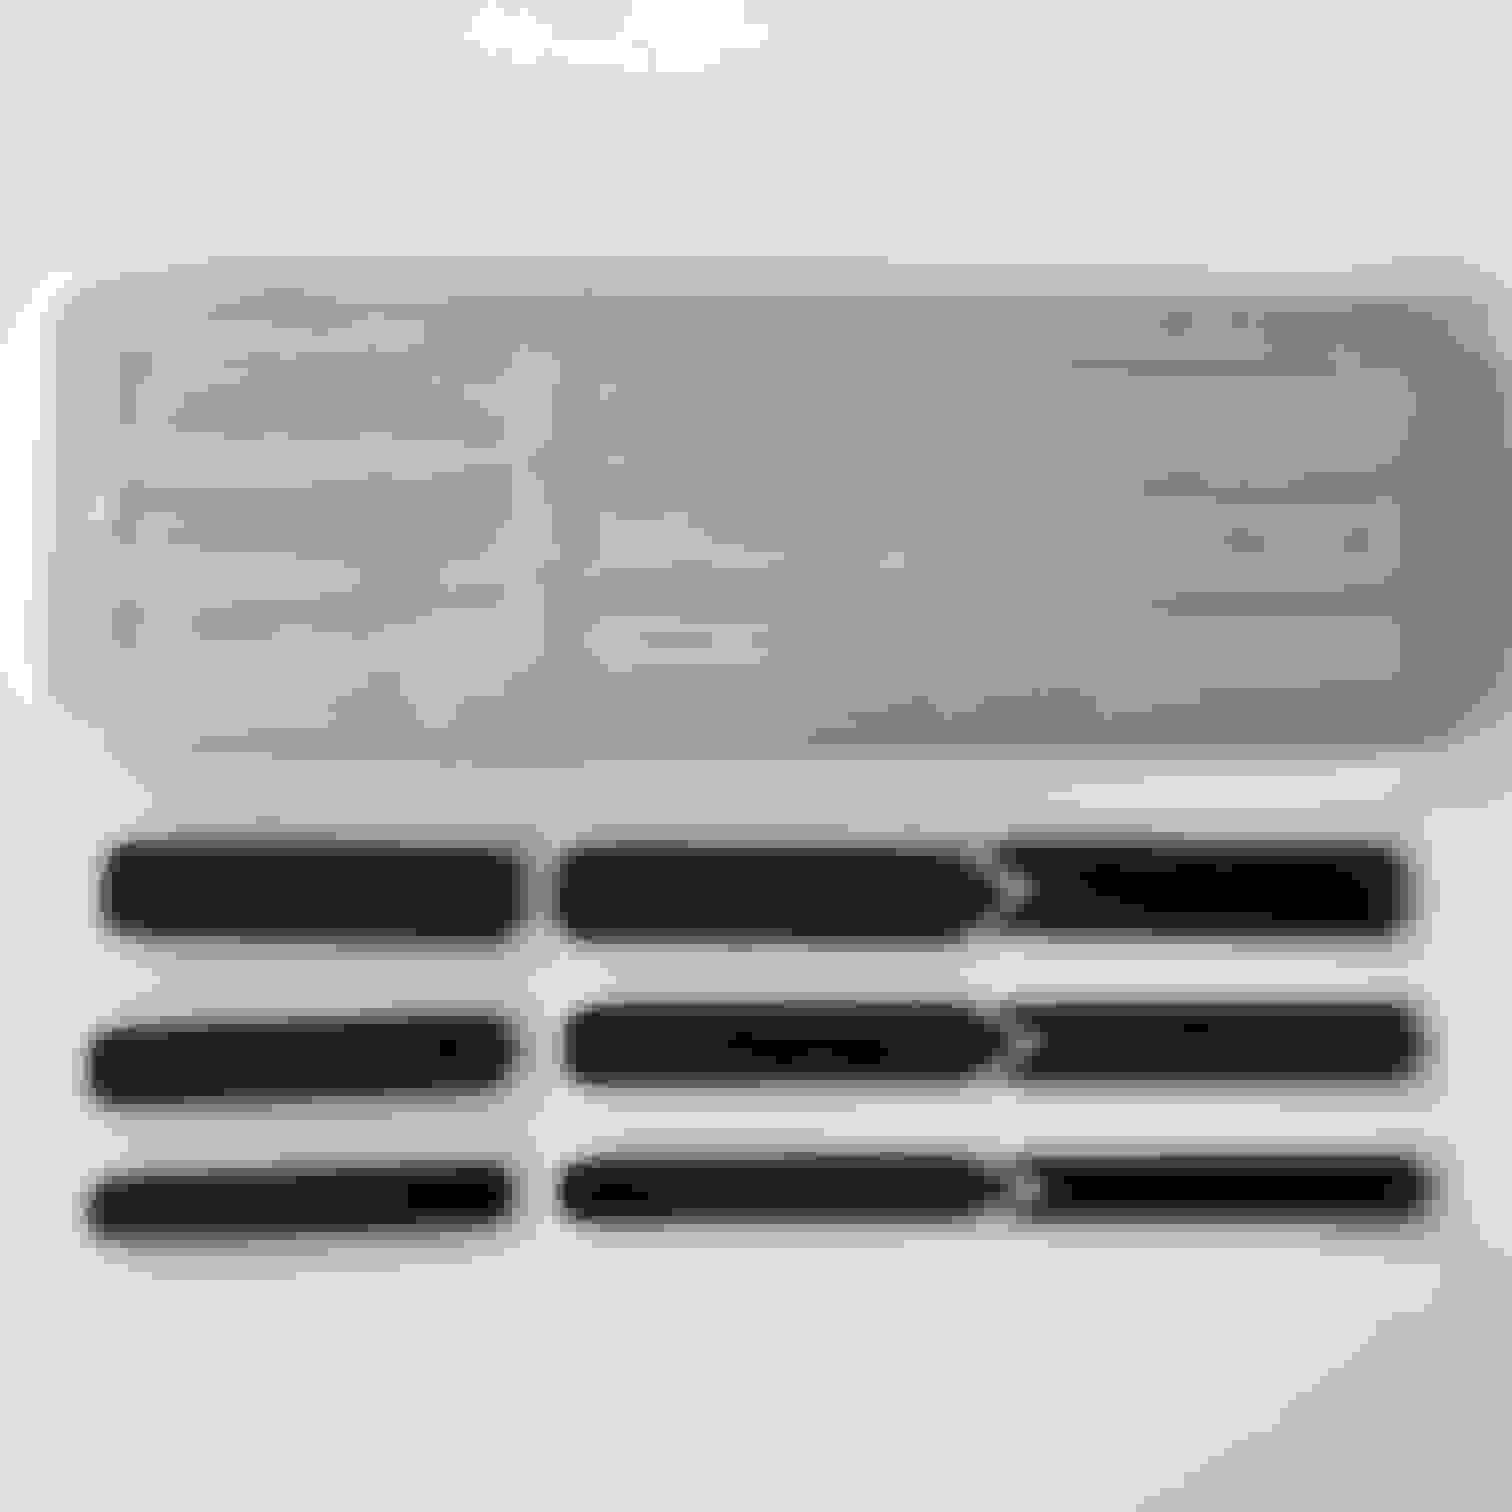
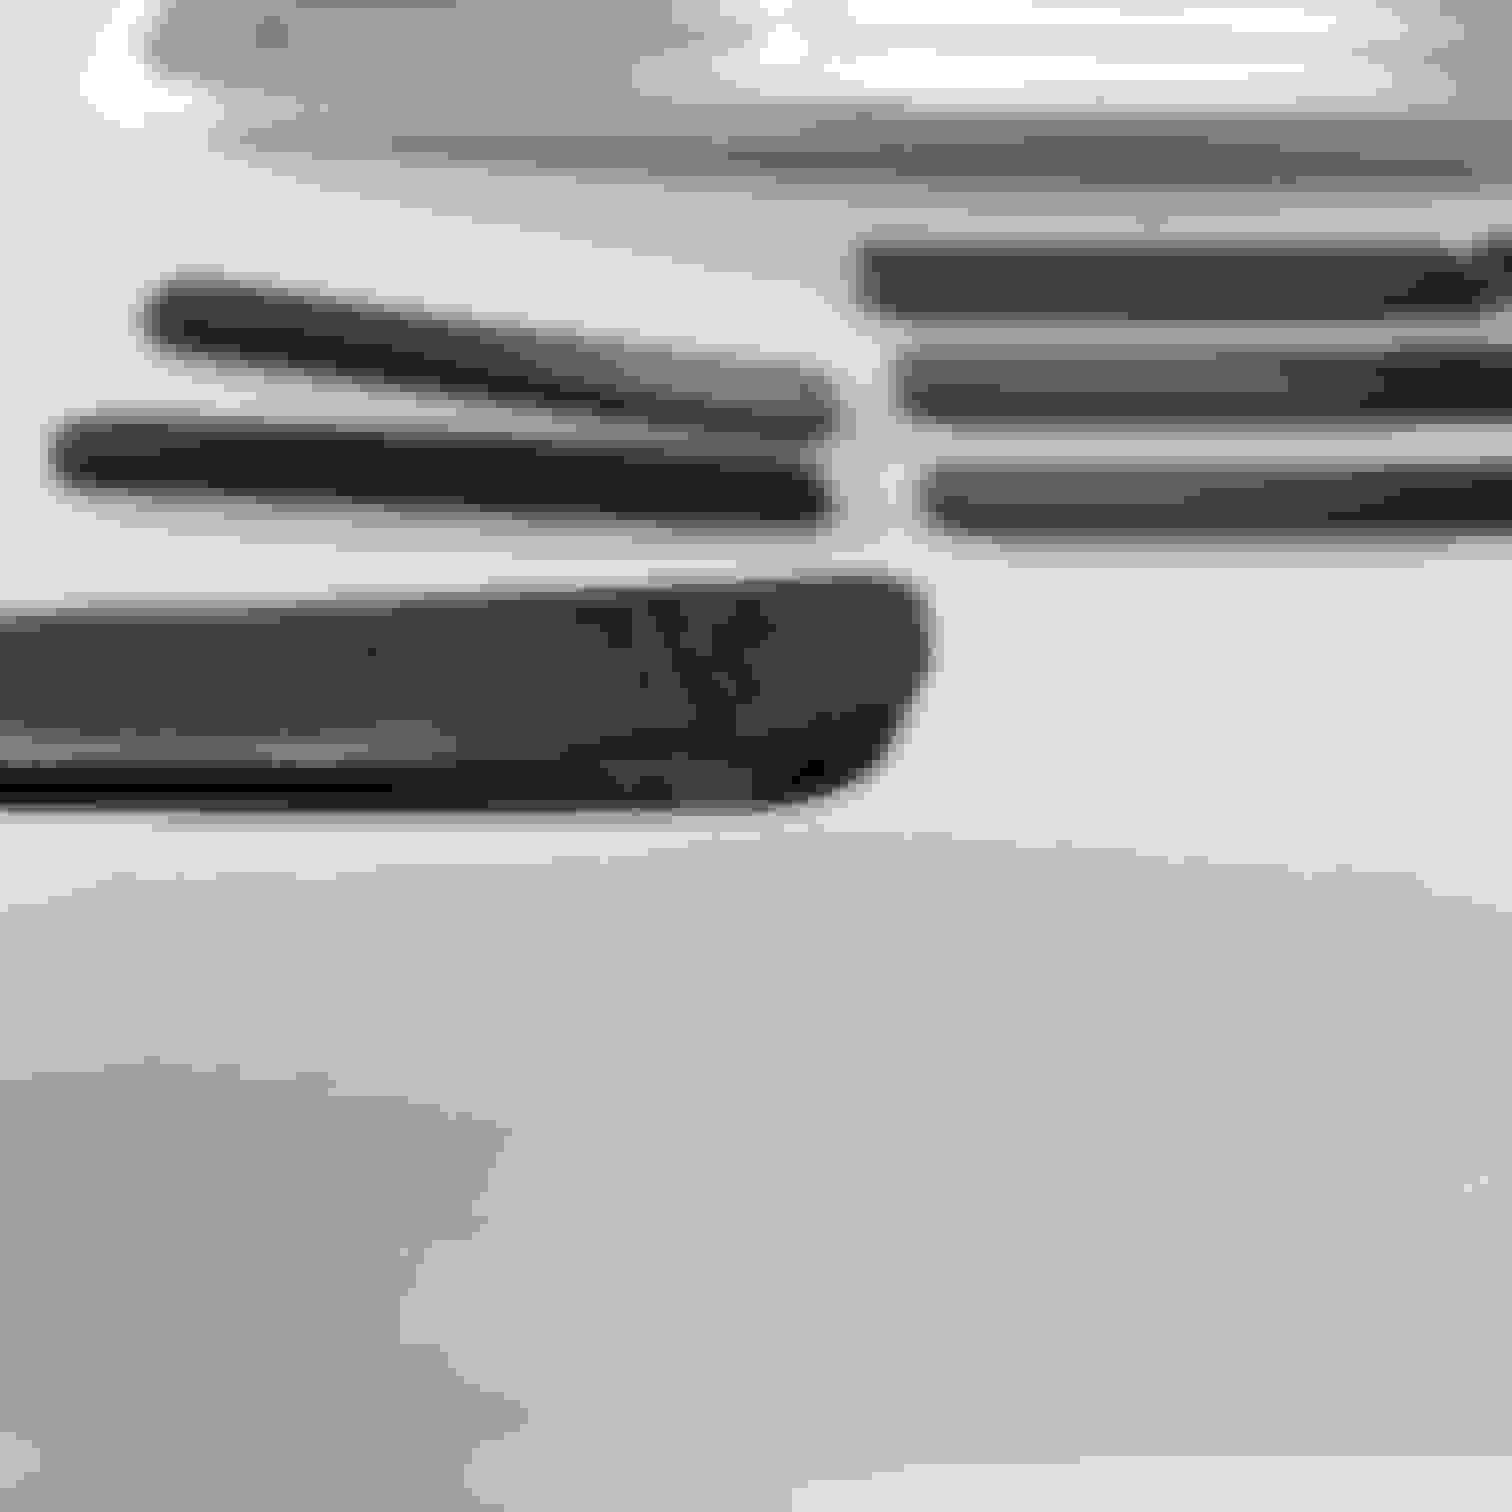
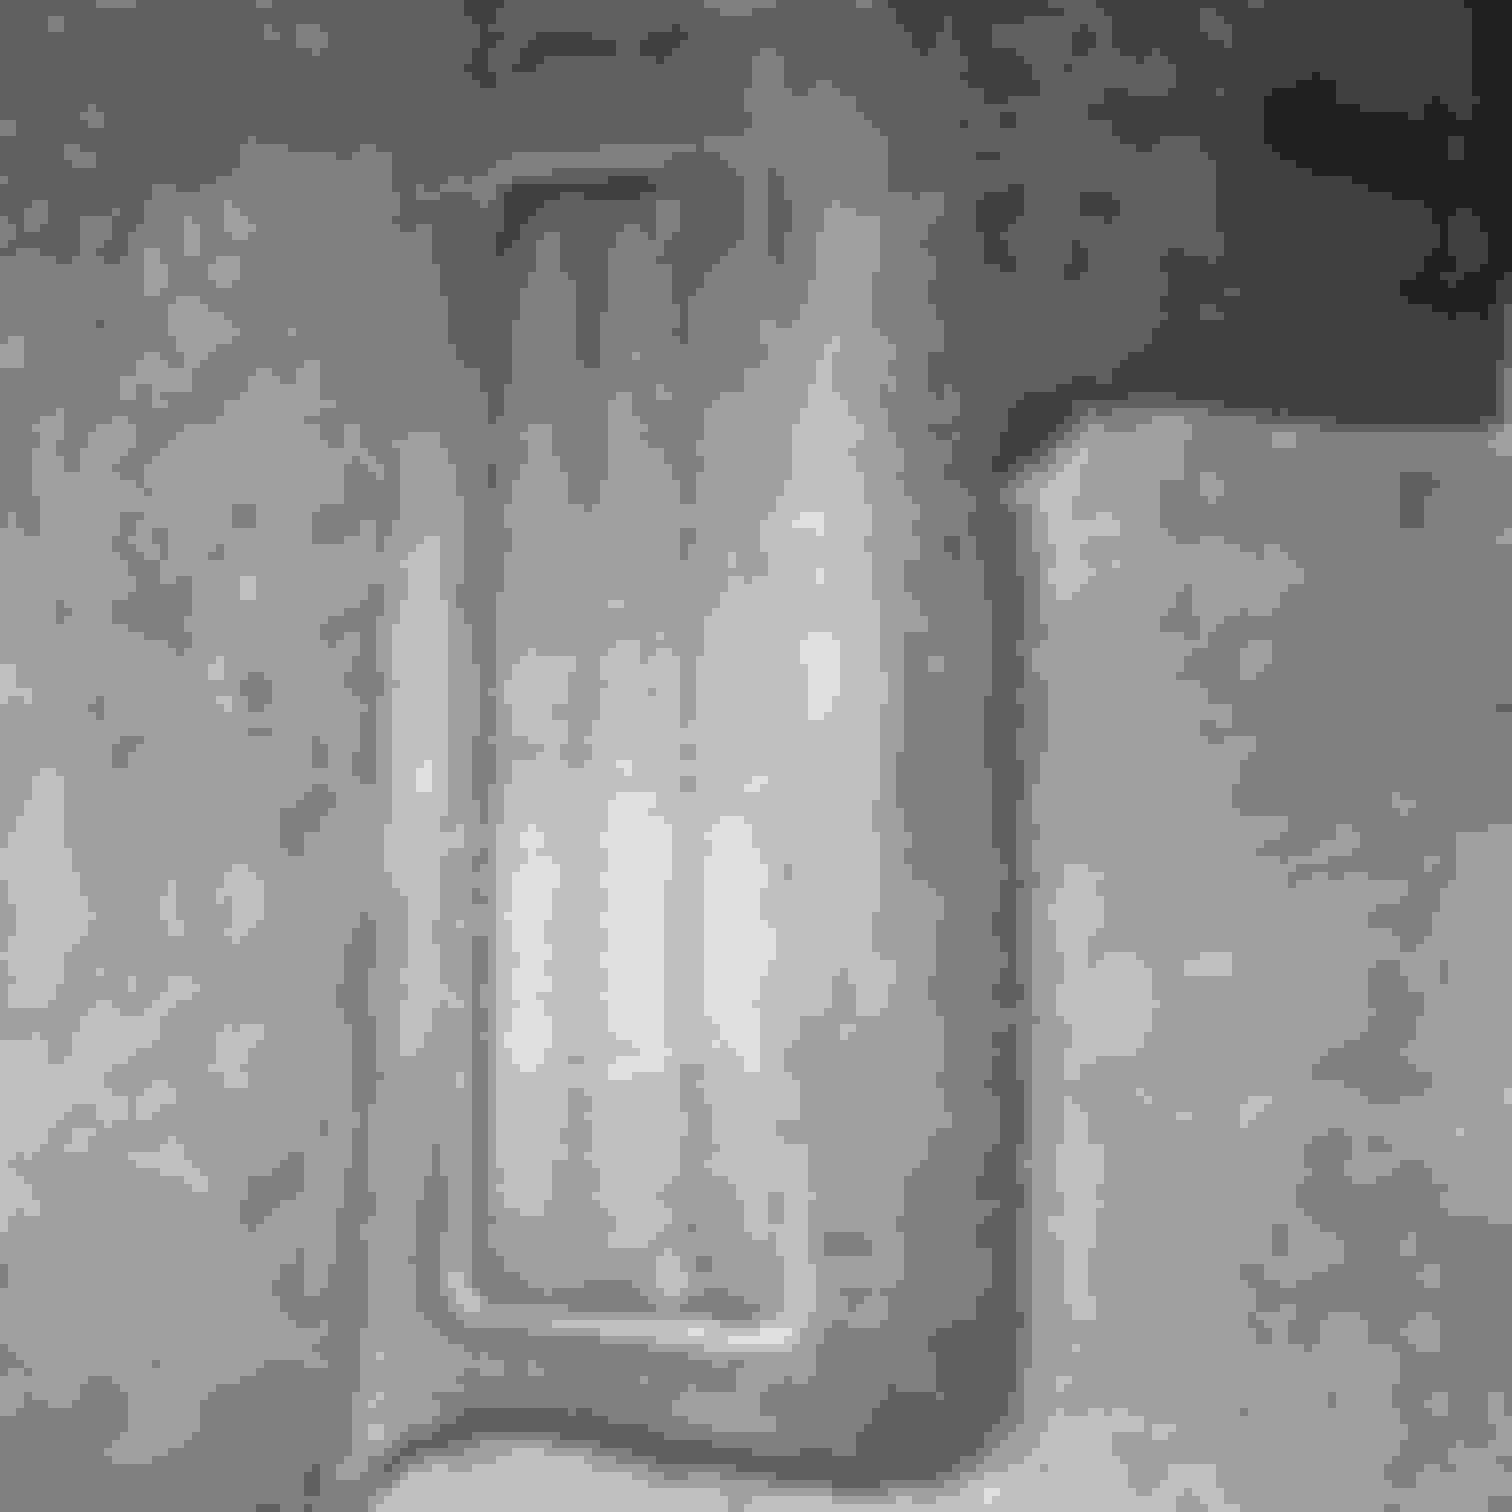
1) I designed a aluminum plate that was milled on the back side to attach Velcro, and on the front side to inlay black plastic strips. The piece was fabricated by a local university workshop using CNC machines.
Front side
Back side
2) My son (9th grade) designed the plastic inserts to be fabricated on a 3D printer (PrintrBot). After some trial and error, he was able to generate tight-fitting inserts that were glued (inlaid) using JB Weld epoxy.
3) I tested two velcro (industrial and auto, and found the latter generated a stronger bond). Velcro "fuzz" strips were attached to the back side of the plate and the velcro "hook" strips were attached to the dead pedal rubber patch on the carpet.
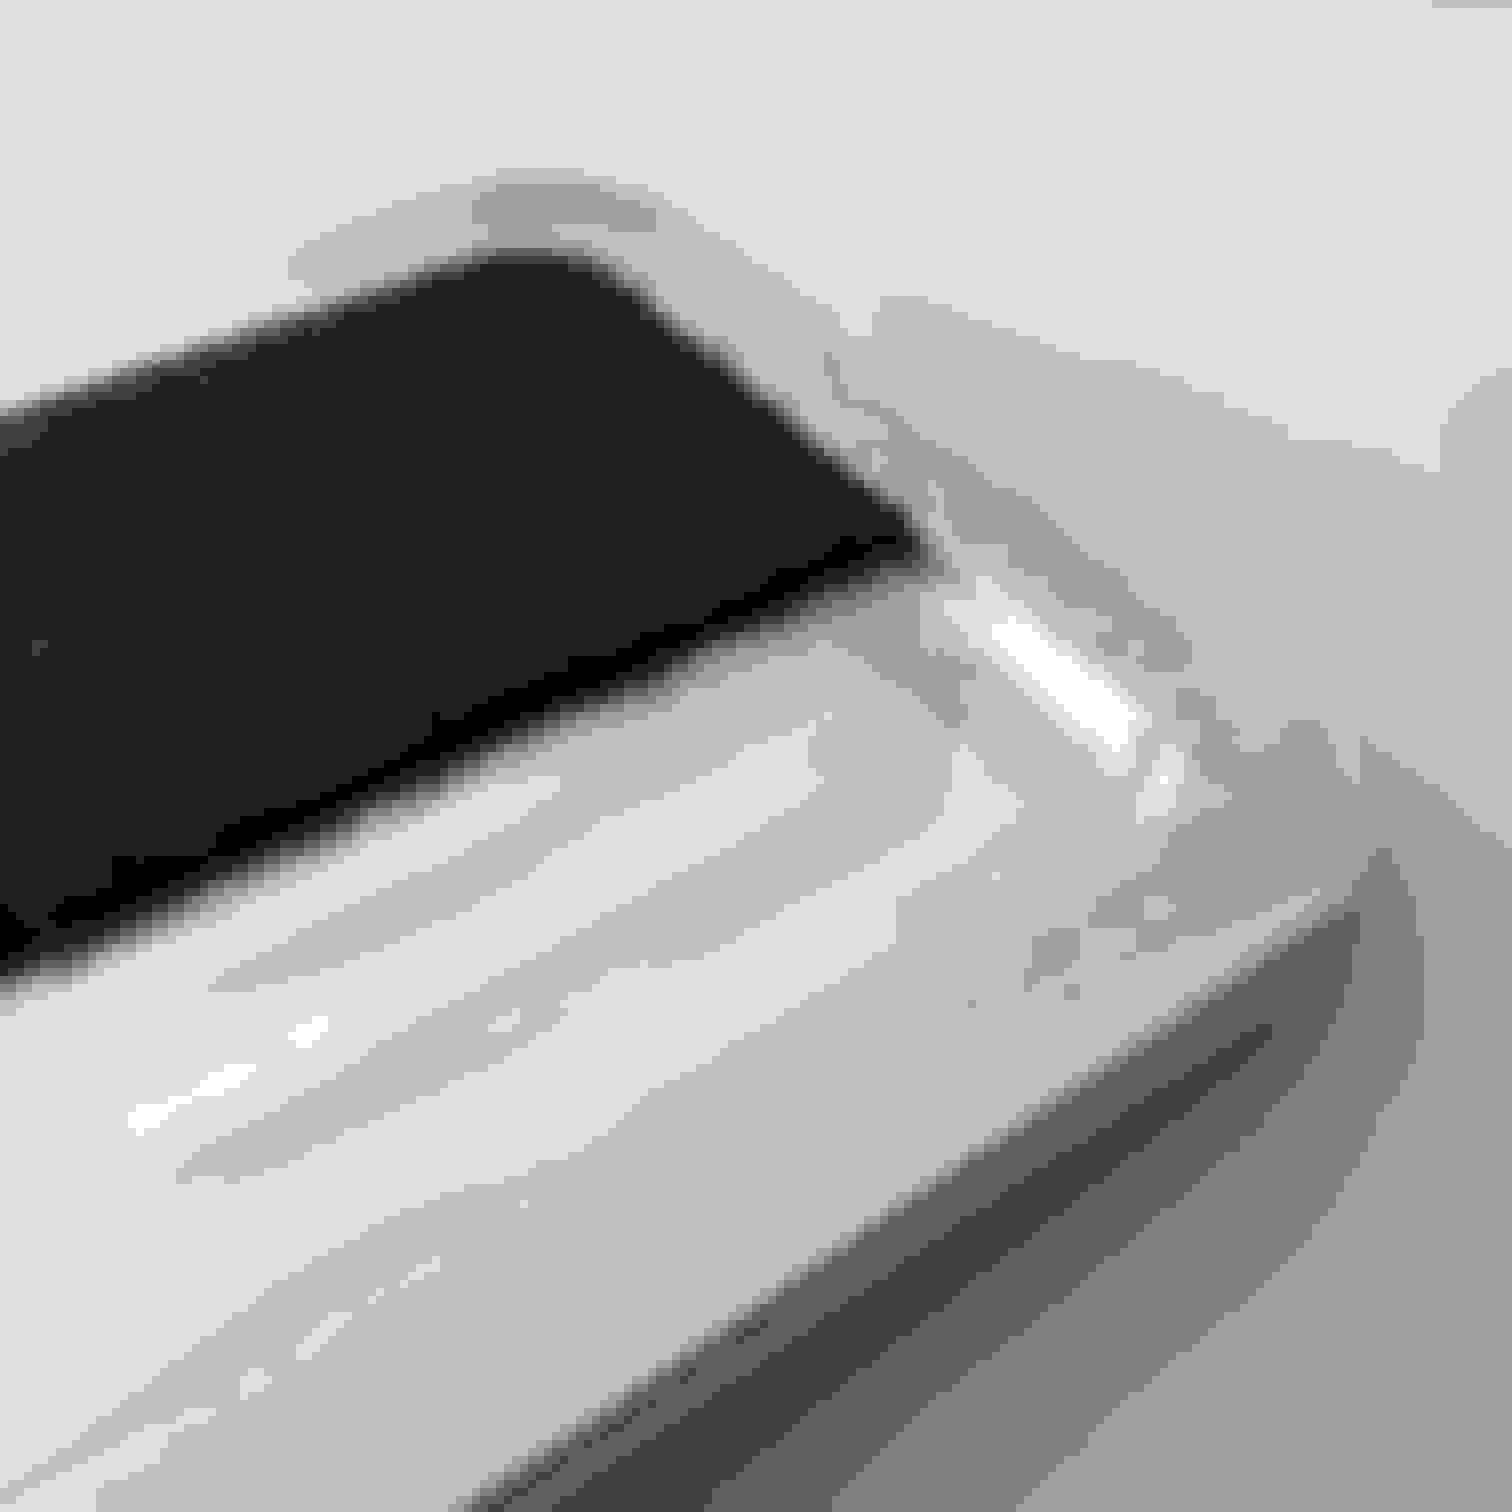
4) The dead pedal was carefully positioned and attached. Job done!! The plate is firmly stuck to the carpet with no give. I expect it to stay put thru years of "abuse".
Total cost: Fabricated Aluminum plate: $200 (for the shop to convert my line drawings into a CAD model for the CNC machines, buy the Al plate and make the part)
3D printed pieces : $5 (but my son spent about 10 hours designing and printing several prototypes; we use the printrbot for other stuff too)
Velcro and JB Weld : $15
My time (design, test, and help my son) ~20 hours
I am happy to send the design files (aluminum plate, plastic inserts) to anyone interested in making this part.
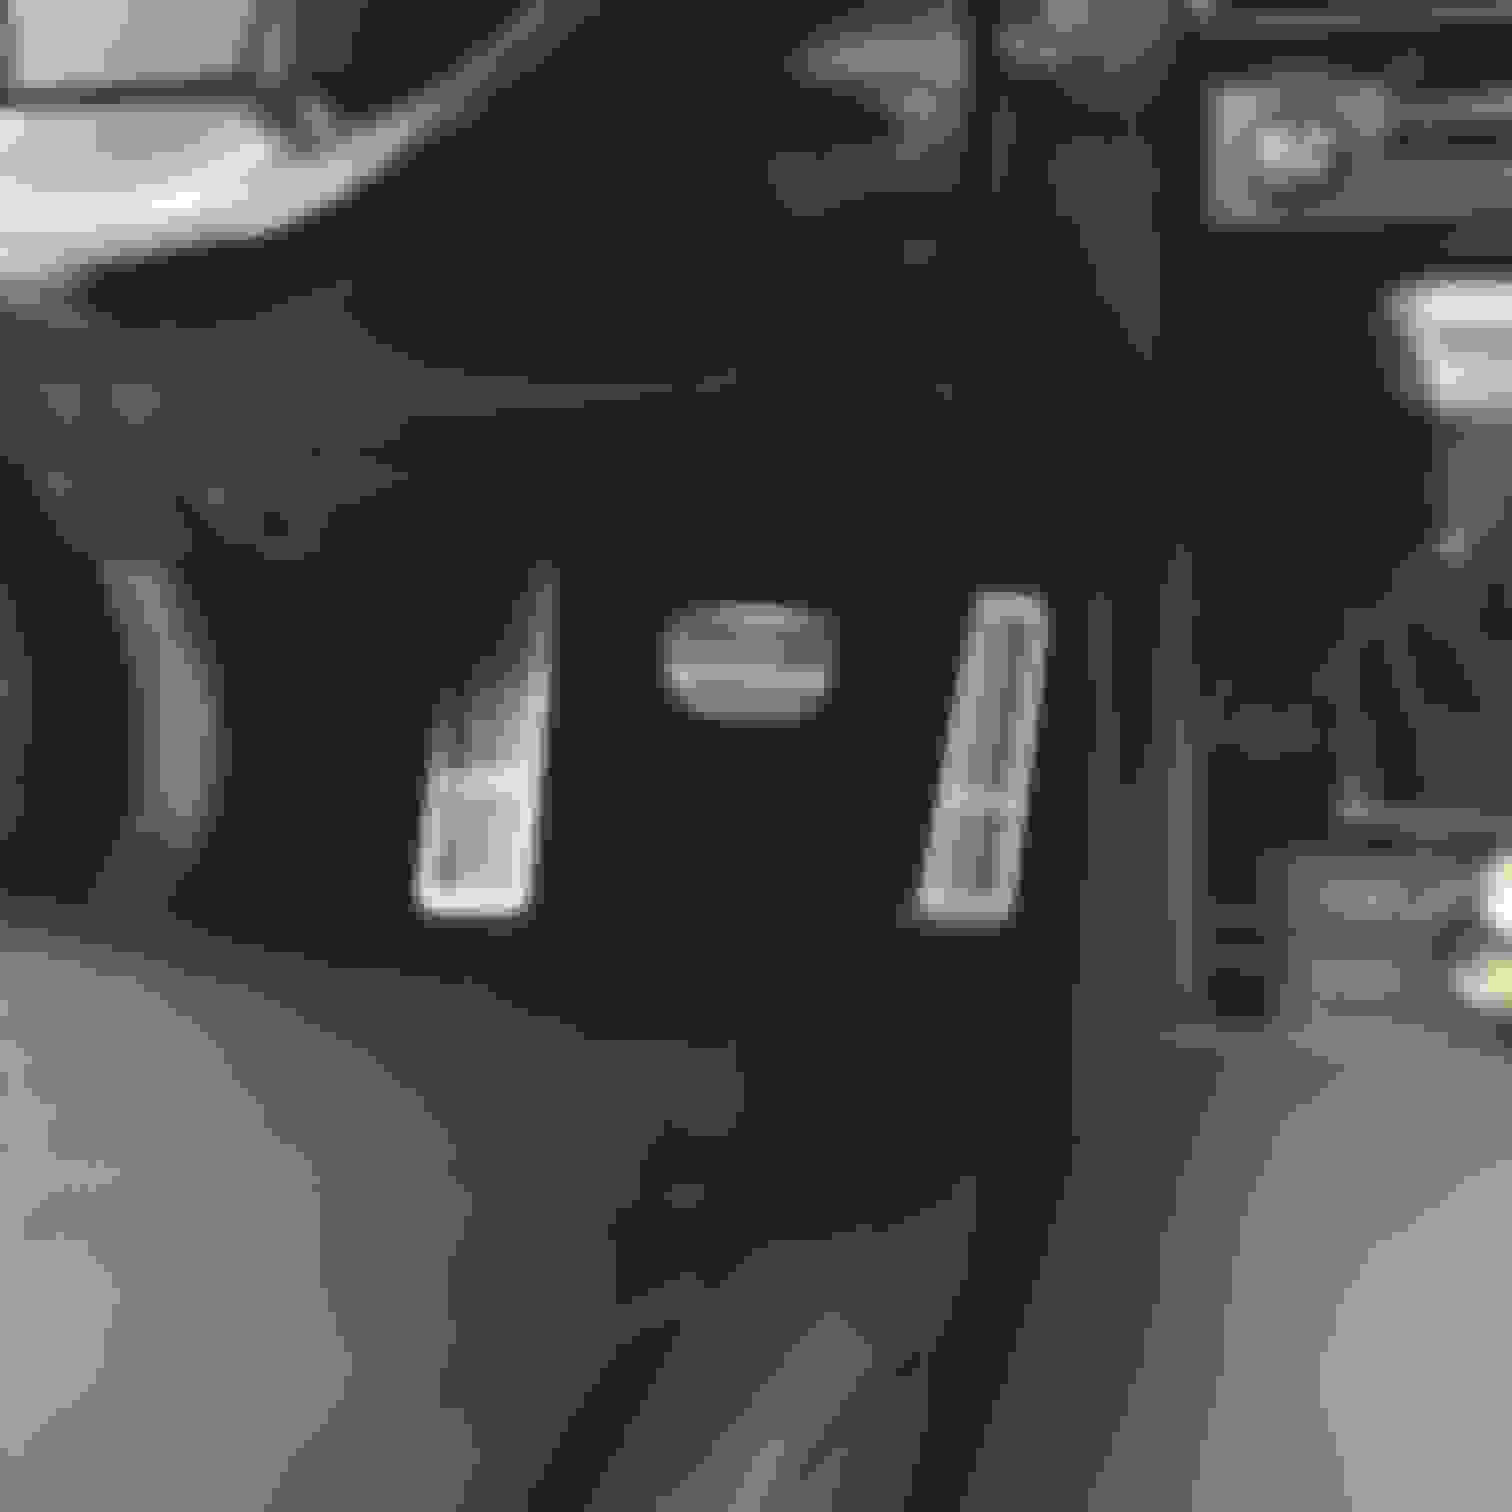
The pedals really stand out when I open the door, just as I hoped! Needless to say, I am thrilled with the results . Comments welcome.
Last edited by comotiger; Sep 5, 2016 at 03:22 PM.
Thanks all, appreciate the kind words. The OEM GSf sport dead pedal is a bit wider at the bottom and tapers to the top. I initially wanted to replicate the inlaid plastic shapes to match those on the gas pedal, but the milling of those shapes on the metal plate would have been quite expensive. So I went with a simpler (and cheaper) design, and it worked out.
The aluminum plate was fabricated by my local university workshop. The plastic parts were 3D printed at home. The rest of the work was done at my dining table
Last edited by comotiger; Sep 5, 2016 at 03:31 PM.
Love it! Looks damn good and you can always look at it with pride knowing that you and your son were the creators. If you make another one, I'll be among the first in line to ante up!
Love it! Looks damn good and you can always look at it with pride knowing that you and your son were the creators.
Thanks, guys!
Originally Posted by droclex
If you make another one, I'll be among the first in line to ante up!
The hard part (design) is done. If you can find a local shop to fabricate the plate (there are also online fabricators: http://www.emachineshop.com), and 3D print the inserts in your public library (or if applicable, your kid's school), you are all set.
Last edited by comotiger; Sep 6, 2016 at 09:47 AM.
Those JDM illuminated door sills are really nice. I have been sorely tempted to get them. Maybe in a few years, as I will keep this car for a long time.


 . Comments welcome.


