When you click on links to various merchants on this site and make a purchase, this can result in this site earning a commission. Affiliate programs and affiliations include, but are not limited to, the eBay Partner Network.
You'll need to jack up your car and remove the undercarriage cover. Keep track of the bolts (all 10mm) as there are a ton of them and they are in two different lengths depending on location.
The sway bar bushings are held in place by a bracket that is secured with two 12mm bolts. Remove these and the bracket will come straight down. You may need to pry it slightly to get it started.
The stock bushings should pull right off.
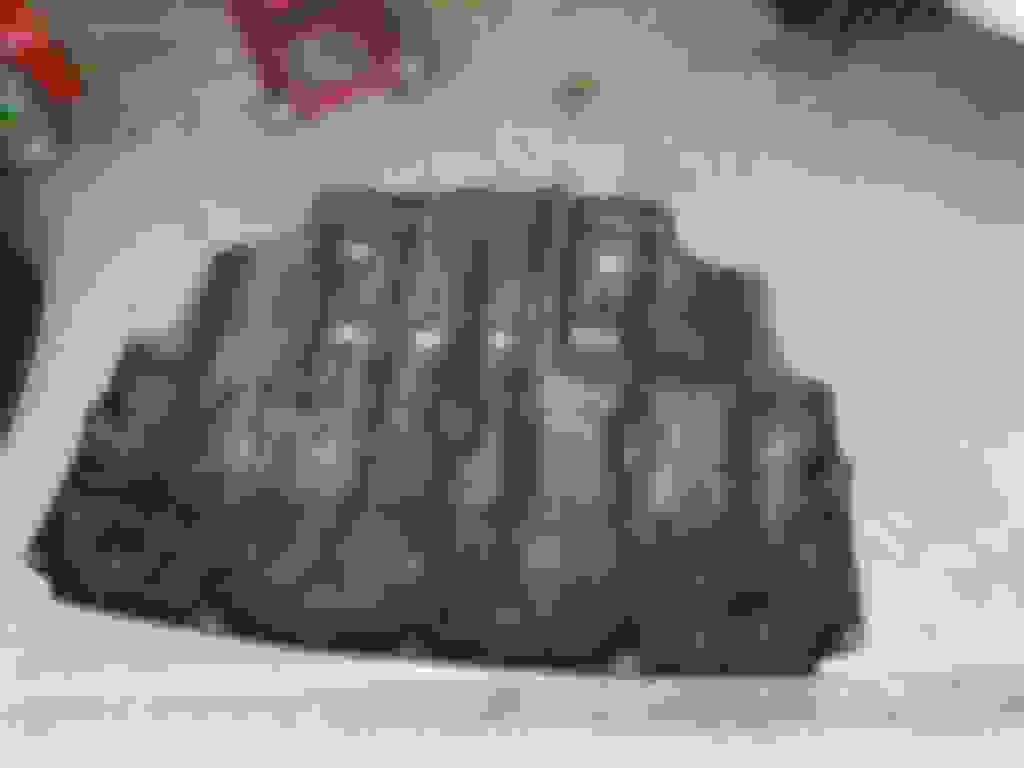
Let's compare.
On the left is the stock bushing and bracket. On the right is the Prothane poly bushing and bracket. You can see that the poly bushing has a hole in the top to aid in keeping it greased. Because of this hole, you can't used the poly bushing in the stock bracket and it will be crammed in there and it will distort the shape of the bushing.
Before you install the poly bushings, you should probably lube them up. I used some Timken grease I had laying around. It's good stuff, but any grease should work. I coated the bushing inside and out as will as the inner portion of the bracket.
Position the bushing on the bar with the flat end against the frame of the car. Then put the new bracket over it. Thankfully with our cars, the bracket will fit fine. As you install it tighten the bolts slowly and alternate between front and back and driver's side and passenger side. I did this in an effort to keep things uniform. The factory torque for the bolts is 17 ft lbs.
All done with the hard part. Now just put the splash shield back in place. Keep in mind that you might want to periodically lube up the bushings using the zerk style fitting on the bracket. I will report back after I get some miles if they squeak or not. I took the car around the block a few times and didn't hear any squeaks. I'm not sure if this will make a huge improvement, or any improvement at all honestly. My stock bushings were a bit dried up at 82k, but would have been fine for a long, long time.
What are the symptoms of wearing bushings? Clunk? Looseness in the front?
Should be some clunking, though this might indicate that the end links are worn. I didn't disconnect my end links to check for play but at 82k, I'm sure they are fine. If the bar has any side to side play, it can be an indication that the bushings are starting to deteriorate and not hold the bar as firmly as they should.
303 Aerospace Protectant. Good stuff for rubber seals, vinyl, etc. I use it religiously for all of my weatherstripping... helps keep them soft and pliable.

 05-04-18, 10:15 AM