When you click on links to various merchants on this site and make a purchase, this can result in this site earning a commission. Affiliate programs and affiliations include, but are not limited to, the eBay Partner Network.
DIY 3rd Gen LS430 subwoofer repair without rear seat removal
The subwoofer on my ’05 LS430 was blown and was in desperate need of repair or replacement. One of the biggest deterrents keeping me from doing the fix was the lengthy process removing/replacing of the rear seat and side panels just to get to the sub. I had see posts where it was said to have taken about 4 hours to do that process.
Previously I had done the temporary fix of using liquid electrical tape to help re-attach the foam to the cone which did work for a little bit but ultimately did not work. So, I knew how to take the speaker cover off and how it clamped down to the deck lid. I would say, don’t waste your time with the liquid tape and just do the complete repair.
Then I saw another post where someone just widened the speaker hole. That was a game changer for me because once I saw that I knew that was the way to go. Once I knew I was going to do something about my sub I then flipped flopped back and forth between replacing the sub with an aftermarket one or just re-foaming the OEM sub.
Eventually after doing some researching about the particulars of the LS sub and thinking about the potential that it could hurt the expensive OEM amp as well as watching the “How To” videos from SimplySpeaker.com I decided the best thing would be to re-foam the OEM. It is an inexpensive repair kit and worst case I would just be back at buying aftermarket if it didn’t work anyway.
Well, in my opinion I think I made the right decision to not only re-foam the OEM sub but to also just widen the sub hole. Not only did widening the hole make the install remove/replace faster (even more so if I ever have to do it again) but it also keeps me from messing up any of the panels, their clips, or not getting something replaced as it should be from the rear seat removal.
Since there isn’t a whole bunch out there on either of these I decided to document everything I could and share my experience. Total time including all picture taking and 30 min wait time between both gluing of the foam was about 2 hours.
Watch their repair video at least once to familiarize yourself on what you’ll be doing
Heavy Duty Utility Knife
10mm socket
T20 Torx
Straight razor blade
Flat blade screwdriver
Lacquer thinner (rubbing alcohol didn’t work well for me)
Paper towels
Watch this video to get an idea on the actual speaker repair. This is for an Avalon but it's very similar to what you'll be doing. The LS foam kit doesn't have the little tab that he shows in the video but it's not really necessary. The concept is to clean off the old foam and glue as much as you can and then glue the new foam evenly to the speaker cone and outer ring.
*Sorry, some of the pictures came out great and some were pixelated. Still learning my new phone and taking pics with one hand can be tricky sometimes.
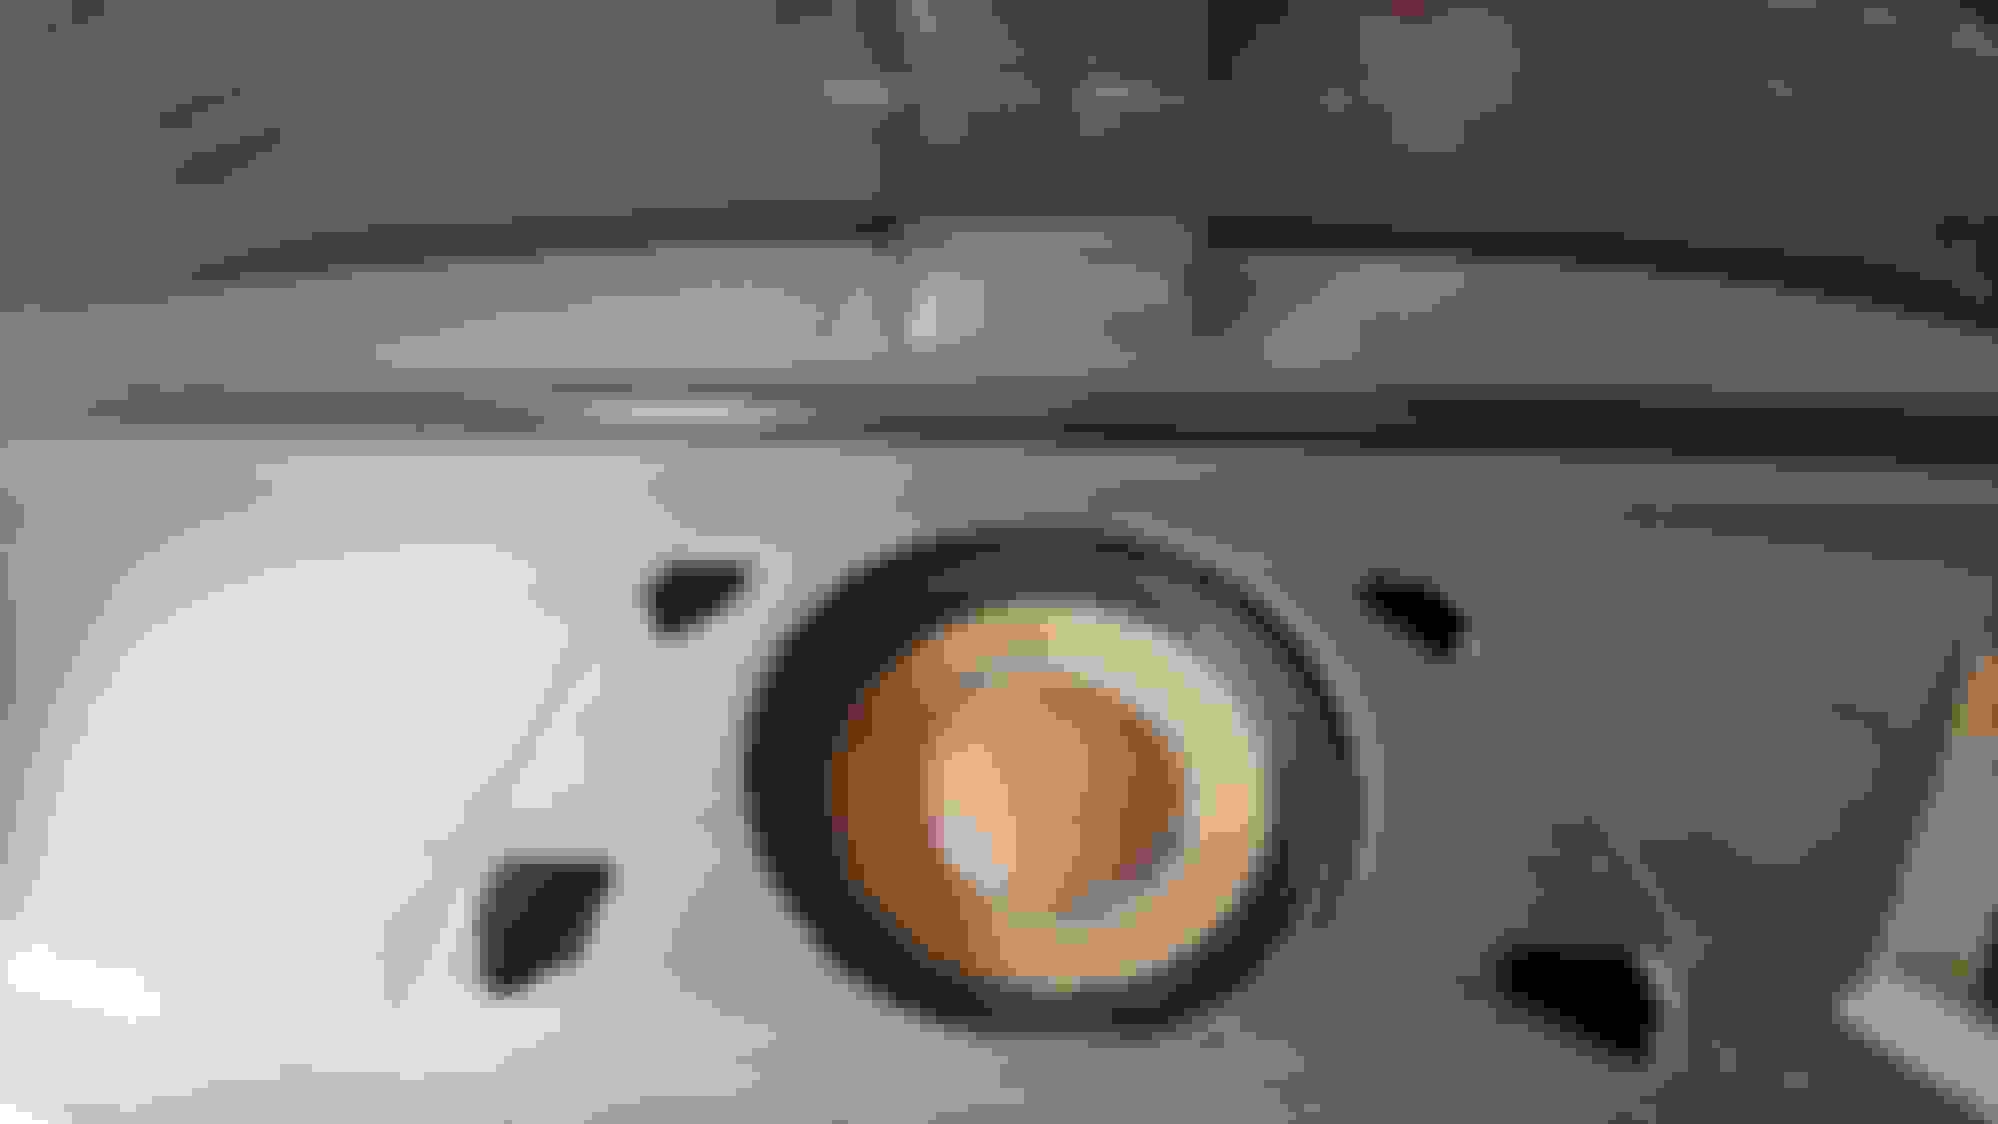
I didn’t get a picture of what the cover looks like taken off but it’s pretty self explanatory on how it works once you remove it. I recommend using a plastic trim tool to pop the cover up but you can use a flat blade if you have to. You’ll have to use a bit of force but the clamps are made so you can remove and reinstall the cover.
I think drawing a straight line helped me keep my cuts pretty straight. I ended up cutting out a little more than the line I initially drew for the area nearest the rear seat in order to get to those bolts.
Use a good utility knife and you’ll have to cut it the line several times with a good amount of pressure. Just be careful and take your time so you make fairly straight line cuts and so that you don’t injure yourself. A trip to the ER will only prolong the repair.
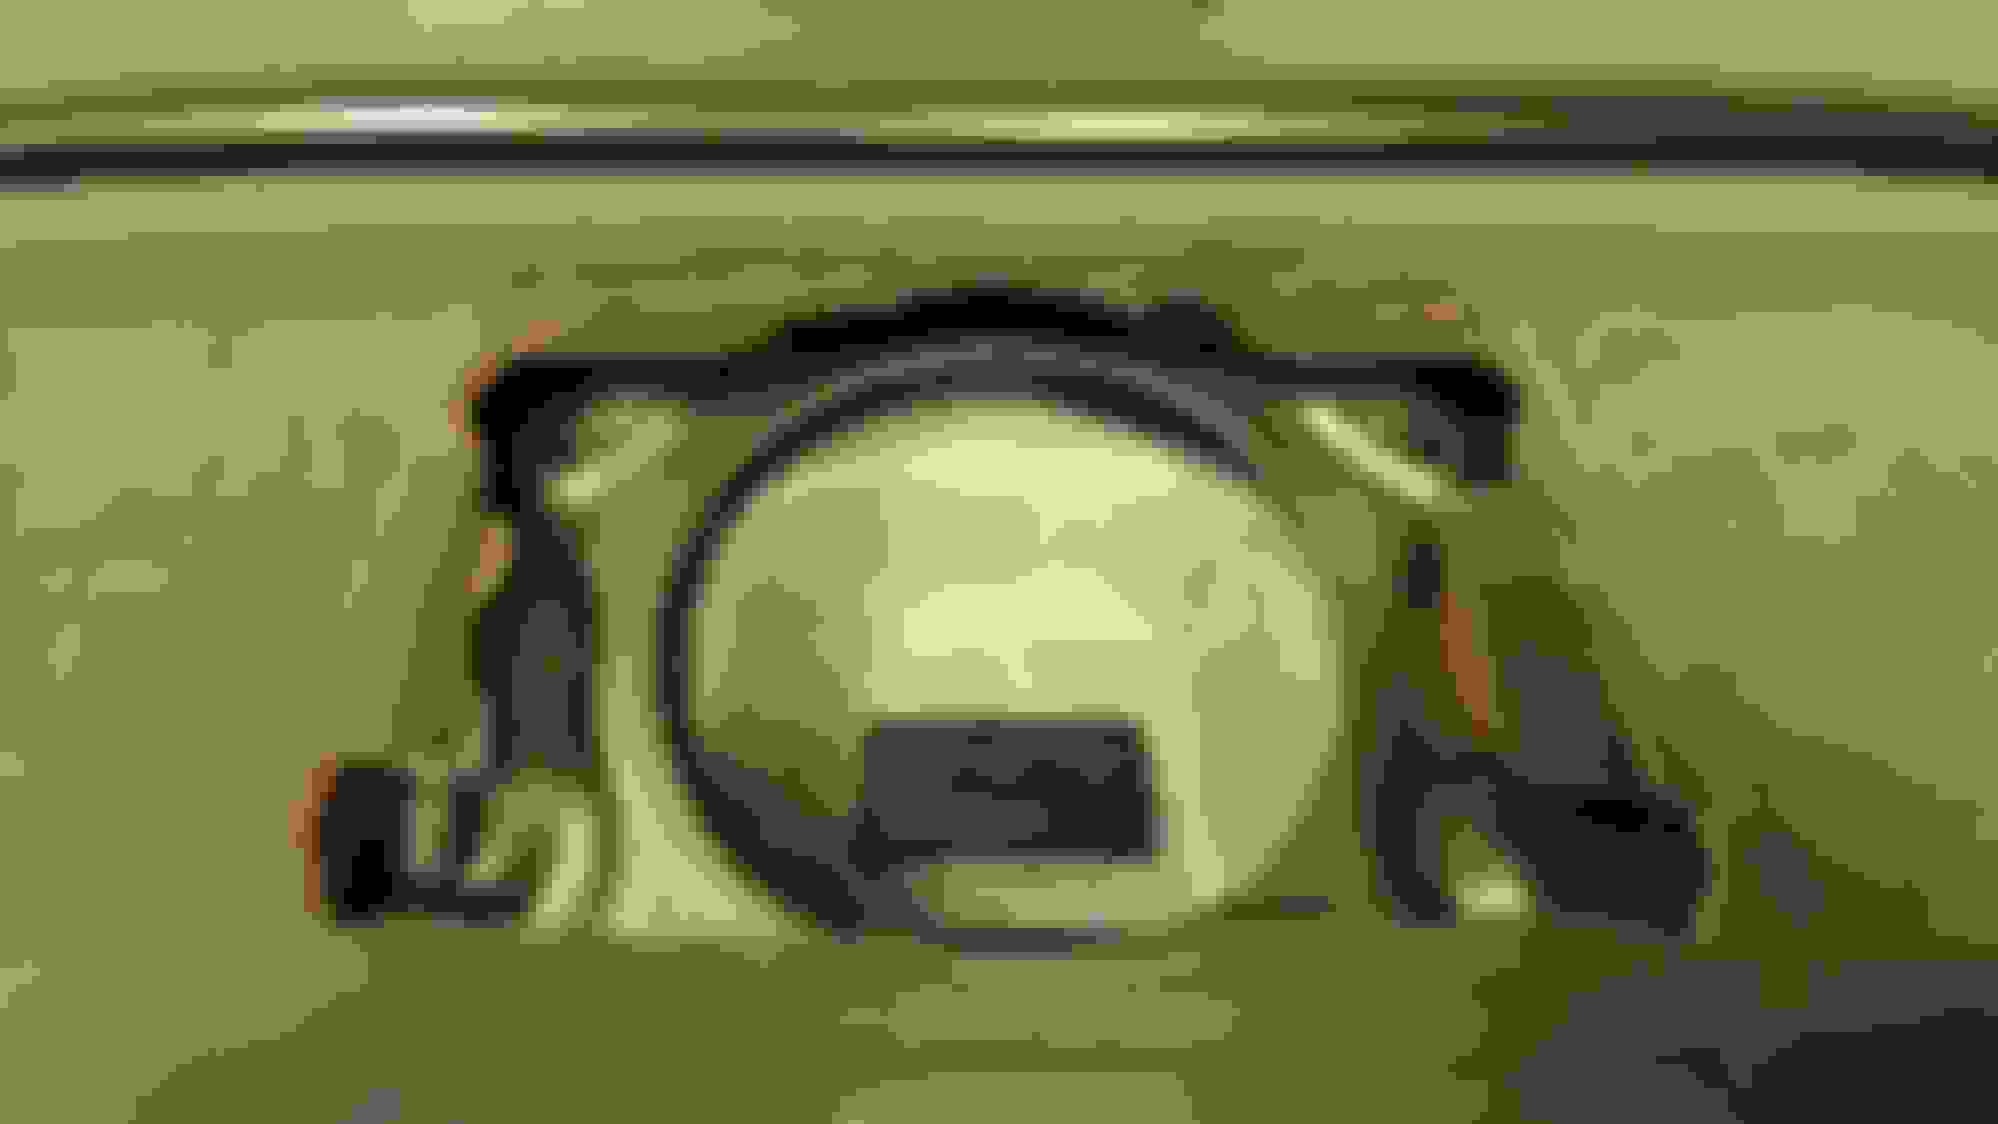
You can lift up on the rear panel to help make the cuts as well as to help get the sub in and out. The sub won’t come straight up but it comes out with a little sliding backwards and forwards to fish it out of the hole.
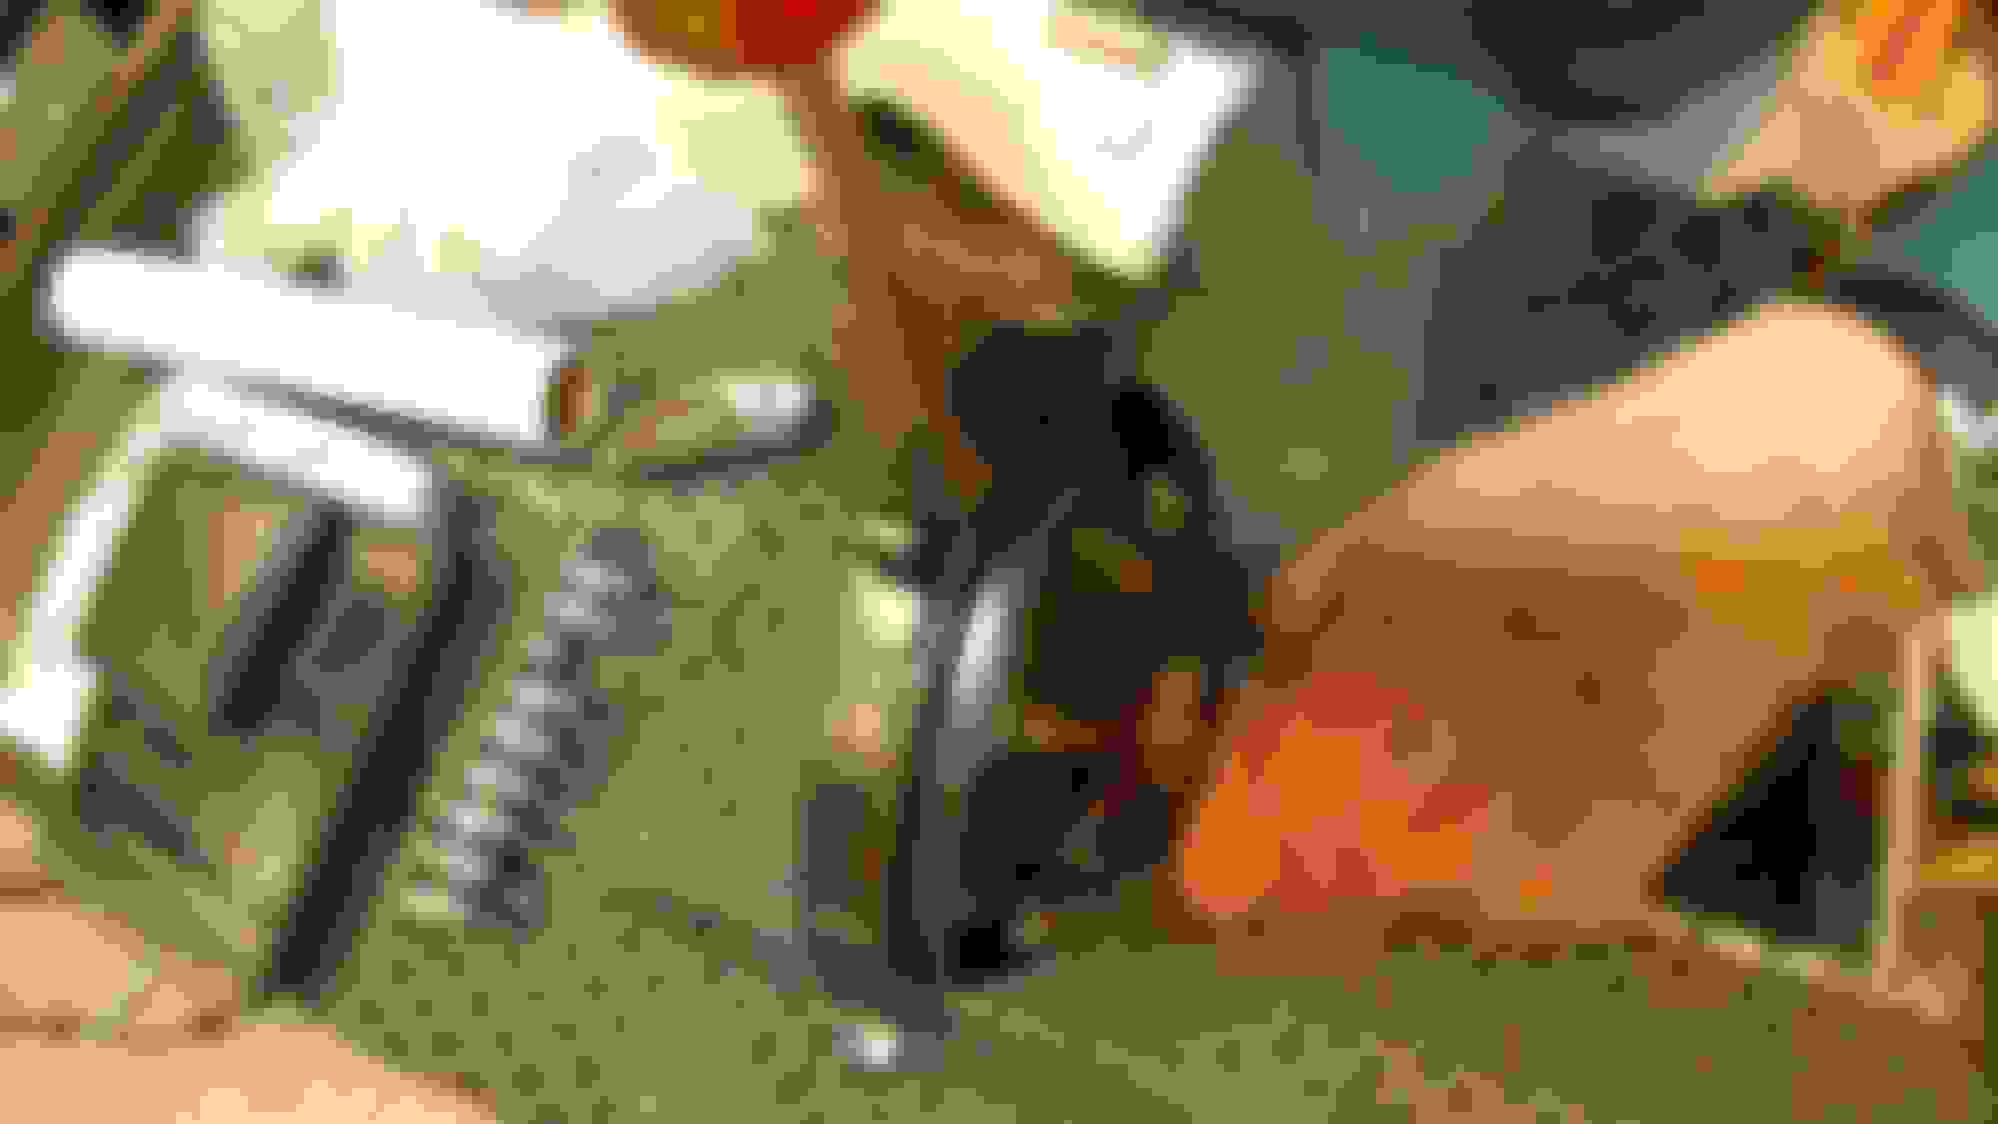
Here the widened opening. You'll have to lift up on the panel some and fish the speaker back in. Don't forget to plug in the speaker before doing so.
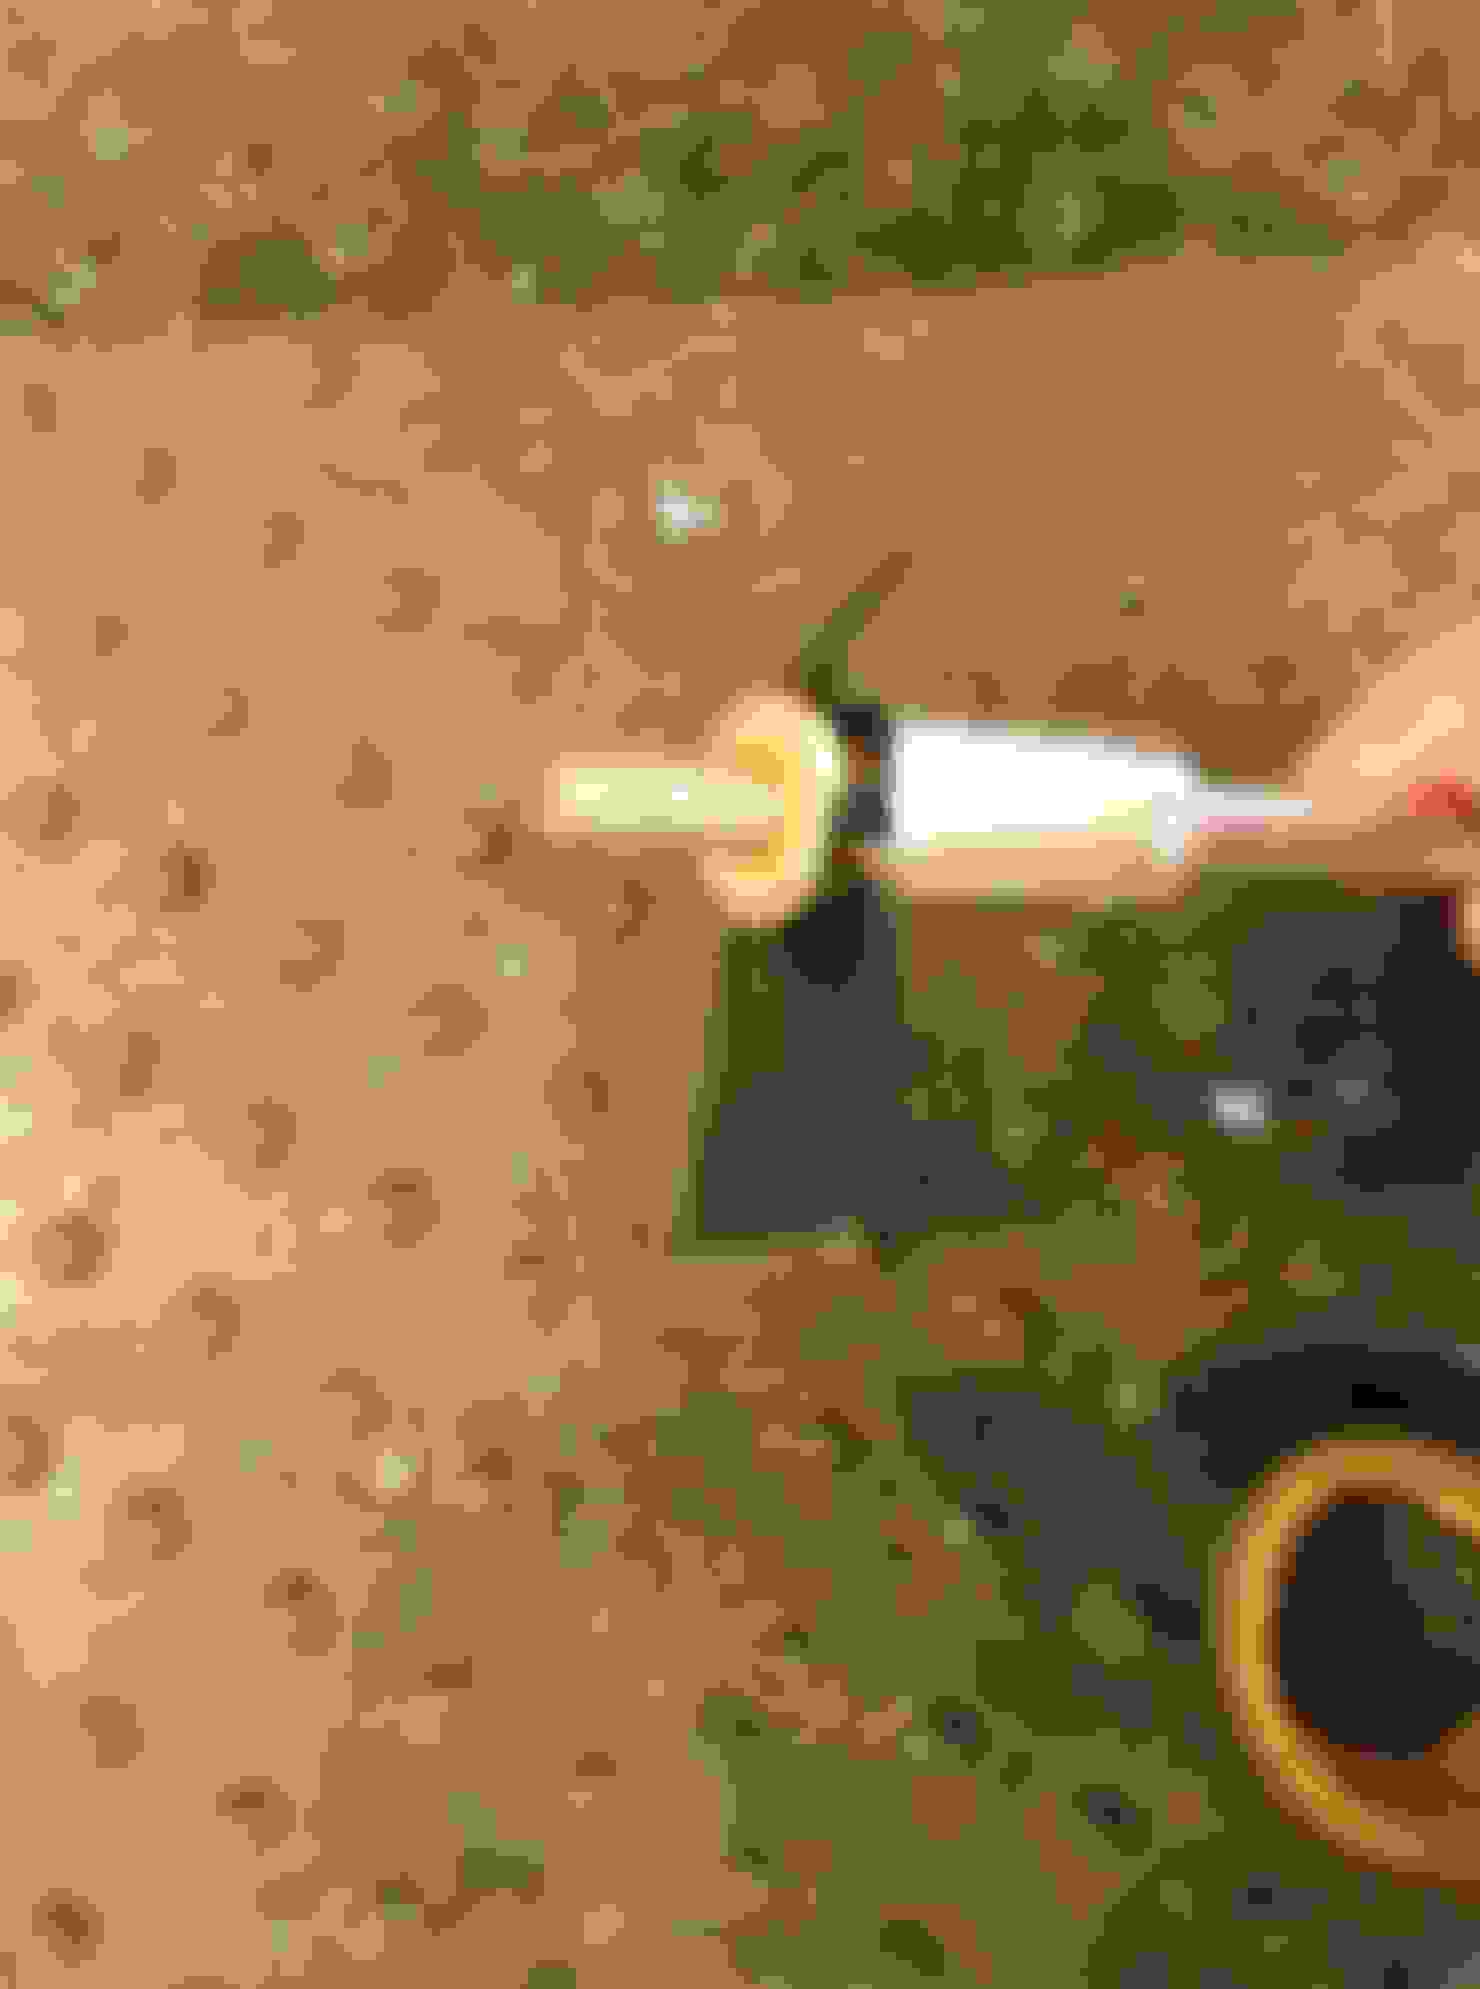
The two bolts closest to the rear seat a little tricky to see. For the most part I had to use my fingers to feel for the bolts. When replacing those bolts, I used the old school trick of using a piece of electrical tape to make the socket hold the bolt.
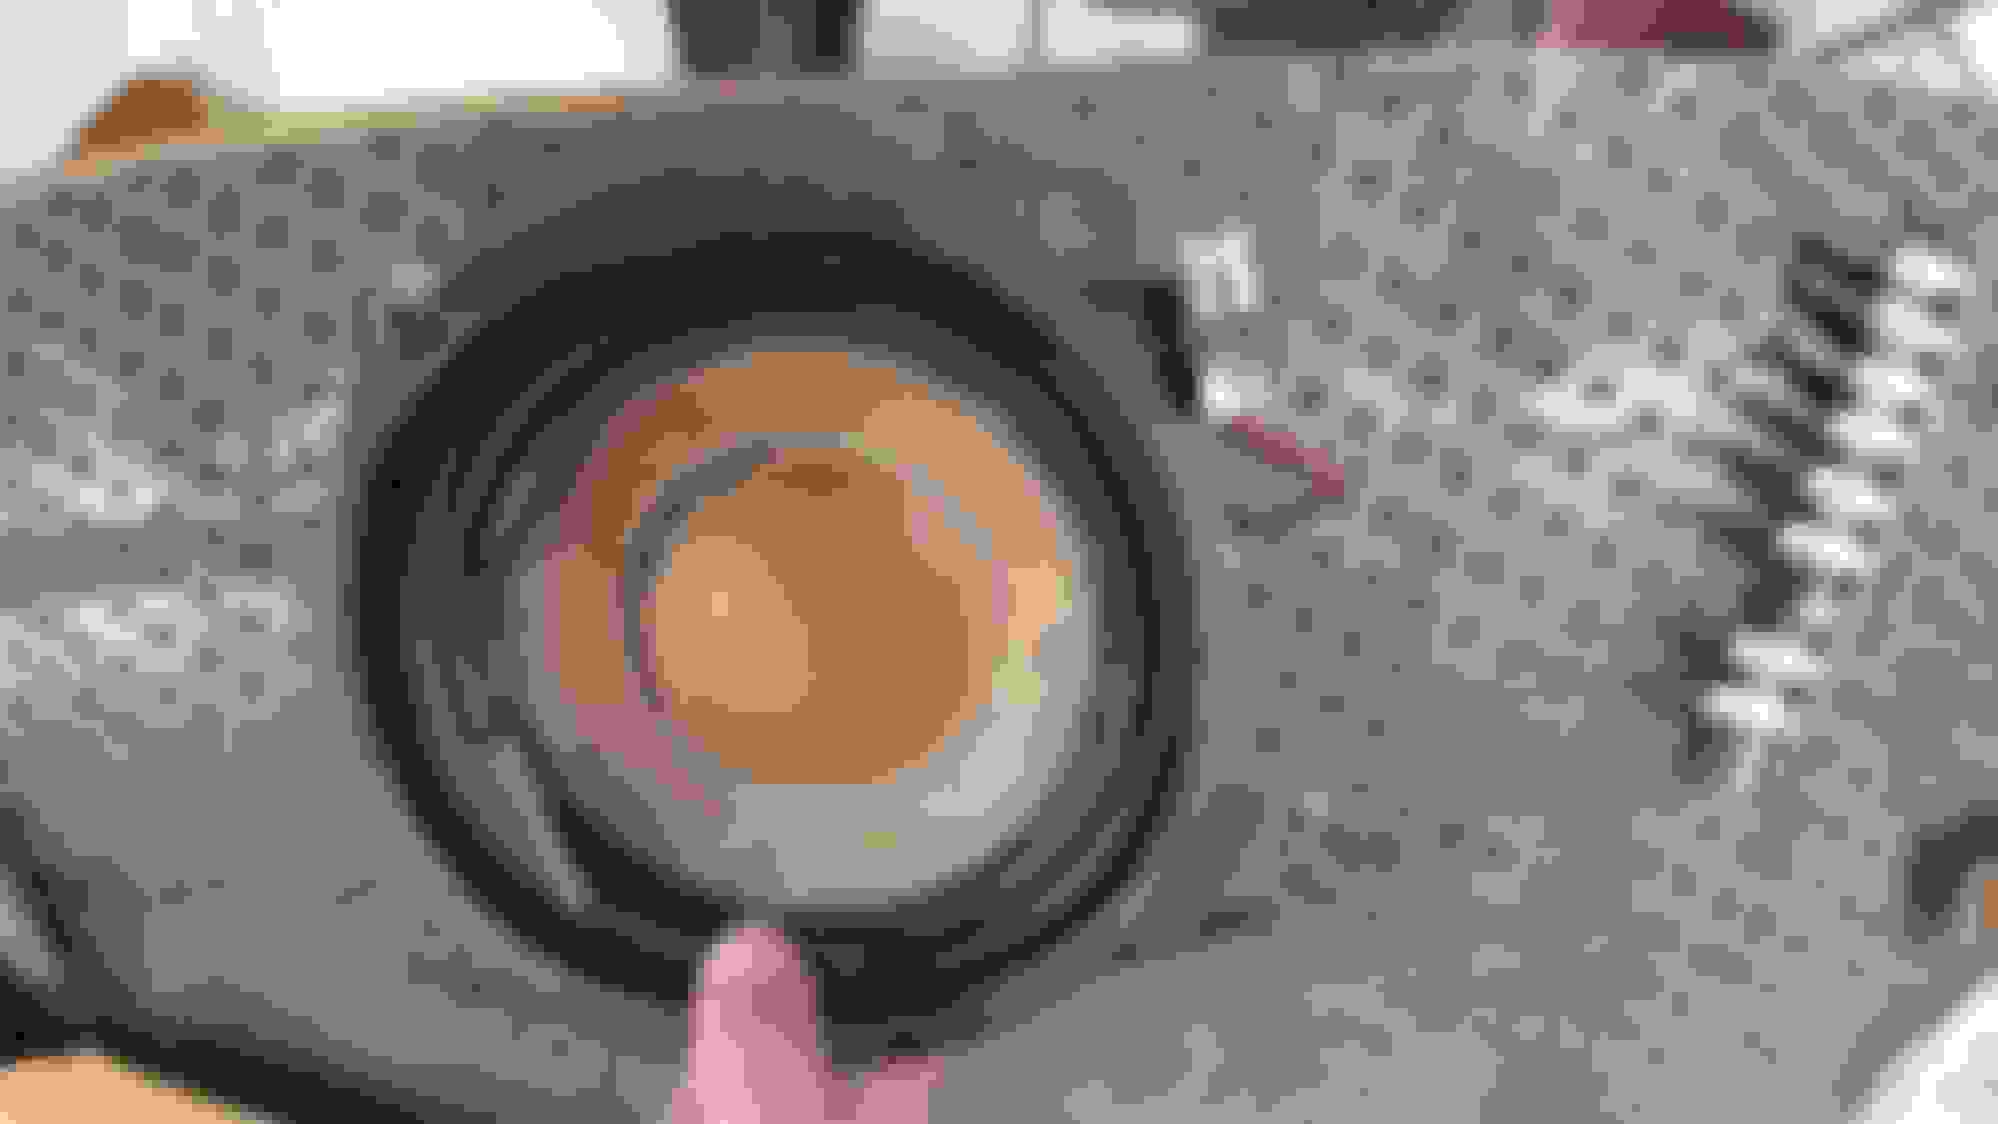
Wolah, done, and no one will be the wiser unless they take off the cover and see the hole was widened.
I tried not to crank up the music until the next morning. I wanted to be sure the glue was pretty much set as it could be but I don�t know if that is a necessary step.
Hopefully this helps someone else looking to repair their sub.
There are T20 torx screws holding the adapter plate to the sub.
The spacer is glued on to the sub. Use a flat blade to separate it from the sub. The speaker foam is going to be glued to it as well and will rip but no big deal since you�re going to replace it.
Follow the instructions in the SimplySpeakers video and scrap off all of the old foam and glue. I had to use lacquer thinner to get it as clean as I wanted.
Test fit the foam and get an idea on the lip where the glue will need to go. Then flip the foam upside down on the cone, add a bead of glue, and spread it with your finger just like the video shows. I will say that the glue starts setting up faster than the video makes it sound. You'll have a little time but don't take too much time. Then let it sit 30 min between gluing each section.
When replacing the spacer, use the built-in notch to align it. Test fit it a couple times to make sure you know how it goes back before adding the glue.
Here the widened opening. You'll have to lift up on the panel some and fish the speaker back in. Don't forget to plug in the speaker before doing so.
The two bolts closest to the rear seat a little tricky to see. For the most part I had to use my fingers to feel for the bolts. When replacing those bolts, I used the old school trick of using a piece of electrical tape to make the socket hold the bolt.
Wolah, done, and no one will be the wiser unless they take off the cover and see the hole was widened.
I tried not to crank up the music until the next morning. I wanted to be sure the glue was pretty much set as it could be but I don�t know if that is a necessary step.
Hopefully this helps someone else looking to repair their sub.
Fantastic writeup. Does the cover fit back correctly/tightly or does it just sit on top of the speaker?
Man, I forgot to take a picture of the cover but I found a picture off the web. This is the underside of the cover and you see it has 4 posts with white clips on the ends. Take a look at the picture of sub in the previous posts and just outside of the speaker bolts you'll see 4 holes where those clips go into. That holds the cover securely. Widening the hole doesn't affect it at all as long as you stay within the indention where the speaker cover fits.
It's on there pretty secure. To remove it you'll have to pry up on it harder than you would think. Just use a plastic trim tool, preferably an "L" shaped one, or a wide flat blade screw driver if you have to and go in between the rear panel and the bottom of the cover.
Sorry. I didn't state my question accurately. I meant after you cut the deck does the grill fit back snuggly or could it move around if you hit a big bump or rough road?
Sorry. I didn't state my question accurately. I meant after you cut the deck does the grill fit back snuggly or could it move around if you hit a big bump or rough road?
I understood you question but maybe I didn't explain it properly. The answer is it fits very snug. It won't bounce around or move at all assuming there is nothing wrong with your grill clips. If there is something wrong with your grill, like a broken clip, then it would move around or would be loose prior to widening the sub hole.
If you quickly popped off your grill cover you'll understand how it attaches and then you can put it right back on. If you look at the grill picture I posted (which shows the underneath of the grill cover) you'll see that it has 4 posts that have white attaching clips on the end of them. Then look at the picture that shows the sub in it's place and you'll see a small round hole near each one of the bolts that hold the sub in place. Those round holes are where the grill cover attaches too. You just align the grill posts to those holes and push down on the grill cover until it snaps into place. The grill cover is held on so tightly that it makes and indention in the rear panels carpet. That indention is the area that you do not want to cut beyond otherwise the cover will not cover up the hole.
Hopefully that makes sense but again, take a minute to go pop off your rear speaker cover and it should all make sense once you see how it attaches.
You did explain it correctly. My browser was cut cutting off most of your response. I refreshed and everything was there. I think all the pics were causing it issues.
Thanks again for all the effort put into this writeup. I plan to do this this weekend and that helps enormously. This is the type of stuff that saves people a lot of time and money.
I saw some repair shop in norway or something did this amd was thinking of doing it myself. Kudos to you for taking the initiative and doing it! This needs to be a pinned post!
Thanks for all the comments. I'm just happy to be able to have something I could contribute back to the group. I owe everyone on this forum a ton for all the previous help I've received. This DIY is the least I could do.
If I can ask a question: In the pic where the cut-off panel portions have just been removed two black flaps can be seen right and left. In the last pics after the sub has been re-mounted only the right (in the pic) black flap can be seen. What are these flaps?
If I can ask a question: In the pic where the cut-off panel portions have just been removed two black flaps can be seen right and left. In the last pics after the sub has been re-mounted only the right (in the pic) black flap can be seen. What are these flaps?
They just seem to be pieces of foam with a black rubber vinyl on top of it. My guess is they are there to help support the panel. On the left side, when cutting the panel I wasn't able to lift it up since I am right handed and because of that when I cut the panel I scored the foam vinyl and it was super loose so I just peeled it off. I don't think it's going to hurt anything if it's missing but if you can lift up on the panel or maybe stuffing a small towel/rag under the panel but over the foam to help protect it I would probably do that. Again, I don't think it's a big deal either way.
 03-12-18, 07:51 PM