When you click on links to various merchants on this site and make a purchase, this can result in this site earning a commission. Affiliate programs and affiliations include, but are not limited to, the eBay Partner Network.
Herro! Herro! I ruv my fwens, i no small engrish onry. Nah nah, Wattup all, another simple do it yourself to help the community, after all, its these forums that give me so much information.
This one is a little but more difficult as you have to take the panels off the steering column area. So i thought this would be another 3mm LED on a board but guess what, its not! Lets get started shall we.
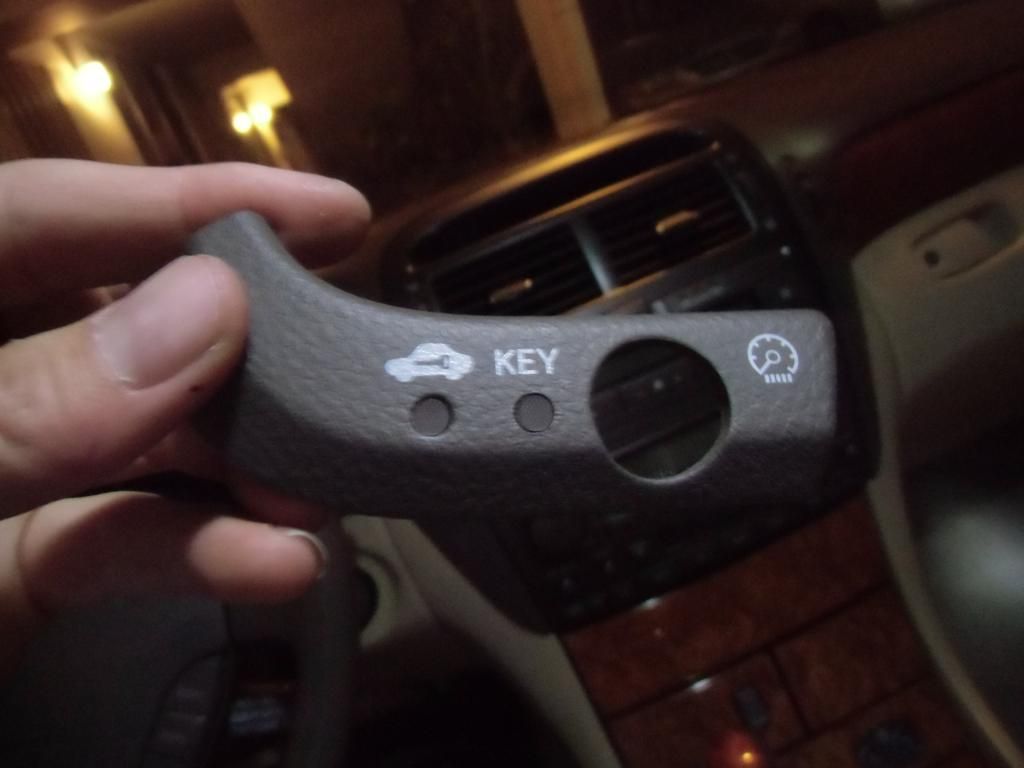
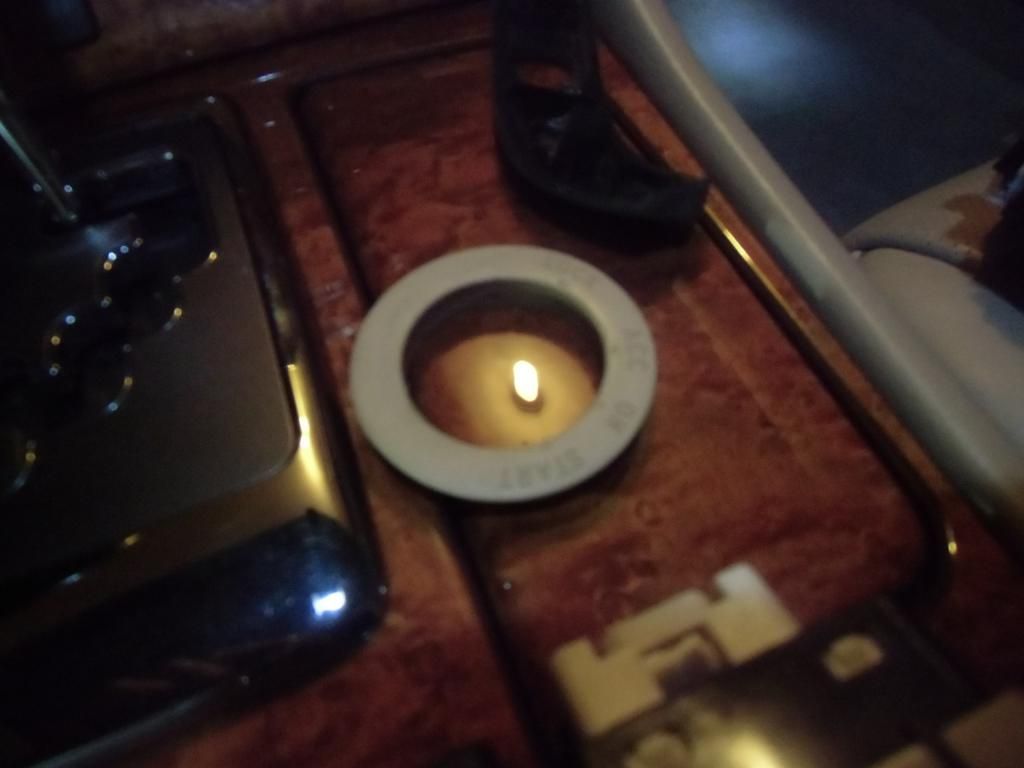
1. Heres a pic of what it looks like, oh crap, i realized i have no picture of the start. Its an amber light when your parking lights or headlights are on. Take a look at your own car.
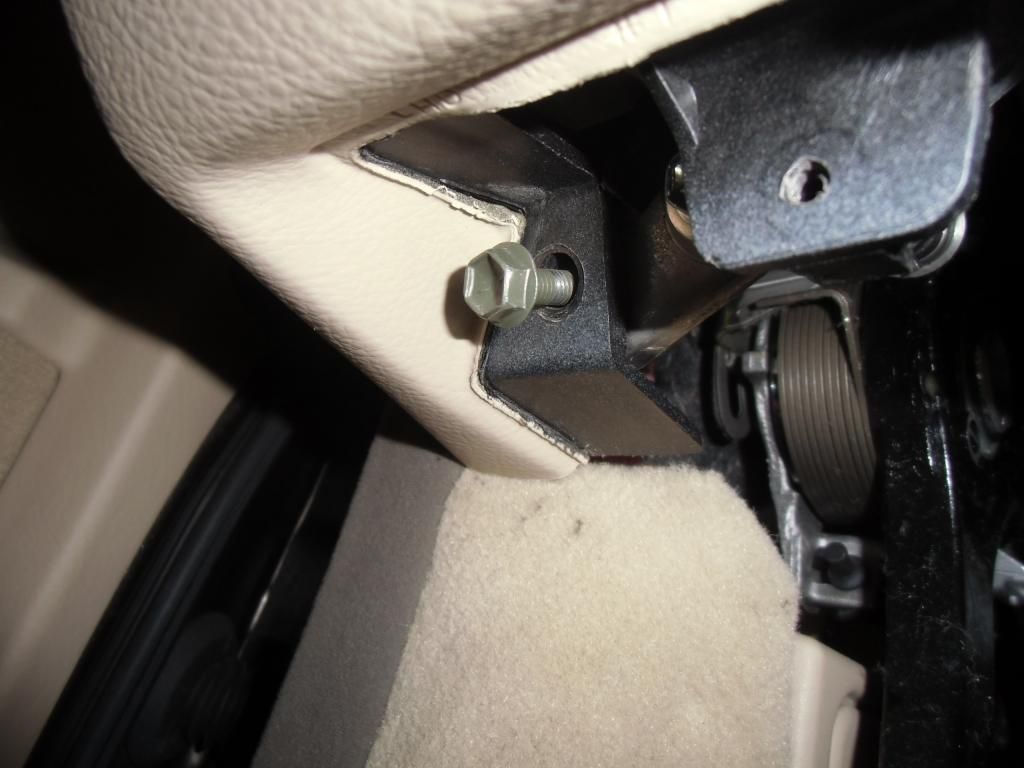
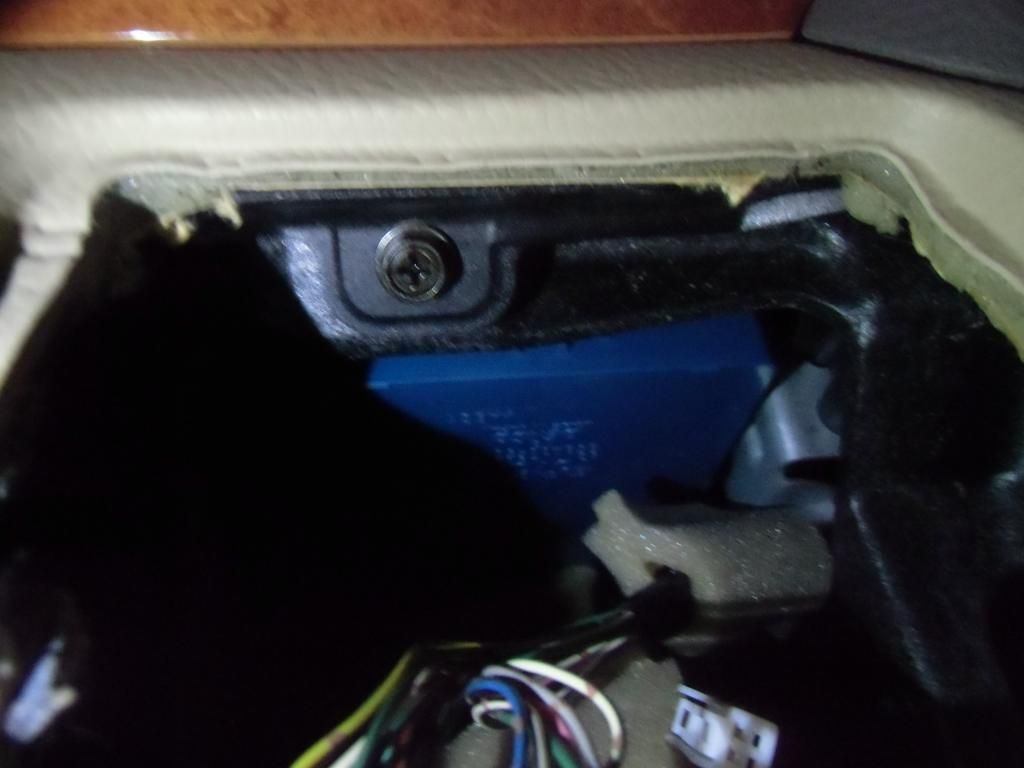
2. Go in the footwell area and you will see two phillips screws, both 8 mm on the left and on the right. Heres the one on the right, i guess i tdidnt take a picture of the one on the left, you will see it.
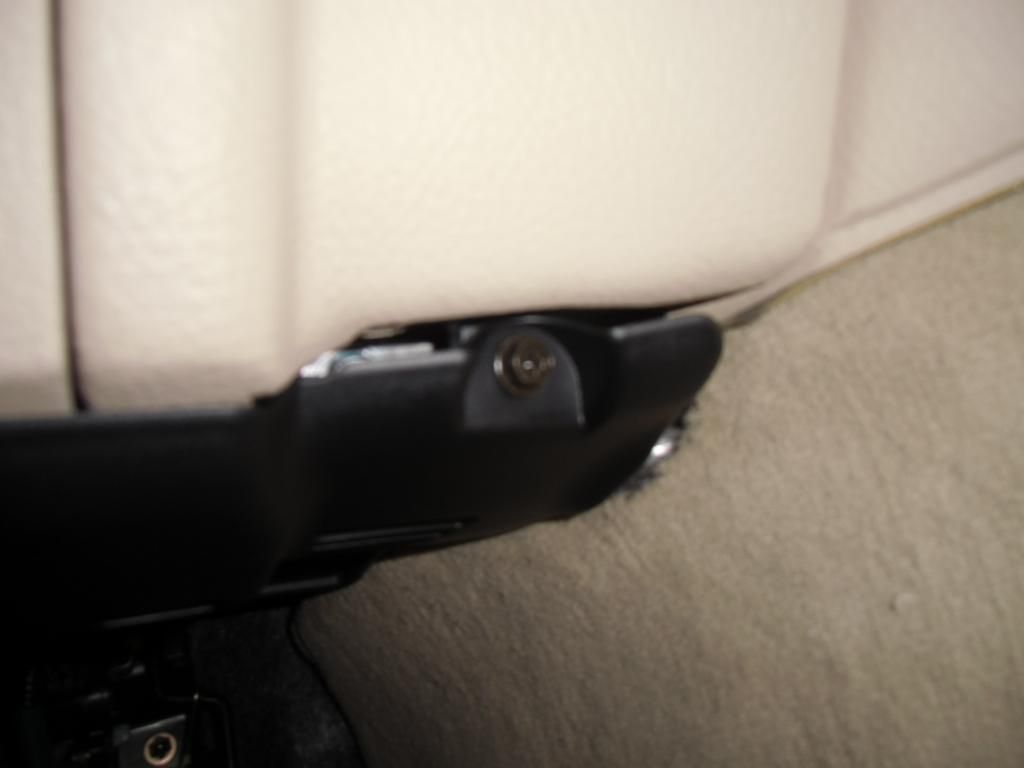
3. After you took these two off, gently pry this black piece out and toward the driver seat. So you are prying and pulling. There are 2 clips holding it in place. Bam!
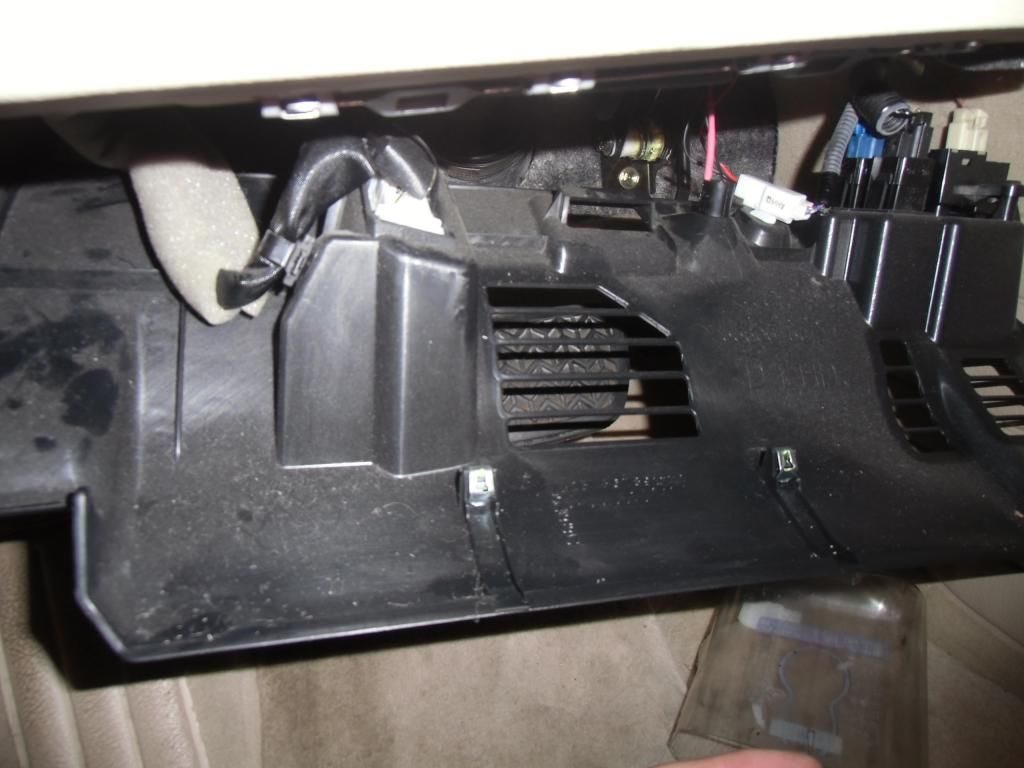
4. IF you want, take offf all the harnesses on this and put it aside, or you can work with this piece just chilling.
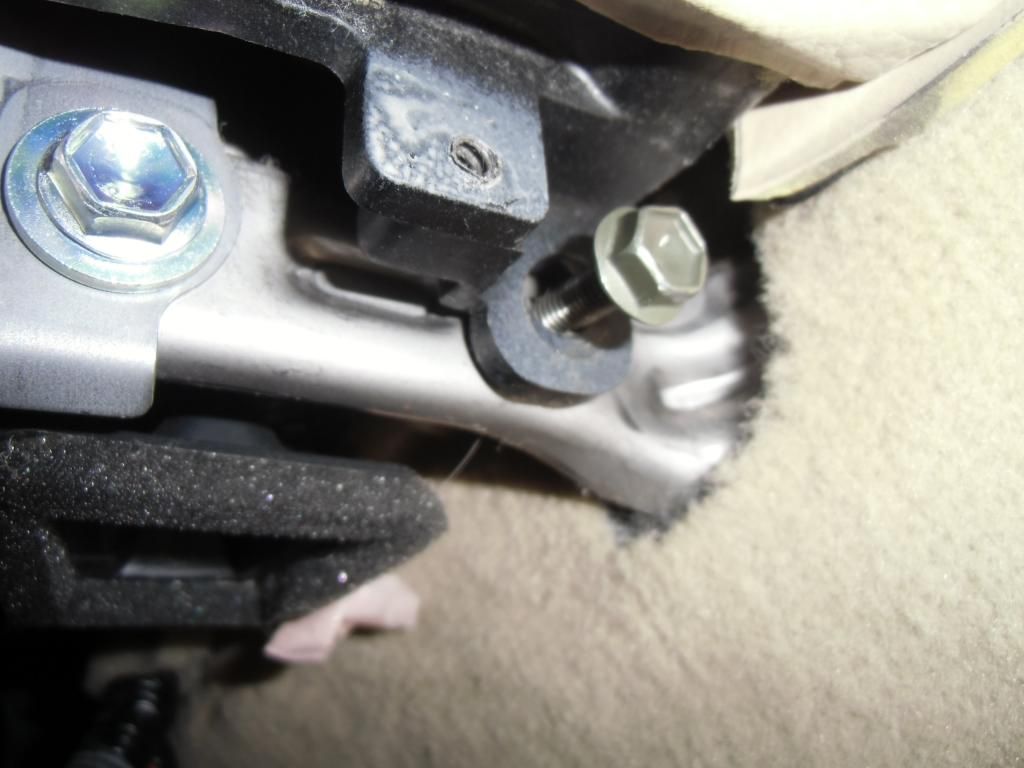
5. There is two 10mm bolts that you can now see. They are right next to the bolts you just took off, one one the left and one on the right. These hold the dash trim on.
6. Uhh lets see, you have to pry off this little trim as it will get in the way when you try to take the panel off. Use a flat head and gently pry. Its on the left side of the gauge cluster.
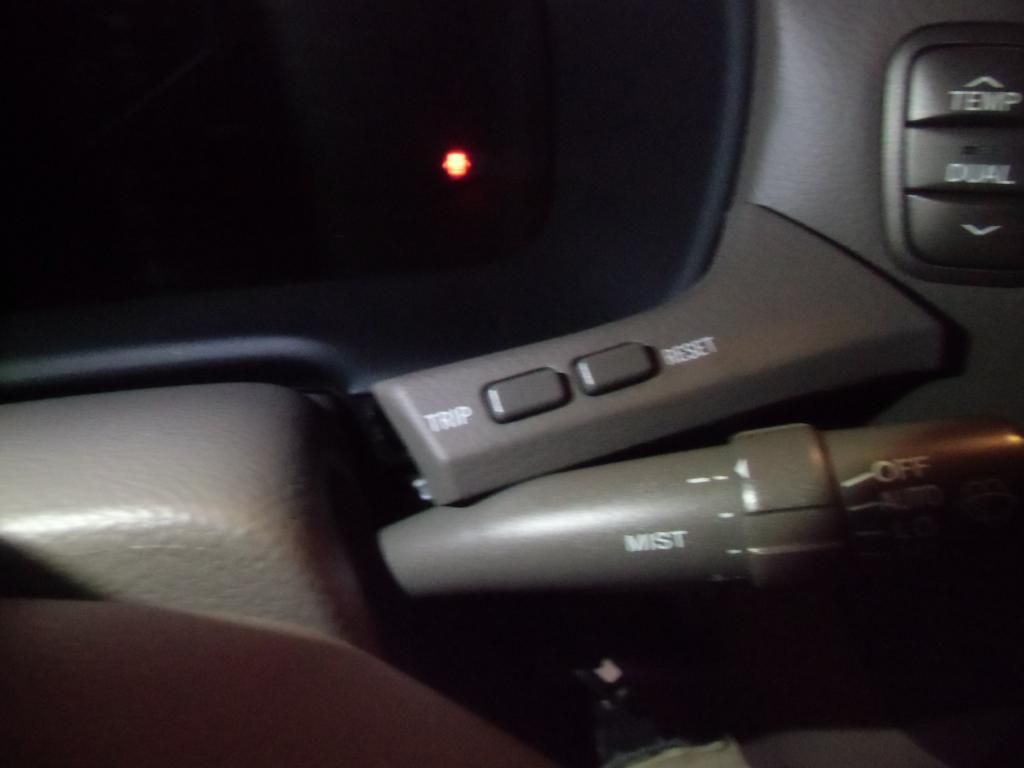
7. Do the same on the other side where the Trip and Reset button is. Obbisouly there is a harness conneced to this. You can take it out or just move it aside. Be gentle when prying. Pry the right side of the RESET button as thats where the push clip is. be gentle!
8.Take the trim off the ignition. like this. It just prys off.
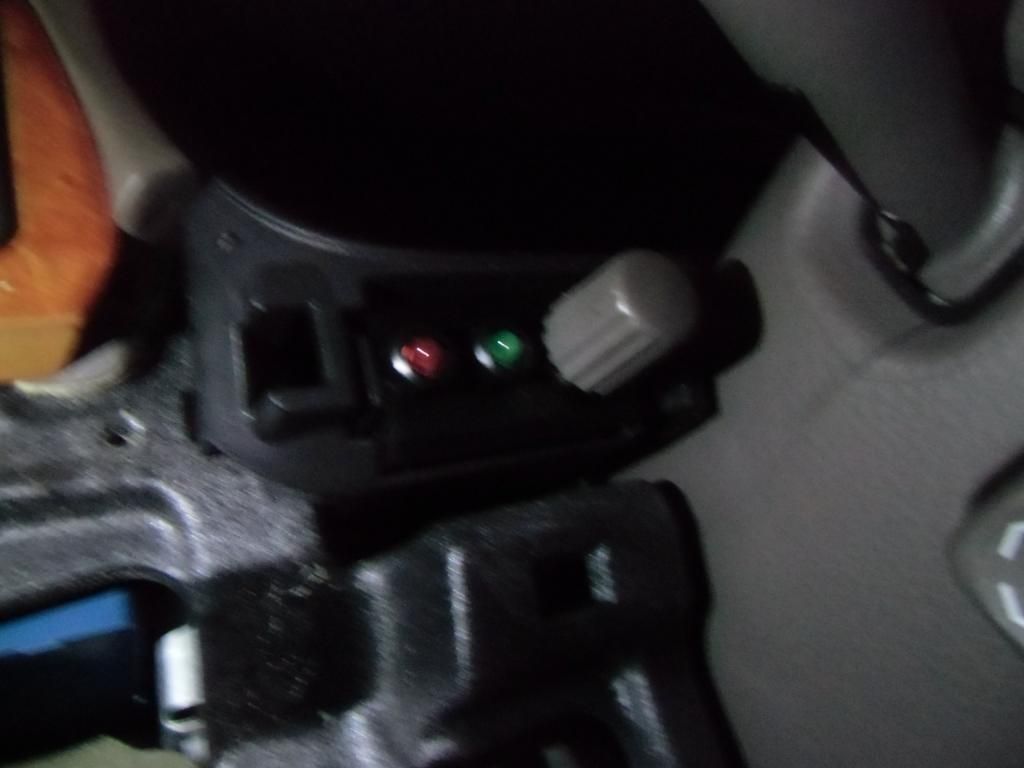
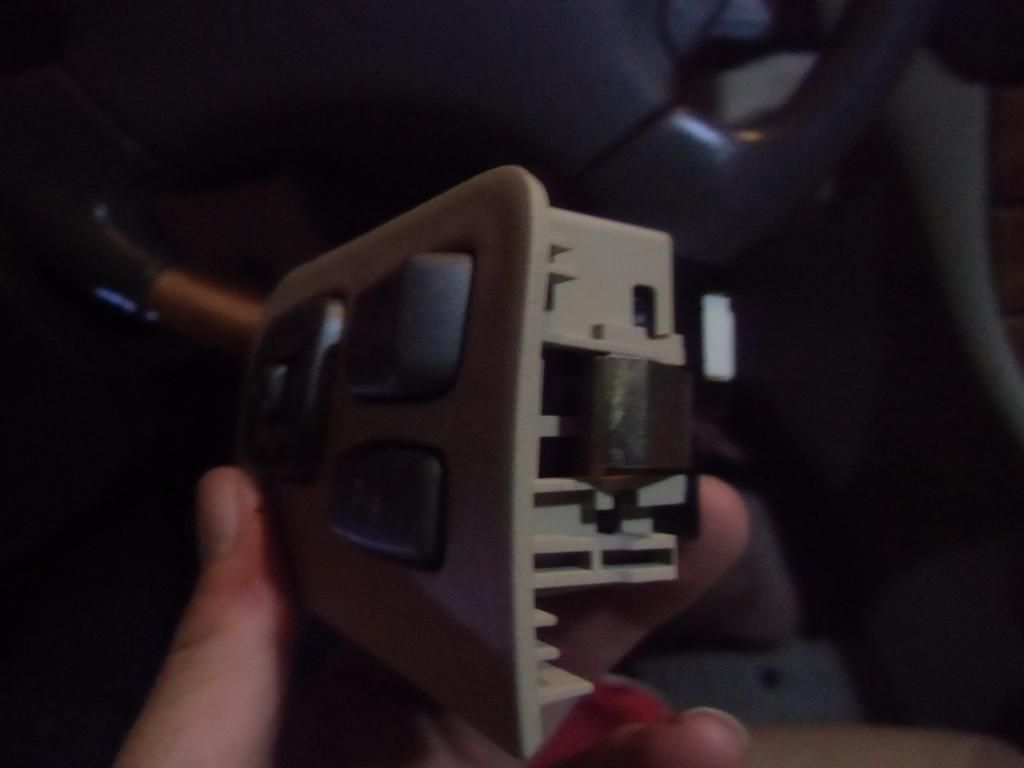
9. uhhhh hit the greens real quick and get back to work. uhhhh uhhh oh yeah, You have to take off the power mirrors switch. You just pry it out gently and it comes out, unplug these harnesses and put it aside.
10. Uhhh ummmm when you take this out, you will see a 8mm phillips bolt. Take this out.
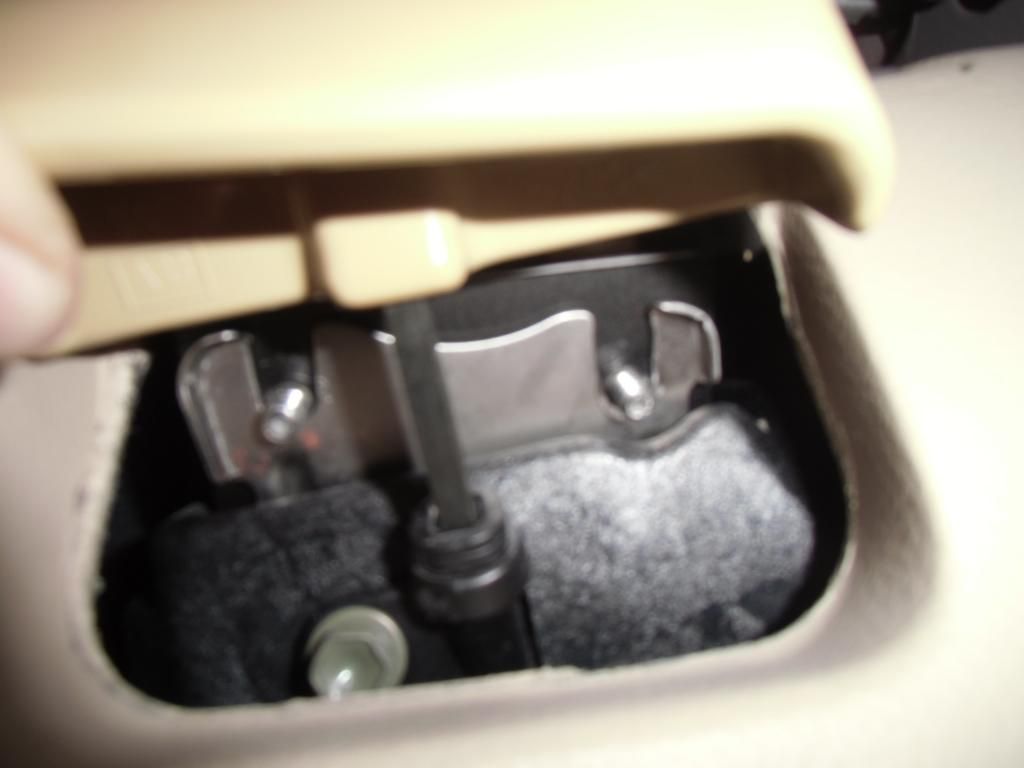
11. Drink some water if your mouth is dry. Im not sure if this next step is necessary but i did anyway. Under the parking brake lever is 2 10 mm bolts, these hold the tray, unbolt these. I already took the nuts off the bolts in this pic. Then just slide the tray out and put it aside.
12. Heres the tray, there is a harness on it for the bulb, unplug this harness. You can change the bulb now if you want, 74 bubl i think.
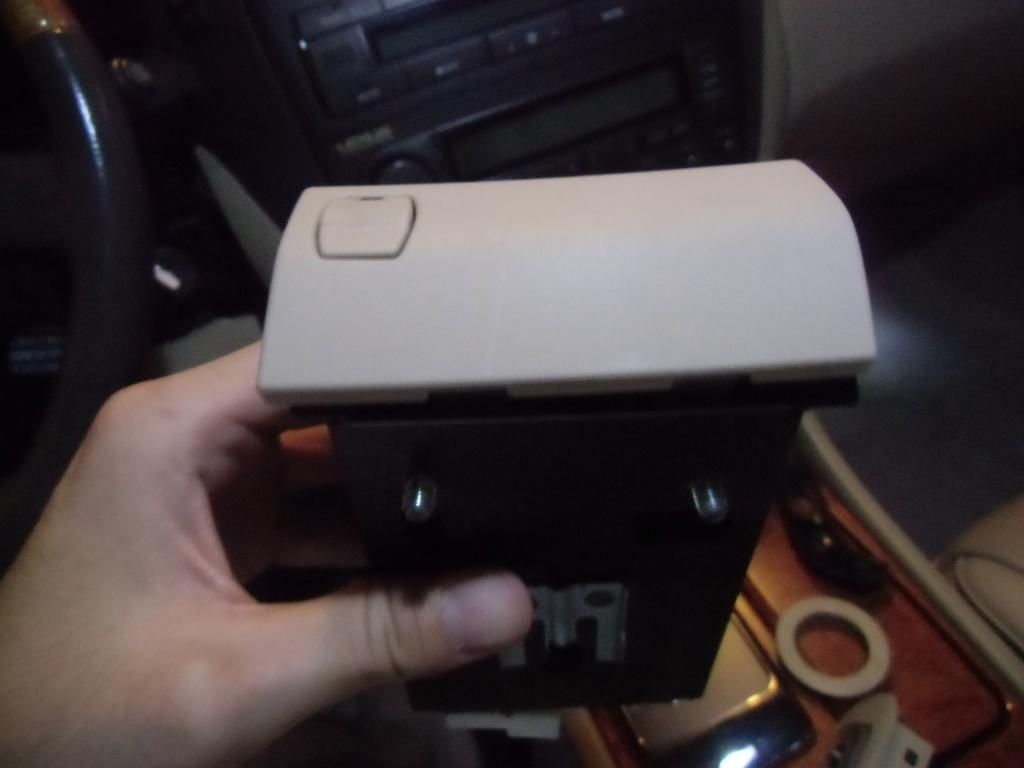
13. Okay, at this point, your panel should be pretty loose and ready to come out. Faceing the steering wheel,, try to grab the panels and pull out, everything is held by push plastic pins. The left hand side by the weather strip area might require pulling out just a tiny bit and then pulling back toward the driver seat.
Sorry i dont have much pictures, im doing all of this as of 8pm.
14. When you pull the panel off, there will be numerous harnesses still connected including the AFS button, the little microphone looking thing, and at this point, you will see the trunk/fuel door harnesses.
You can unbolt everything if you want but i did not unplug the micrphone (held by a phillips bolt). I had enough space to work on the part i needed to.
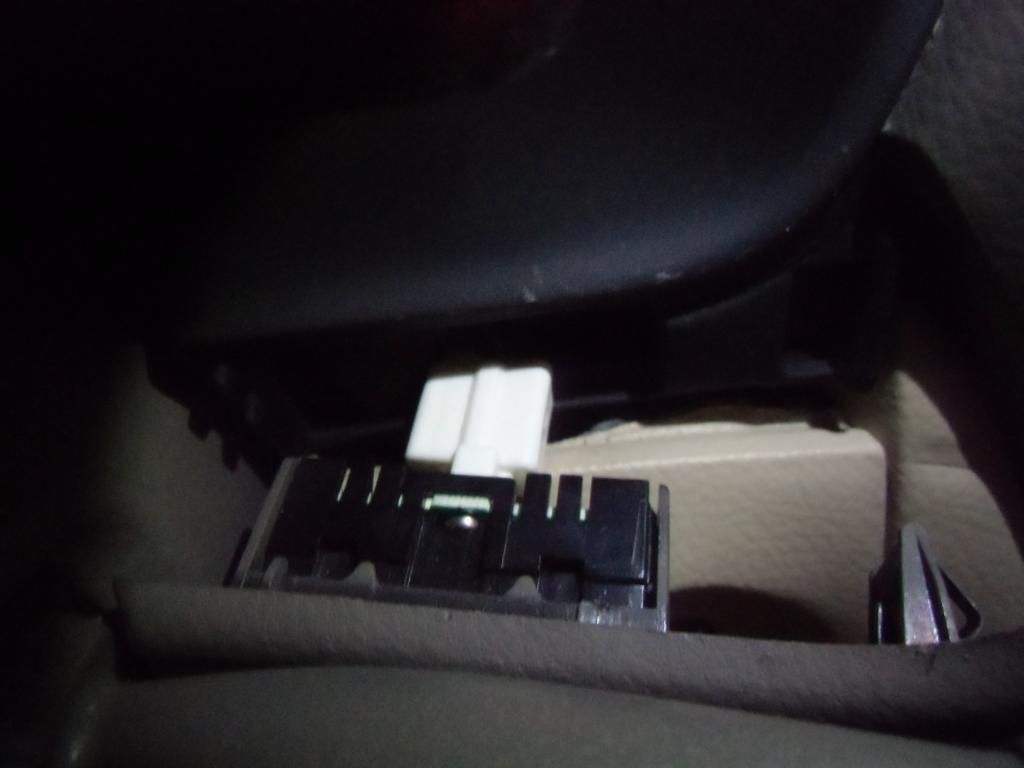
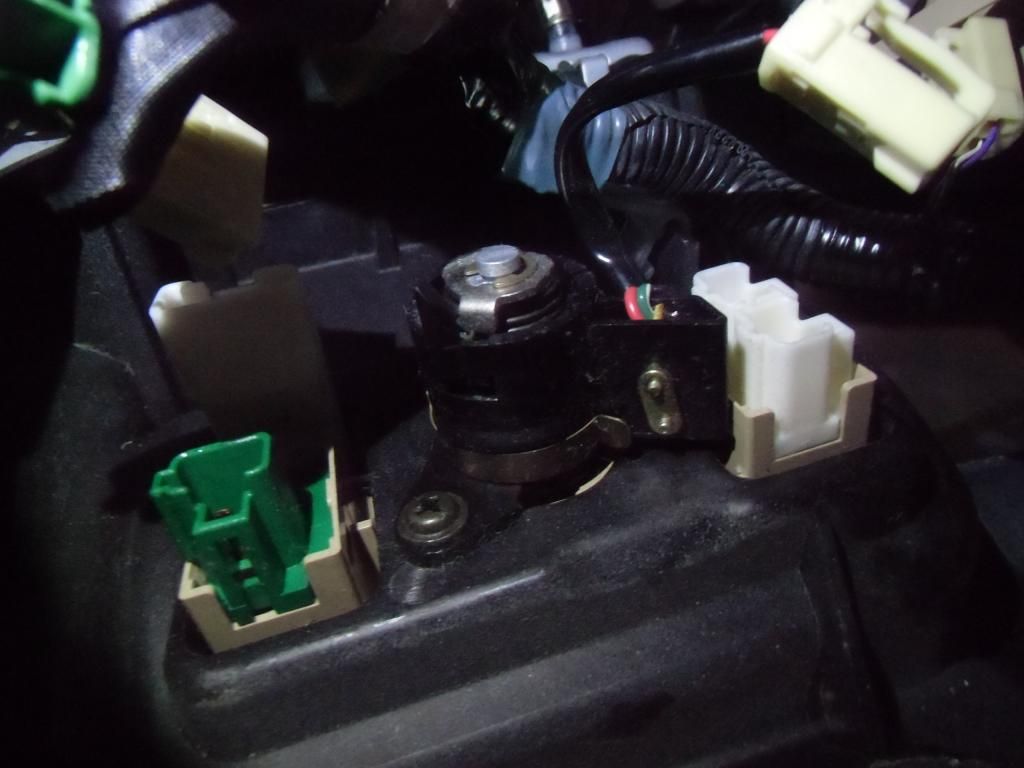
15. This is what you are now looking at, unplug all these harnesses.
16. Unbolt the two phillips screws holding the key slot lock mechanism. at this point, the whole switch panel is pretty loose and looks very close to coming out.
17. Going to try my best to explain this. The black key housing is connected to the trunk/fuel switch by just a little plastic piece. You see where the black phillips screw is, on the right of that, there's a little gap you just need to push a flat head screw driver into and the two pieces will separate. I couldn't capture a photo of this.
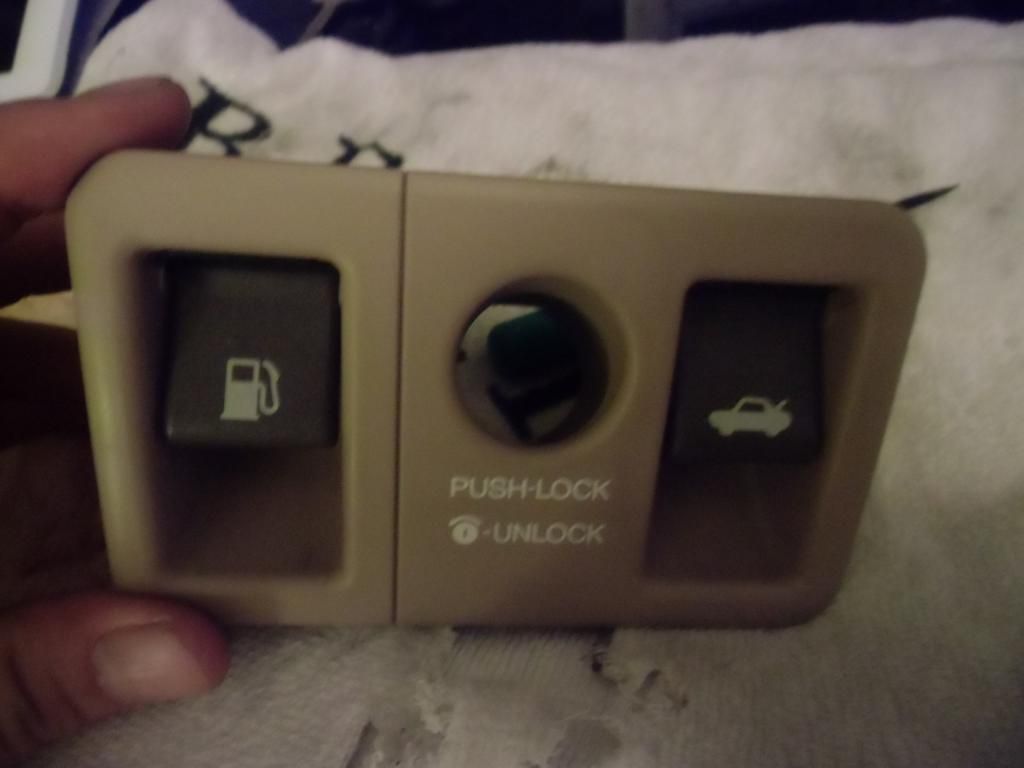
18. You should know have this.
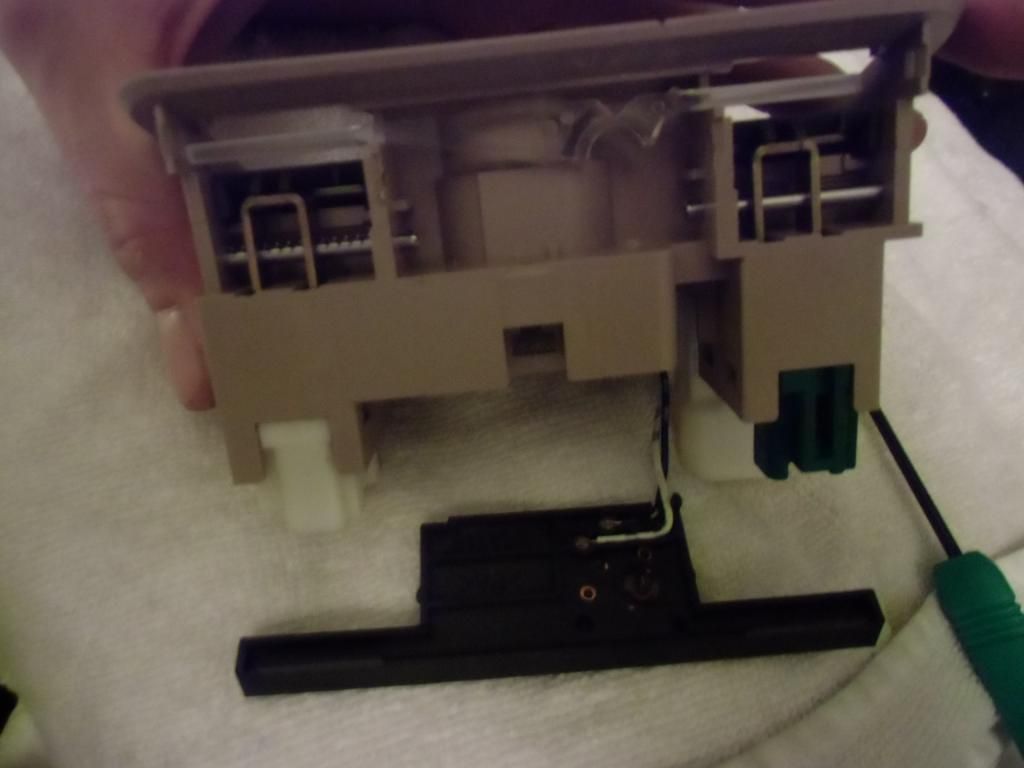
19. Turn it around and you will see where a white and black wir go under a black piece, pry this black plastic piece off.
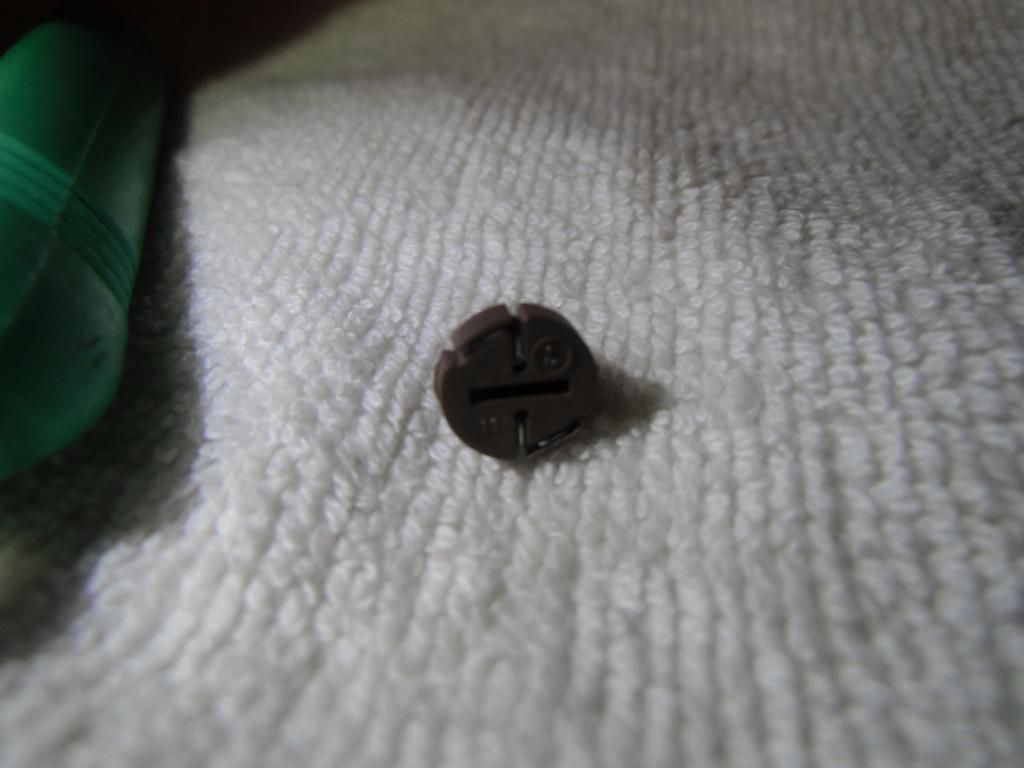
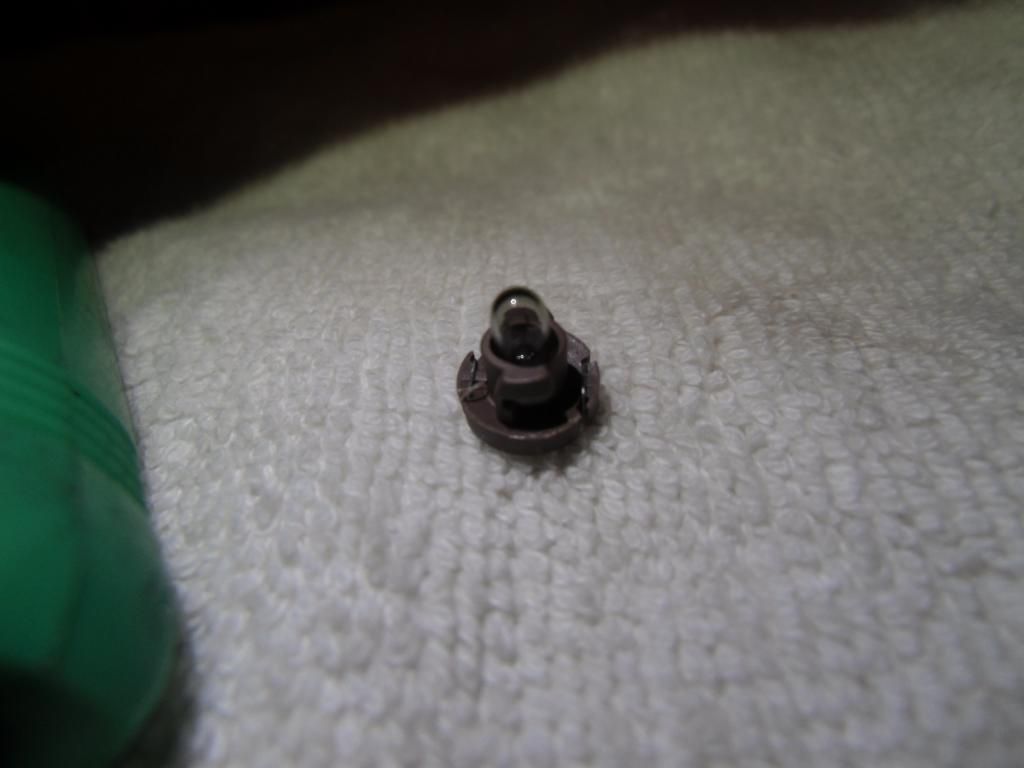
20. There it is, like a little beacon. Forgot to add that the light is spread by those clear acrylic plastic looking thing. Kind of like the led halos that bmws use.
21. On the other side, get a flat head and just turn it and it comes right out.
22. And the write up ends, sadly oh so sadly i didnt have this bulb size lying around. I think when you buy them, it comes with the hosuing around it and its just just the bulb itself you replace. I didnt bother pulling the bulb out of the housnig since i dont have the replacement right now.
23. Curse and yell if you didnt have the right bulb. I put everything back together since i dont have it yet. BUT BUT, i did learn how to take off the dash. Next time i can get it off like in 5 minutes. Perfect! When i get the bulb, i will change it and update this thread. See ya!
P.S. nobody even has a write up on removing this panel, c'mon.
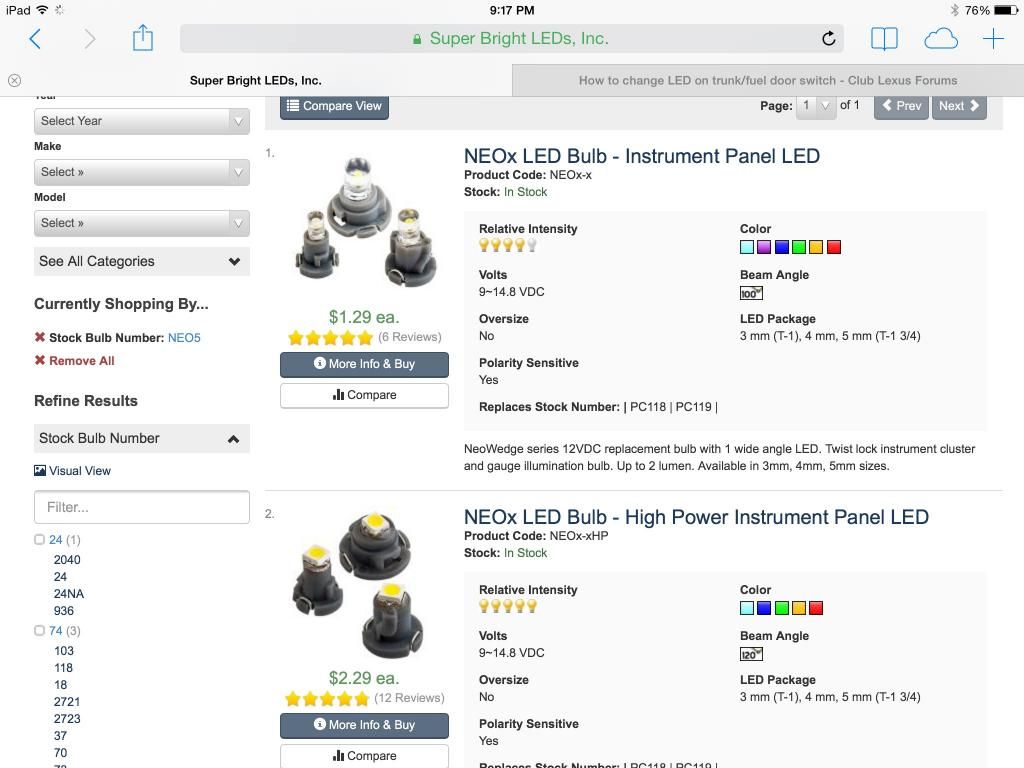
Okay so i did some research and it looks like they are called Neobulbs. The problem is that i dont know if its 3 , 4 or 5 mm. Damnit i just ordered stuff from this site and now i have to pay shipping again..
Does anyone, anyone want to purchase each 3, 4, 5 mm bulb and find out which one it is? That would be grrrreeeeaaatttt. Unles someone wants to buy them for me haha. If so please buy me the hi power one hehe.
Anyone willing to buy them to find out what size it is?! Ive been spending too much and dont feel like wasting. Lmk.
The sizes you're referring to are the size of the bulb 'portion' of the twist on.
If you google T3/T4/T5 led, these come up. That's how the sellers differentiate the bulbs, based on the 'base' size. So measure that, and you'll be able to compare and buy a suitable one for your switch.
Measure the base and here's your comparable bulb;
Personally, I wouldn't go ahead with these bulbs if I were you... I too did an entire conversion in my ES300 when I still had it. The bulbs lasted 3 months before they started flickering and eventually dieing on my HVAC console.
The sad part was that I paid 'extra' to buy GOOD bulbs [smd] so that they would last. And it was such a PITA getting to the console with my deck and all the associated wiring, I never removed them to replace the bulbs with more, or go back to stock.
Our Asian friend Daniel does it again! jk not sure if you're asian but you had the accent down just about right in the first sentence lol.
Originally Posted by 01LEXPL
Personally, I wouldn't go ahead with these bulbs if I were you... I too did an entire conversion in my ES300 when I still had it. The bulbs lasted 3 months before they started flickering and eventually dieing on my HVAC console.
The sad part was that I paid 'extra' to buy GOOD bulbs [smd] so that they would last. And it was such a PITA getting to the console with my deck and all the associated wiring, I never removed them to replace the bulbs with more, or go back to stock.
That would be a really crappy thing to have happen after doing all this work.
^ believe me, it was... I was super disappointed, especially in the winter when you can't see your HVAC controls...
Maybe I overstated the truth, it was an honest hour of work to take apart and reinstall, but its not something you want [or should have] to do every 3months...
Ive changed out most of the bulbs in my LS. Door handles, glove box, foot well, trunk/fuel latch, and even the over head console (not just the dome/map lights inside the actual sunroof controls) with LED's and havent had any issues yet.
I also replaced most of my bulbs with LED. Lasted about 6 months before the first one started flickering and finally went out. I'll stick to oem until a better, more stable led comes out.
Has anybody done this yet? Can they lease share the diameter of the bulb base. I don't want to take apart, leave apart, order, wait, wait, wait, and then install and assemble.
C'mon someone help me out.
I also replaced most of my bulbs with LED. Lasted about 6 months before the first one started flickering and finally went out. I'll stick to oem until a better, more stable led comes out.
so are all the ambient lighting lights T3 or 3mm bulbs? i mean all such as, handles, footwells (front and rear) and map lights?

 09-28-14, 11:51 PM


 jk not sure if you're asian but you had the accent down just about right in the first sentence lol.

