When you click on links to various merchants on this site and make a purchase, this can result in this site earning a commission. Affiliate programs and affiliations include, but are not limited to, the eBay Partner Network.
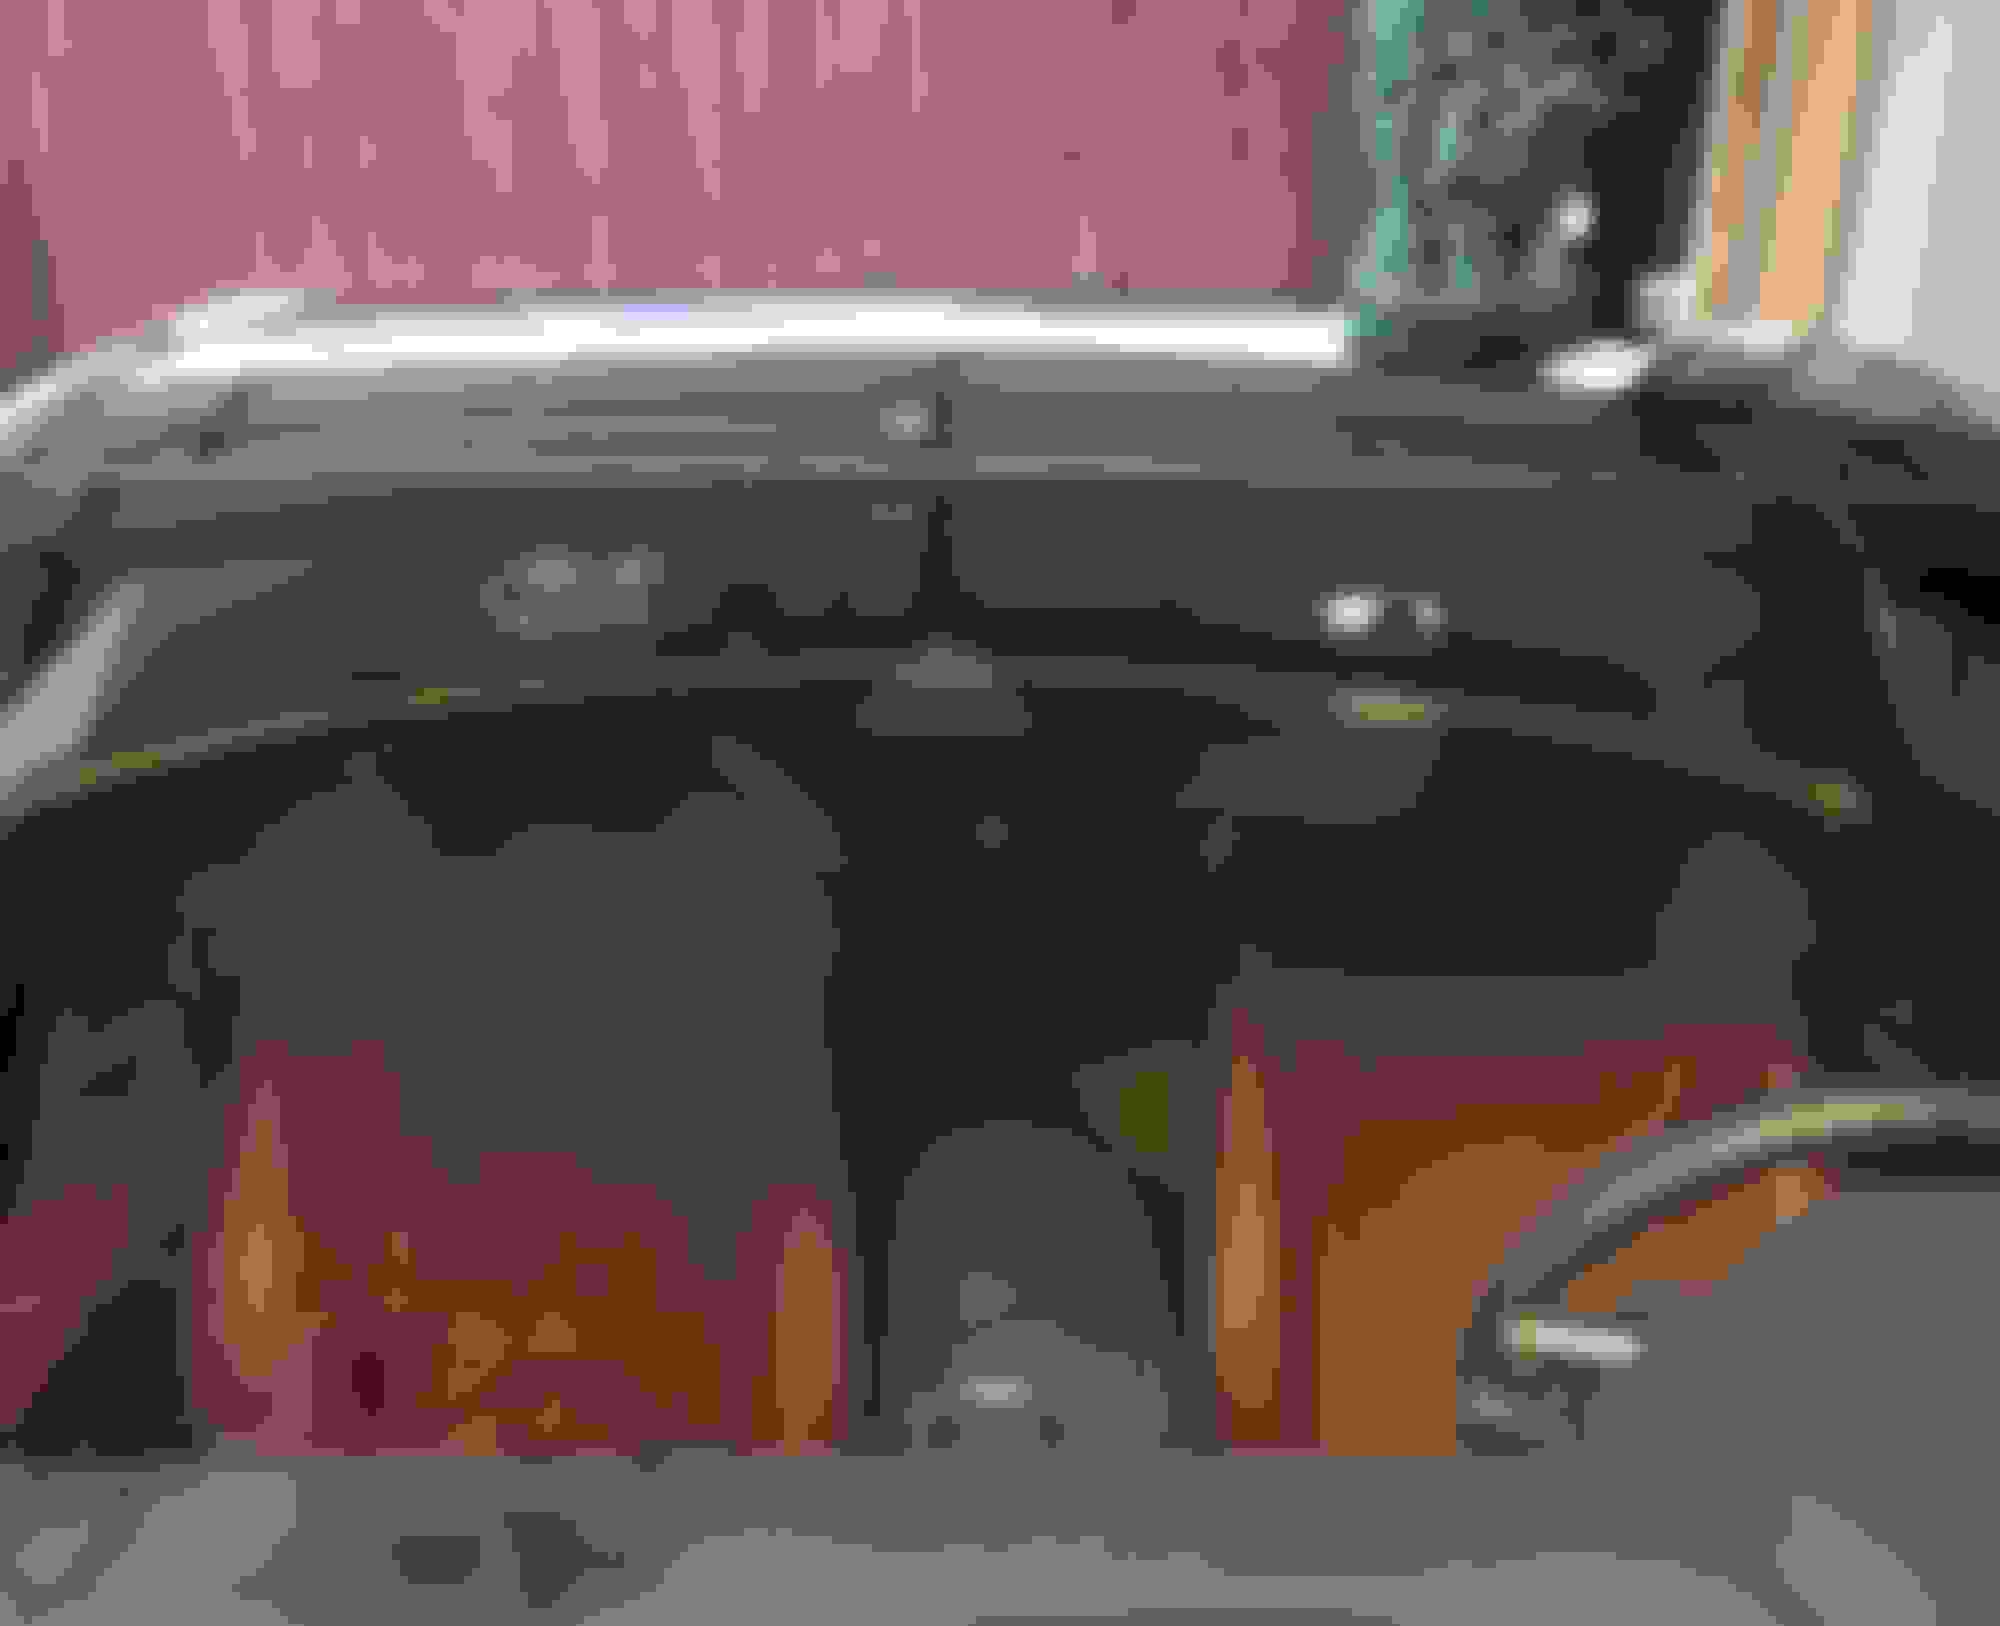
This may only be relevant to those with sport package with glass roof.
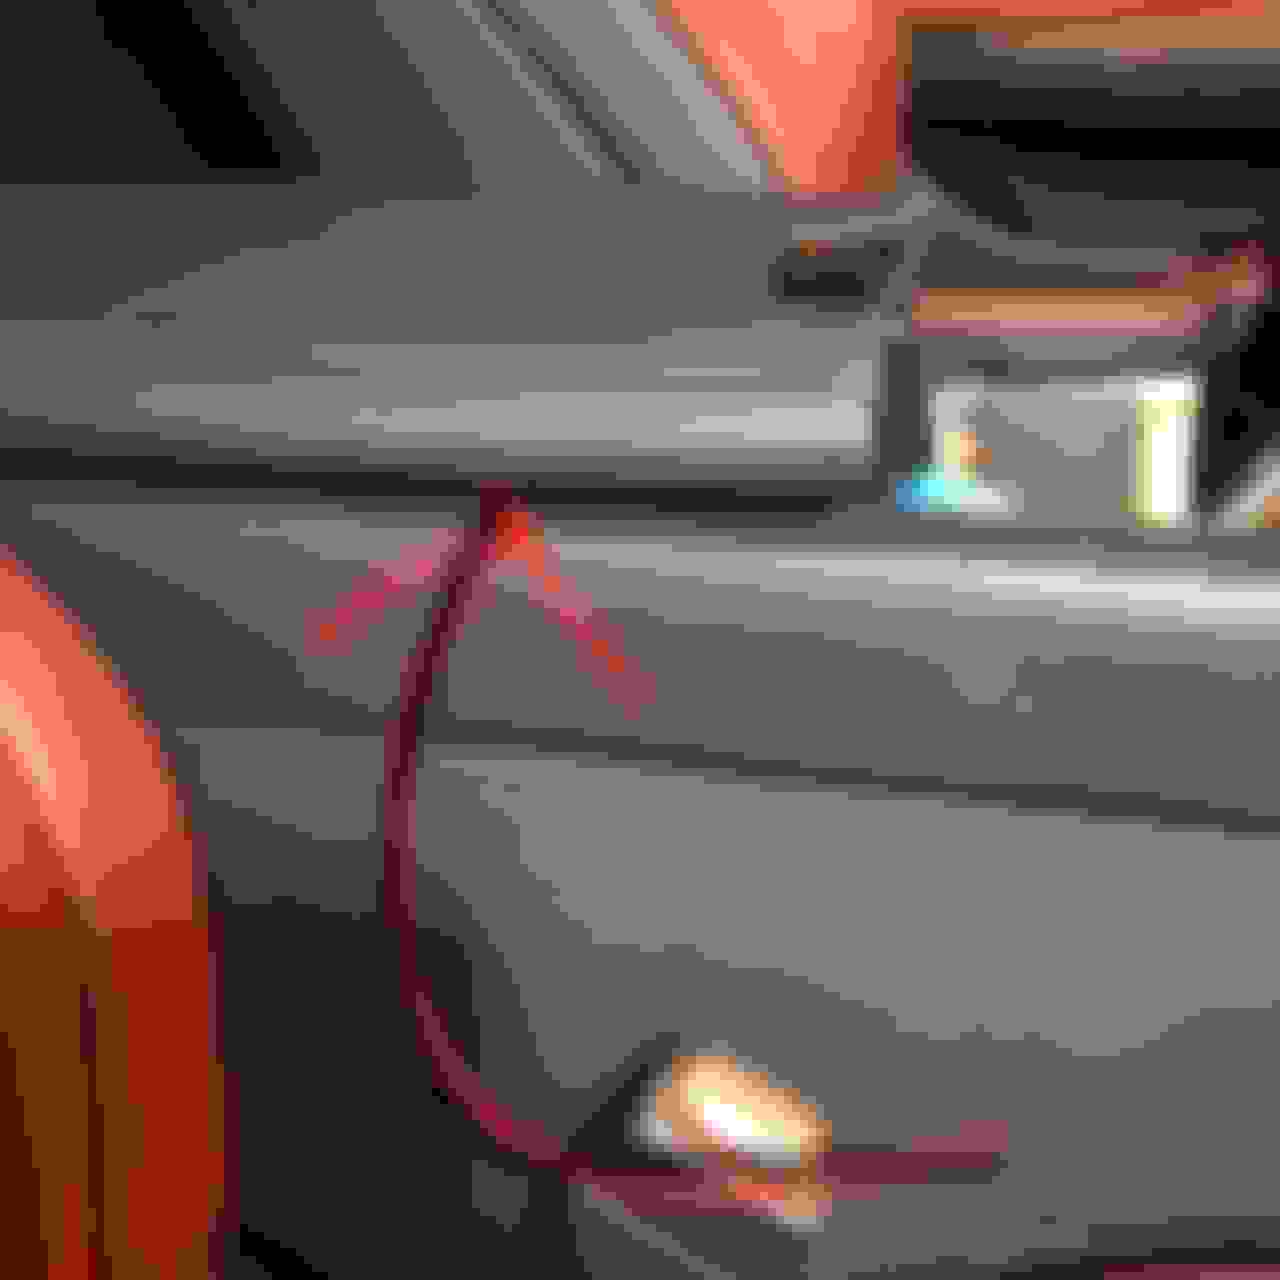
This is the brace in question.
When driving over uneven road surface, this very pliable brace would flex and make a clicking sound
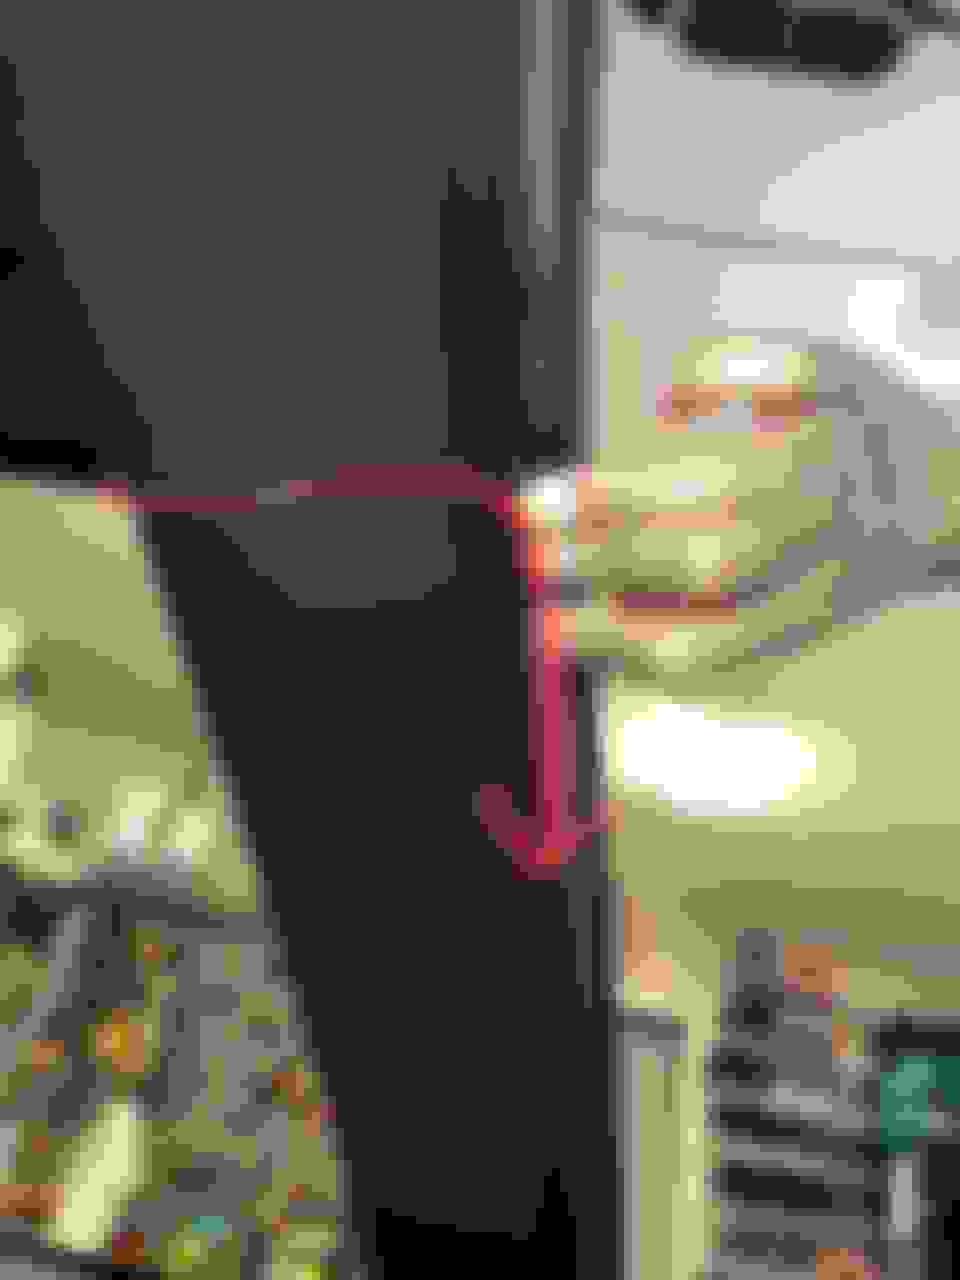
I ordered a furnature/table wedge as below
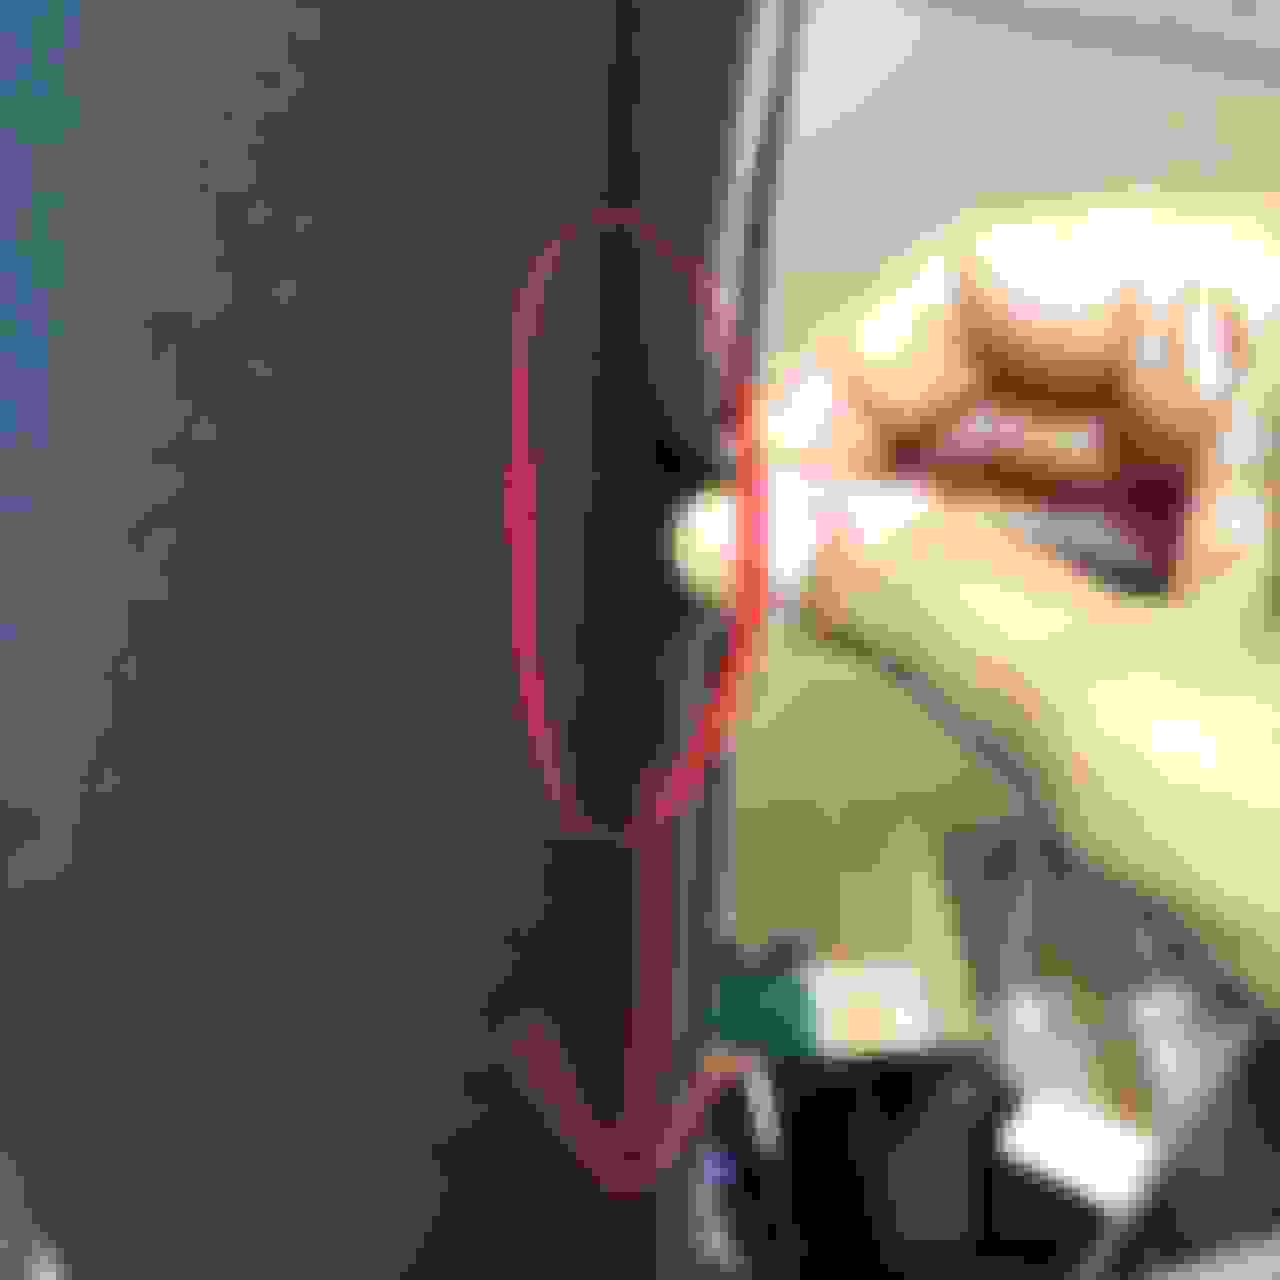
I had to trim the thinner side of the wedge to make it shorter and was able to push it into a space at the far edge where the brace meets the B pillar.
Don't worry about pulling down on the headliner, it is held by some velcro and will flex back to original position.
The wedge is far enough laterally so it will not interfere with the track for the sun shade.
ALL DONE!! finally enjoying what I expected a Lexus should be..................
This may only be relevant to those with sport package with glass roof.
This is the brace in question.
When driving over uneven road surface, this very pliable brace would flex and make a clicking sound
I ordered a furnature/table wedge as below
I had to trim the thinner side of the wedge to make it shorter and was able to push it into a space at the far edge where the brace meets the B pillar.
Don't worry about pulling down on the headliner, it is held by some velcro and will flex back to original position.
The wedge is far enough laterally so it will not interfere with the track for the sun shade.
ALL DONE!! finally enjoying what I expected a Lexus should be..................
also finished hardwiring radar and dash camera.
Did you Hardline your dashcam to the rear view mirror or to a PMP? If the latter how did you tuck the wires away into pillar A? Mind sharing some pictures or detailed steps? Glad you reaolves your issues but sorry you had to
What about removing pillar A cover? How should I go around taking it apart? I dropped the fuse cover in between the crevice where the fuse box is located 😭
Thank you for that! Just read it
Last edited by SRC350F; 10-01-18 at 07:43 PM.
Reason: Thanking
I finally got around to using my iPhone to record the squeaking noise that is coming from just above the rear window in my LC 500. The playback on my iPhone is high-pitched, but faithfully reproduces this exceedingly annoying squeak - just as we hear it while driving. I'd be interested in knowing if others on this thread are hearing the same thing. (Note that the attached file has been converted from M4A to MP3.)
By the way, we just took a 1000 mile round-trip drive down CA HWY 395 to visit friends in Ridgecrest (in the Mojave Desert), and went for hours without hearing a peep. But during our stay in Ridgecrest the temperature was nearly 100, and we heard the noise every time we drove the car. I did discover that reaching around and banging on the headliner just above the rear window made the sound go away for a couple of minutes (while my wife was driving :-).
I'm about ready to break down, and let our dealer have a crack at fixing the problem, before I take things into my own hands.
That is the famous LC rattle. I have over 10 similar recordings on my phone.
Please see above thread for solution. I have driven over 1000 miles since the fix and NO MORE rattles....
Thanks for your help! I had wondered if we have the same problem - but you have the sunroof, whereas I have the carbon fiber roof. Based on your posts it seems that you have decided that the problem is in the cross bracing, rather than in the 3rd brake light that some had suggested earlier on. I've been very leery about pulling the headliner down, and I haven't yet tried to solve the problem through the dealer. Now I only have to make up my foolish mind! Thanks again!
please see the solution for rattle#2. This area is just below the 3rd brake light. The headliner is really easy to pull down and reattach.
The sunroof area was the source for rattle#3.
I was able to differentiate the source when I finally asked my wife to drive while I sat in the rear seat.
I was able to remove pillar a but not reattach it 😂😂😂😂
can you tell me how to? I think I have to do something with this plastic switch. Also where did you fuse tap into and ground? Thank you
I am happy to report that i received my LC back today and finally the tapping/rattling is gone! Three times a charm! The service description is below.
SERVICE: FRONT/REAR BODY
DESCRIPTION: FRONT/REAR BODY ~ ~CUSTOMER STATES THERE'S A RATTLE NOISE PRESENT INSIDE THE CABIN UNDER WARM/HOT CONDITIONS; REPEAT CONCERN. SEE: TECH 80217 ~ ~INSPECTION REVEALED BACK GLASS ALIGNMENT PIN RUBBING C-PILLAR. ~ ~TECHNICIAN REMOVED BOTH REAR C-PILLAR PANELS IN ORDER TO GAIN ACCESS TO ALIGNMENT PINS. TECHNICIAN RE-INSTALLED USING NEW RETENTION CLIPS; REMOVED PLASTIC ALIGNMENT PIN (FTS ASSISTED W/ REPAIRS).
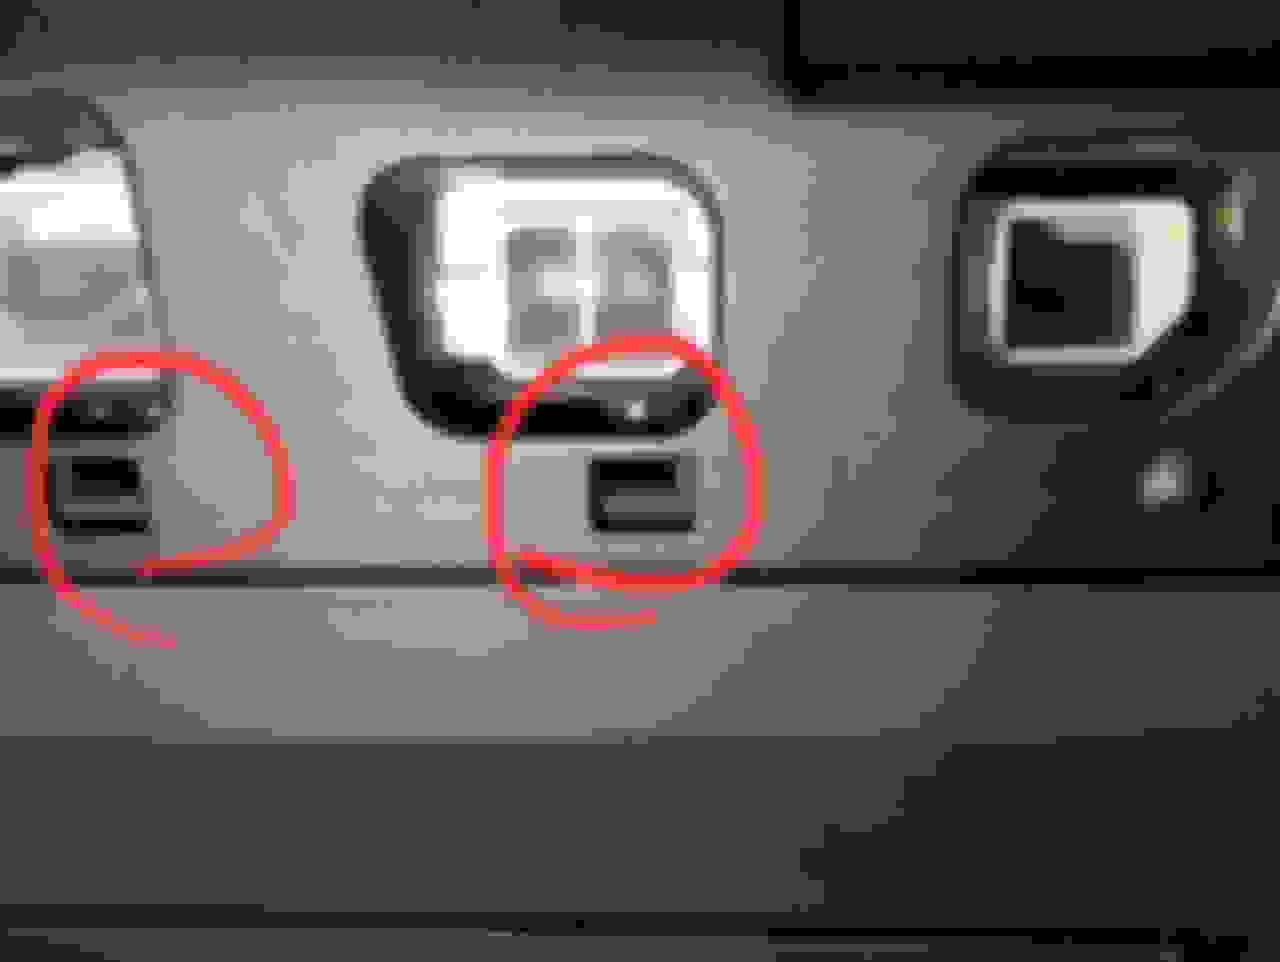
@SRC350F here is how I ran the wire for my dash cam. I did not tap into the fuse box. I had a difficult time finding a switched fuse on the passenger side to tap into. I finally used the USB power source in the center storage area. I did not remove the A piller cover...I just used a trim tool to stuff and wire into that gap.
Next run the wires as indicated
Next, I removed the plastic under cover as seen from below in order to hide the wire just under the glove compartment
 09-10-18, 07:48 PM