When you click on links to various merchants on this site and make a purchase, this can result in this site earning a commission. Affiliate programs and affiliations include, but are not limited to, the eBay Partner Network.
1) Any reason you chose to leave the wheels with the unfinished look?
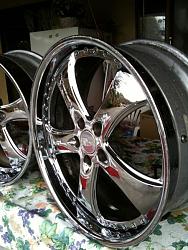
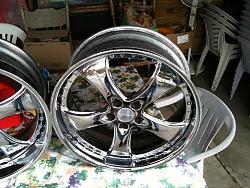
2) How did you do the lip repair?
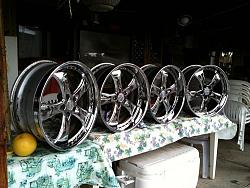
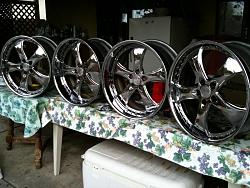
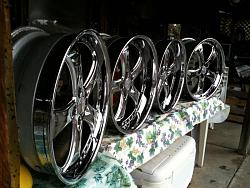
1-I was gonna try to attempt a brushed look but when I got them sandblasted I liked the turnout, pictures don't do justice to the look for real, the really look good, just try and picture a fine grainy surface and cleared with a flat clear not glossy so its a "Matt Sandblasted Finish"...oh and I wanted something different.
2-Found A DIY on it by looking at other forums and followed the steps and theres the outcome..