
A Little Foglight Retro Teaser!!

Well, have been thinking about doing this retro for awhile and I finally decided to do it. Took me some time to find the right price for some fogs.
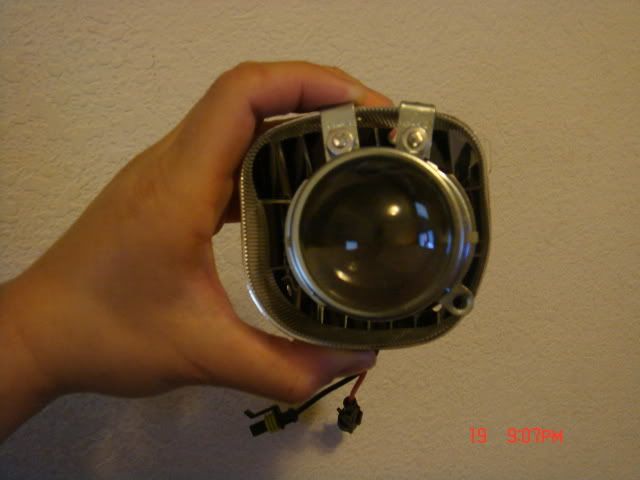
For the retro I am using Bosch mini clear projectors (Sorry all the pics were taken with my Iphone)
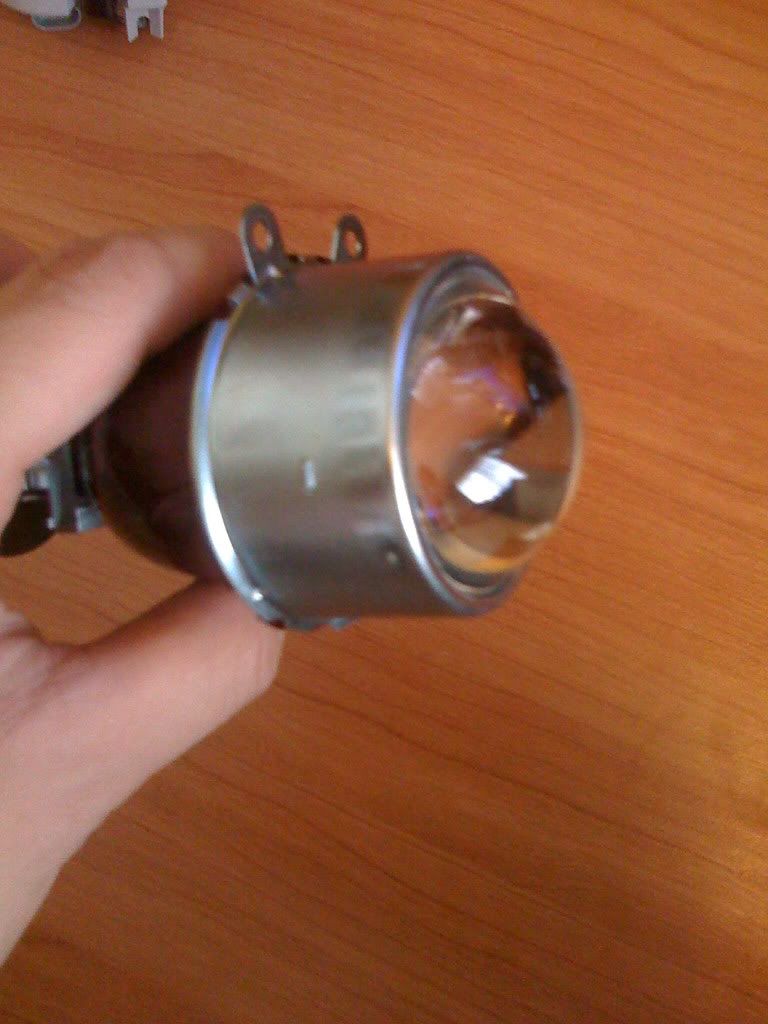
These projectors accept H3 bulbs, so I will be using a 4300k H3 HID kit. I could probably cut up the bulb holders and somehow make a d2s bulb fit, but it would be too much trouble, so I just went with the H3s.
This is the output of the projectors with no kind of modification, just put in the bulbs and that's it! By the way these have the flat cutoff shields, so it accepts HID quite well and does not create any glare because of the flat cutoff.
Here is a pic

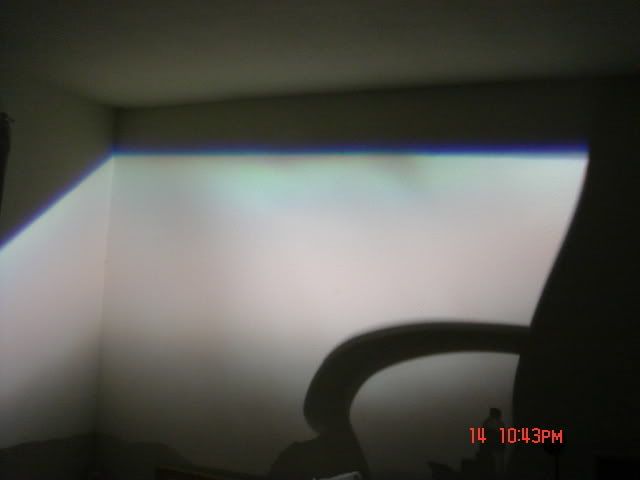
Notice the very nice color band.
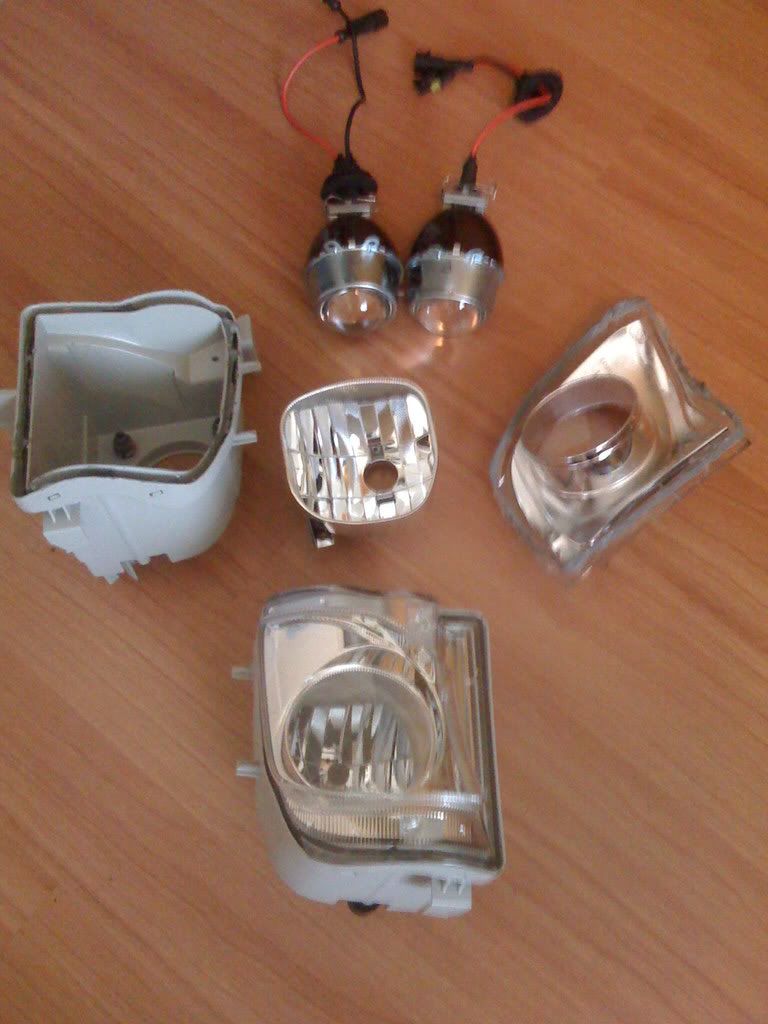
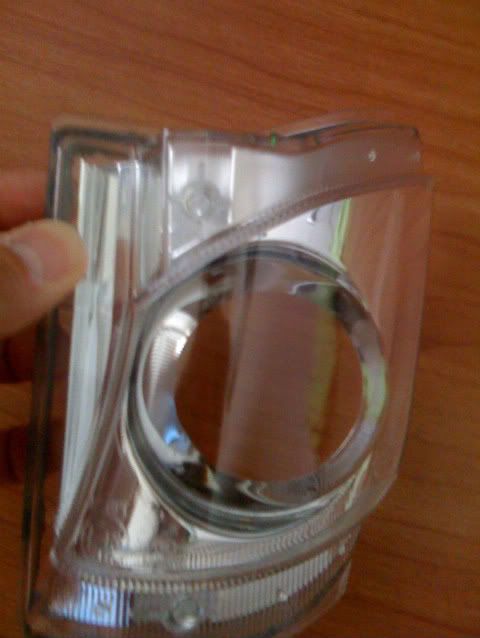
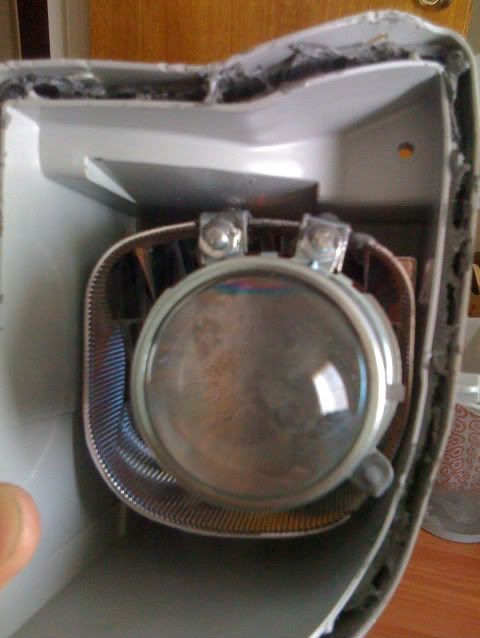
Now on to opening up the foglights. I basically pre-heated the oven at 275 degrees for about 10 mins. Then I turned off the oven and stuck the foglight in and let it sit in there for 10 mins. When time was up I just used a big flat head and gently pried it apart.
Here's what it looks like, there are four parts. The lens, shroud, shield and the housing.
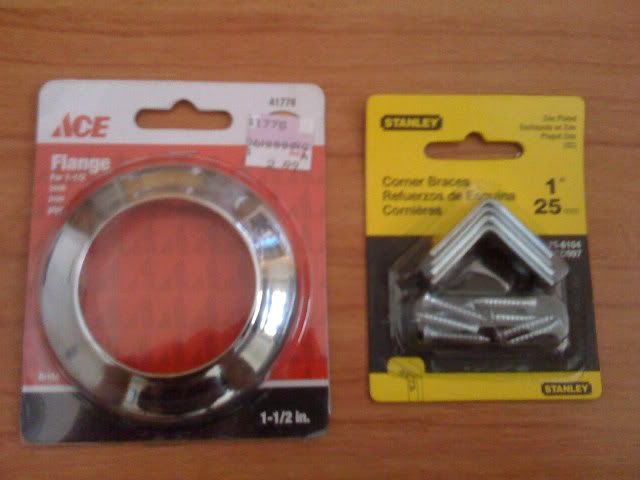
For the bezels I will be using the Ace Hardware flanges that you can find at the plumbing section and to mount the projectors I will be using L-brackets.
With the bezel I had to trim the opening to make it bigger for the projectors to fit through. So I used a dremel to sand down the inside to make the opening bigger.
Here is how it looks like with the opening bigger and mounted onto the shroud.
Now to the pics of mounting the projectors and cutting the backside of the reflectors.
Here is a pic of the projectors mounted on the reflector using the L-brackets.
Here is the backside dremeled out.
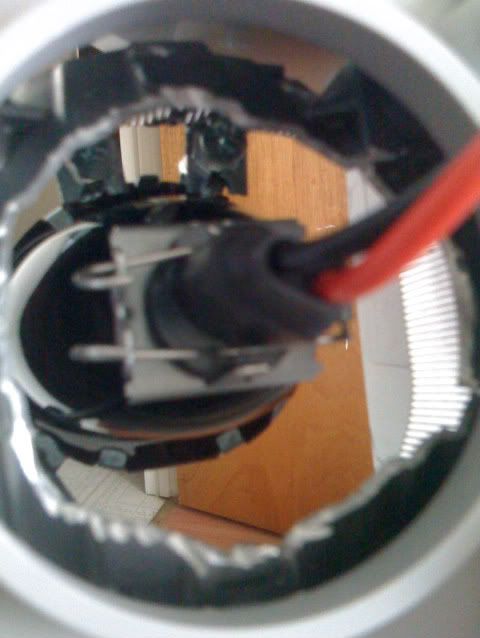
Here are some more pics of it mounted onto the housing.
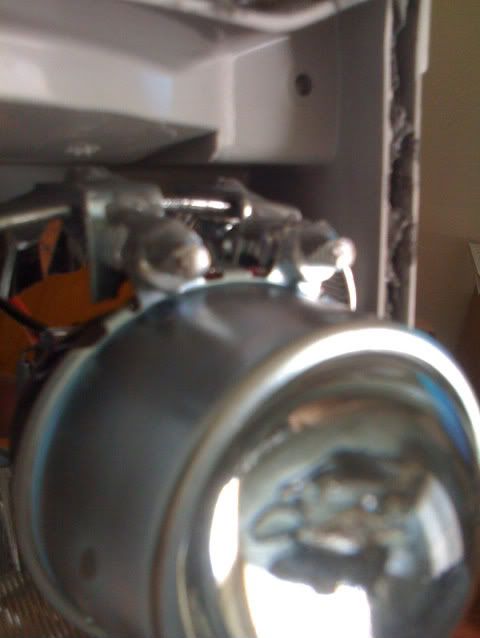
Once the projectors were fired up and tested to see if they were straight, the brackets and screws were dabbed with JB weld to hold it tight so it won't more around. Hence the gray goo all around the screws and brackets.
Well time to close everything up!
For the retro I am using Bosch mini clear projectors (Sorry all the pics were taken with my Iphone)
These projectors accept H3 bulbs, so I will be using a 4300k H3 HID kit. I could probably cut up the bulb holders and somehow make a d2s bulb fit, but it would be too much trouble, so I just went with the H3s.
This is the output of the projectors with no kind of modification, just put in the bulbs and that's it! By the way these have the flat cutoff shields, so it accepts HID quite well and does not create any glare because of the flat cutoff.
Here is a pic
Notice the very nice color band.
Now on to opening up the foglights. I basically pre-heated the oven at 275 degrees for about 10 mins. Then I turned off the oven and stuck the foglight in and let it sit in there for 10 mins. When time was up I just used a big flat head and gently pried it apart.
Here's what it looks like, there are four parts. The lens, shroud, shield and the housing.
For the bezels I will be using the Ace Hardware flanges that you can find at the plumbing section and to mount the projectors I will be using L-brackets.
With the bezel I had to trim the opening to make it bigger for the projectors to fit through. So I used a dremel to sand down the inside to make the opening bigger.
Here is how it looks like with the opening bigger and mounted onto the shroud.
Now to the pics of mounting the projectors and cutting the backside of the reflectors.
Here is a pic of the projectors mounted on the reflector using the L-brackets.
Here is the backside dremeled out.
Here are some more pics of it mounted onto the housing.
Once the projectors were fired up and tested to see if they were straight, the brackets and screws were dabbed with JB weld to hold it tight so it won't more around. Hence the gray goo all around the screws and brackets.
Well time to close everything up!
Basically you do the same thing with the oven prep and stick the foglight back in. When it's done take it out and and push it back together. I used some clamps to hold it down, plus it will put pressure on it while I let it dry.
Here are some pics
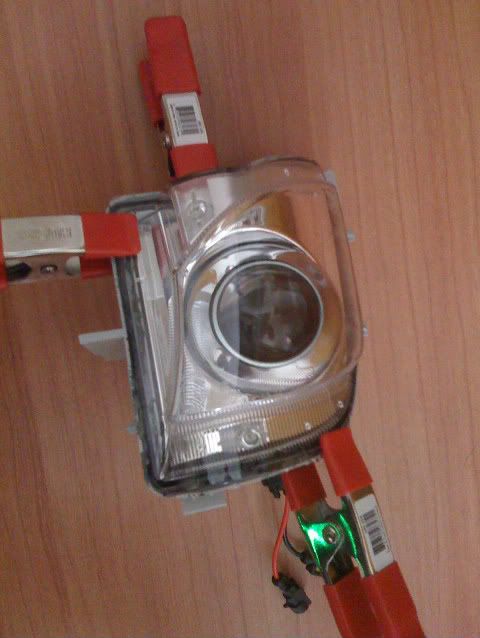
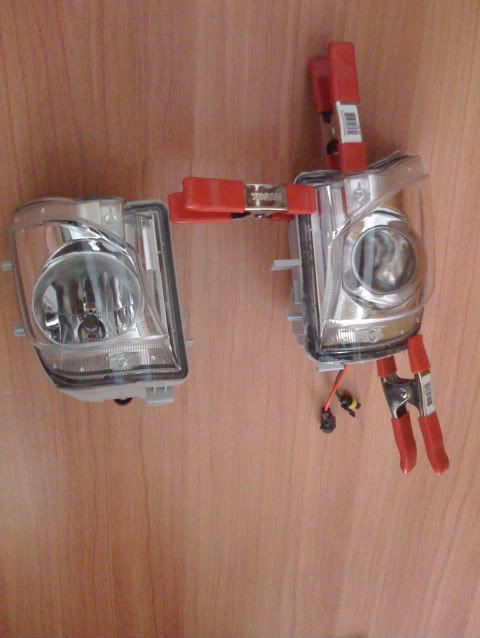
Now it looks just like OEM! Like it came out the factory like that.
That is only one side done. I will be doing the other side now, when I am done I will post more pics of it on the car.
Here are some pics
Now it looks just like OEM! Like it came out the factory like that.
That is only one side done. I will be doing the other side now, when I am done I will post more pics of it on the car.
Hey
that is a sick looking fog light. Will definitely make this a future mod. Those Bosch Minis look fantastic. I'm surprised you were able to fit that bigass ace shroud in there too. Let's see some final output shots when you're ready
Good work again!
Where did you find those Bosch Minis? Please let me know if you find them on sale =)
Also, do you plan on eventually wiring the fog lights up to your battery via relay harness? Just wondering how cluttered the engine bay will look if there's two separate relay harnesses coming off of the battery
Last edited by ELL Y; Mar 30, 2009 at 02:19 PM.

Trending Topics

Hey..Hey...I love lighting mods FTW!!!!...where did you get the mini's Just as ELL Y was inquiring too. It has been in the back of my mine to do this also. I always have big respect to peeps willing to try these custom mods!!! Anybody can buy things to slap on their car .....But it takes big Cahones and out of box thinking to get these types of mods done. Well done...and please post installed pictures afterwards!!!!!!
Hey
that is a sick looking fog light. Will definitely make this a future mod. Those Bosch Minis look fantastic. I'm surprised you were able to fit that bigass ace shroud in there too. Let's see some final output shots when you're ready
Good work again!
Where did you find those Bosch Minis? Please let me know if you find them on sale =)
Also, do you plan on eventually wiring the fog lights up to your battery via relay harness? Just wondering how cluttered the engine bay will look if there's two separate relay harnesses coming off of the battery
that is a sick looking fog light. Will definitely make this a future mod. Those Bosch Minis look fantastic. I'm surprised you were able to fit that bigass ace shroud in there too. Let's see some final output shots when you're ready
Good work again!
Where did you find those Bosch Minis? Please let me know if you find them on sale =)
Also, do you plan on eventually wiring the fog lights up to your battery via relay harness? Just wondering how cluttered the engine bay will look if there's two separate relay harnesses coming off of the battery
The relay harness I already have on the car, because I currently have HIDs on my fogs right now. I just fed the harness under the airbox where there is a opening and connect it to the passenger side fog and then run the rest across the bumper re-enforce to the driver side.
