When you click on links to various merchants on this site and make a purchase, this can result in this site earning a commission. Affiliate programs and affiliations include, but are not limited to, the eBay Partner Network.
i bought my LEDs from ebay. i actually prefer it to NOT be that bright. Mine is bright enough to see/find what i need, but not bright enough to blind me at night. Had mine for almost a year now, and still working great
I think i want what you have so if you may tell me what kind of leds do you have and where did you buy them from
> disconnect battery if you feel the need, for safety reasons
> remove the 7 black pushpins around the trunk light, gently remove them to avoid breakage
(the pushpins have a small straight edge on them, insert a small flathead to lift them)
> once the pins are removed, gently remove the light assembly by working it through the paneling
(be patient to avoid breaking it)
> caution: if you did not disconnect the battery, the housing can be hot, use care
> depress the small tabs on the connector to disengage the cable
> look at the housing to understand how you will put it back together
> unclip one end to open and allow access to the bulb
> replace the bulb, and reverse the steps
> test it before you place the housing back into the paneling
(my led would not light, reversing the polarity made no difference, the small leads were slightly misalgined not allowing a good connection, I gently bent them back)
Not a difficult install, just requires some patience to avoid breaking small plastic parts!
Good luck!
Last edited by Daniel2311; May 24, 2015 at 12:01 PM.
Reason: spelling
Thanks for sharing! For the trunk, I learned that you need to pry a little on the right side and then push it to the left a little as you pry and pull down. That seems like it's the only logical way to take it out safely... What a poorly designed fragile piece...
P.S. I noticed yours is a NX, is it the same part and design for the 3IS as well?
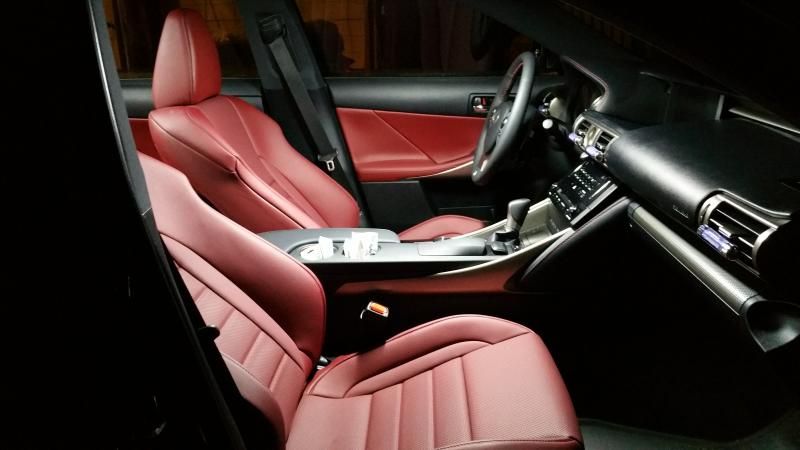
The NX vanity lights are the same as the IS design. The cargo lights however are different than the IS and very easy to pop out without breaking anything. Those used festoon bulbs though. And for the interior, the vanity and cargo lights are the only ones I can replace. Everything else is LED from the factory, but not quite as bright as I'd like.
I think i want what you have so if you may tell me what kind of leds do you have and where did you buy them from
I bought this set:
http://www.ebay.com/itm/301014756087?_trksid=p2057872.m2749.l2649&ssPageName=STRK%3AMEBIDX%3AIT
yes, it's really inexpensive, but I can get others if needed. I think these were just bright enough for my tastes - and inexpensive enough that I could get others if needed.
However, I would get something brighter for the trunk.
I bought a set on eBay and the output was horrible + the quality of each bulb felt cheap. I returned those and did some research on LEDs. I found that the type of LED and circuit board made a difference in the output. There are basic ones labeled 5050 - the eBay set I bought - which were not bright.
There are more advanced ones 5630, 5730 which are significantly brighter. I ended up buying the set below from Amazon. They are worth the $15 for 10. They are 5630 and the quality is really good. The plug end is made of a higher quality plastic and the circuit board seems to be of higher components. This set has been excellent, nice and bright without being blinding.
I actually bought another set so I had enough for the mirror puddles too. I think you need a total of 15.
note about ebay - the pictures you see can't be trusted, so you need to weigh everything when purchasing - cost and how much light you're wanting (I just wanted a little upgrade and white light instead of the orange light of stock bulbs)
> disconnect battery if you feel the need, for safety reasons
> remove the 7 black pushpins around the trunk light, gently remove them to avoid breakage
(the pushpins have a small straight edge on them, insert a small flathead to lift them)
> once the pins are removed, gently remove the light assembly by working it through the paneling
(be patient to avoid breaking it)
> caution: if you did not disconnect the battery, the housing can be hot, use care
> depress the small tabs on the connector to disengage the cable
> look at the housing to understand how you will put it back together
> unclip one end to open and allow access to the bulb
> replace the bulb, and reverse the steps
> test it before you place the housing back into the paneling
(my led would not light, reversing the polarity made no difference, the small leads were slightly misalgined not allowing a good connection, I gently bent them back)
Not a difficult install, just requires some patience to avoid breaking small plastic parts!
Good luck!
Weird... My black backing looks slightly different... In the picture shown in your post, is it an IS being shown?
> Great question, I am planning to change out the trunk lamp as well, the factory bulb is very dim in that space. Any help is appreciated!
Use a golf divot tool on the right side of the light to pry it. It took some effort, but I managed to get it off, although as others have noted it won't go back in as snug.
Do the same for the vanity light, but use the divot tool on the left side, it was surprisingly easy to install that.
I'll probably get the dealer to install the puddle lights, though they'll grossly overcharge.
FYI - Be careful with using a metal tool on your plastics. A screwdriver (or something that hard) could leave a mark. I bought a $5 panel removal tool set off of amazon. Worth every penny.
And there's a DIY on the puddle lights (mirror). It's a bit scary to do the first time but I think it's just psychological. You can do them in about 15-30 minutes!