
im reallllllllly mad!!!!!
 07-08-09, 08:23 PM
#16
Pole Position
Thread Starter
iTrader: (1)
Join Date: Jun 2008
Location: Virginia
Posts: 256
Likes: 0
Received 0 Likes
on
0 Posts
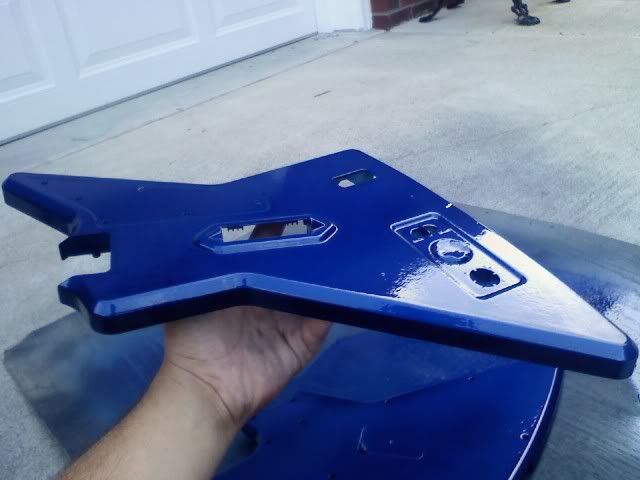
update on the lip... got it primered and ready to paint..i dont have much of the ggp paint left and i wanted to see y my gun was spittin out globs of paint. so i had some blue paint left over from when i painted my old civic so i prepped and primer/painted a guitar hero controller i had lol turned out pretty good
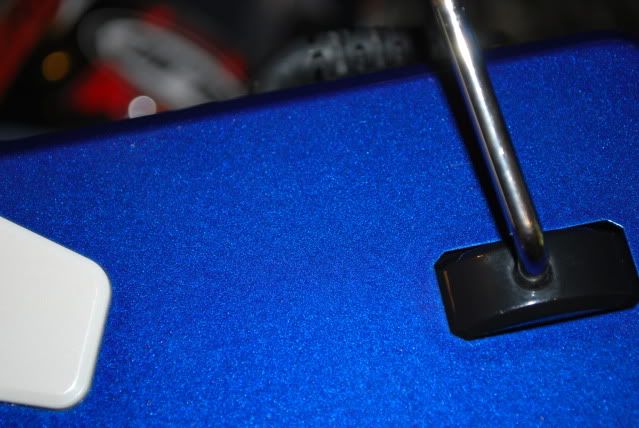
also the ggp paint is laquer paint i didnt know that was used much anymore..thought it was replaced by acryllic paint the blue sprayed fine didnt have ne globs or cracking like the lip so hopefully i can get it painted tomorrow
also the ggp paint is laquer paint i didnt know that was used much anymore..thought it was replaced by acryllic paint the blue sprayed fine didnt have ne globs or cracking like the lip so hopefully i can get it painted tomorrow
 07-09-09, 12:09 AM
#18
It doesn't look even. Try cleaning the spray gun?
And how long did you let the paint cure before wet sanding?
I didn't wash my 240sx for more than 2 weeks after painting the hood and headlight covers.
And how long did you let the paint cure before wet sanding?
I didn't wash my 240sx for more than 2 weeks after painting the hood and headlight covers.
07-09-09, 06:16 AM
#19
Pole Position
Thread Starter
iTrader: (1)
Join Date: Jun 2008
Location: Virginia
Posts: 256
Likes: 0
Received 0 Likes
on
0 Posts
i let it set for as long as it said on the paint can..was like 15-20 mins i think..and yeah the paint gun was fine im not sure why it was spittin out the globs of paint
07-09-09, 11:01 AM
#21
Pole Position
Thread Starter
iTrader: (1)
Join Date: Jun 2008
Location: Virginia
Posts: 256
Likes: 0
Received 0 Likes
on
0 Posts
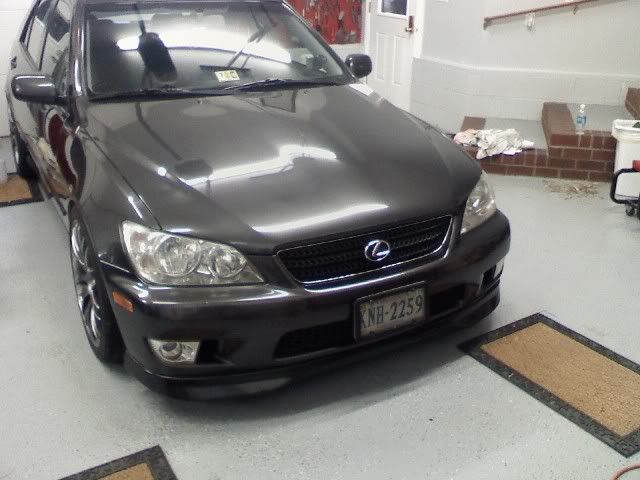
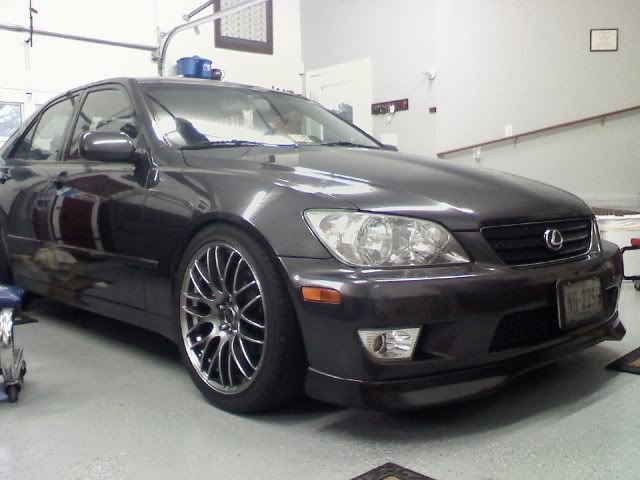
here is a crappy cellphone pic of the lip..it looks black but in person it matches the car

well here is a pic of the guitar hero controller all put together lol i think it came out pretty good..
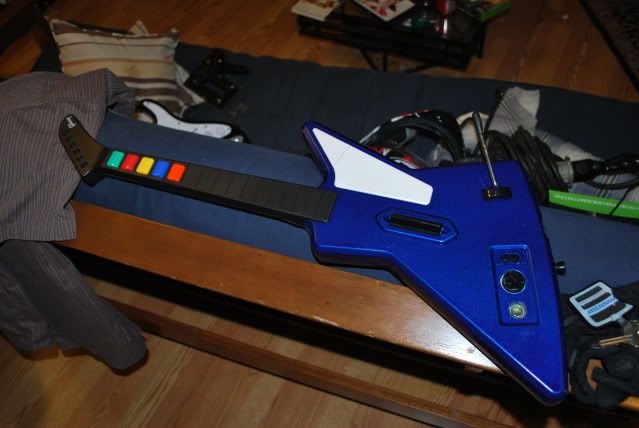
looove that paint
well here is a pic of the guitar hero controller all put together lol i think it came out pretty good..
looove that paint
 thats awesome man..hows the ride? and how was the install? lol u have to fight with them spring compressors?
 07-10-09, 02:06 PM
#25
I wasn't expecting much performance wise just looks. I do feel the road more now but it's a good balance with my stock shocks. I think the shocks will hold up just fine and BTW....my front shocks are KYB and the rears are Tokico...WTF..lol. I wonder if it's like that on certain IS300's.

Oh, I hate those f ing spring compressors! lol But, it was a good time swapping those springs with my buddies and drinking beer! We took our time, total of like 7-8 hrs to complete! Haha
Off topic....since I have half of my car stripped inside I'm going to apply a crap load of sound deadener!

 07-10-09, 07:05 PM
#29
Pole Position
Thread Starter
iTrader: (1)
Join Date: Jun 2008
Location: Virginia
Posts: 256
Likes: 0
Received 0 Likes
on
0 Posts
So far so good! I love the way it looks now, can't stop starring at her!
I wasn't expecting much performance wise just looks. I do feel the road more now but it's a good balance with my stock shocks. I think the shocks will hold up just fine and BTW....my front shocks are KYB and the rears are Tokico...WTF..lol. I wonder if it's like that on certain IS300's.
Oh, I hate those f ing spring compressors! lol But, it was a good time swapping those springs with my buddies and drinking beer! We took our time, total of like 7-8 hrs to complete! Haha
Off topic....since I have half of my car stripped inside I'm going to apply a crap load of sound deadener!
07-10-09, 07:46 PM
#30
With the Sportx I had to take off the rear seats and the side cushion panels that the seat belt connect too. Then take off the "secret" compartment box in the back to take the side panels on each side...and of course the false boards we have and the plastic tool tray. Yup, fun stuff! Since I have this all removed I might as well add sound deadener to it. I'm also going to add it to the driver and passenger door panels.