When you click on links to various merchants on this site and make a purchase, this can result in this site earning a commission. Affiliate programs and affiliations include, but are not limited to, the eBay Partner Network.
Hey guys, I was getting my GX460 washed yesterday. When the attendant backed it out I noticed that one of the reverse bulbs is burned out. This is my first Lexus and coming from several BMWs with sensors for everything, I am surprised that there wasn't a warning light triggered of some sort. How easy is this to get switched out myself/anyone done this? I can't find any directions online for the GX460.
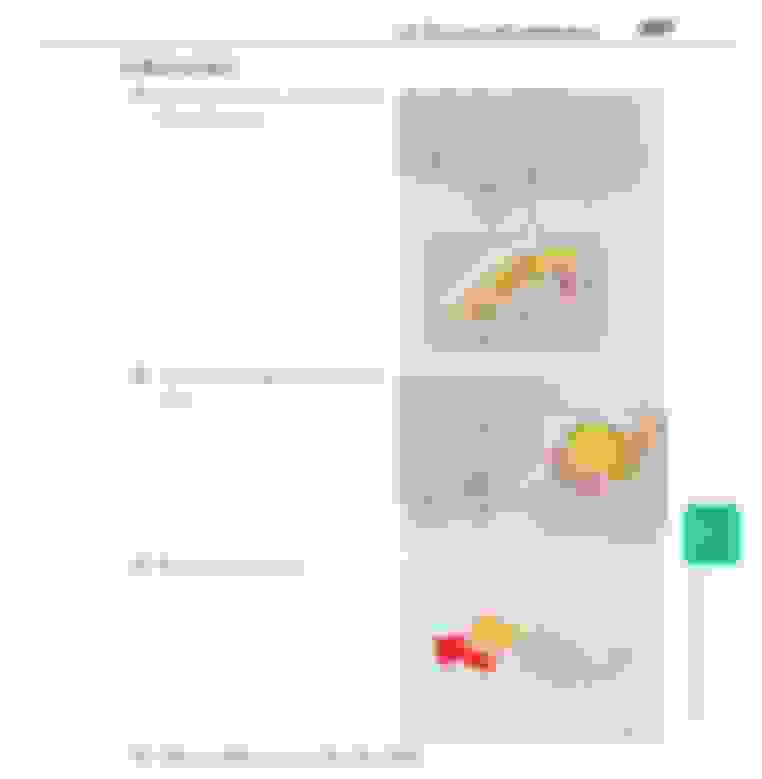
No need to look up the directions, the directions to this and a couple other bulbs are available in the DIY section of the Owners Manual, I swapped out my reverse bulbs for LEDs when I first got it and it wasn't terribly hard, you remove a cover and the bulb holder twits out. Pull the bulb out and then installation is the reverse.
Can anyone tell me how to access the rear reverse lights on the passenger side of the vehicle. I need to replace the bulb. The lights are not on the back door. They are right above the bumper. I don't see any way to access the light bulbs.
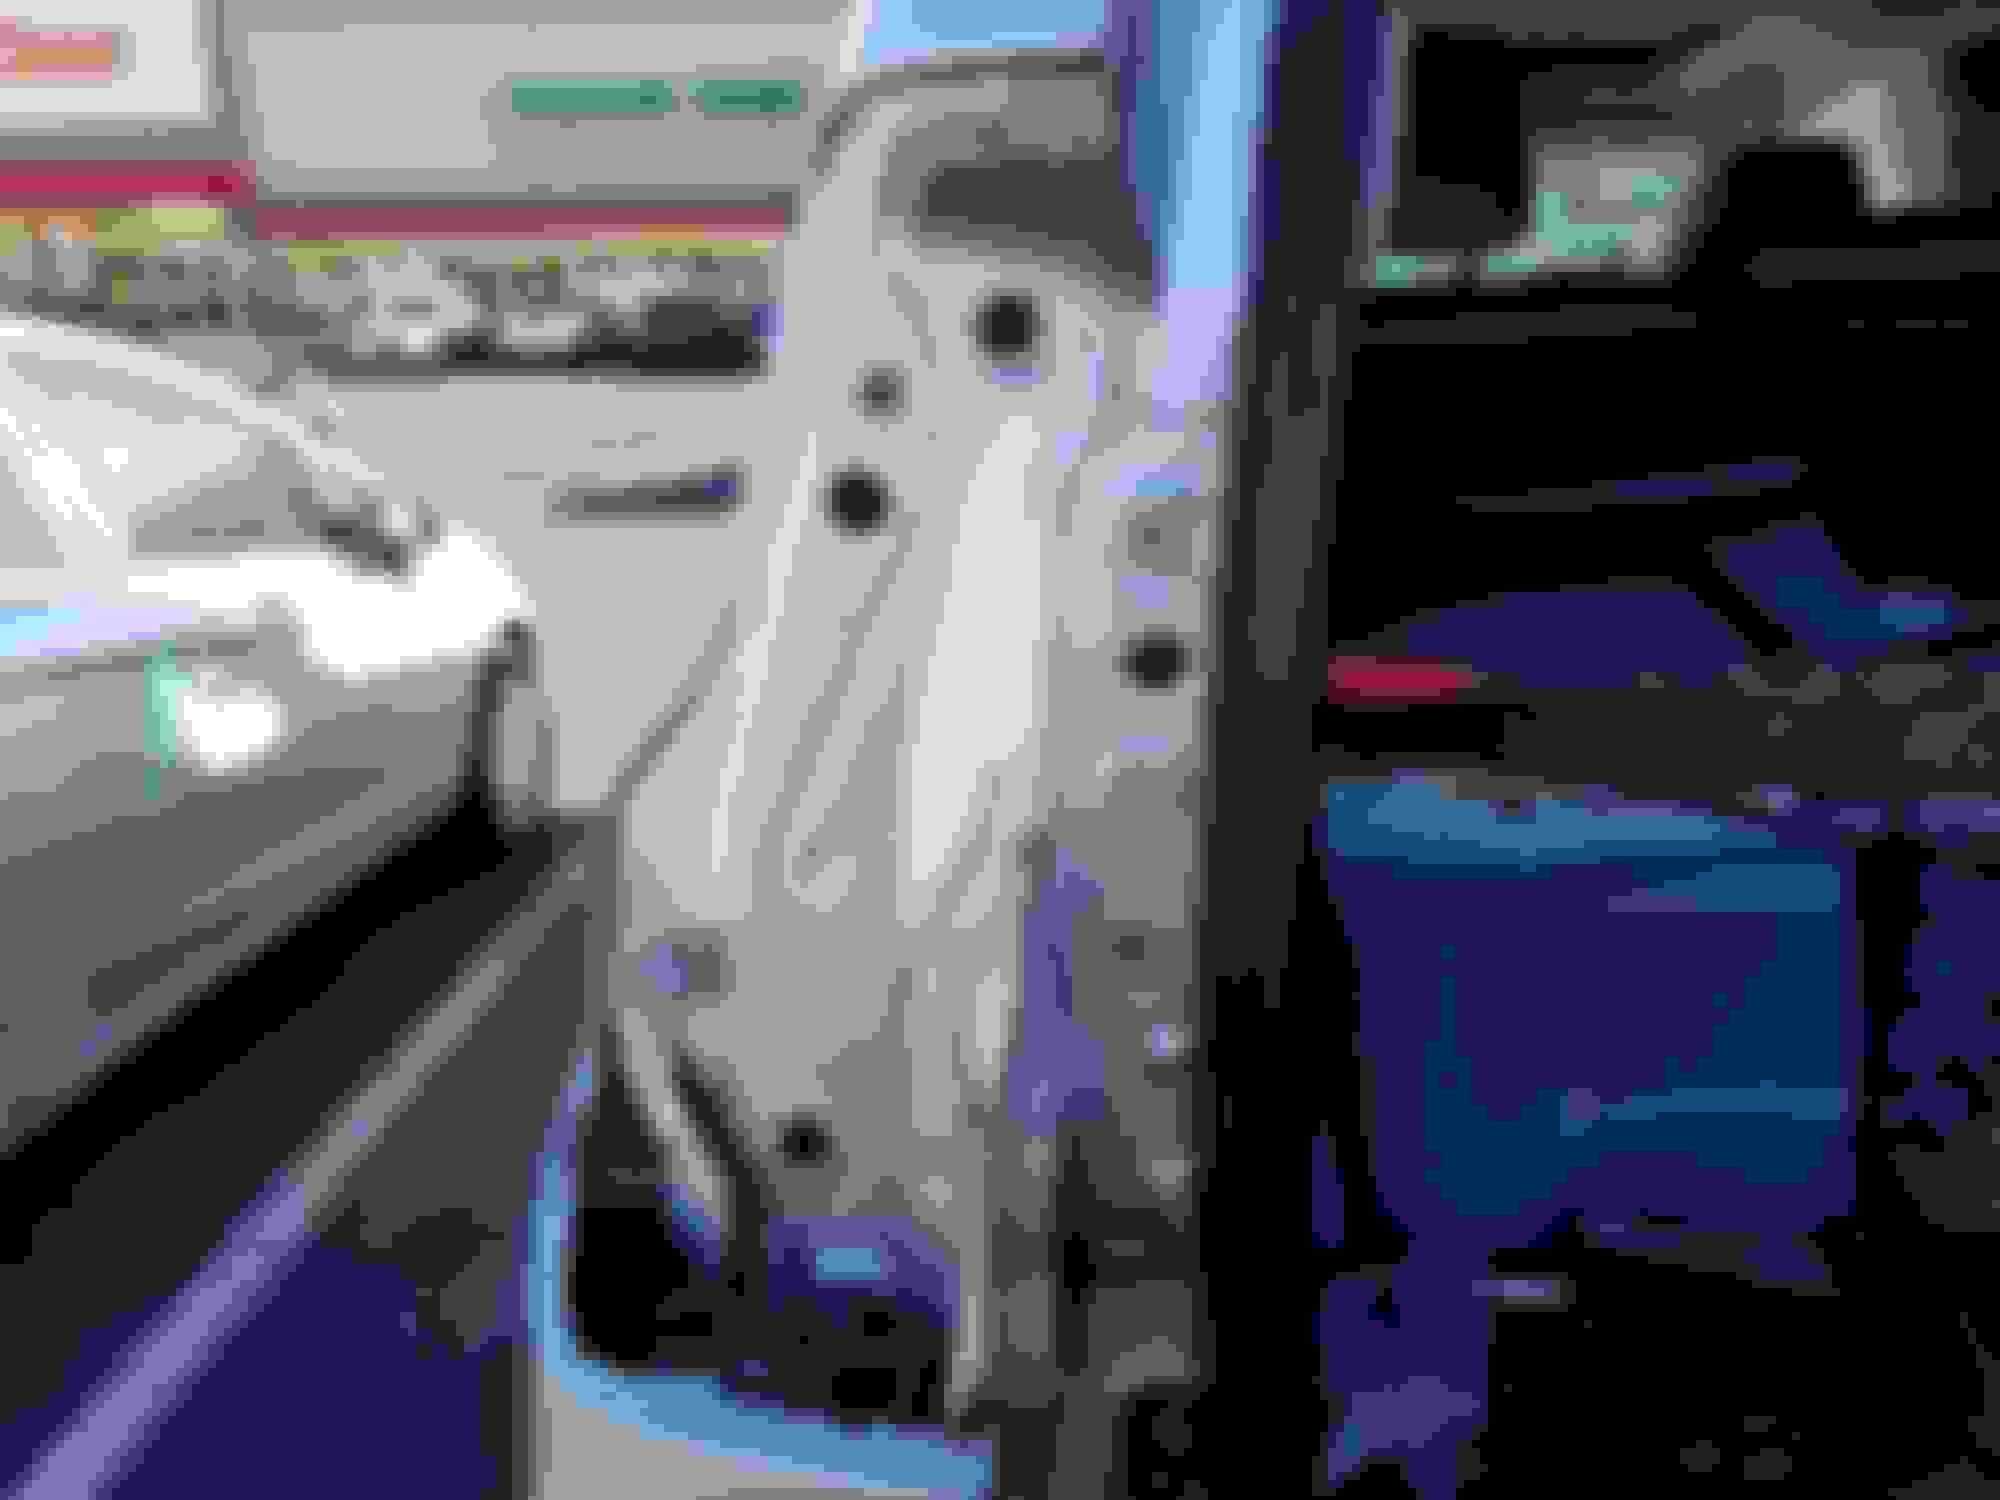
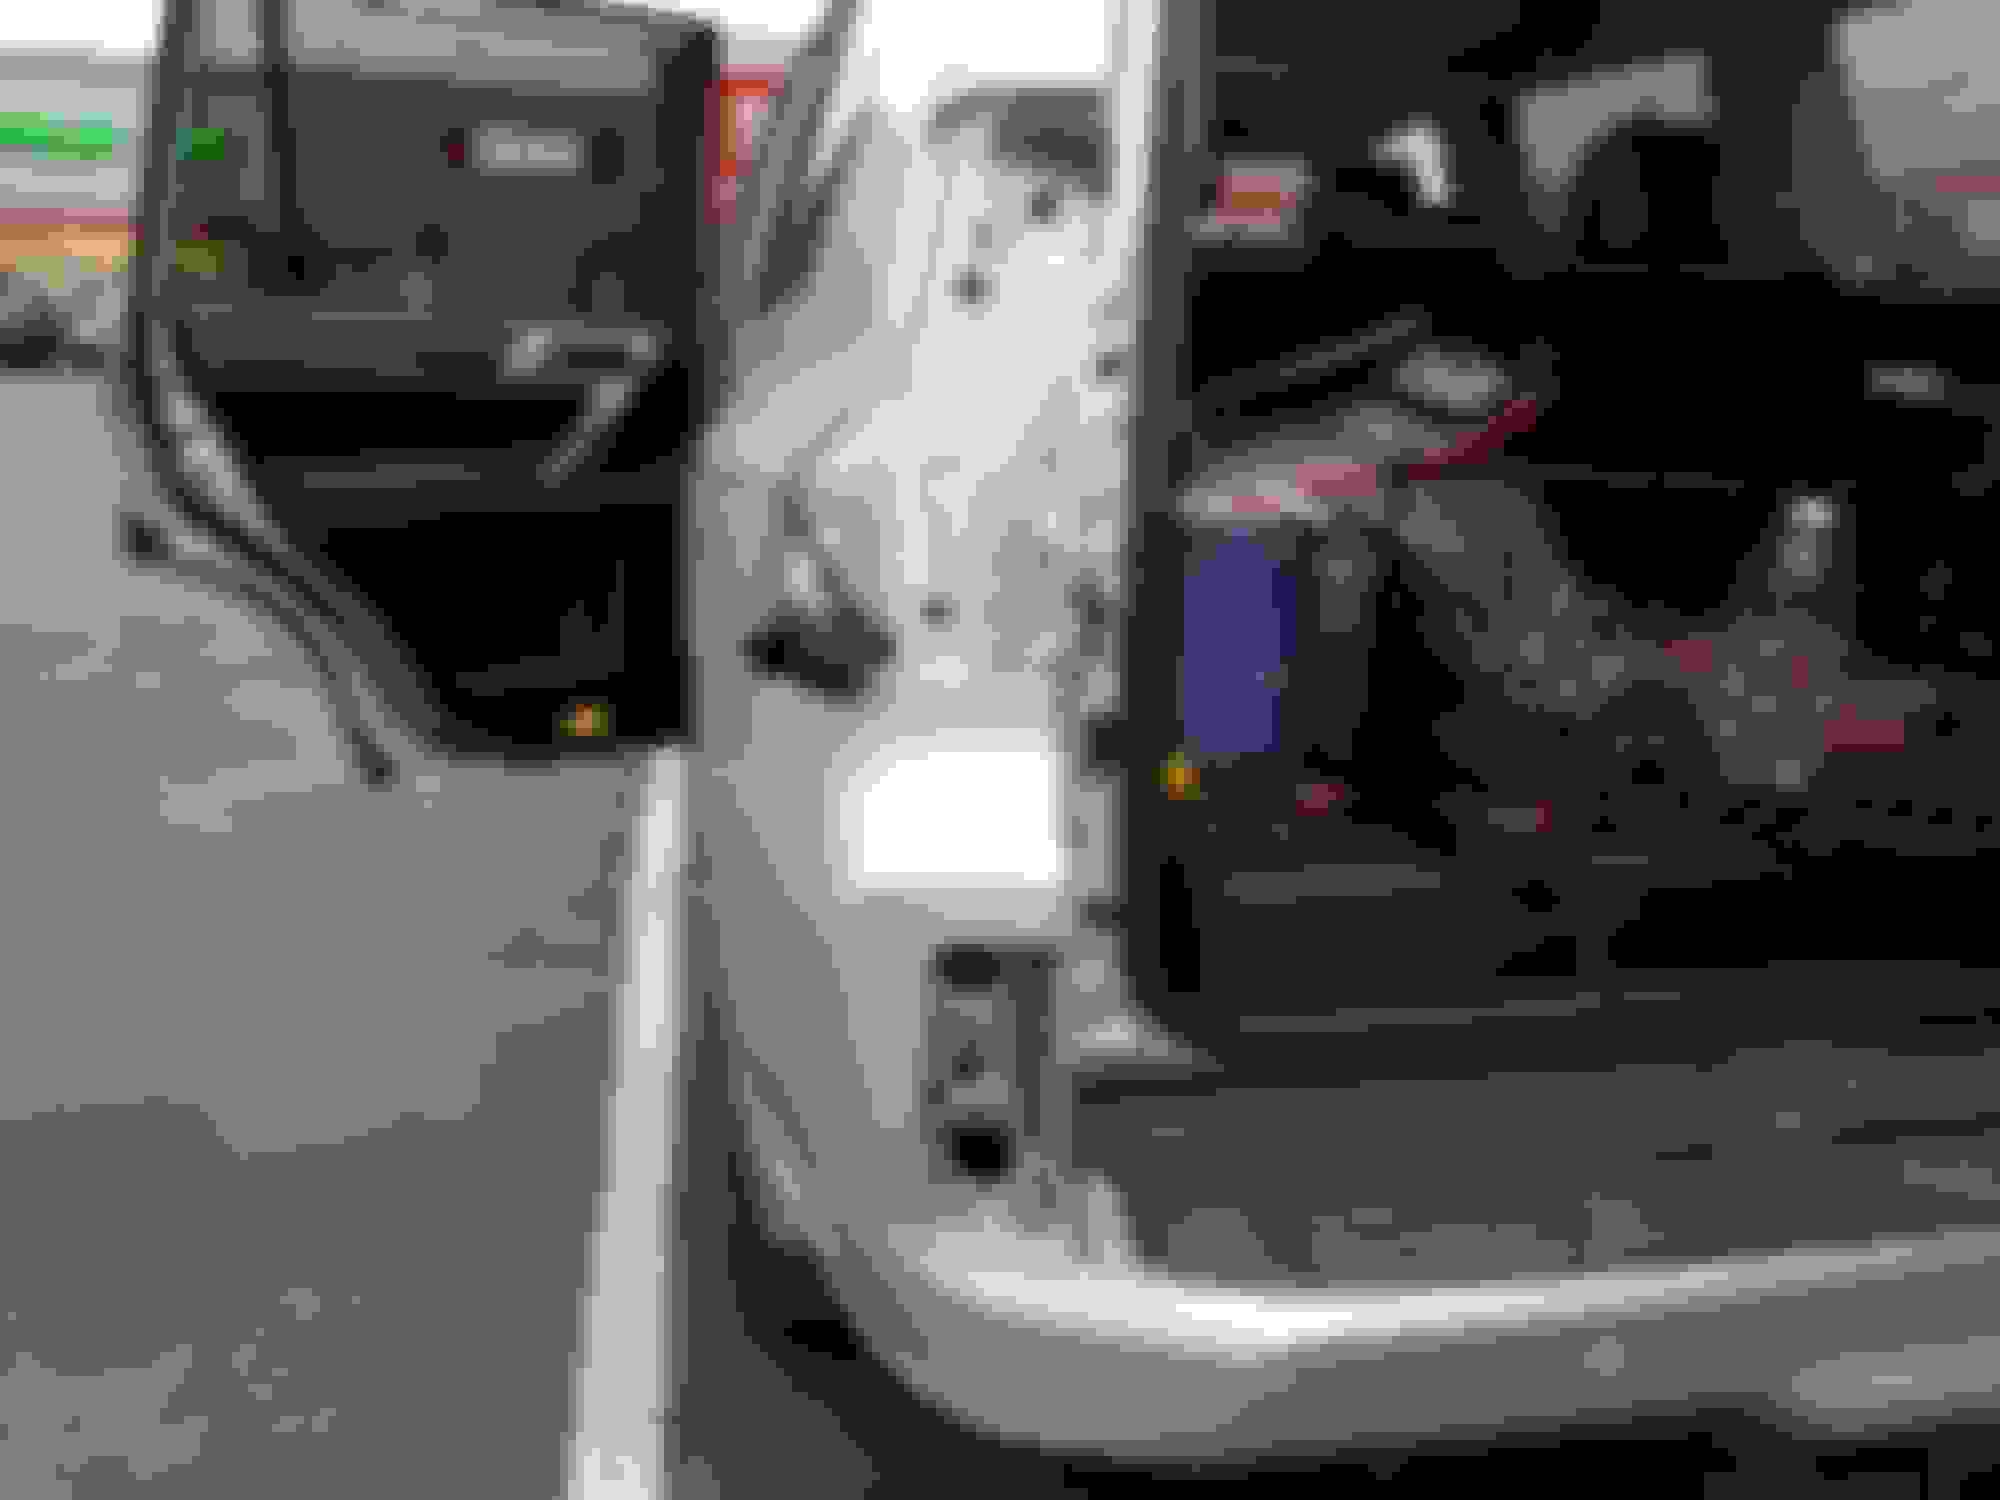
I am not sure what your dexterity level is being underneath the vehicle, but I replaced both of my reverse lights by removing the turn signals first, then accessing the reverse lights by going from from the top down while standing. I found it much easier than what the owner's manual state. There is 2 screws holding the lens unit if you need to remove it (If you are like me and accidentally dropped the light bulb in there). I know my pictures are from the driver's side, but it's really the same for the passenger side as well.
Black plastic piece is removable. My entire arm was able to fit in there. Removal of 2 screws will allow you to remove the entire lens unit.
u could do it that way, but it accessed from underneath the rear. U dont remove any tail light or back up light assembly.
i think you have to remove panel underneath. i replace mine a while ago
u could do it that way, but it accessed from underneath the rear. U dont remove any tail light or back up light assembly.
i think you have to remove panel underneath. i replace mine a while ago
Yup. that's the way it says to do it in the manual and is also the same way to do it on the 14+ as well.
I tried to do it myself a few months ago from underneath the car. I couldn't access it as there were wires in the way (looked to be part of the back up sensors). I didn't want to risk messing anything up so I took it to my independent Lexus mechanic. I gave them the bulb and they switched it out for free.
My first attempt was to follow instructions by accessing it from underneath as well, but it is a challenge and I was able to get one side in before the light bulb slipped off and became dislodged in the housing lens. That was when I grew frustrated and decided to remove the entire piece. In the process, I discovered (my perspective) that is was easier and cleaner to access it from the top down. I did not have to worry about junk falling onto my face or into my eyes. I haven't fully examined it, but I believe the area in the bumper can also be used to hide large enough "stuff" that is not too heavy.
Back Up (Reverse) Light Bulb Replacement on Lexus GX
I did some internet searches, and didn't find a good DIY on how to replace the back up (reverse) light bulbs on my GX460, so I figured it out and made a how-to video. I also upgraded mine to LED. I hope it helps someone trying to do the same thing. Link is below.
Nice video, very helpful to those wanting to do this project. The few things I found online didn't indicate the proper location and quantity of screws. I did this awhile ago and didn't jack up the vehicle. It is really difficult to work in the small area where the bulb is, and hard to reseat the bulb socket without being able to see. I tested the bulb before putting the socket back in, and was glad I did because the LED I used was a little funky and hard to lock in. Didn't take the first time, so glad it wasn't all back together. BTW, tons of dirt came out of one side only when I removed the panel. Not sure why only one side...
Toyota and Lexus Join Mille Miglia For The First Time
Slideshow: A five-car lineup spanning more than five decades of Toyota performance and engineering will tackle one of Italy's most celebrated automotive routes.