When you click on links to various merchants on this site and make a purchase, this can result in this site earning a commission. Affiliate programs and affiliations include, but are not limited to, the eBay Partner Network.
I have the RR Racing heat shield installed on my 2020 and have had zero issues with it. As others have pointed out, make sure you remove enough of the plastic trim to allow for proper clearance of the heat shield.
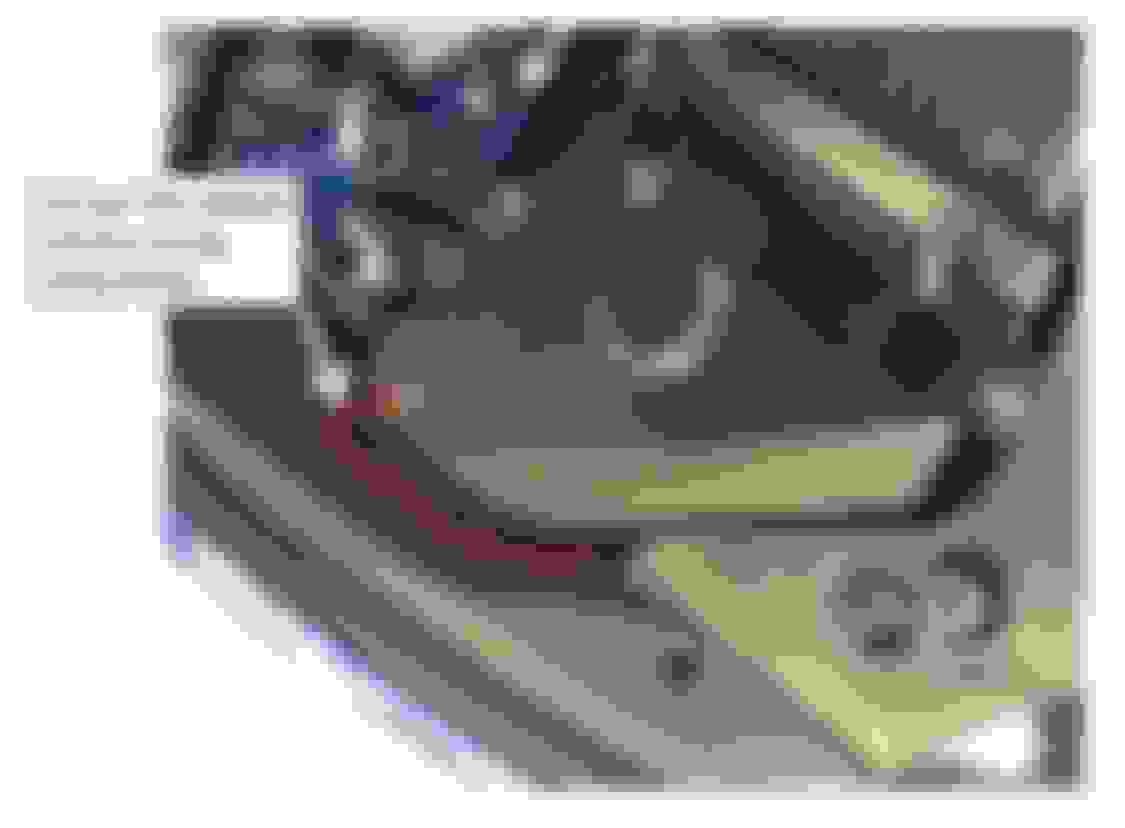
Wait.....is yours installed correctly? Isn't this part supposed to stick out above the heat shield? It looks like yours is just resting on top of the bracket that used to hold the horn. I'm circling the portion i'm talking about. Am i crazy or does this look installed differently than the others?
Ok, so just got a GSF in the shop, no issues installing:
looks clean. Can you give measurements of what you cut on trim if you did any modifications? Only thing holding me back is having to cut trim to make an after market item fit.
looks clean. Can you give measurements of what you cut on trim if you did any modifications? Only thing holding me back is having to cut trim to make an after market item fit.
Here’s the thing, you are not cutting OEM trim “to make aftermarket part fit.” Reason for cutting the trim is 100% functional, otherwise there is no path for cool air from the fender area to enter the airbox. So it is absolutely critical to cut the trim. It’s also easy yo cut, using utility knife or even cutting shears.
The entire function of this part depends on cutting the trim to introduce a new cold air pathway to the airbox, the datalog results and affect on intake temps are very apparent and shown here:
__________________
We Engineer Track Proven Upgrades For Your Lexus! SUPERCHARGERS : ECU TUNING : SUSPENSION : EXHAUST : PPE MASTER DEALER
Here’s the thing, you are not cutting OEM trim “to make aftermarket part fit.” Reason for cutting the trim is 100% functional, otherwise there is no path for cool air from the fender area to enter the airbox. So it is absolutely critical to cut the trim. It’s also easy yo cut, using utility knife or even cutting shears.
The entire function of this part depends on cutting the trim to introduce a new cold air pathway to the airbox, the datalog results and affect on intake temps are very apparent and shown here:
yes, I understand the reasoning for the heat shield and what the benefits will be from it. Last part of explanation and last picture would have been sufficient.
yes, I understand the reasoning for the heat shield and what the benefits will be from it. Last part of explanation and last picture would have been sufficient.
That's my GSF that Rafi posted recent pics of. If you have any questions or need more detailed pics just lmk. I was there and watched the install.
Can you see what it's hitting against that is preventing it from lowering in place?
Steve
Forgive me if this issue has been solved.
I think it looks like OP is trying to place the heat shield further in than it should be. The ones who have theirs properly fitted have their heat shield slightly angled to the left from the ridges of the airbox. OP's is too much to the right and i believe it should fit better if its pushed to the left a little bit so it will sit naturally.
I'm installing mine on my RCF the other day. I did have to trim just like everyone else the left side of the plastic liner. That wasn't bad. Just kept cutting more off little by little until it was a pretty much exact fit. I didn't want to see a huge hole/gap like I have seen others install it.
Fitment still isn't great. I feel this should have been molded slightly better. It does get hung up on the air box like the OP pointed out. I'm not sure why the one side isn't wider and longer so it clips down on the air box in the front rather than kinda just sitting there. I also didn't use the supplied silicone hose because the inner diameter is wrong, it's too small. I bought a 4-5' OEM line from Toyota. Part below in the picture if anyone wants to stay with OEM. Probably could have gone to the parts store to get some rubber line but I figured I know OEM lines last 10+ years and this matches. The silicone hose supplied didn't match anything so it stuck out to me. I will note that my kit came with a black bolt which I prefer. I've see other pictures of a silver bolt which looks out of place. Titanium might be cool depending on where one could source it.
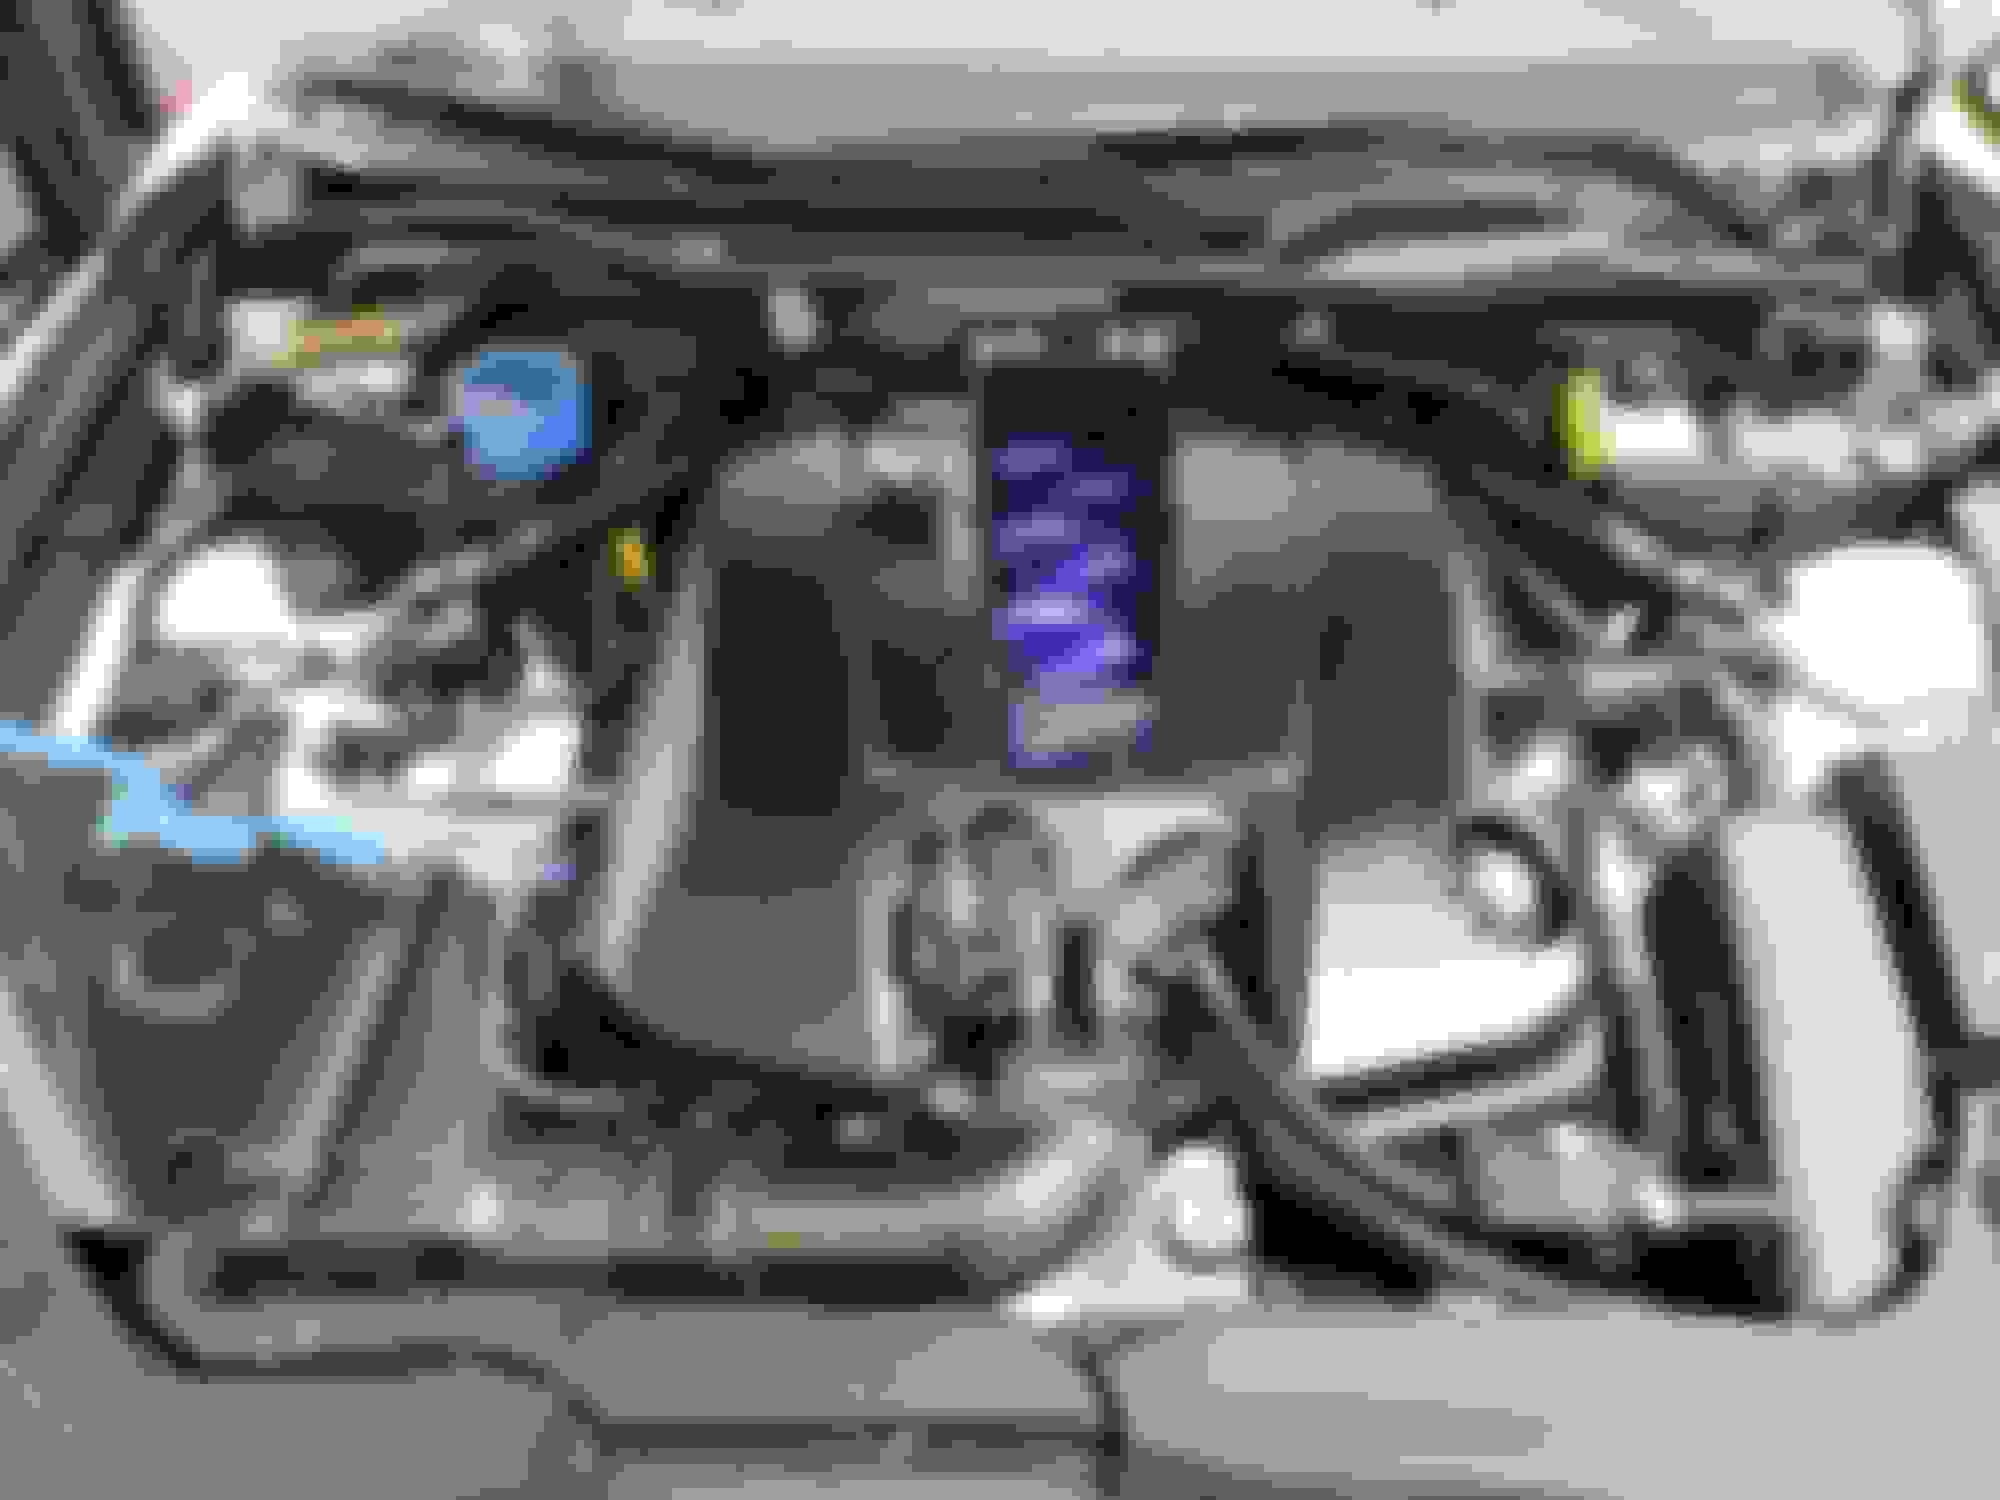
Note nothing is installed yet but it's close. I just have to route the lines and then attach the vacuum solenoid.
New Toyota hose on left. Hose taken off intake on right. Same diameter! I'll post a picture of the RR racing silicon hose that is the incorrect diameter.
I also installed the components differently. I didn't like how you mounted the horn on the firewall. That seems tacky as hell and just attaching a nut through the bottom of the firewall. See how I mounted things using the brackets still and mounting points. It looks much cleaner to me like this.